
We occasionally link to goods offered by vendors to help the reader find relevant products. Some of these may be affiliate based, meaning we earn small commissions (at no additional cost to you) if items are purchased. Here is more about what we do.
Do you find yourself baking bread on a regular basis, or making large batches frequently?
Are you looking for an appliance that features a wide range of options, without limiting yourself to the operational confines of a machine designed for only one product or type of recipe?
As great as bread machines are, they often aren’t equipped to handle large batches, with the capacity to hold enough dough for only one or two loaves at a time.
And they restrict you to only making bread, or a limited selection of other recipes, without the option to change things up with separate attachments.
If you have the space for a bread machine, in addition to all of your other appliances that you love to use on a daily basis, great! Please invite me over to your big and gorgeous kitchen so we can bake together!
But when you’re someone like me, who will soon be moving into a townhouse with a small-ish kitchen and no pantry, space is precious.
Gollum-obsessively-embracing-the-ring-while-whispering-to-himself precious.
With that said, an all-encompassing appliance with multiple attachments that are easy to store together and won’t take up essential counter space sounds very appealing.
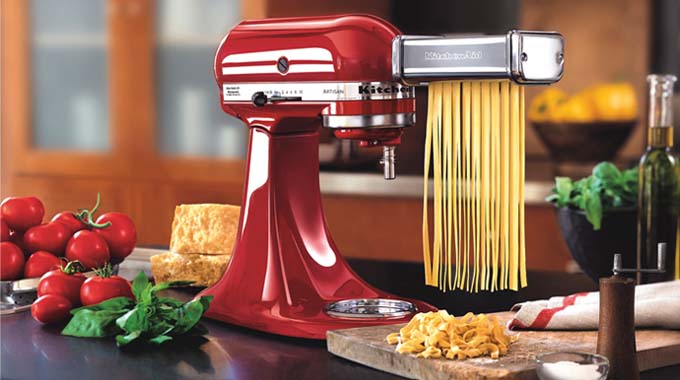
And while we here at Foodal have personally used, reviewed, and loved a wide variety of KitchenAid stand mixers, you might be ready to purchase an appliance from a brand that has an entirely different aesthetic than the one you (and no doubt the majority of your friends and family!) have been using for years, if not decades.
Truth. I still have the one my parents got after they were engaged to be married 30+ years ago. It’s more than ready for retirement.
With an appliance like the Ankarsrum Assistent Original, you get a powerful mixer that’s built to last, with many options for various attachments. And with a modern take on a retro design unlike any KitchenAid on the market, you have the potential to make any neighbor, friend, or family member who’s visiting you totally jealous.
Ready to be the black sheep of the bunch? Go off the beaten path, and consider purchasing the Ankarsrum Assistent Original, a pure Swedish powerhouse!
Ankarsrum Assistent Original
What You’re Purchasing
With your purchase of the Ankarsrum Original Mixer, which is available on Amazon, you will receive the following items in the basic package:
- The AKM 6230 Series Type N30 machine
- Detachable three-prong power cord
- 7-liter stainless steel bowl
- 3.5-liter clear plastic whisking bowl
- User manual
- Basic package accessories:
- Dough hook
- Dough roller
- Dough scraper
- Headgear for the whisk and whip accessories
- 2 multi-wire balloon whisks
- 2 single-wire whips
- Shaft for the plastic whisking bowl
- Dust Cover
- Dough spatula
Overview
Similar to the design of the Bosch mixer, this Ankarsrum appliance operates with the motor at the bottom of the unit, rather than overhead like you’ll find with a KitchenAid. With this specific design, the entire bowl moves, rather than the attachments.
The dimensions of this product are 14.25 inches deep by 19 inches wide, with a height of 14.25 inches
Even though its dimensions are much wider and slightly taller than a KitchenAid, it actually isn’t too heavy!
With the stainless steel bowl attached to the base, it weighs only 19 pounds. Compared to a KitchenAid, which can weigh upwards of 25 pounds, the Ankarsrum is easier to lift and move around.
There’s no need for any awkward bear hugs when trying to move it. Take it from a 4’11” little lady – it was a breeze to move around at home!
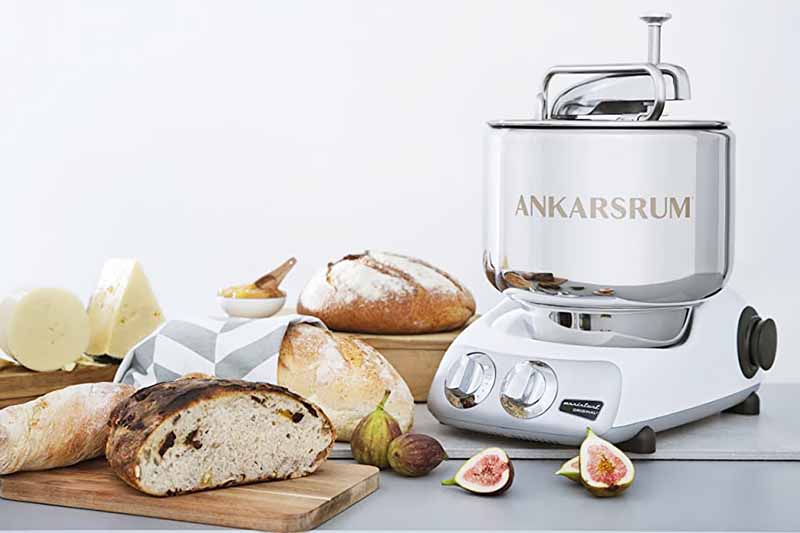
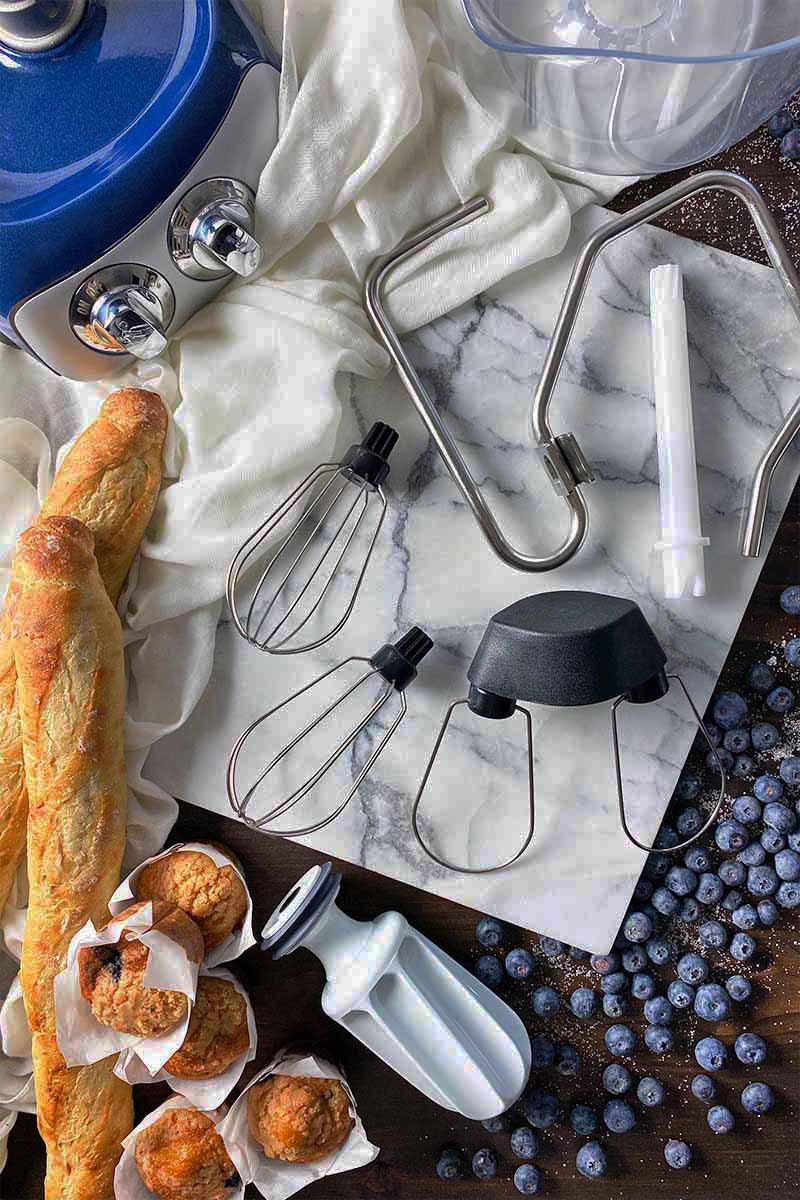
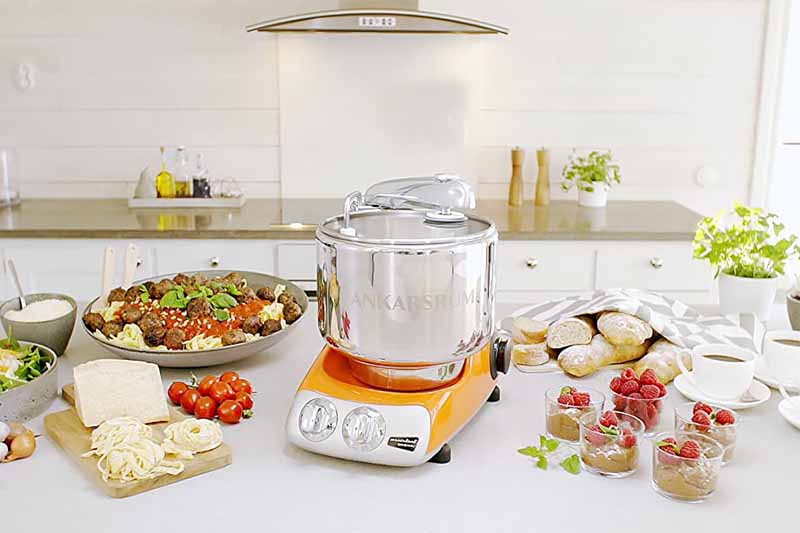
The motor base comes in a variety of colors, with three new colors for 2020 – Glossy White, Forest Green, and Ocean Blue, which is beautifully featured in these photos!
Amazon offers a limited selection, including Black Chrome, Black Diamond, Creme, Orange, and Royal Blue (at the time of the publication of this article, only Royal Blue is currently available).
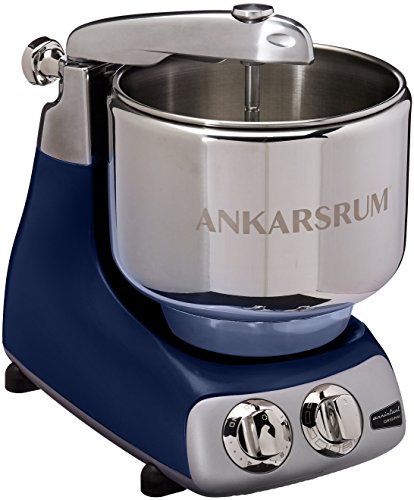
The Ankarsrum Assistent Original Stand Mixer, Royal Blue, available on Amazon
If you are considering other colors to match your decor, you can learn more about these on the Ankarsrum website.
Though you cannot buy directly from Ankarsrum, you may search for a local dealer via their website, sorted by state.
The mixer can be used in two different positions, depending on what accessory you choose: positioned standing upright, or positioned on its side.
There are a lot of parts that come with this purchase, and there are many detailed instructions for how to assemble, operate, and clean each piece. I can say from experience that it will be overwhelming at first as you are figuring out how to operate the machine during your first few uses.
To help you ease into understanding all of the accessories and instructions, I will provide more information on each specific item included in your purchase. But first, let’s get to know a little about the brand!
The very first Assistent Original was launched in 1940 by the Swedish manufacturing company Electrolux. In 1969, production of the Assistent Original moved to Ankarsrum, a municipality in Sweden, where it has since been re-branded under the Ankarsrum name. Throughout the years, this appliance has undergone multiple improvements, including an expansion of accessories and colors.
We’ll explore every part of this Swedish appliance, starting with the motor base!
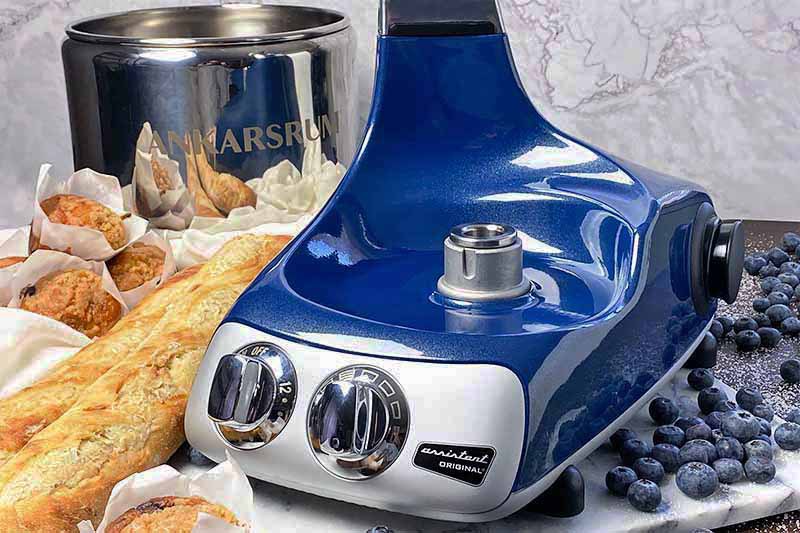
The Motor Base
The motor is constructed in the bottom of the unit, instead of above it, leaving your way clear to add ingredients into the bowl.
For those making bigger batches of dough, you can imagine how much easier it is to be able to dump in cup after cup of flour without the need to pause, remove the attachments from the head, and then pour ingredients in.
For the US model, this appliance has a 120-volt, 600-watt motor.
While advertised as “quiet,” I’ve reviewed and tested enough appliances to realize that this is often not the case. With no surprise here, the motor is still pretty darn loud. But what would you expect from a high-powered piece of equipment?
Large and thick rubber feet on the four corners of the bottom of the base keep the mixer in place during operation.
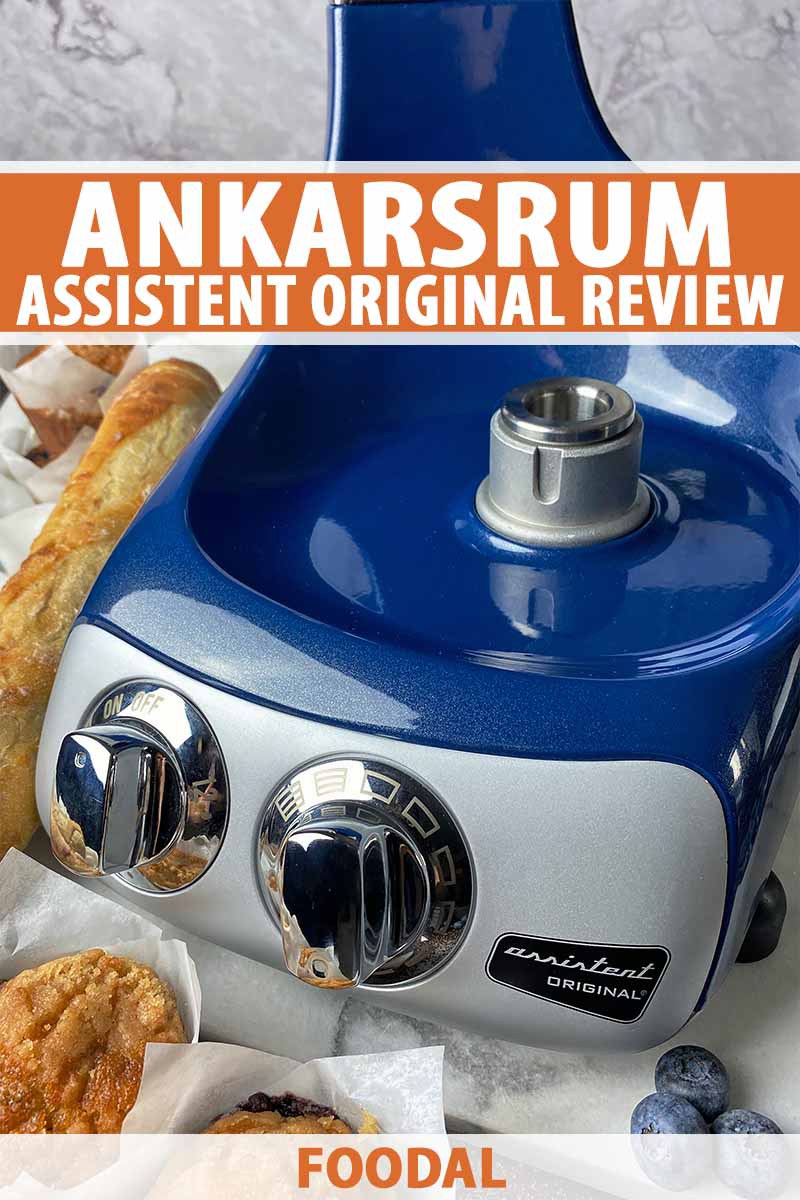
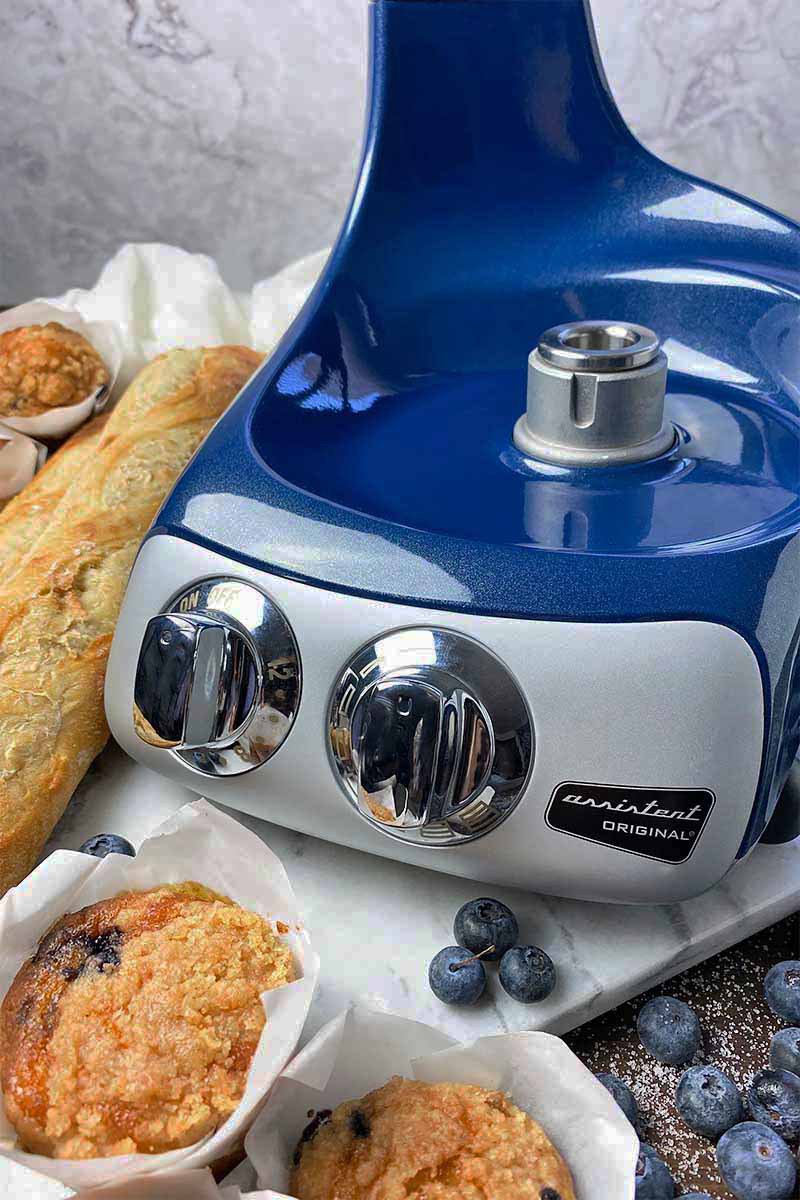
The base features two large knobs in front. The left knob features the On/Off positions, as well as a timer that you can set from 1 to 12 minutes. The mixer will automatically stop running when the timer ends, or you can keep it set to the “On” position for continuous operation.
The right knob features the self-adjusting speed control, from a minimum of 45 RPM to a maximum of 130 RPM. This is displayed as progressively larger rectangles on the display, with the smallest rectangle indicating the slowest setting and the largest rectangle representing the fastest setting. You are able to adjust the speed while the mixer is running.
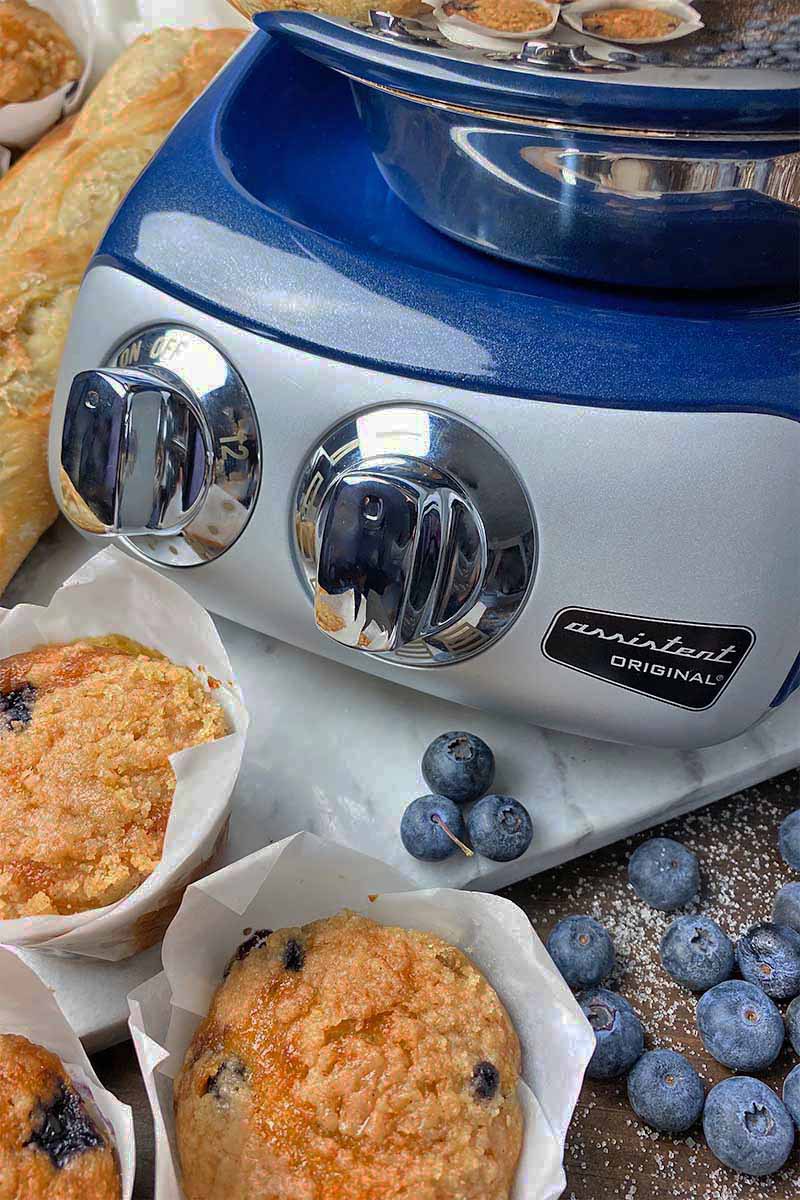
Maxing out at 130 RPM, this is a slower maximum speed compared to what’s offered by other stand mixers on the market, which can reach speeds at and above 200 RPM. While a little slower, I did not have any issues fully mixing a variety of doughs and batters with this machine.
However, due to the larger capacity of the bowls, this may be an issue when mixing smaller amounts of lighter ingredients, like egg whites. Trying to fully whip anything under four large egg whites at a time was difficult, as the size of the bowl and the lower RPM could not whip the egg whites to their full volume without having to switch to whisking by hand in the end.
Take into consideration that this mixer is designed for working with larger volumes of ingredients, and it may not be the right choice for the home cook and baker who usually makes recipes on a smaller scale.
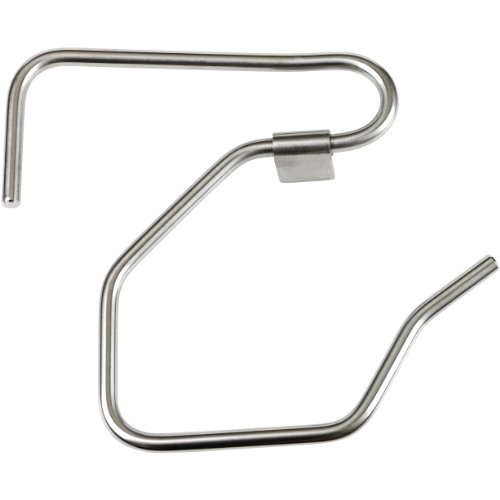
The Motor Base Arm
Attached to the motor base is an adjustable stainless steel arm that connects some of the attachments to the appliance, like the dough hook and dough roller.
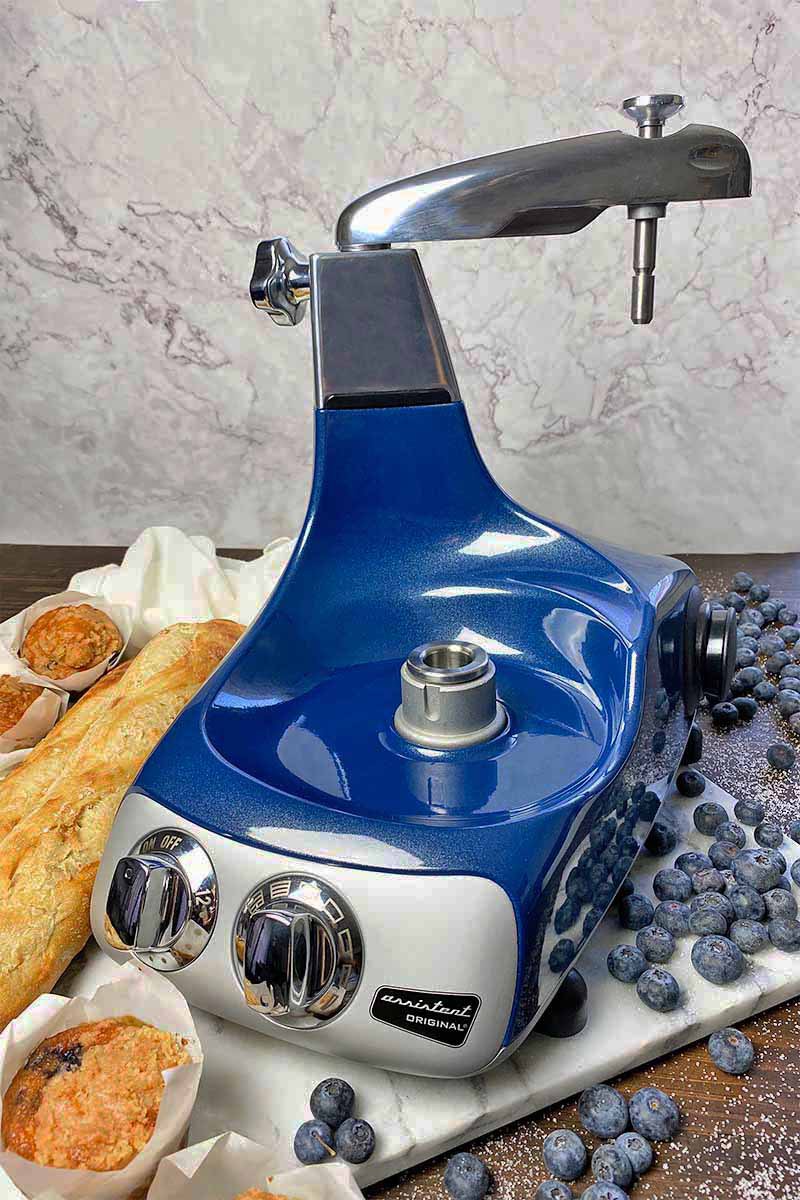
Directly next to the adjustable arm are two stationary holes. The larger hole connects the dough hook to the machine, and the smaller hole connects the dough scraper to the machine.
Let’s move on, and learn about the two different types of bowls included with your purchase.
The Bowls
The two options provided in the basic package are the perfect pair. They are a dynamic duo that doubles the versatility of types of food you can prepare, without needing to purchase them separately.
After choosing which one you will use, secure the bowl on the gear in the center of the base. From there, you then decide which attachment you’ll use (more on that in an upcoming section, so keep reading!).
Let’s take a closer look at each option.
Stainless Steel
The stainless steel option will be the happy home for all of your thicker, heavier, and higher volume doughs, batters, and mixtures.
The bowl capacity allows for a maximum of 7 liters in volume (or about 2 gallons), and it can hold a maximum weight of 11 pounds.
Because the bowl itself is directly connected to the gear, this makes the entire bowl rotate.
According to Ankarsrum, this allows for an optimal gear ratio between the engine and the bowl, meaning it offers more strength and durability.
Use this bowl for mixing bread dough, stiff cookie dough, pound cake batter, cheesecake, buttercream frosting, and pate a choux, making mashed potatoes, and creaming butter.
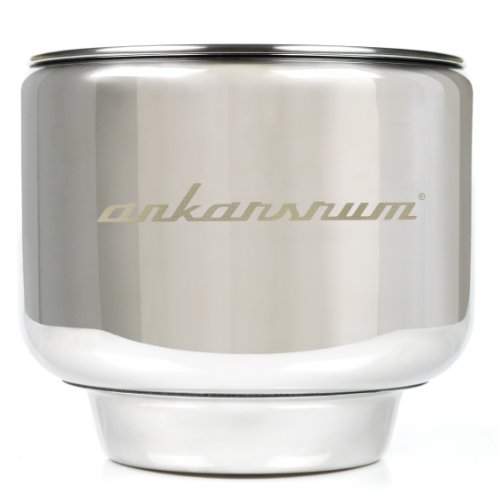
Stainless Steel Bowl, available on Amazon
You can also use the stainless steel bowl for whipping larger volumes of heavy cream or egg whites. Ankarsrum recommends chilling the bowl before whipping to increase the whipping efficiency, a very clever trick to keep ingredients like these cool while they are being agitated.
And like I mentioned before, the construction of the motor base allows you to have entirely open access into the bowl as you’re mixing. You can cleanly and quickly add ingredients, and you can clearly and easily see and feel the dough.
So far when I’ve been using the bowl, I’ve kept my counter space clean! This is yet another major bonus with using a larger size.
As long as the speed is on the lowest setting while adding additional ingredients, you will not have any issues with liquid splattering out, or flour making a dusty mess everywhere.
Minimal cleanup – what a sweet relief!
Plastic
The clear plastic whisking bowl is made of BPA/BPS-free plastic material, and holds a maximum of 3.5 liters (about 1 gallon).
In addition to the smaller size and type of material, there are a few more key differences between the plastic and stainless steel bowls.
First, the material of this bowl extends upwards in the very center, creating a long, skinny, hollow extension. Before placing it onto the base of the machine, you’ll first need to insert the white plastic shaft attachment securely onto the gear. The bowl’s hollow center fits over this shaft, securing it onto the base.
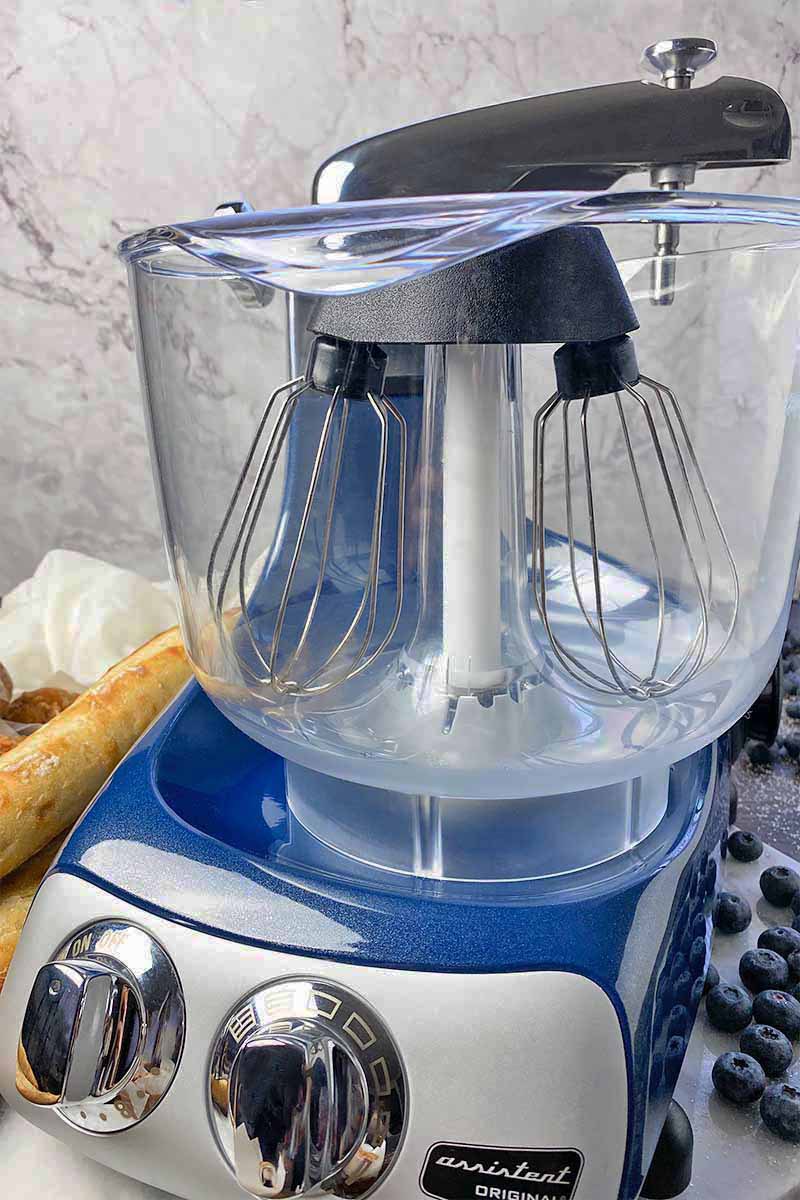
The very top of the shaft is exposed outside, and this is where you’ll attach the whisk accessories.
Unlike the stainless steel bowl, the plastic one does not move when the appliance is turned on. The shaft rotates instead, and this causes the whisk accessories to rotate while the bowl remains stable.
The plastic bowl also has a few unique features: there is a small handle at the top of one edge, and a spout on the other edge, for convenient carrying and pouring. There are also measurements around one side of the bowl, marked in 1/2-liter increments.
According to the user manual, the whisking bowl is heatproof – hot, boiling sugar syrup for recipes like Italian buttercream or marshmallows can be poured into it without damaging the bowl.
The Accessories
Now that we know the bowl basics, it’s time to learn about the many accessories! All of these tools will be essential to many steps of baking and other kitchen prep work.
We’ll start with the accessories that may be used with the stainless steel bowl, and then move on to the accessories that may be used with the plastic bowl.
Stainless Steel Bowl Accessories
The accessories for the stainless steel bowl accessories are designed for thicker, heavier doughs. These are what you will use to make your breads and batters.
Dough Hook
This should look like a fairly familiar accessory, as it serves the same purpose as the dough hook would with a KitchenAid or other type of stand mixer.
Choose the dough hook when you are making heavier, tougher, lower hydration yeast doughs.
Dough Hook, available on Amazon
Assemble the dough hook in two steps: First, fit the angular end of the hook into the larger hole on the side of the motor base arm attachment. Second, connect it to the large metal screw on the motor base arm attachment.
Once the dough hook is attached to the arm, you can make any adjustments to how close or far away the hook is from the side of the bowl by loosening the tension rod and repositioning the arm, then retightening the rod to secure it in place.
The proximity of the dough hook to the side of the bowl depends on how much dough you are making at one time. Position the hook farther away from the side of the bowl if you are making a larger batch, and position it closer to the side if you aren’t making as much.
Dough Roller
Choose the dough roller when you are making softer, higher hydration yeast doughs. The dough roller attaches on the end of the metal arm.
Dough Roller, Scraper, and Spatula, available on Amazon
To properly assemble the dough roller, first you need to secure the metal bowl. You then loosen the tension knob behind the arm to allow the arm to move and swing over the bowl. Pull up the screw that is at the top of the arm, position the roller under the screw, then push the screw into the attachment.
Dough Scraper
The hard yet pliable white rubber scraper can be used simultaneously with either the hook or the roller.
Though using it is not a requirement, I do prefer to use the scraper every time I make a dough. This is because it acts as a helpful assistant to roll and knead while preventing the dough or batter from sticking to the sides of the bowl.
Easily assemble the scraper by fitting the metal hook into the smaller hole on the side of the motor base arm attachment.
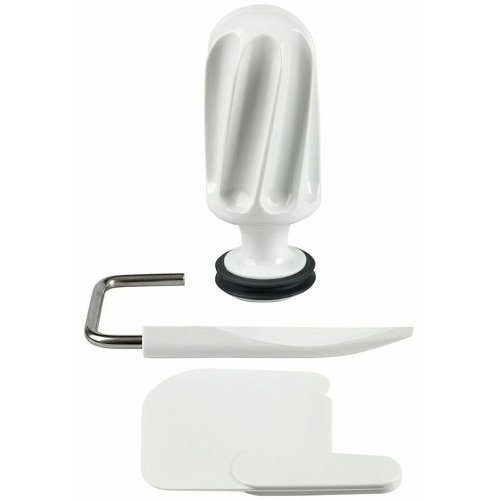
Dough Spatula
Not to be confused with the dough scraper (though the user manual does have a few flaws with maintaining consistency with the names of the parts – lost in translation from Swedish to English, perhaps?), the dough spatula is a small, hard plastic tool similar to a bowl scraper.
It’s the perfect buddy to help scrape off any residual mixture from the sides and bottom of the bowl. Because it’s made of a firmer plastic material, it’s particularly helpful with thicker, stickier doughs that a regular rubber spatula would not be able to fully scrape off of the bowl.
Dust Cover
The dust cover is a thin rubber cover that fits partially inside and covers the top of the stainless steel bowl, to keep it clean when you are storing it in between uses.
But guess what? It also perfectly doubles as a proofing lid when you are letting any freshly made yeasted dough rest and proof inside the bowl.
I’ve done it. I love it!
Plastic Bowl Accessories
The accessories for the plastic bowl are designed for most mixtures beyond the bread territory.
These accessories will be in constant use if you’re a seasoned home baker. All of your beautiful cakes, brownies, cookies, biscuits, and icings will get their start with these pieces!
Shaft
As I explained earlier, the white plastic shaft is responsible for two important tasks: connecting the plastic whisking bowl to the motor base, and serving as the base for the whisk and whip accessories.
Headgear/Beater House
The headgear, also called the beater house, is designed specifically as the attachment base for only the multi-wire balloon whisks and the single-wire whips.
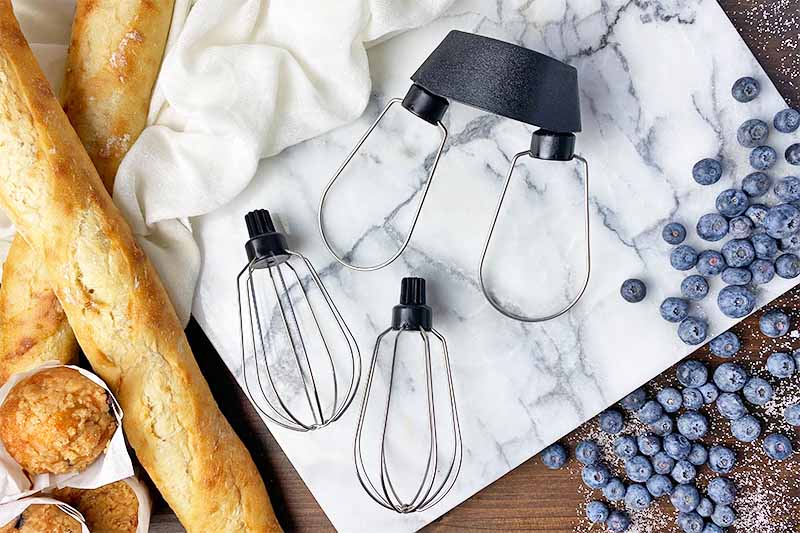
The whisks/whips firmly attach to two metal prods that protrude in opposite angled directions from the base of the beater house, which allows the whisks to spin independently from one another.
Once the mixing bowl is set in place on the motor base, the plastic drive then connects to the top of the exposed shaft used to secure the plastic bowl in place.
Multi-Wire Balloon Whisks
The two multi-wire balloon whisks are best used for light mixtures.
Whipping heavy cream or egg whites, making light icings and glazes, and making meringue and marshmallows are all ideal applications and recipes to tackle with the whisks.
Single-Wire Whips
The two single-wire whips are best used for soft cookie dough (like a basic chocolate chip, spritz, or shortbread), cake batter, pancake batter, pie dough, muffin batter, and brownies.
For heartier cookie doughs with a lot of additional ingredients like nuts and oats, Ankarsrum recommends using the metal bowl with the dough roller attachment.
Overwhelmed by all the… stuff? I get it. One of the most confusing things about any multi-use appliance is learning how to correctly use each accessory.
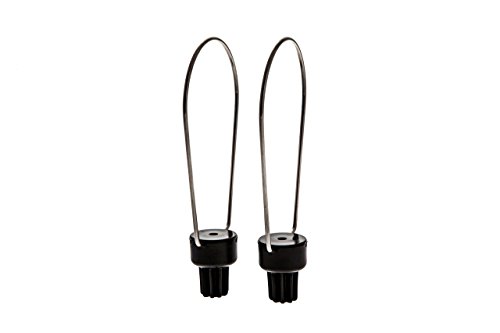
Single-Wire Whips, available on Amazon
With Ankarsrum, I found this to be particularly difficult, with more of a learning curve because of the high amount of accessories involved, with each one having different instructions for assembly.
Rest assured, all it takes is practice and repeat use, and you’ll soon commit it all to memory. Just keep that user manual handy, and have the how-to videos on Ankarsrum’s website ready to play!
I highly recommend checking out the how-to videos that are available online. A video on how to assemble each attachment is provided.
Additional Attachments to Add to Your Collection
Beyond the basic package featuring all the accessories you’ll ever need for your baking adventures, Ankarsrum also offers many other attachments you can buy separately to accomplish a variety of kitchen tasks.
I love the fun versatility of this appliance. With a few quick changes, you can do anything from shredding fresh veggies and making meaty sausages to grinding your favorite coffee beans and crafting artisan pasta.
Here are the other attachments that are available for purchase to use with this model:
- Blender
- Citrus Press
- Coffee, Spice, and Grain Mill
- Fettuccine Roller
- Graters
- Lasagna Roller
- Meat Grinder or Sausage Horns
- Spaghetti Roller
- Strainer
- Vegetable Cutters
I won’t go into any more detail with these attachments here, because I’ll be reviewing all of these in another article, coming soon! For now, if some of these have piqued your culinary interest, follow the links above to read customer reviews and check current prices on Amazon.
Care and Storage
There are two main ways to clean the bowls and accessories in this basic package: in the dishwasher, or by hand. Here’s a breakdown of the cleaning list:
Dishwasher safe:
- Stainless steel bowl
- Plastic whisking bowl
- Dough roller
- Dough hook
- Dough scraper
- Dough spatula
Clean by hand:
- Multi-wire whisks
- Single-wire whips
The plastic bowl should be placed on the lower rack (it will be too large to place on the top rack), but not directly over the drying element in the dishwasher, as the heat may deform the material.
The motor base should never be submerged in water, as it will cause the machine to short-circuit. Clean the motor base by hand with a non-abrasive cleaner, and dry with a clean towel.
Before you use the machine and accessories for the first time, please be sure to wash all parts by hand that will come into contact with food.
And you may notice a certain “new machine” smell – it’s almost like when you get a new car, and that “new car” smell lingers for a while. Your Ankarsrum appliance will smell a little metallic at first, but the odor will subside with use.
Warranty
Ankarsrum provides a 7-year limited warranty on the motor base, and a 1-year limited warranty on all attachments and accessories.
The warranty does not cover commercial use, or user negligence or abuse.
Any transport damage must be reported immediately (within 7 days of receipt) to the carrier responsible for transport. Any damaged parts must be reported to the seller immediately upon receipt.
So no fooling around with this!
Are You Ready for Ankarsrum?
If you are someone that treats your kitchen like a full-scale bakery, and you are in need of a larger mixer, the Ankarsrum Assistent Original, available on Amazon, is an excellent choice.
This mixer can handle any large amount of dough without flinching, and a multitude of other accessories are available to help you with a broad range of food prep tasks.
Although it comes with a larger price tag than most of its competitors, you’ll be ready to take on the wide world of food prep right from your kitchen countertop with the Ankarsrum.
It may be tough at first to gain speed and confidence when assembling, using, disassembling, and cleaning each accessory. But if you’re dreaming of having an all-in-one appliance that can help you craft your best breads and baked goods, this might be the mixer for you.
Are any of you out there Ankarsrum users already? What has been your experience, with using all of the accessories? I’d love to read your stories in the comment section below!
For further reading on the best larger-format stand mixers for your kitchen if you’d like to comparison shop, we recommend the following reviews on Foodal:
- Choosing a Top Rated Stand Mixer for Your Kitchen
- Bosch Universal Plus Mixer
- KitchenAid 6-Quart Professional 600 Series
Credited photos by Nikki Cervone, © Ask the Experts, LLC. ALL RIGHTS RESERVED. See our TOS for more details. Product photos via Amazon. Sample products provided by the manufacturer. Originally published by Chelsea Miller on November 25, 2014. Last updated on November 22, 2020.
About Nikki Cervone
Nikki Cervone is an ACS Certified Cheese Professional and cheesemonger living in Pittsburgh. Nikki holds an AAS in baking/pastry from Westmoreland County Community College, a BA in Communications from Duquesne University, and an MLA in Gastronomy from Boston University. When she's not nibbling on her favorite cheeses or testing a batch of cupcakes, Nikki enjoys a healthy dose of yoga, wine, hiking, singing in the shower, and chocolate. Lots of chocolate.
Have you ever wondered what is missing in your baking life and you go around in your head and have all this conflict that doesn’t stop, then one day you stumble across an article or perhaps at a shop window and what you read/see consumes the whole you and you are settled in your heart…that is what you need and want to make baking complete…thank you for that stupendous revelation/insight…time to budget…and yes, the conflict in the head has ceased 😉
It certainly looks good! Howevr, this brand is not available in the UK so I need to resume my search!
It’s misplaced to credit the motors for the performance of these mixers. The Kitchenaid mixers use the same motors. Ankarsrum makes motors for itself, for KA, for Vitamix, and I don’t know who else.
The power you’re seeing is from the spiral mixer design, which requires a lot less torque from the motor. These mixers have an easier time with bread dough, all else being equal. They’re less convenient for other tasks, so which you choose should be based on how high a priority you place on large batches of bread dough.
I’d get a KA proline for an all purpose mixer, if it could handle my bread needs (it can handle a lot). If I needed a bread machine that could handle more, I’d probably get the Ankarsrum … and see if I find it adequate for other mixing tasks. I might end up keeping it as a bread specialist and keeping a smaller KA for the other stuff.
Paul,
Do you have a vetted source that states that Ankarsrum makes motors for KA? From my research and looking at a number of various KAs, their motors are made in China (yes the whole machine is assembled in Ohio) using a crappy sealed design that makes replacing brushes impossible…you have to replace the entire motor if you need to rebuild it.
Or was your purpose for that comment to leave a profile link back to your website (removed by the way)?
Just checked recently where is KA made, label at bottom is more than clear ‘Made in China’. And power is always power 1 Watt is always 1 Watt, it doesn’t depends on brand. Marketing guys can play with terms, but all this is just to sell.
Hi, may I know what is the blue Ankarsrum which is featured in this article? Is it ocean blue?
Yes, the one featured in the article is Ocean Blue!
Hello, thank you for the brilliant review. The only thing that has confused me is the colour. The ocean blue looks completely different in your photos taken when compared to the Ankarsrum site and even other photos on the Web. Which ones would you say are closer to the actual colour? Your photos or the other darker ones? It looks very bright and lighter blue in yours. Thanks 🙂
Hello, Angelika! Thank you for your kind words! The Ocean Blue is a slightly brighter and more vibrant color than the photos on the Ankarsrum website. And under certain lighting (like the photography lighting I was using), the mixer photographed even brighter.
How is this mixer with mixing small batches such as for 2 bread loaves or 12 bagels.
Hey, Bob!
Like I discussed in the review, you’ll want to take into consideration that this mixer is designed for working with larger volumes of ingredients, and it may not be the BEST choice for the home cook and baker who usually makes recipes on a smaller scale.
I tested this mixer with smaller batches of doughs and batters with some setbacks, and you may experience the same minor issues with mixing together smaller batches of ingredients: it will be a slower process to bring ingredients together, and you may need to stop the mixer more often to scrape and manually incorporate ingredients on the bottom and sides of the bowl.