We occasionally link to goods offered by vendors to help the reader find relevant products. Some of these may be affiliate based, meaning we earn small commissions (at no additional cost to you) if items are purchased. Here is more about what we do.
Kefir is a fermented milk drink that’s popular in the health world thanks to the high amount of probiotics it contains.
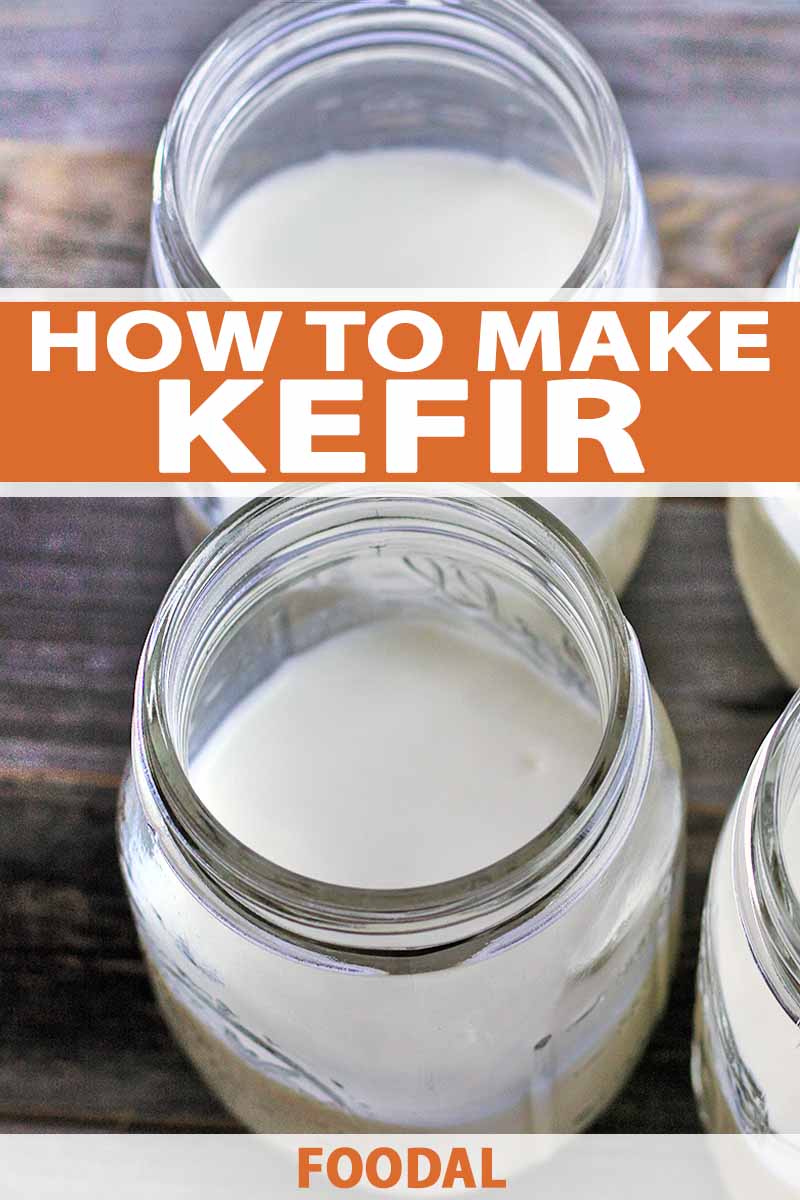
Its texture is very similar to drinkable yogurt, as it’s a slightly thick beverage with a similar tang to traditional yogurt.
While you can buy it at the store, making this probiotic-rich drink at home is cheaper, relatively easy, and healthier, as there aren’t any added sugars or thickeners.
So why should you drink kefir?
The biggest benefit is that it’s one of the most potent sources of probiotics. These beneficial bacteria are being studied for their potential to improve digestion, aid in weight loss, and help with anxiety and depression.
It’s also a good source of calcium and vitamin K, both of which are essential for maintaining healthy bone mass and preventing osteoporosis.
Here’s what’s to come in this how-to guide:
DIY Homemade Kefir
What Are Kefir Grains?
If you’re familiar with kombucha, you can think of the starter culture required for this process as being similar to the scoby (or symbiotic culture of bacteria and yeast) that’s used to make kombucha.
They also contain all the live yeast and beneficial bacteria needed to ferment the milk into kefir.
The easiest way to make it at home is by using live kefir grains, which you can get from a friend with leftover culture, or purchase online.

Cultures for Health Milk Kefir Starter Grains, available on Amazon
Once you have one batch of live grains, it’s easy to maintain a supply as they grow each time you make a new batch.
However, you can also buy dehydrated culture grains, which need to be activated before using.
This activation process can vary according to the brand, so it’s important to follow each brand’s specific instructions that come with the packets.
Milk vs. Water-Based Kefir
While traditional milk-based kefir is more popular, another option is to make it with water instead.
Made by combining sugar water, juice, or coconut water and water culture grains, it’s a dairy-free, vegan-friendly alternative with the same probiotic benefits.
Note that the amounts and types of probiotics can vary, depending on the brand of water grains used. And the grains intended for use in fermenting milk are different from those used to ferment sugar water.
Some expert fermenters say you can convert milk grains into grains for culturing sugar water, but this is a complicated process that is beyond the scope of this article.
In addition to buying water kefir grains, you’ll also need water and sugar. To help the culture grow, it’s recommended to use water with a high mineral content, such as well or spring water.
The culture also grows better with some types of sugar than others. Good choices include granulated, brown, cane, turbinado, and sucanat.
In terms of sugars to avoid, maple syrup, molasses, and coconut sugar are all reported to have inconsistent results and are not recommended.
Honey especially should be avoided, as it has its own natural bacteria that may compete with the growing culture.
The tutorial below outlines how to make your own batch at home with a milk base, but the process is similar when making water-based fermented beverages.
What You Need to Make Homemade Kefir
There are a few essential ingredients and tools required for making your own at home:
- Starter culture – live or dehydrated milk kefir grains
- Milk
- Glass or plastic jars
- Coffee filters or paper towels and rubber bands, or plastic lids if using plastic jars
- Plastic fine mesh sieve, or stainless steel can also work
- Wooden or plastic spoon
What Kind of Milk Should You Use?
Kefir grains work best with full-fat cow, goat, or sheep’s milk. While you can try using 2% fat milk, the grains may take longer to work due to the lower fat content.
As for plant-based milks, there are reports of coconut milk working well due to its high levels of protein and fat. However, soy, oat, pea, and oat alternatives are all low in fat and may not ferment as well.
Why Should You Avoid Metal Tools?
Lastly, before we move on to the steps for making this homemade probiotic drink, it’s important to remember to keep your grains from touching reactive metals – such as aluminium, iron, tin, and copper – for an extended period of time.
As both metal and kefir cultures are acidic, there’s a concern that they can react and cause some of the metals to leach into the culture.
However, your grains should still culture fine if they touch metal for just a brief amount of time. Additionally, while many people recommend using a plastic strainer, a stainless steel one is also safe and fine to use.
How to Make Kefir at Home
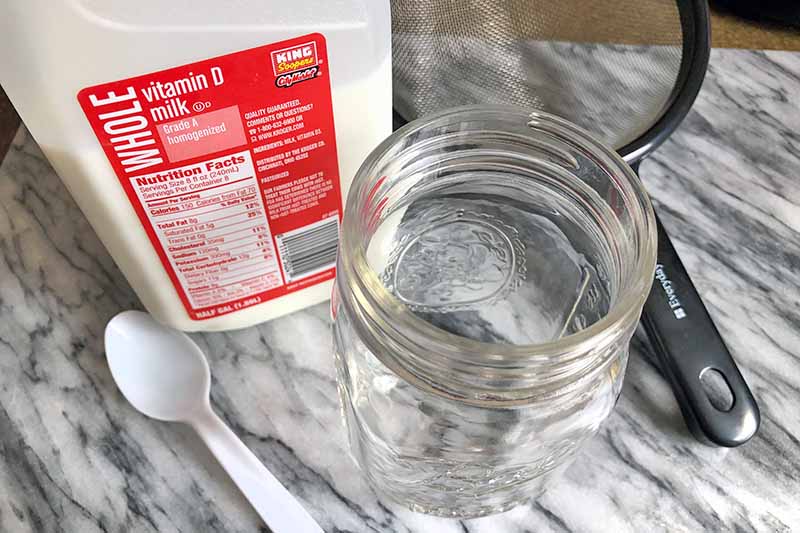
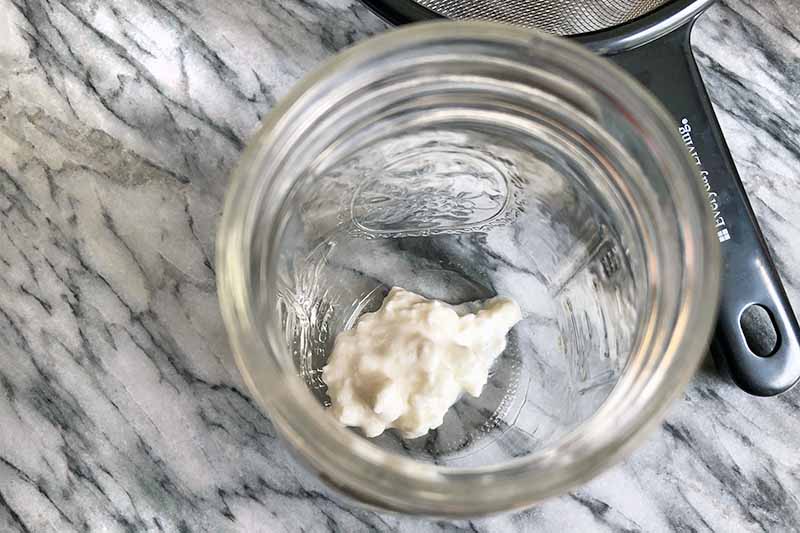
Step 1 – Combine Grains and Milk
Place 1 tablespoon of live kefir grains into a 12- or 16-ounce glass or plastic jar. Pour 1 cup of fresh whole milk over the grains and stir with a wooden or plastic spoon.

Note: you can make a larger batch by simply maintaining the ratio of 1 tablespoon of live grains per cup of milk and using a larger container.
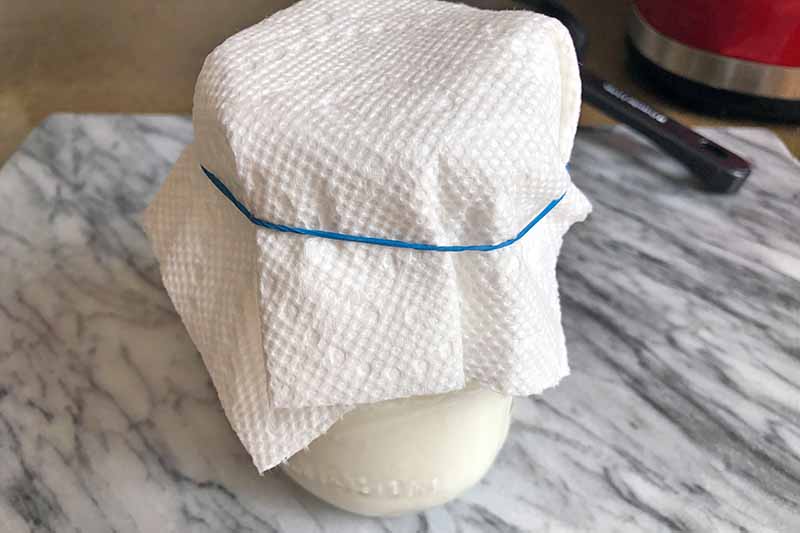
Cover the jar with a coffee filter or paper towel and secure with a rubber band.
Step 2 – Ferment
Allow the mixture to ferment by placing the jar in a warm spot (65 to 85°F) in your kitchen, away from direct sunlight.
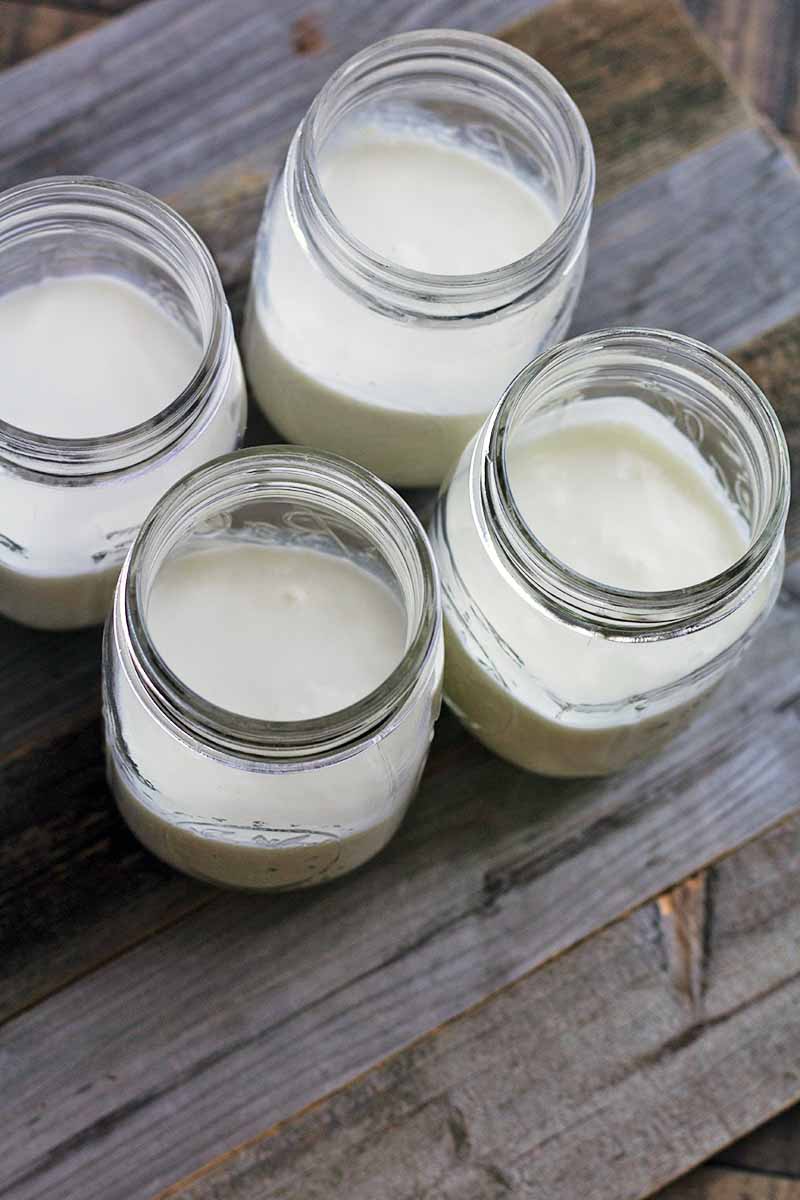
While fermentation usually takes 24 hours, you can check on the progress after 12 hours by slowly tilting the jar to see if the liquid has thickened.
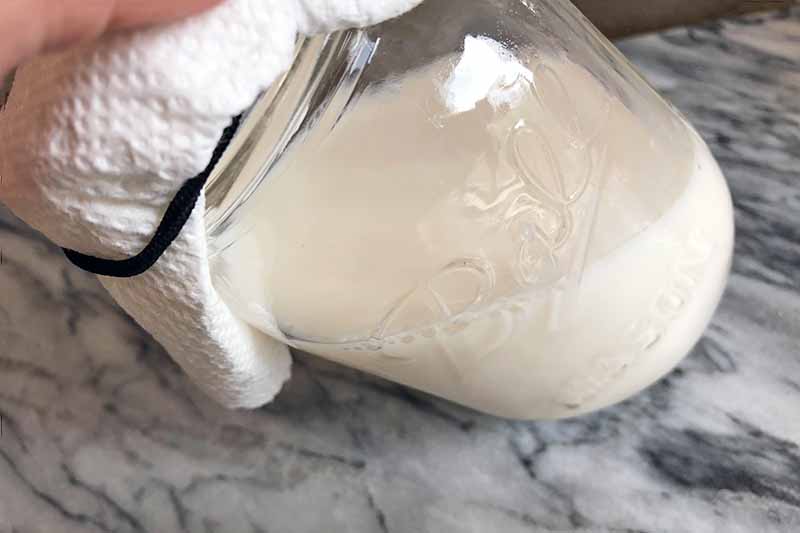
When it’s ready, the liquid will be thickened with a fermented smell.
If you notice there is a layer of yellowish colored whey at the top, it’s a sign that your mixture has over-fermented. While it’s still safe to use, the resulting drink may be stronger in flavor.
To avoid over-fermentation next time, some adjustments you may need to make include: fermenting for a shorter time, moving the jar to a slightly cooler spot in your house, or using slightly more milk so that there’s more for liquid for the bacteria to ferment.
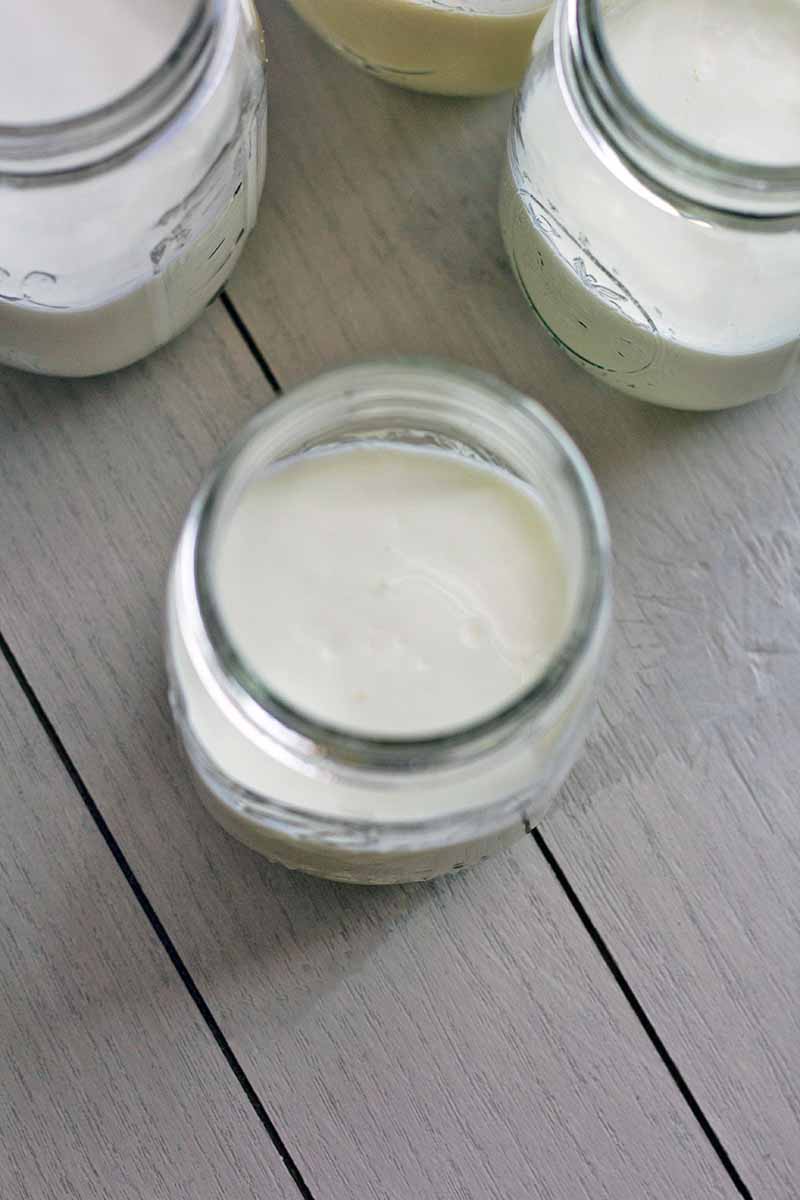
Step 3 – Strain
Place a strainer over a non-metal bowl, such as glass or ceramic.
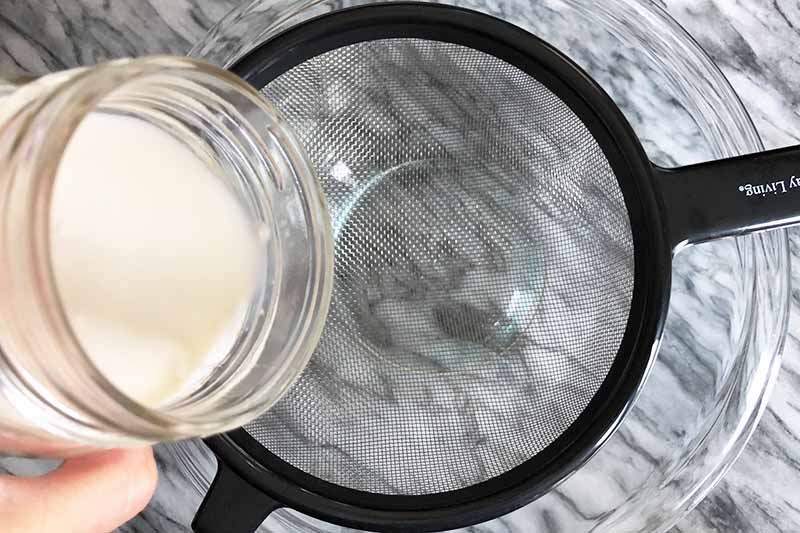
Pour the fermented milk into the strainer, and use a wooden or plastic spoon to push the thickened liquid through.

Only the grains should be left in the strainer. Reserve these to start the next batch.
Step 4 – Store
Pour the finished product into a resealable jar and store it in the fridge.
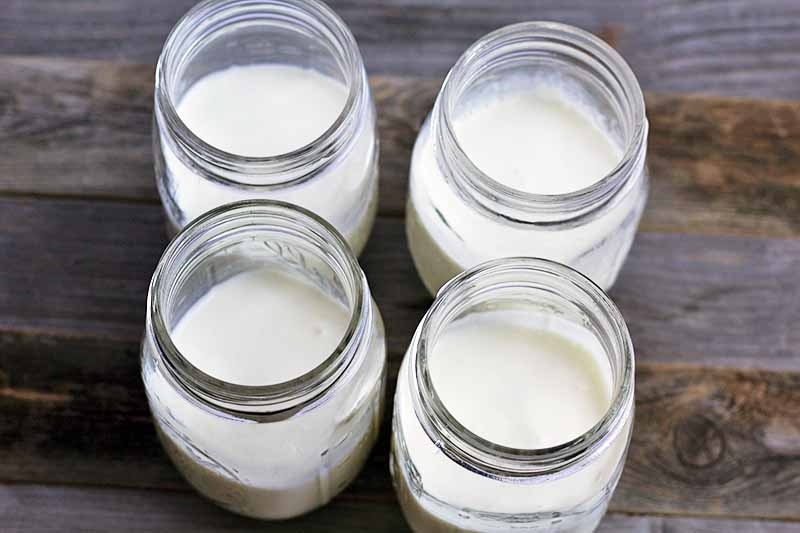
You can keep it chilled for 2-3 weeks.
Step 5 – Start Your Next Batch
Don’t throw away your starter culture! Simply rinse out the jars you used to make your last batch and start the process all over again.
How to Use Homemade Kefir
While you can drink this fermented beverage on its own, it also makes for a great buttermilk substitute in pancakes and other recipes, and is also a nutritious addition to smoothies, like in our recipe for banana chocolate kefir smoothies, or in overnight oats.
You can even make your own flavored version by blending it with fresh or frozen fruit, like in our blueberry kefir. Now that you know how to make your own at home, the flavor options are endless!
What to Do with Culture Between Batches
Culture is a living thing, meaning that it needs to be fed with fresh milk every 24 hours. This also means that you’re going to make more of this probiotic drink every day.
But what if you want to take a break between batches?
There are two main ways to store leftover activated grains that you’ve just strained from a new batch. Deciding which one to go with depends on how long you want to take a break for.
Here are your options:
1. Refrigerate Them
If you want to take a brief pause for less than a month between batches, this is the way to go.
Simply place the strained culture into a clean jar and pour enough milk in to just cover them. Cover and store in a warmer part of your fridge, such as in the door or on the top shelf towards the front. Change out the milk about every two weeks.
To reactivate, simply strain out the milk and follow the directions above as usual, but keep in mind that the colder culture may take longer to ferment.
Note: frequently moving your culture from a warm kitchen to a cold fridge can damage the culture over time. To keep it healthy, try to limit taking it out of the fridge (and then putting it back) to only once per month.
2. Freeze Them
This option will keep your culture healthy for 9-12 months.
To freeze your strained grains, rinse them with water, pat them dry with a paper towel, and place them in a jar or freezer bag. Coat the culture with dried milk powder and then place it in the freezer.
To reactivate, thaw in the fridge for 24 hours and then use as usual to make a new batch.
More Benefits of Consuming Fermented Foods
In addition to providing a source of beneficial probiotics, fermentation also makes it easier to digest foods, which in turn can improve the absorption of nutrients.
This is also why those with lactose intolerance can often tolerate yogurt or kefir: during fermentation, the lactose is broken down into simpler, easier to digest sugars.
Fermented foods are also being studied for their potential role in prevention of chronic disease and weight loss.

Looking for ways to incorporate more fermented foods into your diet? Try one of these go-to recipes:
Have you made your own probiotic-rich fermented foods at home? Tell us about your favorite tips and tricks in the comments below!
Photos by Kelli McGrane, © Ask the Experts, LLC. ALL RIGHTS RESERVED. See our TOS for more details. With additional writing and editing by Allison Sidhu.
The written contents of this article have been reviewed and verified by a registered dietitian for informational purposes only. This article should not be construed as personalized or professional medical advice. Foodal and Ask the Experts, LLC assume no liability for the use or misuse of the material presented above. Always consult with a medical professional before changing your diet, or using supplements or manufactured or natural medications.
About Kelli McGrane, MS, RD
Kelli McGrane is a Denver-based registered dietitian with a lifelong love of food. She holds undergraduate and master’s degrees in nutrition science from Boston University. As a registered dietitian, she believes in the importance of food to nourish not only your body, but your soul as well. Nutrition is very personal, and you won’t find any food rules here, other than to simply enjoy what you eat.