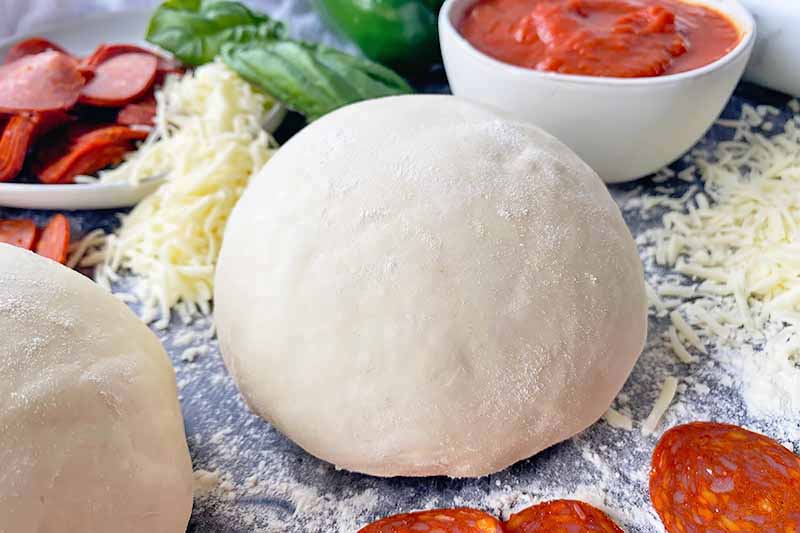
Do you make your own pizza dough? When it comes to pizza night, I have to admit, I used to be terrified to make the crust at home.
I always assumed it would be way too complicated. But I really wanted to be able to make it myself, with my own choice of ingredients.
After diving in with both feet, and after making it from scratch a few times, I have become a bit obsessed. The ability to make it in so many different ways makes this weekly tradition in our home all the more fun.
Now, the real question is, have you ever worked with spelt before?
Honestly, before this recipe my experience with the ancient grain is fairly limited.
Spelt flour actually has a lighter texture and is a bit less earthy than whole wheat, which is why I really like to work with it. Many with gluten sensitivities have also found that spelt flour is a better alternative for them than regular all-purpose flour.
Spelt is rich in nutrients like iron, copper, potassium, vitamin B6, and folic acid. It also happens to be high in protein.
This recipe is also healthy because you it’s made with milk kefir. Kefir has a long list of health benefits from bring packed with nutrients to having more healthy probiotics, which promote a healthy gut microbiome, than yogurt. As a good source of calcium and vitamin K, it is also good for bone health.
You can learn the differences and similarities between yogurt and kefir here.
The dough comes together easily in just one bowl, so you don’t have to worry about making a giant mess of dishes. That’s something I can always get behind, you know?
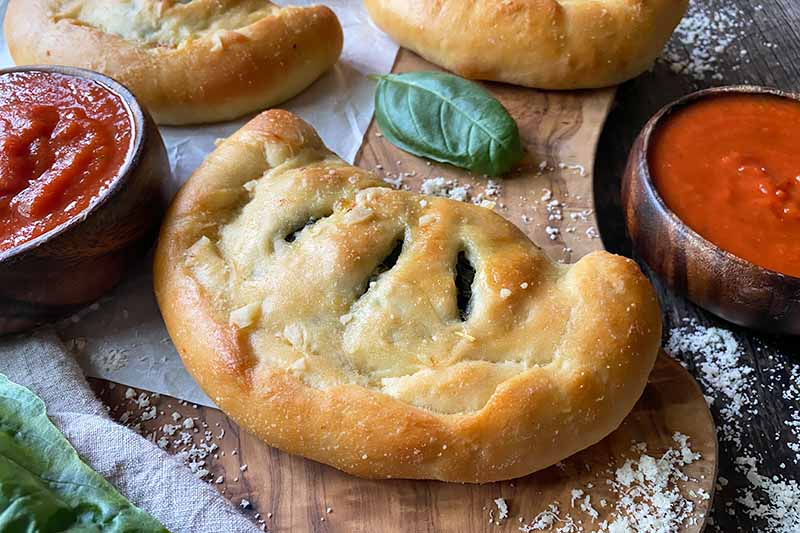
The best part about this recipe is that it really tastes like a proper pizza crust. You get all the satisfaction but with a whole grain that doesn’t alter the texture of the dough too much. It still has a bit of chew and crunch like a typical high-gluten pizza dough made with bread flour. It’s definitely worth giving a try if you haven’t worked with this type of flour yet.
This recipe has been no-fail for me, and is very similar to our einkorn pizza crust with kefir. It’s a joy to make, because you get to get in there and work with your hands. But it isn’t so overwhelming that you feel like you’re struggling with any of the steps.
I know the idea of a healthier pizza crust is not exactly the equivalent of eating a salad. But it sure is nice to know that there are some health benefits that can come with enjoying one of my most treasured meals of all time. And that’s a win-win for everyone!
Print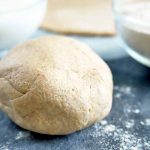
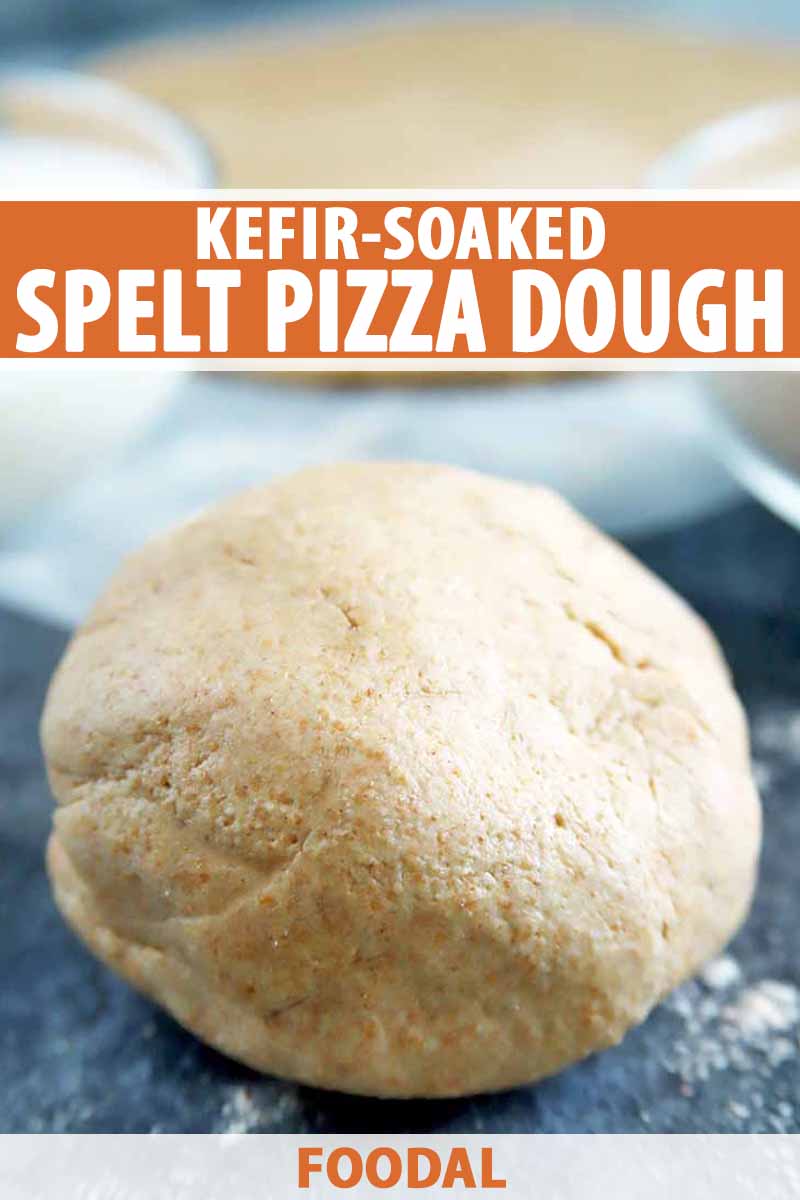
Kefir-Soaked Spelt Pizza Dough
- Total Time: 2 hours, 45 minutes
- Yield: 2 9-inch pizza crusts 1x
Description
Change up your normal routine when you make pizza at home with kefir-soaked spelt pizza dough. It’s totally worth the wait.
Ingredients
- 2 1/2 cups white spelt flour, plus up to 1/2 cup more, as needed
- 2 tablespoons olive oil, plus more for drizzling
- 2 teaspoons salt
- 1 packet active dry yeast (or 2 1/4 teaspoons)
- 1/2 cup plain milk kefir
- 1/2 cup warm water
Instructions
- In a medium bowl, stir together 2 1/2 cups spelt flour, 2 tablespoons olive oil, salt, yeast, and kefir. Add warm water, and stir until the dough starts to come together.
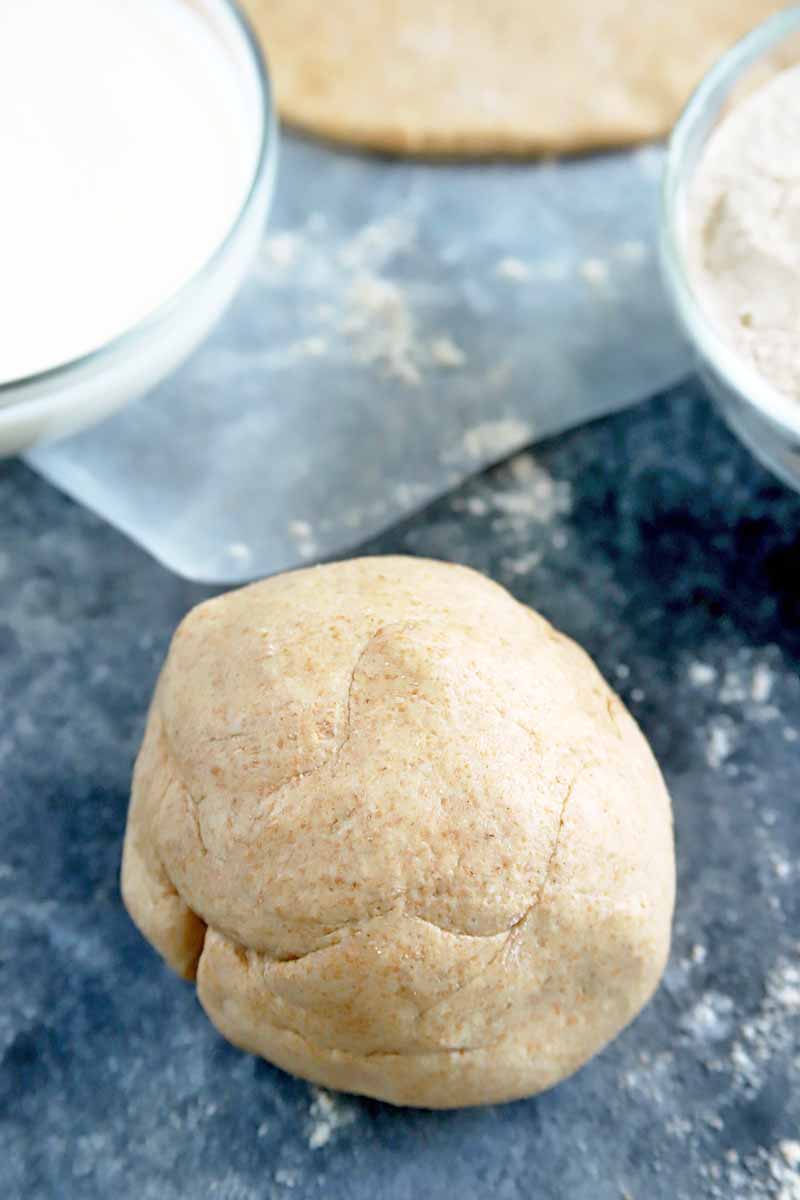
- Using your hands, knead dough in the bowl until it is smooth and no longer sticky or tacky, about 1-2 minutes. If it’s is too wet, add flour ¼ cup at a time until it comes together. Form into a ball.
- Place in a clean mixing bowl, and drizzle a little more olive oil on top. Roll the dough in oil to cover completely. Cover with plastic wrap. Leave in a warm place for 1-2 hours to rise until doubled in size. Check on the dough after 1 hour, and if it hasn’t risen enough, check every 30 minutes until it’s ready.
- Split the dough in half, wrap tightly in plastic, and store in the refrigerator until ready to use.
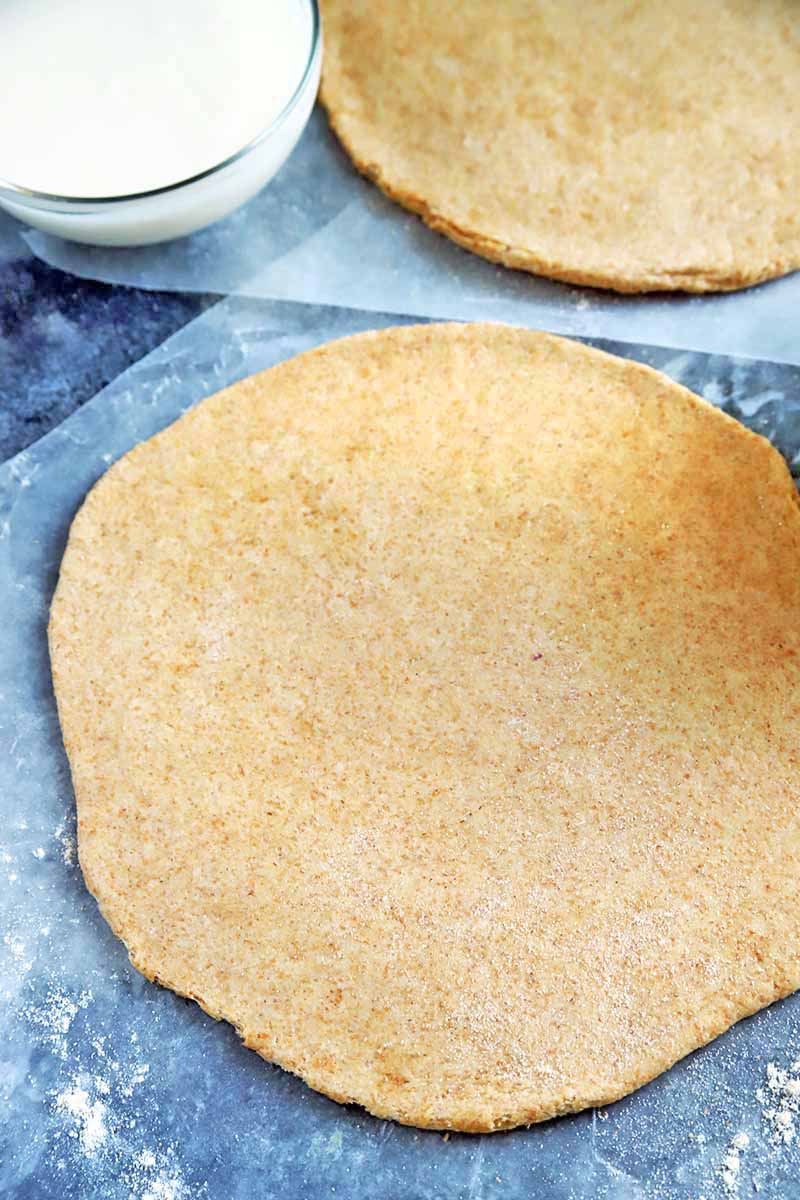
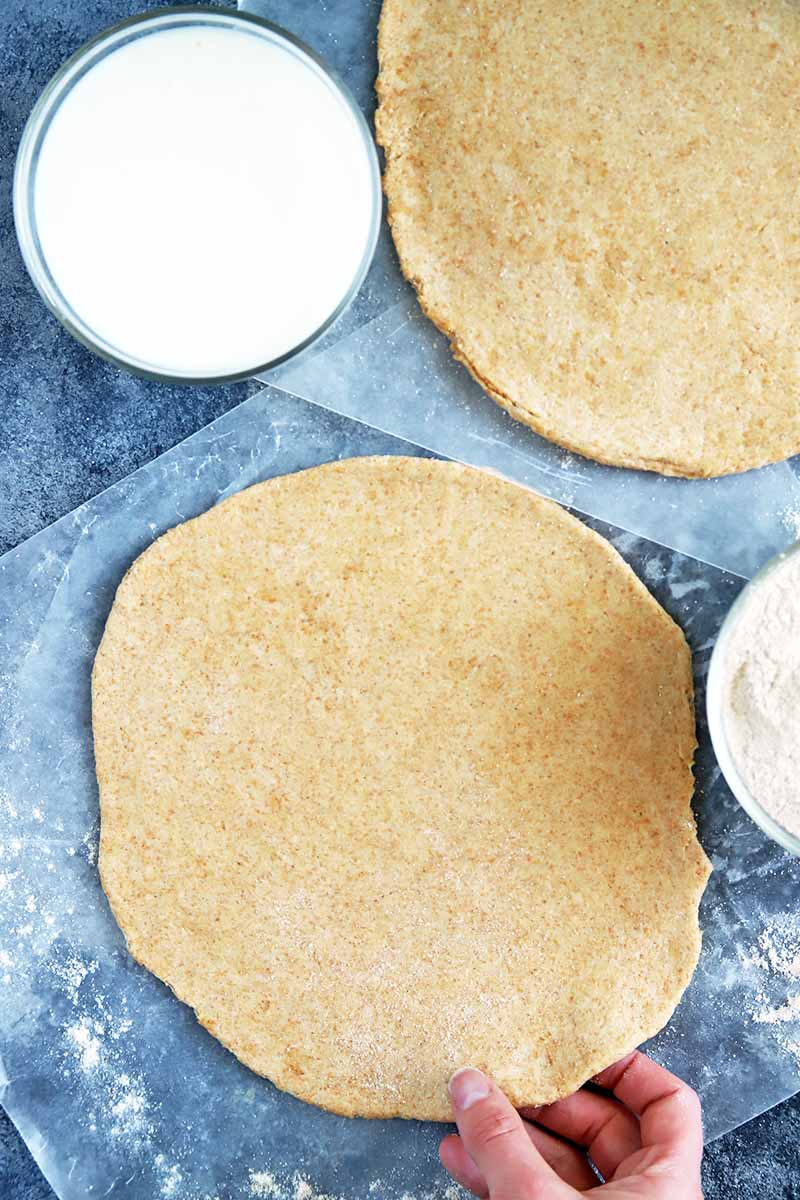
- When you’re ready to bake, stretch each piece out onto parchment paper, flouring your hands and the dough as necessary, freeforming the dough into two crusts.
- Preheat your oven to 375˚F, and place pizza stones, pizza pans or baking sheets inside to preheat. Add topics of choice, transfer dough onto the pans right on the parchment, and bake for 20-30 minutes, or until crust has puffed and turned golden at the edges, cheese has melted, etc.
- Prep Time: 15 minutes
- Cook Time: 30 minutes
- Category: Pizza
- Method: Baking
- Cuisine: Comfort Food
Keywords: pizza, spelt, kefir, spelt flour, pizza dough, pizza crust
Cooking By the Numbers…
Step 1 – Measure Out Ingredients
Measure out all ingredients as they are listed on the ingredients list.

Don’t have kefir? No problem! You can use plain yogurt for this recipe instead, you may just need to add a little water to the mixture if it’s too dry, or additional flour if it’s too wet. This is easily adjustable by adding either the water or flour in tablespoon increments if it’s too dry or too wet.
Set out all the bread tools you will need, from your favorite thermometer to a flat work board.
For the warm water, be sure that it is not hot to the touch, but warm enough to activate the yeast. The water should be no hotter than 110˚F, and no cooler than 81˚F.
Step 2 – Make Dough
Add 2 1/2 cups spelt flour, olive oil, salt, yeast, and kefir to a medium bowl.
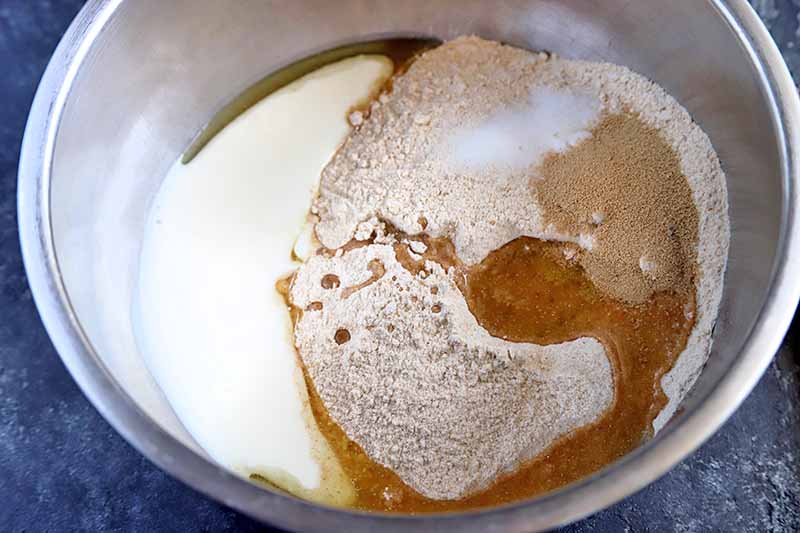
Stir in the warm water, and continue to stir until the dough starts to come together.

Use your hands at this point to knead the dough in the bowl. Stop kneading when the dough is soft, smooth, and pliable, and no longer sticky or tacky. If the dough is too wet, add flour as needed.
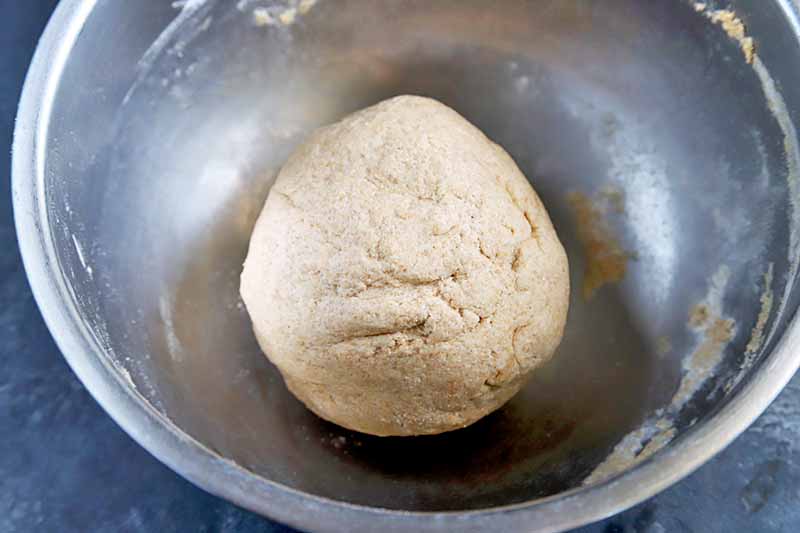
Form the mixture into a ball.
Step 3 – Let Rise
Place the ball in a bowl, and drizzle a little olive oil on top. Roll the ball of dough so it’s completely covered in the oil.
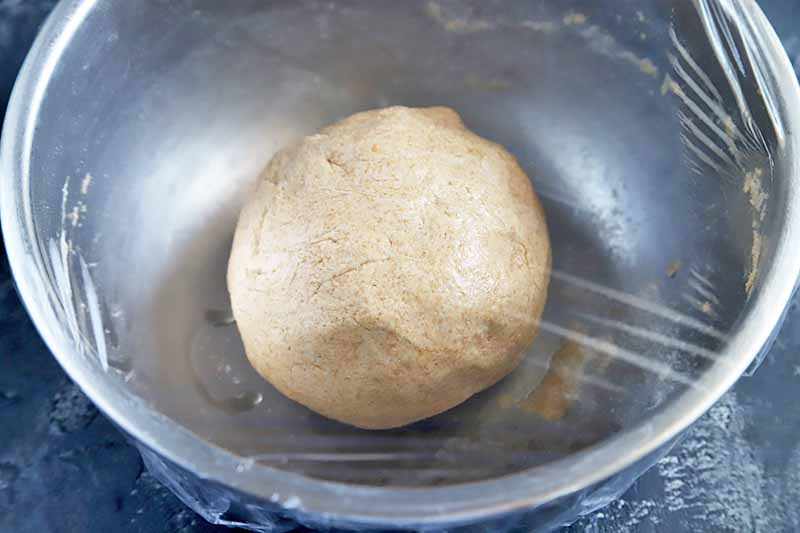
Cover the bowl with plastic wrap and leave in a warm place. Allow to rise for 1-2 hours, until doubled in size.
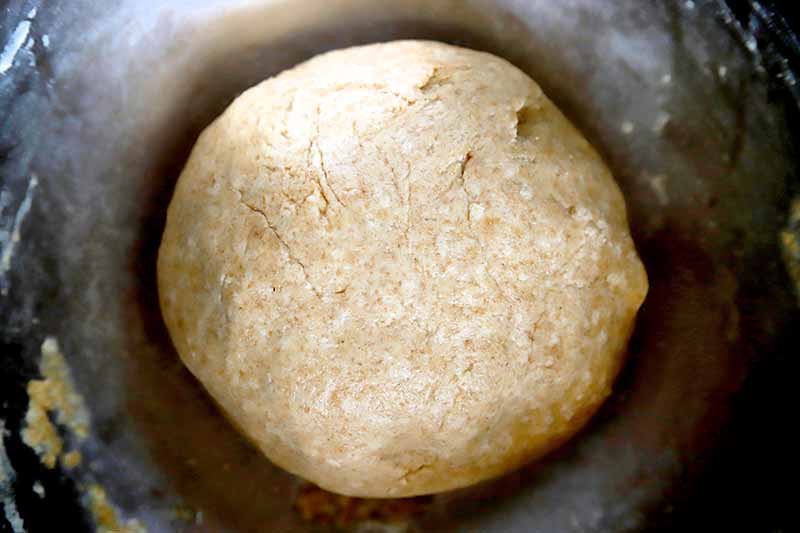
It took the full two hours for my dough to rise, but check on it after 1 hour. If the dough hasn’t risen enough, check back on it each half hour until it has.
Step 4 – Store or Form Crusts
If you like, at this point, you can refrigerate the dough until you’re ready to use it. Split it into two equal pieces, and wrap them tightly in plastic wrap before placing in the fridge.
When pizza time rolls around, stretch out each piece of dough on a piece of lightly floured parchment paper, with floured hands. Freeform the dough into two crusts, approximately 9 inches in diameter.
Toppings, Toppings, and More Toppings
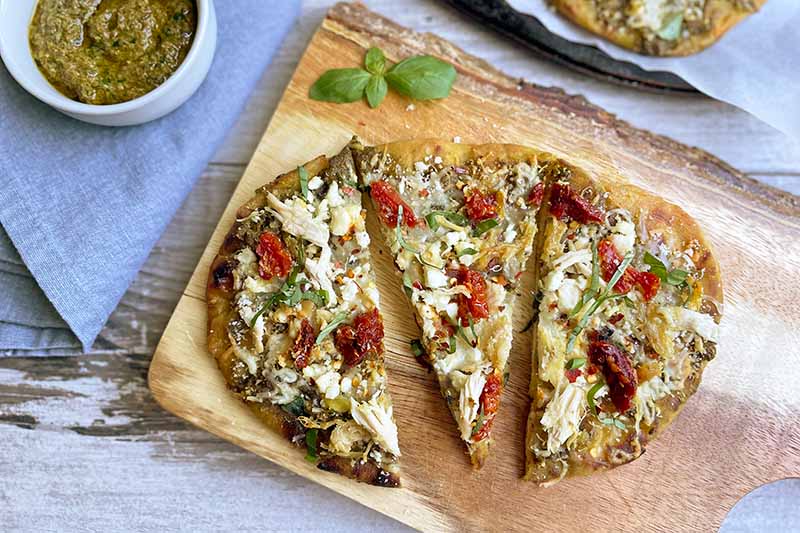
When it comes to choosing what kind of toppings to put on your spelt pizza crust, the options are endless. Since the flavor of the crust is light and a little nutty, it goes with all of your favorite toppings, as well as some that are more unique.
Consider peaches, goat cheese, and spinach in the summer, or grilled zucchini and summer squash with garlic and balsamic vinegar when your backyard veggie patch or your CSA box is overflowing with produce.
And when the weather gets cold, turn to heartier toppings, like an Alsatian white pizza with bacon, potatoes, and caramelized onion, or a mixed greens salad with a warm bacon dressing.
You can even turn this crust into a dessert pizza, by layering on your favorite fresh fruit, and sprinkling it with cinnamon and sugar instead of salt and pepper.

If you are looking for even more topping inspiration for this spelt pizza crust, check out the following Foodal favorites:
- Caramelized Onion, Mushroom, and Pesto
- Strawberry Leek
- Grilled Zucchini
- Peach, Spinach, and Goat Cheese
What are your favorite pizza toppings? Tell us in the comments below. After you try this recipe, come back to give it a rating and let other readers know how much you enjoyed it!
Photos by Meghan Yager, © Ask the Experts, LLC. ALL RIGHTS RESERVED. See our TOS for more details. Originally published by Shanna Mallon on August 24, 2012. Last updated: December 27, 2022 at 12:07 pm. With additional writing and editing by Allison Sidhu.
Nutritional information derived from a database of known generic and branded foods and ingredients and was not compiled by a registered dietitian or submitted for lab testing. It should be viewed as an approximation.
About Meghan Yager
Meghan Yager is a food addict turned food and travel writer with a love for creating uncomplicated, gourmet recipes and devouring anything the world serves up. As the author of the food and travel blog Cake 'n Knife, Meghan focuses on unique foodie experiences from around the world to right at home in your own kitchen.