Homemade Non-Dairy Coconut Yogurt
|
|
|
Ingredients
- 214oz cans full fat coconut milk
- 2teaspoons guar guar flakes
- 4tablespoons probiotic capsulesor 4 tablespoons of coconut yogurt
- 2tablespoons maple syrup
- 2tablespoons vanilla extract
Instructions
- Turn oven on to lowest setting and allow it to heat up. Once oven heats up, turn it right back off and turn on the oven light. Sterilize a glass jar that you’ll be using to store the finished product in. You’ll do this by boiling some water and placing it in the jar, allowing it to sit in the jar for about 5 minutes and then pouring it out.
- In a large bowl, add both cans of the milk and gently whisk. Next, empty probiotic capsules into the bowl (or add pre-made coconut yogurt) and gently stir together.
- Add remaining ingredients and stir again. Pour contents of the bowl into the sterile glass jar, and then place it in the oven and keep it there for the next 24 hours.
- Once jar has been in the oven for 24 hours, place it in the refrigerator for at least 6 hours.
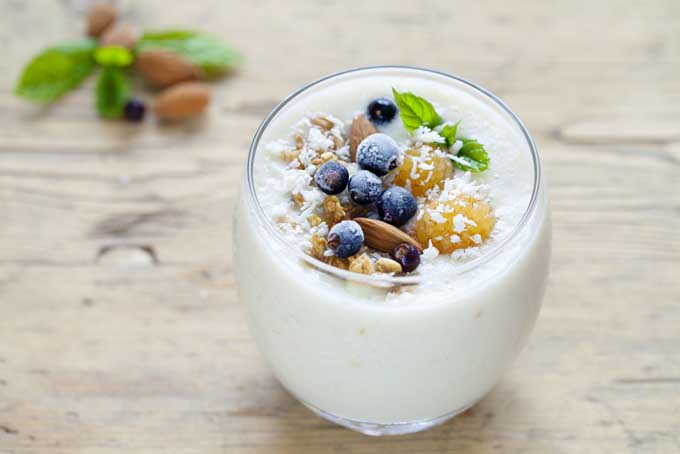
- Serve cold, and pairs well with granola and fresh fruit.
- Keep refrigerated and it will keep up to two weeks.
Recipe Notes
If you notice any pink or brown discoloration on the top, that means your product has been contaminated with bad bacteria, and you have to toss the yogurt. Do not eat if this happens.
If you want really thick coconut yogurt, refrigerate your coconut milk overnight and then in the morning (do not shake). Open and scrape off the top layer and place that in the bowl. Do not use the watery portion of the can. You can save the watery part for soups, stews or smoothies.