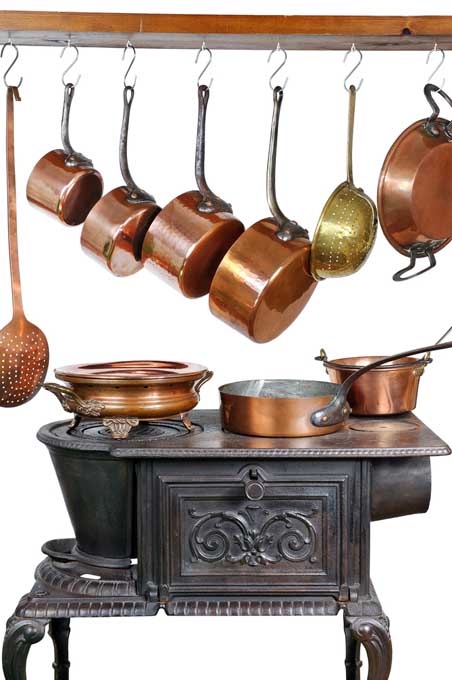
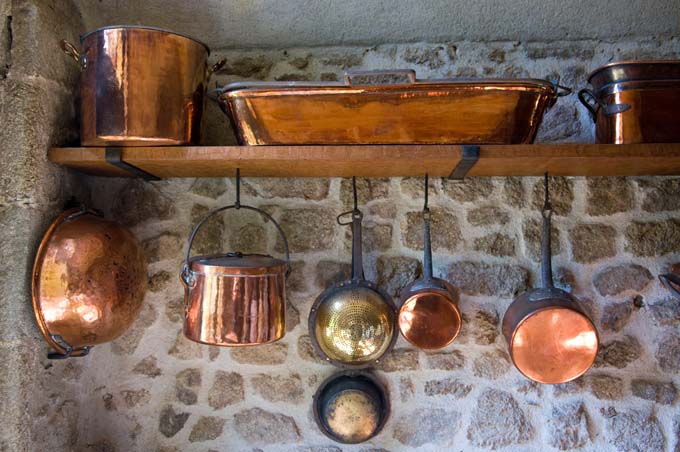
One of the first things I noticed about my in-laws’ kitchen was the large collection of copper cookware and molds prominently displayed on the walls. I have always admired the beauty of this metal, which glints like a shiny new penny.
Once I was able to purchase my own home, I started my own collection of copper cookie cutters and decorative molds.
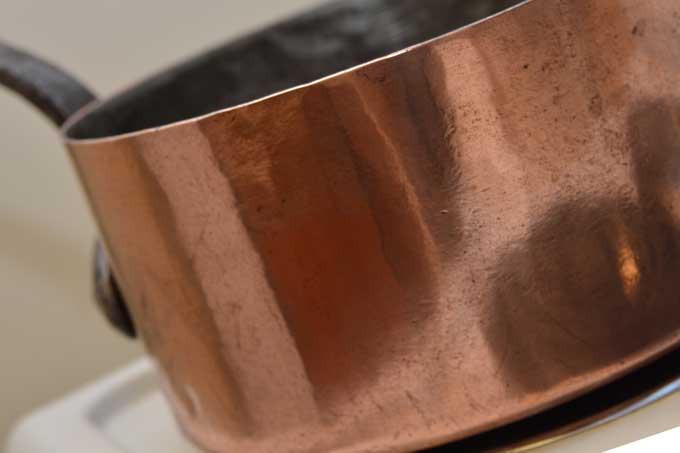
This versatile metal is used in many capacities. While the most commonly known use of copper is for cookware, it is also used for pipes, jewelry, and other decorative arts.
If you own any of these products, you know that keeping them cleaned and polished is a necessity. You must take into account that all copper is not created equally, when figuring out the best way to go about this task.
Some decorative pieces are coated with lacquer to prevent it from tarnishing. You will need to examine the piece to check for lacquer.
If the piece gets dusty without changing color, then it has a lacquered finish. Simply wash these items with warm water and mild soap making sure to dry them thoroughly with a soft cloth.
Never scour or polish lacquer-coated pieces, since it will remove the protective coating. If you need to scrub the piece to remove dirt or grime, do so very carefully.
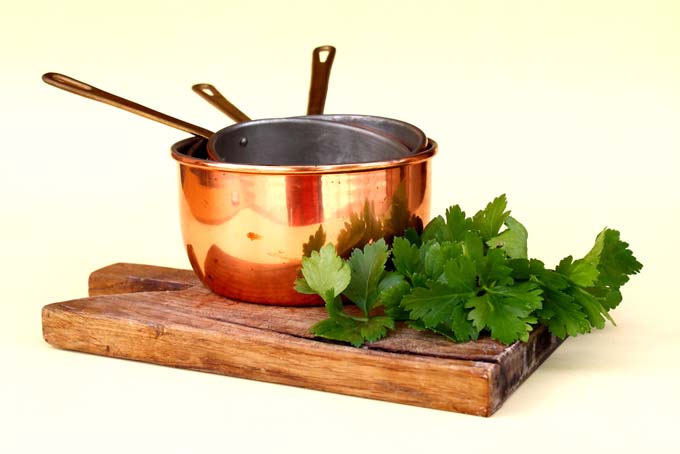
Copper without a lacquer coating (i.e. all cookware) must be treated differently. When this metal reacts with the air, it will tarnish. Over time, it will develop a dark and dull surface.
When displayed in the home, it will take on an antiqued appearance. Once exposed to water or air (after a period of time), the surface will develop a greenish-blue tinge.
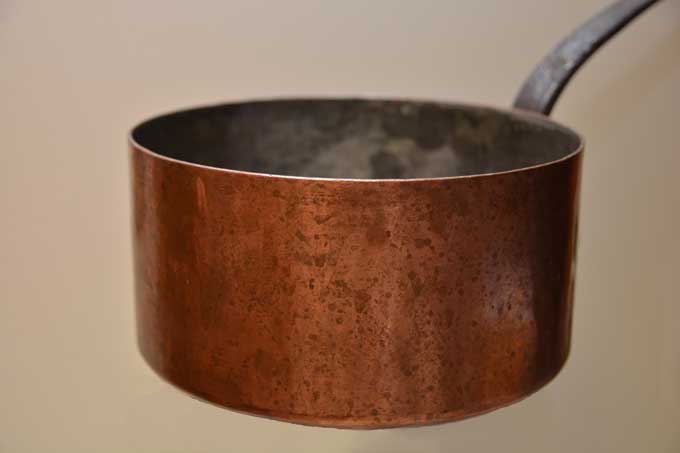
If you wish to maintain the natural shine of copper, you will need to clean and polish it every six months or so (using our recommended method). It will take some elbow grease, but it doesn’t have to be a hard task.
Recommended Method
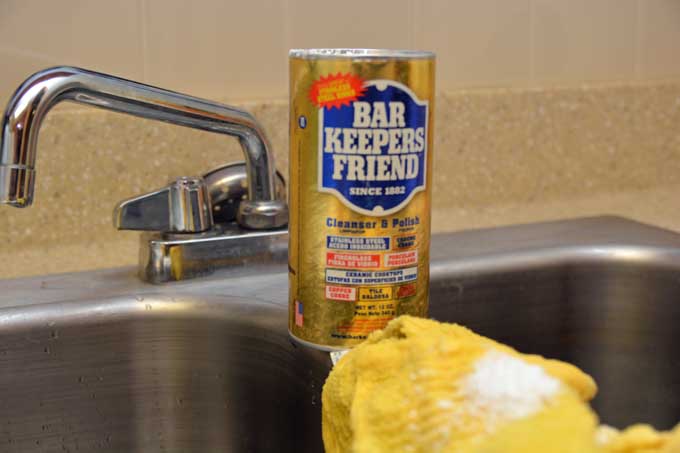
In order to remove the tarnish from your pieces, you can create your own cleaning paste from materials you have in your home. Or, you can purchase a commercially produced metal cleaner, such as Bar Keepers Friend. This non-abrasive cleanser and polish will help to restore the natural shine.
Again, do not use if the metal is lacquered.
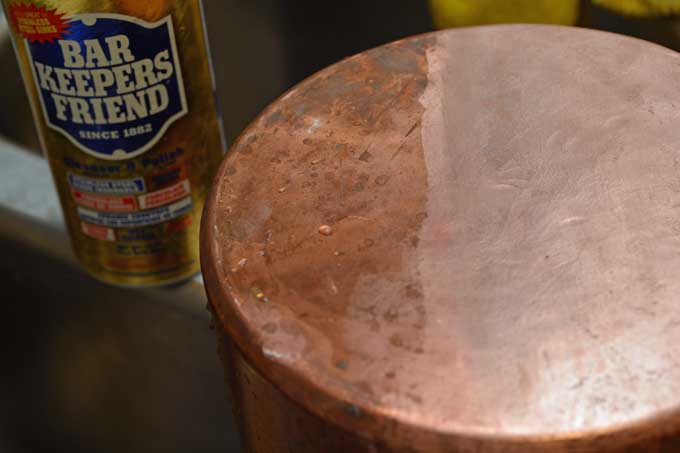
First, you will need to wash the item with warm water to remove any dust or dirt particles. Then, dry it thoroughly. Using a soft cloth, apply a small amount of Bar Keepers Friend to the tarnished areas
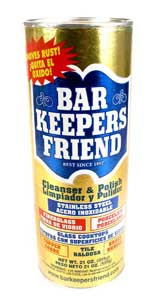
Bar Keepers Friend® Cleanser & Polish available on Amazon
Continue working the solution into the piece. Rinse the solution away, and dry the piece with a soft cloth.
After cleaning with Bar Keepers Friend, you can finish off with Flitz Polish. This is where the real magic comes in. By using the Flitz, you are creating a micro polish that allows water to bead and roll right off.
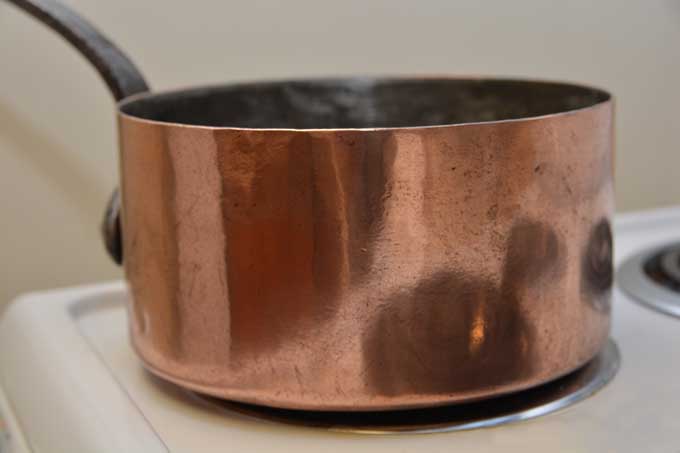
It also creates a smoother finish, which means less surface area (it reduces microscopic hills and valleys) and fewer areas for oxygen to get a toehold into, and cause tarnish (a.k.a. copper oxide).
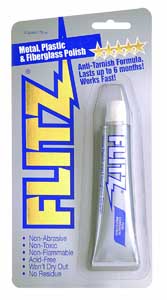
Flitz Metal, Plastic and Fiberglass Polish Paste available at Amazon
You can literally go up to six months between polishing jobs by using this stuff! Moreover, it is non-toxic and non-abrasive (unlike the old Brasso standby) making it perfect for cookware applications.
The best thing about it? It’s made in the USA.
Using it is simple. Apply just a tiny dab to a soft cloth and buff. The orginal luster will return, and a tube of the stuff will last you for years.
Other Methods
You can also make your own paste, using all-natural ingredients you probably have in your kitchen. Using these tricks will allow the polish to last a month or two before they’ll need some TLC again – vs. six months for the micro polish provided by the Flitz paste.
There are two methods for creating an all-natural cleanser:
1) The Vinegar and Salt Method
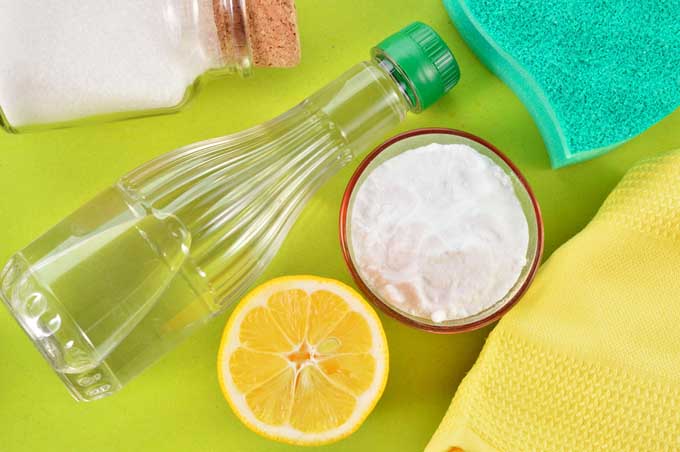
Vinegar is one of the all-purpose food items that also makes a superior metal polish and cleaning agent.
Ingredients
- Vinegar
- Salt
Directions
- Mix 1 part vinegar and 1 part salt to form a paste.
- Rub on the piece and continue rubbing until all the tarnish is removed.
- Rinse thoroughly and dry with a soft cloth.
- Buff with another clean cloth, using circular motions, until the metal glows.
2) The Lemon and Salt Method
As you probably know from our article on the various household uses of lemon, it is a superior cleaning agent. But did you know that it could also polish metal?
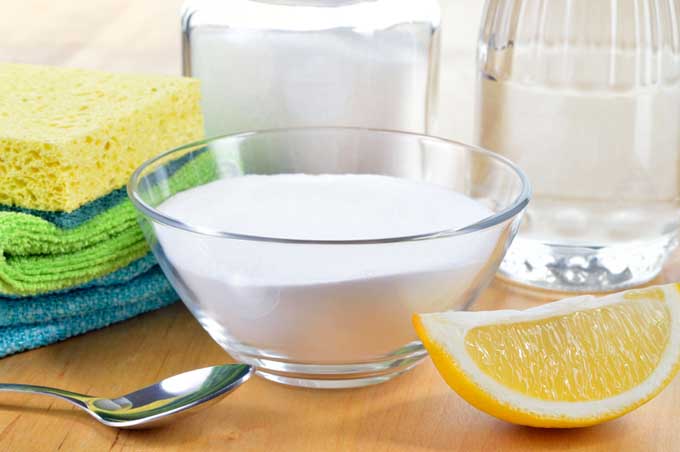
Ingredients
- Lemon
- Salt
Directions
- Squeeze the juice of 1 lemon into a bowl, and add salt to create a paste.
- Rub on the piece and continue rubbing until all the tarnish is removed.
- Rinse thoroughly and dry with a soft cloth.
- Buff with another clean cloth, using circular motions, until the metal glows.
Remember, the more you buff, the shinier the finish will be.
About Jennifer Swartvagher
Jennifer is an experienced journalist and author. Her work has been featured on TODAY Parents, The New York Times Blog, BlogHer, Scary Mommy, and scores of other parenting and cooking publications.

I had absolutely no idea that you could polish metal with lemon juice. For some reason, I thought it would be too acidic but it’s good to know that such cookware can be cleaned with a chemical-free alternative of just salt and lemon.
The lemon and salt solution is genius. I didn’t even know there were more than one type of copper, let alone that they required different cleaning methods.
Luckily, my family hasn’t owned high maintenance cookware for a long time now, everything in our kitchen is either stainless steel or a cast iron. I do have some relatives who use the really expensive cleaning pastes though, and they’d definitely appreciate the tip!
I have some copper cookware in my Kitchen and everyone is remarking them whenever I cook something. They are really beautiful and shiny.
Although I never knew how to clean them properly I kept them residue-free and they are not dirty at all. Thanks for the tips though, may try one of your ideas.
I always try to use the most natural methods to clean my pots & pans. The best cookware seems to be the most difficult to effectively clean & take care of. Maybe science can start working on curing THAT one. I’ll likely opt for salt, vinegar, & lemon.
I had heard of lemon and salt to clean copper cookware before, but I hadn’t heard of using vinegar and salt. I think that it would be easier to use since you can make a larger batch of the paste more quickly than having to squeeze the lemons. Thanks for this great tip. I’m definitely going to give it a try.
Nice tips. I clean my copper cookware regularly with acidic substances like vinegar and lemon juice as well. I bought the stuff that isn’t coated with a special layer so they need a lot of attention. otherwise, they’re great.
My mother just gave up on copper cookware after she had multiple problems with cleaning and such. She did try acidic substances like lemon juice but it didn’t work out. Maybe the quality was cheap, or the layers rubbed out…
I’ve used Coke Cola to clean my copper pans before, and now there’s an entire gaping silver spot in the middle of my pan. ;_;
I’ve had the vague idea of using Vinegar and Lemon to clean my pots for a while,, it’s just that they’re lacquered, so now I have a little copper paper weight. I really need to read the post all the way though before doing it, besides, it would give me more time to read your great writing.
My mother’s handyman swears by Barkeepers Friend. He uses it to rub down just about anything. My mother gave me the copper skillets she’s had since I was born…that is a lonnnnng long time ago, and I’ve had them stored not knowing what to do with them. I’ll try Barkeepers. Has anyone ever heard of having their pans dipped?
This is very informative, and this article probably just saved me from throwing out a ton of my pans. I have an entire cabinet full of very old copper pans, from before I was even born. No one ever really “took care” of them, and I have never knew how to either. I used the vinegar and salt and it’s already almost gone. I need to do it once more though.
Is there any downside to leaving cooper cookware unpolished, other than the appearance?
Add baking soda to vinegar and salt
You really shouldn’t, it will only neutralize the vinegar. The bubbles will look nice but it won’t be of any use.