If you’ve been to a fancy restaurant, or even looked around at your local farmers market, you’ve probably seen sprouts.
They’re usually used on salads and work especially well incorporated with the vegetable mixtures created by a spiralizer.
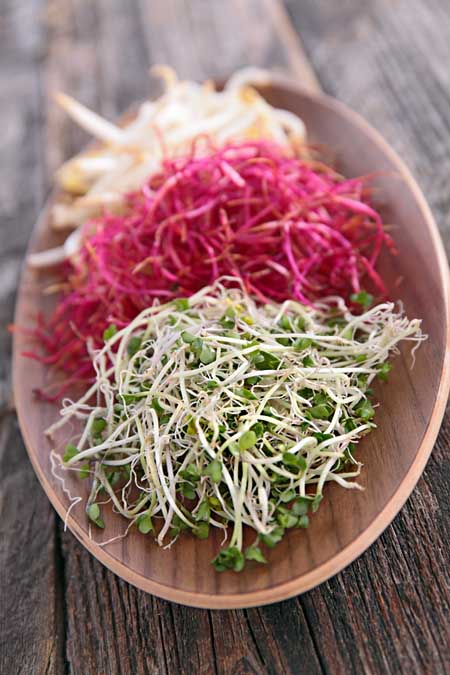
You can also use them in various types of Asian inspired cuisine, sandwiches or in an authentic and tasty stir fry to give the dish a little garnish, or as I like to put it – “fancy it up a bit!”
If you’re curious about growing these yourself, you’ve landed on the right article.
In this piece, I’m going to walk you through the whole process, and share some of the benefits so you can do it at home. It’s an affordable and easy way to kick up the nutrition levels in your diet.
What is Sprouting?
It’s simply the process of taking seeds, grains or legumes, soaking them in water overnight, then rinsing and draining them.
You sprout them for 2-4 days, and then give them another day or so in the sunlight to grow!
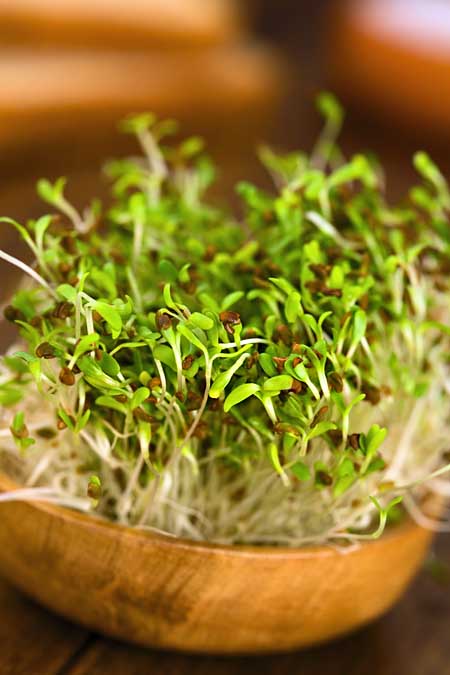
It’s a pretty straightforward process, however, the number of days before you can harvest will fluctuate a little depending on what seed varieties you choose.
What Can Be Soaked and Sprouted?
Below are a few options. There are many other options besides these, but the ones listed here are some of the most popular:
- Nuts: Almonds, Cashews, Brazil Nuts, Hazelnuts
- Seeds: Sunflower Seeds, Flax Seeds, Sesame Seeds
- Grains: Amaranth, Oat Groats, Quinoa, Millet, Kamut, Wheat Berries
- Legumes: Adzuki Beans, Chickpeas, Lentils, Mung Beans
What Are the Benefits?
So you might be asking yourself, “why I would want to sprout?”
There are actually a host of reasons.
One of the biggest benefits is that you are able to remove natural agents that protect the seeds from growing too soon, or getting eaten in the wild – which can be very hard on your digestive system.
When you remove the growth inhibitors, you activate the seeds, allowing the release of vitamins and the production of enzymes.
If you’re looking for foods that are more easily digestible, or ones that produce greater quantities of nutrients, then you should definitely start to soak and/or sprout your nuts, seeds, grains and legumes before consuming them.
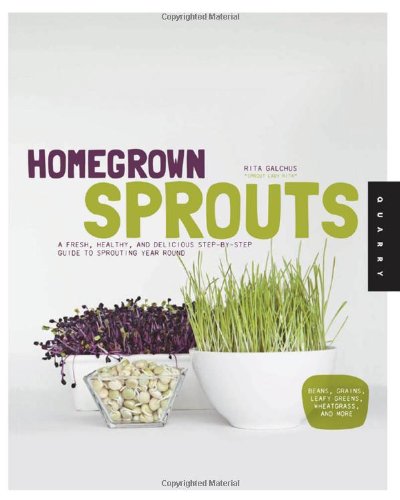
Foodal recommends Homegrown Sprouts: A Fresh, Healthy, and Delicious Step-by-Step Guide to Sprouting Year Round
Also, you can cultivate these indoors – no soil needed, and really no mess! They can be grown any time of year, and you’ll save a lot of money when you stop buying those small, overpriced containers at the grocery store.
What Equipment is Needed?
Seeds
As you can imagine, the seeds are pretty important in this process. I really like buying them from The Sprout House as this company only uses organic and non-GMO seed.
These greens contain a lot more nutrients than if you were to eat the whole vegetable, making the quality very important.
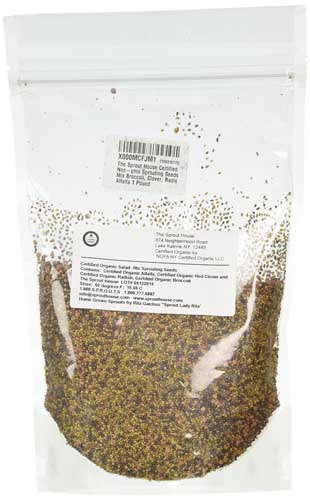
The Sprout House Certified Organic Non-gmo Salad Mix Broccoli, Clover, Radish, Alfalfa
If you buy a cheaper brand, you may also notice that they have a lower germination rate, whereas these are very successful at producing.
Also, if you choose something like the product pictured above, you get a huge amount and a nice mixed variety for salads, soups and sandwiches.
Sprouting Trays
When it comes to germinating the seeds and growing them properly, you’ll need some kind of container to help you do that. Below are some of the most popular tools and ones I’ve used in the past.
Victorio VKP1014 4-Tray
This product makes the entire process very easy. It’s a 4-tray system, but you can buy more trays and make it into a 5, 6, 7 or even an 8-tray system (but you have to be pretty serious about eating these if you go for 8 trays!).
Victorio VKP1014 4-Tray Kitchen Seed Sprouter
The base is for catching the water and the 3 trays are for growing.
Simply place 1-2 Tbsp. of seeds on each tray and then pour 2 cups of water in from the top.
This container comes with a 2-year warranty, is made in the USA, and doesn’t take up much space.
It’s also surprisingly affordable when you consider everything you receive.
Another option is a simple glass jar with a lid.
I highly recommend the one-quart glass version shown below:
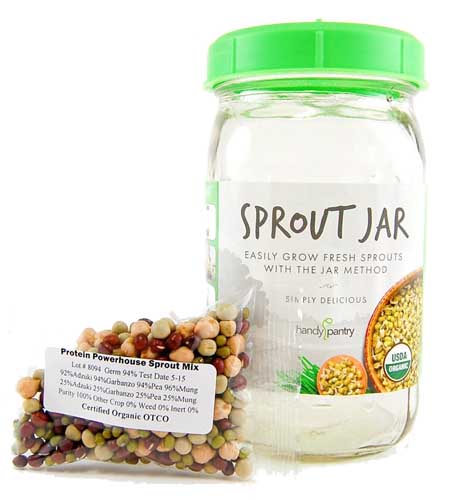
One Quart Glass Sprouter Jar w/ Strainer Lid available from Amazon
It’s also surprisingly affordable.
This has to be the most common way to get started. You just soak your seeds in the jar, then drain them and set the container on its side.
Expect to see them fully developed in 2-5 days.
What I really like about this product is the lid – it’s breathable, but also functional due to the strainer on top. You can easily rinse and drain without having to take the lid off, which ends up being very convenient and saves a little time.
I have had really great results with these jars and highly recommend them.
Sprouting Bag
Another option is to use a bag instead of a jar. I didn’t learn about this option until recently, but it’s very effective and exceptionally easy.
The Sproutman – Hemp Bag is one of the most popular as it’s so straightforward to use.
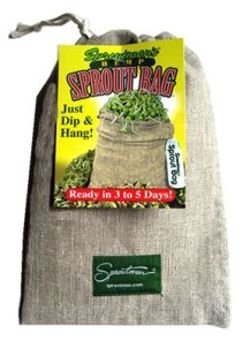
Simply place seeds in the bag, dip the entire thing in a large bowl or sink of water, and then hang up. Continue to dip in water to “rinse” 2-3 times every day.
The great thing about this product is it produces a large amount of greens with minimal effort and, I have to say, it looks pretty good once you have a nice green layer coming out of the top!
The bag is very well made and I can see it lasting a very long time; it’s made with all-natural hemp with no dye, and is resistant to mildew and mold. Check it out on Amazon today.
What Does the Process Entail?
Step #1 – Soaking
First, you’ll want to place whatever variety of seeds you’re trying to cultivate in your sprouting jar, mason jar, or even a glass bowl, and add (at least) 2 times as much water as seeds.
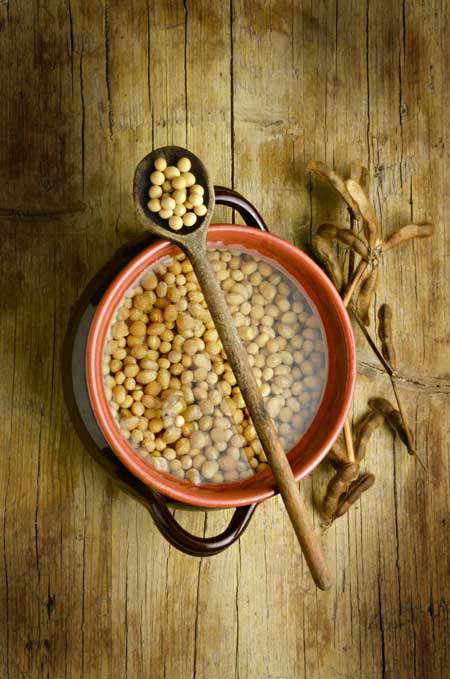
For example, if you’re growing clover, add about 1-3 Tbsp. of seeds to 2-4 cups of water.
Then, cover the container with cheesecloth or the lid of your jar. You’re covering the seeds so nothing gets into them, but you still want air to be able to move through them. Soak for 8-12 hours.
Step #2 – Drain & Rinse
Next, you want to drain the water and rinse the seeds. Repeat this process twice. You will then place the jar at an angle, tilted down, in a dark spot that’s also room temperature (not too hot or cold).
You want the jar to be set on its side so all the remaining water can drain out, as you don’t want to give the seedlings any opportunity to mold.
If you use the sprouting bag, you’ll simply dip and drain. I like to hang mine over the sink. You will continue this for 2-4 days, rinsing twice a day – or if it’s really hot, 4 times a day.
Step #3 – Sunshine
On the last day, if your seedlings appear fairly robust, put them out in the light for 1 more day. This will help them to get green, and get all of that nutrient-rich chlorophyll from the sunshine.
Step #4 – Storage
You’ll want to store your harvest in the refrigerator, in a bag or glass container. They will keep for 2-4 days.
Step #5 – Using Your Sprouts
Like I mentioned before, they are great on top of leafy green salads, sandwiches, gourmet burgers, or even tacos and wraps.
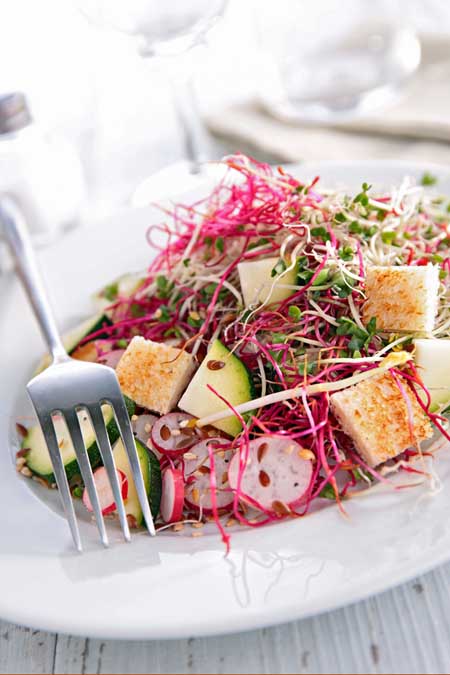
Depending on the variety, you can also add them to most savory dishes.
About Sarah Hagstrom
Sarah is a health food advocate and loves to spend her time whipping up something healthy and delicious in the kitchen and then sharing either on Foodal or on her own blog "The Seasonal Diet" (www.theseasonaldiet.com). She lives in Sunny San Diego with her husband, where they enjoy running on the beach and weekend adventures.


Oh yes we are into sprouts here. Just eating them though. This is great to learn all of this about it. It’s like I know it’s good for you but why is a whole other thing. I get mine from a whole food store.
Vitamins and minerals are good reasons to consume more of these. They help to grow strong bones and they help with a number of health issues and cleanses the blood.
Wheat grass is another really good one that I didn’t see covered; huge amount of benefits and really clears out the digestive tract.
All them are extremely digestible as well. There’s just a whole slew of other nutritional benefits.
Whenever I go and order from a Chinese restaurant, there is usually some sprouts in the stir fry rice. I like how it adds a crunchy texture to the rice. I didn’t know that people were using bags to help grow their their own. I’m just so used to hearing people say they use some type of jar. There is so much nutritional benefits from eating these little things.
I’m so glad I stumbled upon this article, I’ve been wanting to get into this at home and actually use them in my recipes, but I had some questions that this post addressed. Looks like it’s actually easier than I thought it would be. One thing I like about sprouts is that the flavor is so mild and delicate that I can just eat them by the handful.
My mother was always crazy about sprouts. Personally, I didn’t get it, but it was one of her passions, and she would always try to figure out how to put them into our meals. It didn’t always work, unfortunately, but it’s the thought that counts, I suppose. Perhaps I’ll surprise her and put some of my own homegrown ones into the food the next time she comes around.
I have seen these products before in salads, but I never considered how they were grown. I also had never before heard of this process. I have yet to see trays such as these, but I’m sure I could purchase them on Amazon. Thank you for this helpful article! I’ll be sure to tell my roommate about this; she is a vegetarian and could potentially use this technique to supplement her foods.
We grows sprouts in a jar too sometimes. I like them on sandwiches and on stir-frys or noodle dishes. Aside from that and salads, I need to branch out how I use them and then I would have a reason to grow more. I bet they’d be good in green smoothies!
I must say, I have not had good luck trying sprouts. Maybe because they were the store-bought kind, or the person who grew them didn’t grow them properly, but they didn’t “tickle my tastebuds” and make me eager to try them again.
However, I’m more than willing to try this easy way to see if I can find a way to make them tasty! Also, I like that I could grow beans and nuts at home and save TONS of money! The hemp bag really seems like a great idea, and it takes a lot of the guesswork out of doing this. I think I’m going to invest in one of those in the near future. Thanks for the heads up!
Vietnamese Pho contains tons of bean sprouts in most cases, and they really add to the flavor of the broth. I don’t actively grow them myself, but I’ll eat them until they’re all gone at restaurants and at friends’ houses! It’s a nice way to switch things up and add something interesting to a dish. It can add a lot of flavor, or it can be mostly a visual thing. Speaking of, I need some Pho now!
I’m such a huge sprouts fan. When I couldn’t eat them during my pregnancy, it was harder to cut out sprouts than it was caffeine or alcohol. But it never occurred to me to grow them myself.
I might just have to try this. I’m the only one in my house who really eats them, so when I buy them they often go bad before I can finish them, which sucks. But if I’m growing them myself, it’ll be easier to eat them fresh and frequently. Yum!
Hi Fuzzle – I was wondering why you stopped eating sprouts during your pregnancy? Was it something to do with the enzymes they release? I’ve never heard of having to cut sprouts out before so I’m very curious! I’m glad you can eat them with abandon now again though. 🙂
I grew up with my family sprouting bean sprouts in a jar with a meshed lid. Until recently, I didn’t know that you could sprout so many other grains! Thanks for the information in this post. I’ve wanted to try sprouting since I read in the Nourishing Traditions cookbook how much better they are for you and for your digestive system.
Nuts are one of the most nutritious foods on the planet for humans. The amount of protein in a nut is so much more than what is found in fruits, some meats, vegetables, etc. Many common nuts are made with a twist, e.g. peanuts-peanut butter. Not all of the concoctions are as healthy as the original product. Harmful ingredients to enhance the flavor and texture are added to some, like, jelly, peanut butter, and even juices. Lots of sugar is added to jellies, and juices which can make them less appealing, as well as less healthy. Be careful what you chose to eat.
Great article for healthy food. These are so good for the body.
I never thought sprouting can be this simple and easy! I often see sprouts in savory dishes and it never occurred to me that you can actually grow your own sprouts at a really low cost. With these steps, I can now grow my sprouts and use them in my dishes as often as I like. Thanks for sharing!
This article has really been useful. I feared using seeds and nuts in cooking because i feared they might alter the taste of food. Now i know i was wrong. Will try it out soon.
Not only have I noticed the sprouts at my local market, but I often buy an eat them! The thought of growing my own at home, seems a little daunting, but this article gives me confidence that it is something I can do. I am sold! Especially since you pointed out the health benefits. Thanks for the article!
This is the year that I’ve decided to grow sprouts at home. My problem has been deciding on which growing method/device I want to use. The mason jar method seems the most affordable for me since I already have so many jars around the house. However, I really like the 4 tier growing system because of the overall amount of sprouts it can produce for my family size, and I never knew that sprouts could be grown in a bag. The bag method seems cute, but it seems a bit messy when you hang the bag to let drip, I know you’ll let it drip in the sink or a bowl, but all I can think about is water splatter, and then more clean up for me. I could be wrong about the bag, but that’s just my opinion after reading this review.
I have never attempted sprouting myself, but it looks like I am going to! It sounds pretty easy and the health benefits are plenty, so I might give this go. Sprouts are great in salads and Asian dishes and they remind me of summer. I never knew you could sprout nuts!
This is so wonderful! Thank you thank you! I have been wanting to sprout, I know how incredibly healthy it is. But the information out there is a bit overwhelming. Thank you for putting it all together here. Now I have a great idea of where and how to begin. It’ll be such a great project for my son as well. Maybe I will even be able to get him to eat some. Worth a try at least!
Those sprouts look delicious. I’ve always wondered which types of seeds are the best for this sort of thing and now I know. Thank you very much. I like home grown items as you know exactly what goes into them and we are all healthier without all of the insecticides and artificial glop that get put into commercially grown crops.
My mom being a kindergarten teacher in a waldorf school she always telling me how they eat sprouts in the kindergarten. I love imagining raising up kids eating fresh things and sprouts and working the healthy lifestyle into their diet.
PB&J? Rye bread and sprouts!