Are you looking for an easy method to reduce your food waste? What about one that can also help the environment, and that will even enrich the soil for your garden plants?
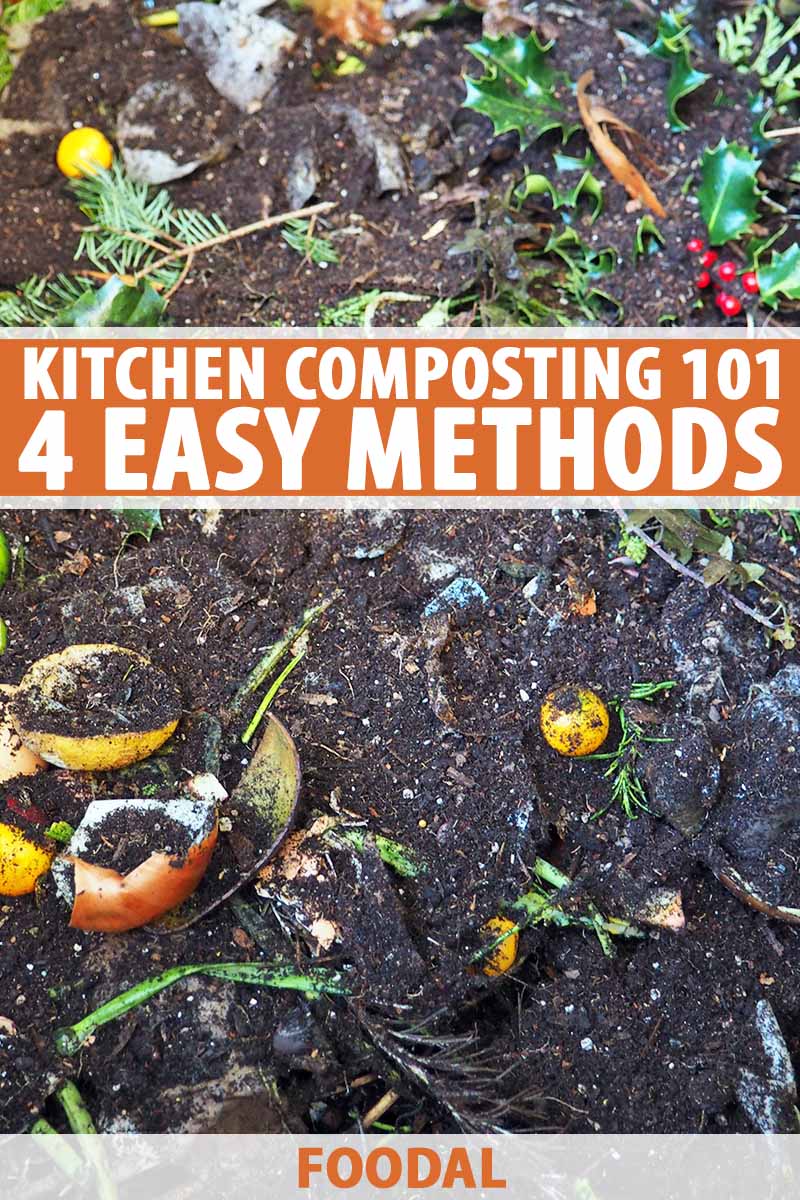
Reusing your food scraps to make kitchen compost is an elegant, simple solution that has several positive benefits. It helps in the reduction of greenhouse gases, supports the greening of your community, and your plants will go nuts for its rich nutrients!
Sound intriguing? Let’s jump in for a closer look at how to transform your waste products into environmental gold.
How to Get Started with Kitchen Composting
Why Repurpose Food Scraps?
There are two compelling reasons to repurpose food scraps:
The first is that our ever-growing amounts of food waste have a hugely detrimental impact on our environment.
As massive amounts of food rot in landfills, this releases powerful greenhouse gases into the atmosphere – like methane, which is a major contributor to global warming.
The second reason is that food waste is an important component of compost, an organic material that helps to renew and rejuvenate depleted soils.
Recycling food scraps for the home garden has been practiced for millennia. But with city dwelling, this hasn’t always been an option.
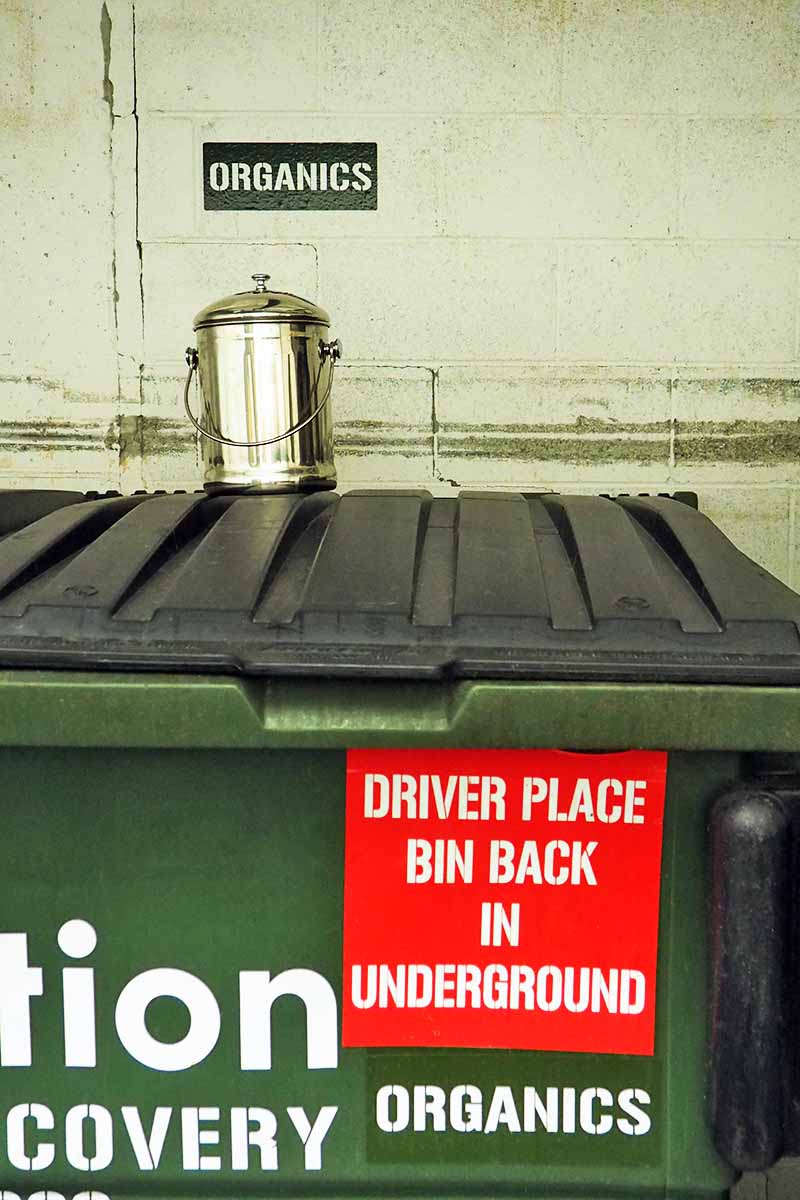
However, in today’s world, even if you don’t have your own garden bin, many municipalities offer pickup services in residential areas, and bins for organic waste are now found in many multi-family buildings.
Once it’s processed, it can be used by families, community gardens, environmental groups, horticultural schools, and local governments to beautify our towns and cities.
So, it’s an easy way for us as individuals to reduce waste and have a positive environmental impact in our communities. And if you do have a garden or plant a few containers, compost adds tilth to your soil as well as healthy, natural nutrients.
How It Works
Compost is comprised of decomposed organic materials.
Rich in nutrients and beneficial as a fertilizer, soil conditioner, and natural pesticide, it also provides important humus for the soil.
Humus is the primary organic component that makes up soil, peat, and coal – not to be confused with hummus, the tasty chickpea dip!
In the compost cycle, a wide variety of natural materials, usually considered to be waste products, are layered. Over time, moisture and heat break down these materials, turning them into rich, black soil – a valuable commodity revered by the home gardener, landscaper, horticulturist, and organic farmer.
There are two primary methods of composting, known as hot and cold.
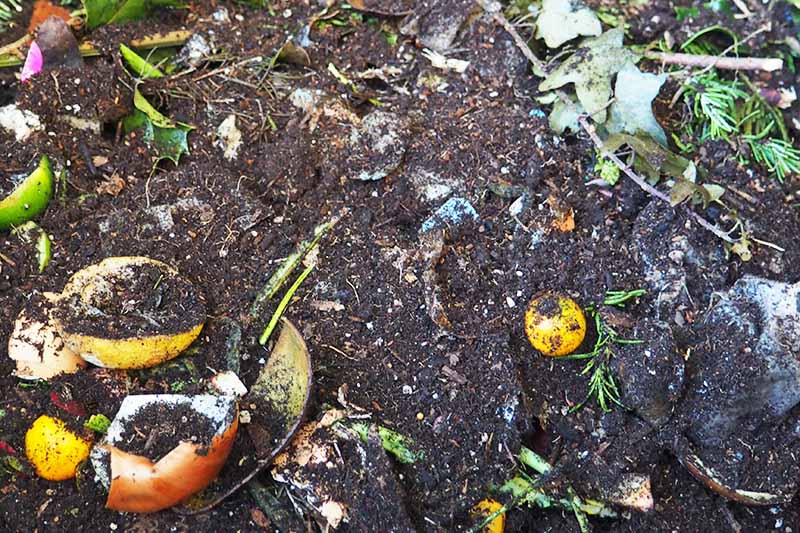
The hot method is the quickest to produce humus, in several weeks or a few months. This is due to the consistent, high temperatures achieved by mixing high-nitrogen materials with high-carbon ones.
However, this method also requires monitoring internal temperatures, regular turning, and adequate space to achieve the ideal conditions.
The much easier, but slower, cold method utilizes both brown and green waste products layered onto a pile as they’re available. This produces little internal heat, with material breakdown occurring more slowly over a period of 6-12 months.
If you’d like to learn more about this process, check out this article on composting basics on our sister site, Gardener’s Path.
If your region doesn’t have organics recycling, look for drop-off bins at local community gardens and farmers markets, or with service groups. Some, like community gardens, may even offer a swap program, trading aged humus for your fresh kitchen waste.
The Four Kitchen Methods
1. Blend It Up
To help speed up the decomposition of food scraps, an easy trick is to use your blender.
A blender breaks down waste material into a slurry, which can then be added to a larger garden bin or outdoor tumbler for a quicker rate of decay.
If you don’t have a permanent outdoor bin system, a compost tumbler makes a great alternative. Compact sizes are a handy option for small spaces like condo balconies.
To save your blender blades, avoid blending anything that might cause damage, like avocado or mango pits.
2. Countertop Pails
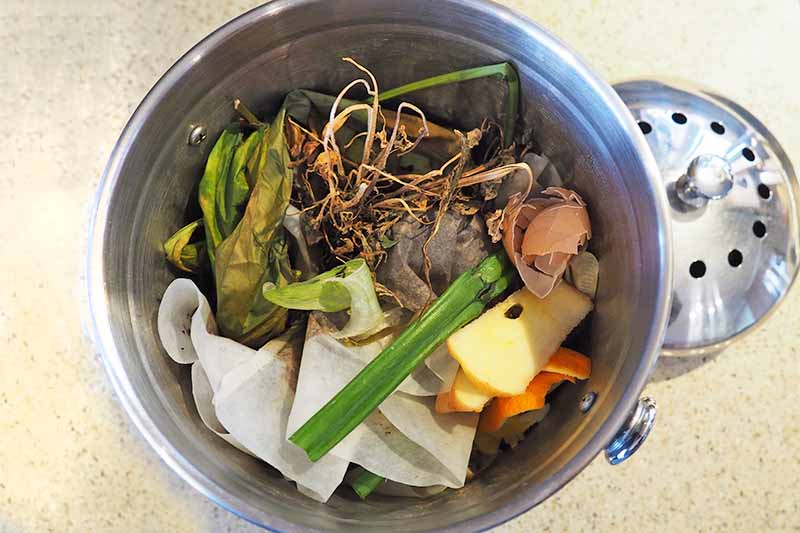
The easiest method for collecting kitchen scraps is with a countertop container.
Just find a pail with a tight-fitting lid that will fit on your countertop, then add your everyday food scraps.
Empty these regularly into a larger outdoor bin or tumbler if you want to use the humus yourself. Or put your collected scraps out for organics waste collection in your neighborhood.
If emptied daily, odors shouldn’t be an issue.
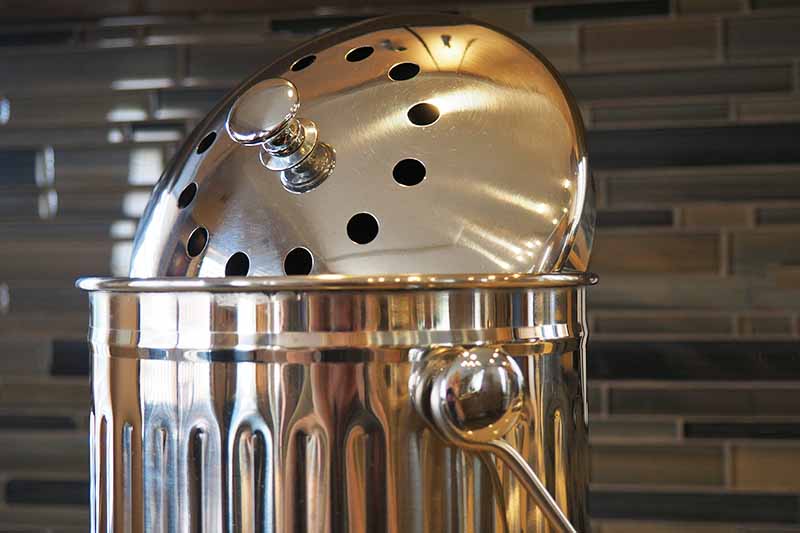
However, if your fruit and vegetable leavings are going to sit on the counter for a few days, be sure to use a container with a snug-fitting lid, or one that has a charcoal filter.
You’ll also want a sturdy handle to tote it outdoors, and it needs to be washable as well, either by hand or in the dishwater.
Good materials to choose for countertop pails are BPA-free plastics, ceramics, or stainless steel. Wood products should be avoided, as most kitchen scraps contain a lot of moisture.
Plus, if it’s going to sit on the countertop, you’ll want one that looks attractive as well!
3. Freeze and Dispose
For those that simply want to reduce their food waste without composting for the garden, an easy solution is to pop your food scraps into the freezer until collection day.
This way, your countertop remains clear and the scraps are out of sight.
To make it even easier, use biodegradable trash bag that can go right into the pickup bin from the freezer. Or, if you like, use those scraps to make vegetable stock before draining and adding them to your frozen collection bag.
4. Worm Farms
If you really want to enjoy a steady supply of compost, a worm farm offers some serious humus production.
Also known as vermiculture, via this practice, earthworms eat up food scraps and then return them in the form of nutrient-dense worm castings. They also aerate the soil as the dine and dig.
Intentionally adding them to your food scraps replicates and accelerates what happens in your outdoor bin, but in a small, controlled environment.
A stacking worm farm kit takes up little space, and once started, you’ll have a steady supply of humus.
Worms can handle a range of temperatures, but for the best productivity, they should be kept at 60-85°F. A basement or enclosed porch are usually good locations for setting up a worm farm.
Commercially available worm kits will typically contain everything you need to get started – except the worms. But you can pick those up online as well! Or, gather them from your own garden.
This is a fun and easy project to start with your kids or grandkids, and you’ll have a steady supply of rich humus as a result, to nourish your plants.
Before you get started, be sure to brush up on your vermiculture knowledge with this informative article on how to start worm farming from sister site, Gardener’s Path.
What to Avoid
The composting process is fascinating. Garbage, almost magically, is turned into vital, rich soil. But some cities still resist backyard food composting.
Their concern lies with open-air bins attracting vermin and scavengers, like raccoons, rodents, and opossums. However, this can be easily addressed in one of two ways.
The first is to use an enclosed container with a latching lid, such as a tumbler.
The second is simply to eliminate any foods that might appeal to them, such as:
- Dairy products including butter, cheese, milk, sour cream, and yogurt
- Condiments, dressings, or sauces
- Cooked leftovers
- Fat, grease, or oils of any kind
- Grains of any kind, cooked or uncooked
- Large, protein-rich seeds like those winter squash
- Meat or meat waste products, including fish and poultry, bones, fat, gristle, or skin
- Processed foods such as bread, candy, chips, crackers, or pasta
- Takeout and fast foods
What to Include
The following kitchen items are all suitable for backyard bins:
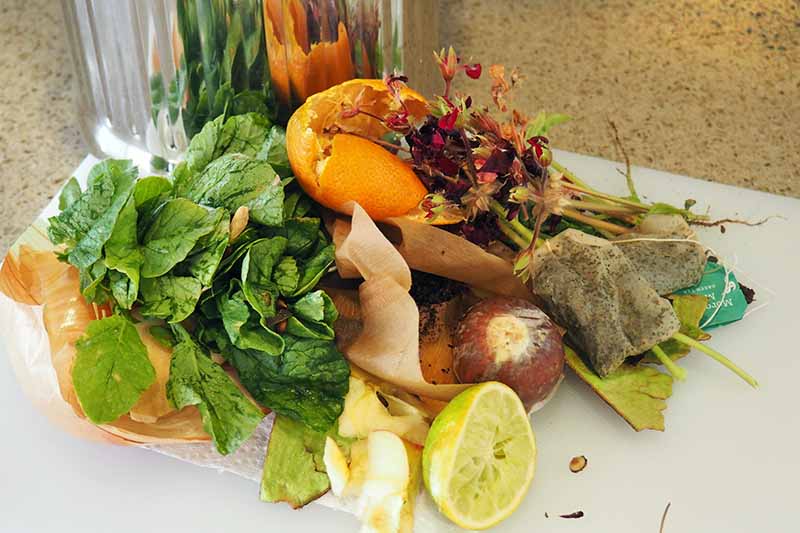
- All vegetable and fruit waste, even moldy pieces – cores, peels, pits, rinds, and skins
- Coffee grounds and filters
- Loose-leaf tea and tea bags
- Corn husks
- Egg shells, rinsed and crushed
- Expired spices
- Flowers from bouquets
- Juicer pulp
- Shredded, ink-free paper and cardboard
- Healthy household plant clippings and leaves
For enclosed bins or municipal pickup, the following items can also be added:
- Boxed foods or anything outdated from the pantry
- Grains, cooked or uncooked, such as barley, oats, and rice
- Stale flour products like bread, cookies, crackers, and noodles
From Scraps to Soil
Now that you know what and how to compost, will you start to repurpose your food scraps?
It’s easy to get started, and a great practice to teach your kids.
Whether you compost for your own garden, or send out food scraps for community pickup, our earth and atmosphere will thank you for reducing the amount of food waste in landfills!
If you have any questions or comments about composting, drop us a line in the comments below.
For more information on keeping your kitchen clean and reducing food waste, check out these articles:
- 11 Tips to Reuse Food Remains in the Household
- Get Rid of Cockroaches in Your Kitchen – For Good!
- Homemade Natural Air Fresheners for the Kitchen
Photos by Lorna Kring, © Ask the Experts, LLC. ALL RIGHTS RESERVED. See our TOS for more details.
About Lorna Kring
Recently retired as a costume specialist in the TV and film industry, Lorna now enjoys blogging on contemporary lifestyle themes. A bit daft about the garden, she’s particularly obsessed with organic tomatoes and herbs, and delights in breaking bread with family and friends.




Should I add garden soil to a tumbling compost bin when I want to compost Mango leaves. I don’t have the eauipment to chop the leaves up
Adding soil on a regular basis to help with breakdown is a good idea Ann.
For tumblers, I suggest making an accelerator – it will help decompose materials quicker and keep the compost moist.
In a 5 gallon bucket, mix a couple of spadefuls of soil with one package of dry yeast and 1/4 cup of molasses. Top up with water and stir well then allow to brew for 24-48 hours, stirring occasionally.
Add a quart or two of booster weekly, then tumble well to mix. (Stir your booster mix before adding to the barrel.)
Thanks for asking!
Hi, I would like to ask about food scrap that I simply dig and throw in dirt. Then after a week or few weeks, can i just use it to plant my plants? Some might have not been biodegradably done.
There are lots of worms and slugs there. Can I just use the soil.
Thanks.
Throwing food scraps directly into the soil can be done in some cases (such as with eggshells, for example) but this won’t create compost.
So, if it cannot go straight from kitchen into dirt does that mean you have to purchase an outdoor composter?
Thanks!
So,if scraps cannot go from kitchen straight into soil does that mean an outdoor composter needs to be purchased?
How about egg yolks for compost barrel.
Adding protein-rich food waste items like whole eggs and egg yolks to compost isn’t usually recommended since this can attract rodents, and cause an unappealing odor to develop. But if added in small quantities and balanced with the correct ratio of brown to green compost ingredients, you might be able to get away with adding one or two occasionally, particularly if you have a very large compost bin.
Egg shells, on the other hand, are full of nutritious calcium and adding these is much preferred. You can read more about composting egg shells on our sister site, Gardener’s Path.
Hello.
Great article. I have a question:-
How many days it will take the compost to be in use condition. I have added layers of soil in kitchen waste and added few dried leaves in middle.
I am using a used yogurt tub(64 oz) and made multiple small holes on the top and on the sides.
Also, do i need to mix them weekly?
Thanks
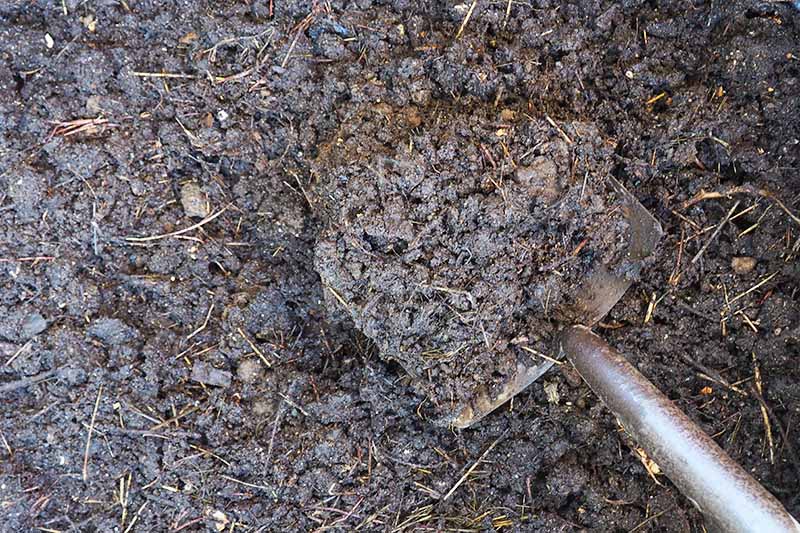
Hi Saurabh, it’s going to take about three to six months, depending on a few factors such as the contents and outside temperature. You’ll know it’s ready when it’s taken on a brown color, has a crumbly texture, and looks and smells like soil.
It sounds like you’ve got a good mix going with soil, scraps, and leaves – and air is also important because the microbes that break down the scraps need oxygen, so the holes are a smart idea.
Also, don’t let the contents dry out – either place your container where it can catch some rainfall, or sprinkle with water on a regular basis, such as when you’ve finished turning it.
You might not need to turn it weekly, but I do recommend stirring bi-weekly or monthly to speed up the breakdown.
Thanks for your question!
Earth worms are an invasive species that endanger the environment and should not be used in composting.
Thank you for a relevant, informative article. It’s critical that we learn the different ways in which we can reduce our carbon imprint.
Earthworms are NOT good, but red wigglers are amazing at composting. They really speed up the process if you have them in their proper temperature which is somewhere about 55- 72° but double check that. Also, if you chop things up smaller that also helps. As you can imagine, a banana peel in 3 or 4 strips will compost faster than it would whole. Chop it into 24 parts and you’re shifting into faster gears. It’s whatever works for you, your scraps as is or with a bit of encouragement from chopping. It’s nice to keep it out of landfills.