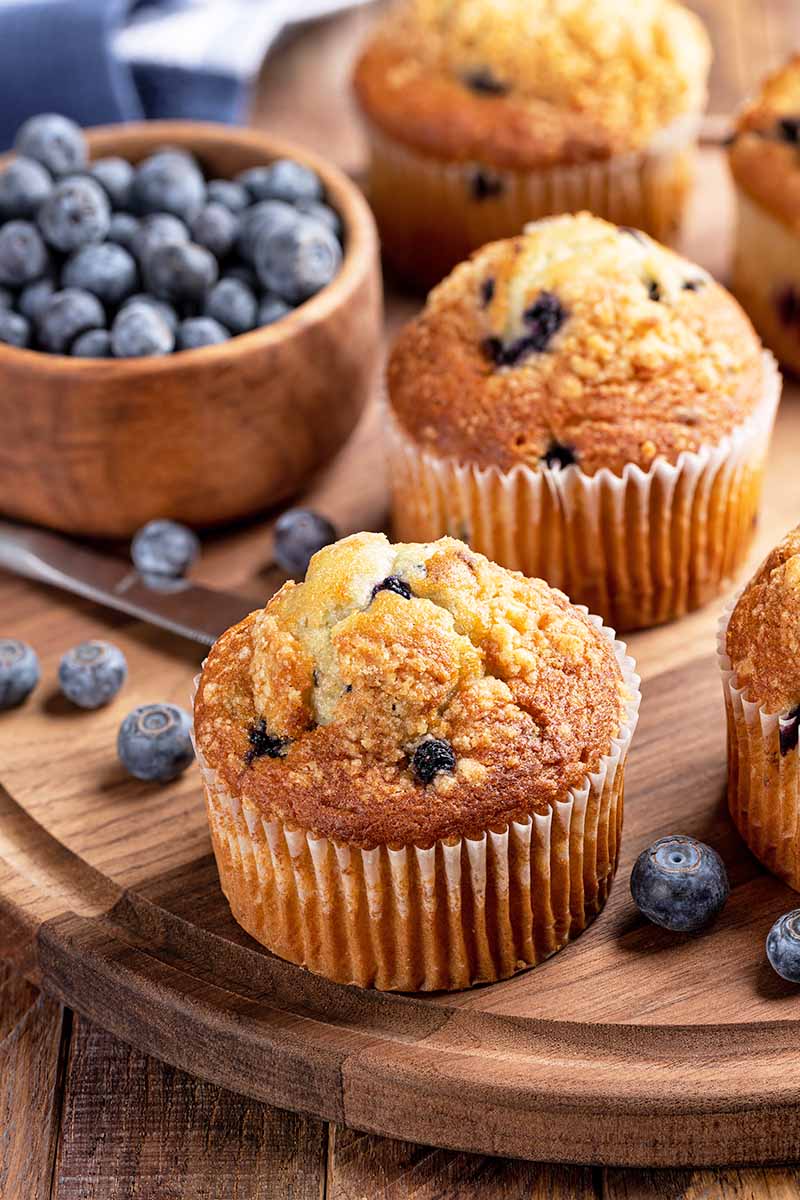
Fragrant, golden muffins straight from the oven are tantalizing to the senses… but it’s a major disappointment to cut one open only to find a sad, soggy bottom with pockets of gluey batter or puddles of sunken fruit.
Undercooking usually results in the muffin’s center being overly moist, and is easily resolved by increasing the baking time by a few minutes.
But when the tops are set with a beautiful and toasty crust, and the interior is perfectly baked, it’s easy to be fooled into thinking the bottoms have set, too.

We link to vendors to help you find relevant products. If you buy from one of our links, we may earn a commission.
Doughy, overly moist, or soggy undersides are due to a few basic mistakes.
And as with the underbaking issue, they’re easily solved – not by adding more time in the oven, but with steps taken before and after baking.
So with firm resolve to avoid doughy disappointments, let’s jump into the mix and have a look at how to expertly prevent soggy muffin bottoms!
Here’s what you’ll find ahead:
What You’ll Learn
Pay Attention When Measuring
One cause of undercooked or soggy bottoms is often due to inaccurate measurements.
With most recipes for cooking, eyeballing the amount of ingredients or adding a dash of this or splash of that to adjust flavors is perfectly fine.
But the art – and science – of baking involves precise chemical reactions, and exact quantities are required to pull off beautiful end results.
Naturally, to get an exact measurement every time, you need the right tools for the job.
Using tools like soup spoons or a coffee mug to measure out ingredients is going to produce unpredictable outcomes, which can often cause doughy foundations.
For the best results, use measuring cups and spoons designed for the job.
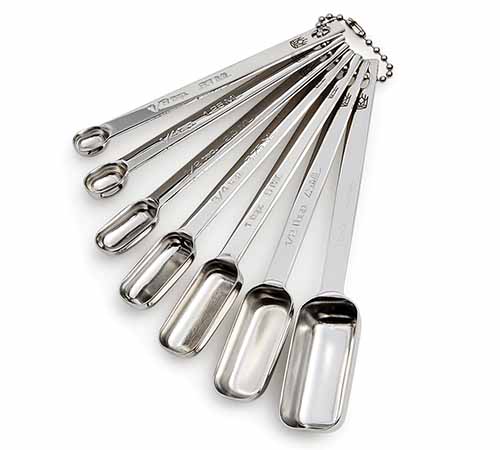
King Arthur Baking Company Spice Measuring Spoons
Measuring spoons are interchangeable for both dry and wet ingredients, and usually come in nesting sets of four to six that range progressively in volume from one-eighth teaspoon to one tablespoon.
This handsome set of stainless steel spoons from King Arthur Baking Company are narrow enough for spice jars and range in size from one-eighth teaspoon to one tablespoon. You can purchase this set directly from King Arthur Baking now.
But measuring cups have two distinct designs, one for liquid measures and the other for dry ingredients.
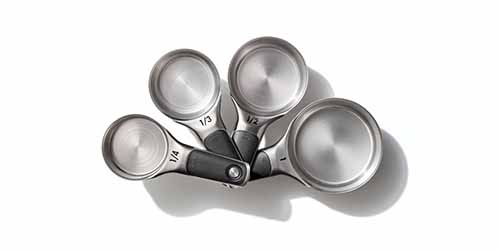
OXO Stainless Steel Measuring Cups
Dry measuring cups typically come in nesting sets of four to six, ranging from one-quarter to one cup in size. They typically have a small handle and are made of a variety of materials from ceramics to stainless steel.
Dry measuring cups are designed to give greater control over ingredients like flour or sugar. They can be filled to the brim then leveled off for precise measurements.
These dry measuring cups from OXO are made of food grade stainless steel with a comfortable, non-slip handle and stack together neatly.
Measuring cups for liquids are usually made of glass or clear acrylic with progressive measurements that range in size from one to four cups.
These cups are filled to measure below the cup’s brim, making it easy to transfer ingredients like milk or water without spilling.
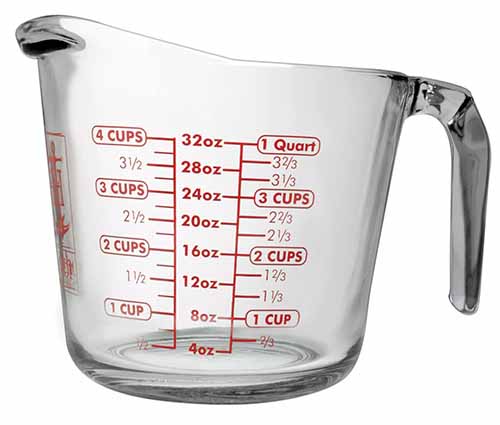
Anchor Hocking 4-cup Glass Measuring Cup
Easy to read markings are a must for liquid measures, like this four-cup capacity glass cup with a curved spout from Anchor Hocking. It’s available from Sur la Table.
However, the most accurate way to measure dry ingredients is by weight using a kitchen scale, and many recipes now include both volume and weight measurements.
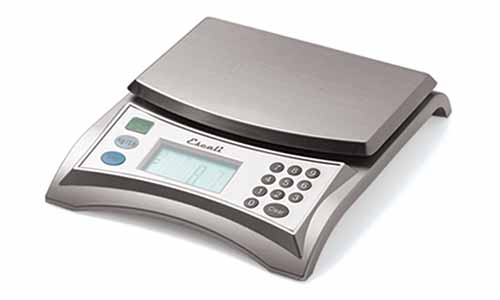
Escali Volume and Weight Scale
This handy Escali digital scale from King Arthur Baking Company displays both weight and volume measurements for accurate amounts.
Whichever measuring method you choose, precise amounts are needed to avoid muffin chaos, including doughy bottoms.
Let the chemistry work for you by using the correct measuring tools, and you’ll be enjoying lovely set bottoms with the next batch!
Use Flour to Coat Any Add-Ins
If you like your baked goods with add-ins such as apple chunks, fresh berries, chocolate chips, nuts, chopped rhubarb, and so on, doughy or undercooked pockets can occur.
This typically happens when the add-ins don’t stay suspended in the batter and sink to the bottom in a large group. Clustered together, they can produce a lot of extra moisture in the form of fruit juice, melted chocolate, oil, or steam.
And excessive moisture can cause the batter to stew instead of bake, producing areas with a pudding-like consistency or a fruity bog rather than a firm crumb.
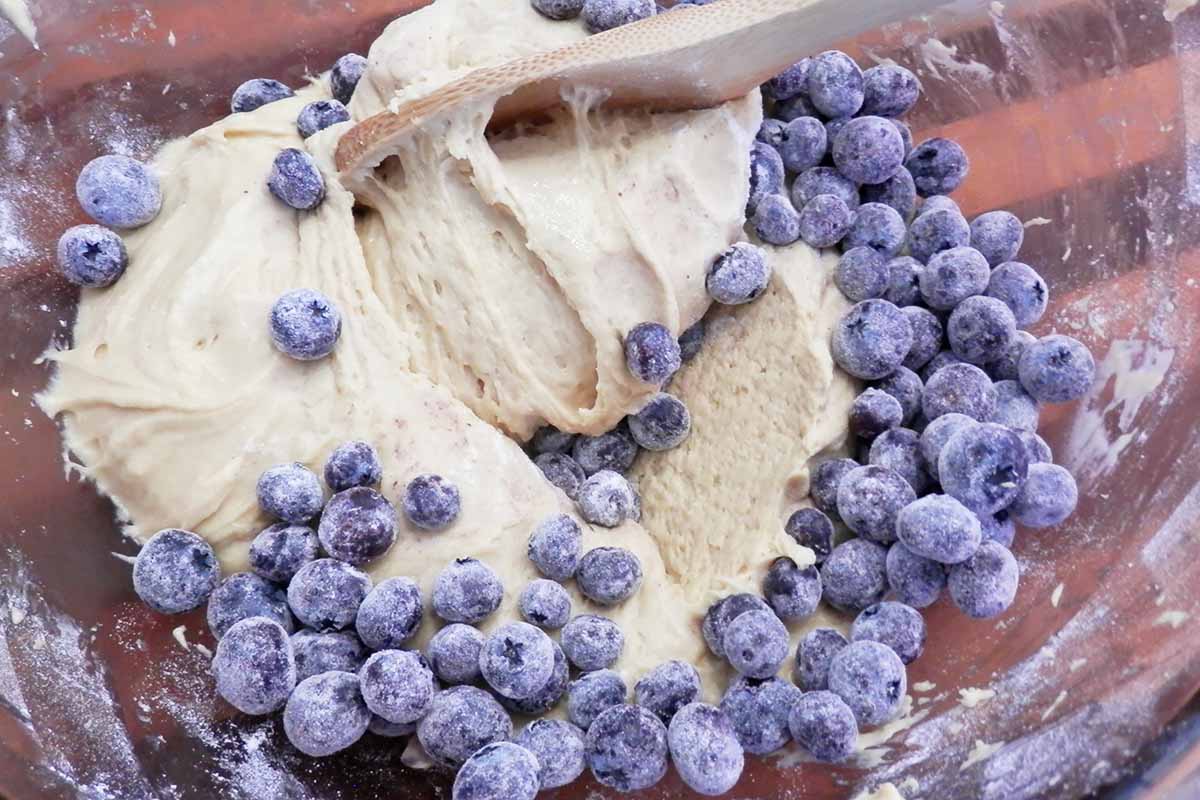
To ensure the add-ins stay evenly distributed throughout the batter without sinking, the solution is a light dusting of flour.
Before adding to the batter, place your measured berries, chips, nuts, and so on in a small bowl and sprinkle with a couple tablespoons of flour, preferably the flour you used for the dry mix base in your original recipe. Toss gently to evenly coat the exterior.
Timing is also important with this suggestion.
For the best results, dust the add-ins at the last minute to keep the flour coating as dry as possible. Have the oven preheated, the tins prepped, and the batter mixed and ready to pour.
After coating them with flour, quickly fold the chips, fruit, or nuts into the batter, spoon into the prepared tins, then pop them into the oven pronto!
A coating of dry flour is effective because it provides resistance in the moist batter, suspending and holding the weight of added goodies in place as the batter cooks and the crumb sets.
This flour-coating trick is good for any quick bread recipe, including cupcakes, scones, and biscuits.
Line Tins with Uncooked Rice
This hack only works if you use paper liners in your cup trays, but it’s highly effective at absorbing excess moisture from steam as well as oily residues.
Before adding paper liners, place a teaspoon or two of dry, uncooked rice on the bottom of each cup. Ensure that the bottom is completely covered with a thin layer of rice.
Place the liners in the cups, fill with batter, and bake as usual.
As the batter cooks, the rice absorbs steamy vapor and excess oil.
Remove the muffins from the tins as soon as they’re cool enough to handle, and place on a cooling rack to cool.
Discard the rice when finished.
White or brown rice can be used for this hack, but avoid parboiled or minute rice – those options will become soggy as they are heated!
Allow Steam to Escape When Cooling
With recipes that don’t have heavy or juicy add-ins, soggy undersides are often caused by leaving muffins to cool in their pans for too long, trapping steam in place.
It’s no surprise that when baked goods come out of the oven they’re steaming hot!
And if they’re left sitting in baking tins for too long, the steam hits the pan walls and condenses in place. The trapped moisture is then absorbed back into the crumb, deconstructing the texture and leaving it wet and soggy.
This is a very simple fix – don’t let your muffins rest in their tins for longer than five minutes.
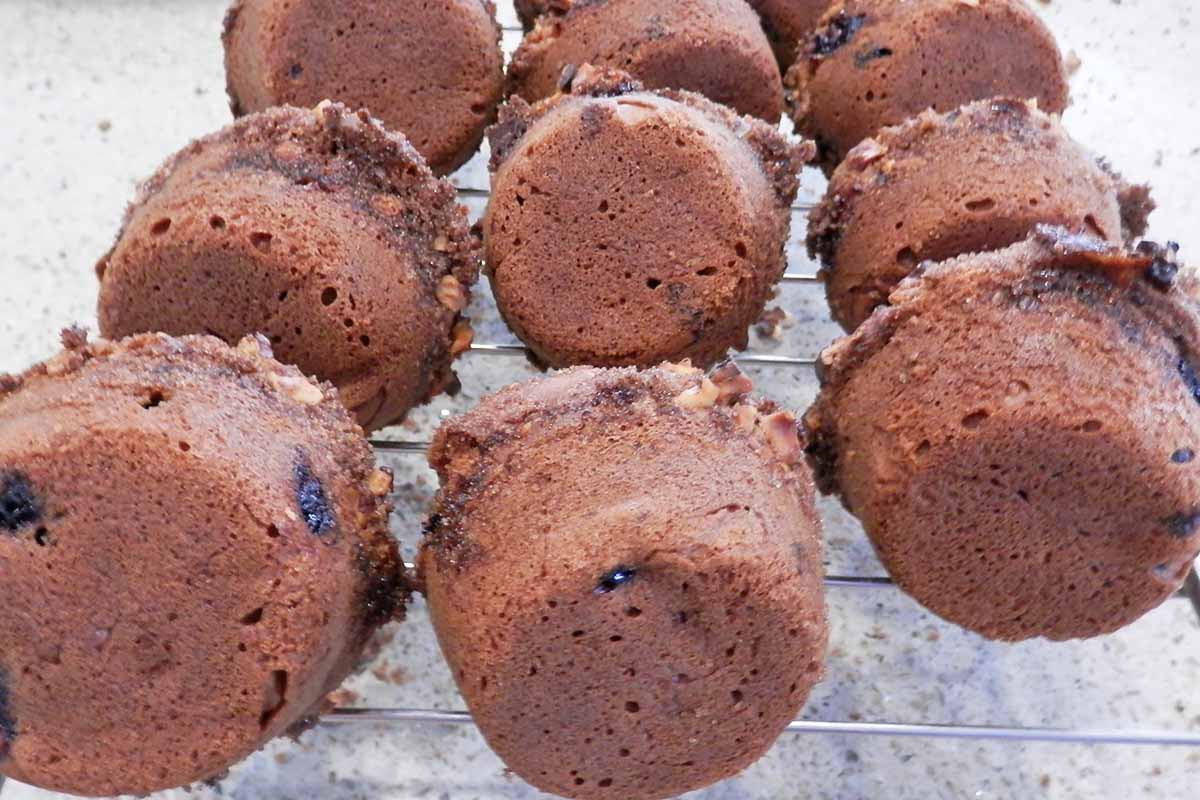
As soon as they’re cool enough to handle, remove them from their pans and transfer to a cooling rack. The steam will escape freely, and all parts will stay firm with a light crumb.
It can also be helpful to turn them upside down onto a clean dish towel or rack to cool. Turning them bottoms up allows the steam to be quickly expelled from all sides.
I only recommend doing this after they have cooled on a cooling rack facing upwards for at least 10 minutes, which guarantees that their structure will be set enough before turning upside down.
Firm Bottoms Forever!
There’s no need to be disappointed with soggy muffin bottoms, because just one or two minor adjustments are all that’s needed to ensure firm bottoms forever!
Simple methods include flour-coating berries and other add-ins so they don’t sink and stew, or removing them from their tins to cool, allowing the steam to escape.
And using the correct measurements is mandatory for well-baked bottoms with a light crumb.
These are all easy tweaks that deliver delectable, firm bottoms!
Any tips of your own to share for awesome-textured muffins? Drop us a note in the comments section below.
Now that you have mastered a new skill set, why don’t you study other areas in the baking and pastry department? We have more tips and tricks to share, starting with these articles next:
- 5 Sweet Solutions to Soften Brown Sugar
- 9 Quick Tips to Say Goodbye to Flat Chocolate Chip Cookies
- How to Use Pie Weights for the Perfect Crust
Photos by Lorna Kring, © Ask the Experts, LLC. ALL RIGHTS RESERVED. See our TOS for more details. Uncredited photos via Shutterstock. Product photos via King Arthur Baking Company, OXO, and Sur La Table. Originally published September 30, 2016. Last updated February 12, 2024.
About Lorna Kring
Recently retired as a costume specialist in the TV and film industry, Lorna now enjoys blogging on contemporary lifestyle themes. A bit daft about the garden, she’s particularly obsessed with organic tomatoes and herbs, and delights in breaking bread with family and friends.


This is great! We use a turkey oven when we cook since my actual oven went out on us. I notice when we make muffins or cupcakes, we have this issue! Ill be trying this. Hope it works! Thanks
I hope it does too Ashley!
I’ve always had the problem with my fresh berry muffins, and I never thought about coating them with flour first. What an easy solution! I’d tried using dried berries, but those never came out tasting quite as good. I might have missed this in the article, but do paper muffin or cupcake papers make a difference? I’ve never had any on hand when I’ve wanted to make muffins, and so have never tried it. Also, when coating muffin trays to keep the muffins from sticking, how much should I use so the bottoms don’t get too much oil on them?
Paper liners shouldn’t make a difference if they’re cooled outside of the pans HK. As for oiling the pans, use just enough so the surface is coated, but without any pooling. Hope this helps!
At first glance, I thought of the muffin top episode of Seinfeld, ha ha. Jokes aside, these are some truly handy tips. I learn something new every time I visit this site.
I never would have thought of coating the berries first, but I’m totally stealing that idea. It makes sense. I will definitely use that tip the next time I make some.
I will pop them out and put them on the rack quicker too.
Any tips on freezing them? I’ve had pretty good luck so far, but I’m always open to learning new tips.
I occasionally freeze baked muffins and how I do it is baking and cooling them and then placing them in freezer bags. Try to remove as much air as you can from the bag before putting it away. I’m sure you could do the same thing if you wanted to preserve batter, only do it in a tray.
Thanks. Yeah, I meant the baked muffins. I don’t think I’d chance it by freezing the batter.
You definitely have to make sure they are thoroughly cooled first. That’s generally not a problem. Everyone eats some while their warm. If I make too many though, I want to freeze the rest for later.
I will do them individually from now on. Great idea. Easier to pop one out when you want it that way too.
Haha, there was a lot of good food gags on Seinfeld! For freezing, I just pop half a dozen into a zip-top bag and squeeze out any excess air – they’ll last up to three months or so (if my son doesn’t spot them first!).
I’ve had a few soggy bottoms in my time and I have learned the hard way. Before I was too adventurous with fillings and they sank, I didn’t line the baking trays enough, and the worst culprit was not preheating the oven enough.
There are no short cuts in baking and also don’t be tempted to peek or open the oven early if you can’t see inside. I’ve ended up with a few sad looking cakes because of that.
All good points Bella, thanks for sharing – baking does require more patience than other cooking modes!
I’ve never had this happen to my muffins, aside from one instance where I tried to bake jam-filled ones. It sounded like a great idea until they came out of the oven and I realized the flaw in the recipe. The flour trick probably won’t work for jam so I don’t think I’ll be making those muffins again!
I’m not much of a baker, anyway, since I thought using the weight of ingredients over measuring cups was a silly choice. Thanks for the article! I might try to redo the jam recipe this way, somehow.
For jam recipes, try filling the tins two thirds with batter then add a dollop of jam on top before baking in a fairly hot oven – about 400°F.
Call me crazy but I actually like the bottoms to be a little bit soggy. I am pretty sure that I can think of sometimes when they might be a little too soggy, though, so I can see the point here, and it is nice to know that there is a relatively easy little fix out there.
You’re the outlier rz, thanks for sharing!
If coating berries or choc chips in flour, is that additional flour to what is used in the recipe or do you keep a bit of the measured flour aside for the coating?
I find that measuring can be more complex because of different measurement bases – for instance in Australia a Tablespoon is 20 ml but I know many places use 15ml Tablespoons, and that can be a significant change in proportions that not everyone looks for.
Thanks for the tips, though – could save some future muffins for me!
I’m sure it needs to be additional flour. The measured flour has to be used up in making the muffin batter.
As Wheezybz says LSA, a bit of extra flour to coat the berries, not from the recipe.
How do we fix it if the muffins are already soggy?
If you notice this right away when you take them out of the pans, you can put them back in the pan and bake for 5-10 more minutes. Muffins that have already cooled can be put in the oven or toaster oven to firm up. But ideally, follow your instructions closely, monitor your oven’s temperature, and check with a tester before removing from the oven for better results with the next batch!
Muffins came out uncooked, i put them back in again straight away, came out uncooked again 🙁 i used too much grated carrot in my applesauce n carrot muffins, any heck to save them ?
First, have you checked with a thermometer to make sure your oven is up to temp? Overfilled muffin cups are a common culprit that will lead to longer bake times, as will baking at a lower temperature than what’s called for.
If you try the recipe again, be sure to only fill the cups by about 2/3, and increase the bake time in 5-minute increments beyond what’s called for in the recipe to account for the extra moist ingredients. Check periodically and keep baking until they’re cooked. There isn’t really a way to save muffins that haven’t cooked all the way through once you’ve let them cool – I’m afraid you’ll have to toss those.
If they start to brown too quickly on the outside but they’re still raw inside, you can cover the tops with foil. Check with a cake tester or a toothpick inserted in the center of a muffin in the center of the pan for doneness- a moist carrot cake-style muffin is done when the tester comes out with just a few crumbs clinging to it.
Since both carrots and applesauce contain a lot of moisture, but the liquid contents can vary when you’re working with produce, squeezing the excess liquid out of your grated carrots in a kitchen towel or paper towels and then tossing with flour before adding to the batter can also help.
Wishing you the best of luck if you try your recipe again! Applesauce and carrot sounds like a delicious combination.
Can I use almond or coconut flour to coat ? I’m on the Keto diet.
Absolutely, give it a try! They won’t be quite as absorbent as more starchy types of flour, but this should work. Let us know how it goes!