I’m not that creative with most DIY projects, but when they involve food – especially chocolate – I’m all in!

I’ve never been great at wrapping presents, and I have no idea how to paint a wall or hang a framed photo. My home gardening skills are lacking, and don’t you dare ask me to help choose the right assortment of throw pillows for your living room if you’re redecorating.
But when you are looking for your next edible DIY project, you can always rely on me to be there in a flash with an apron on and a spatula in my hand!
And what is my next tasty assignment, crafted from scratch?
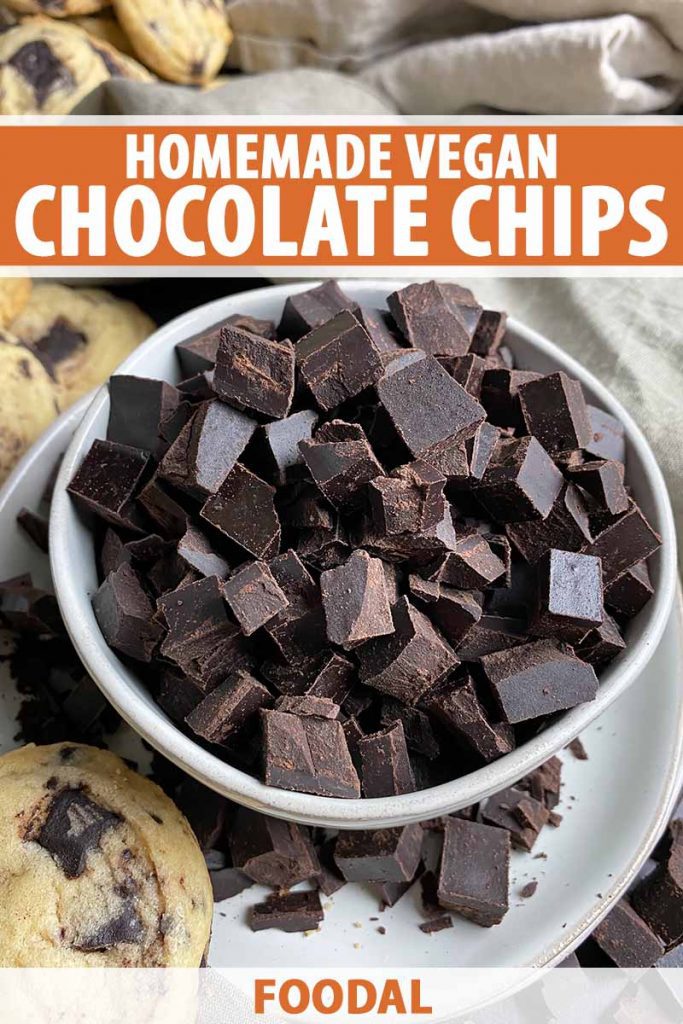
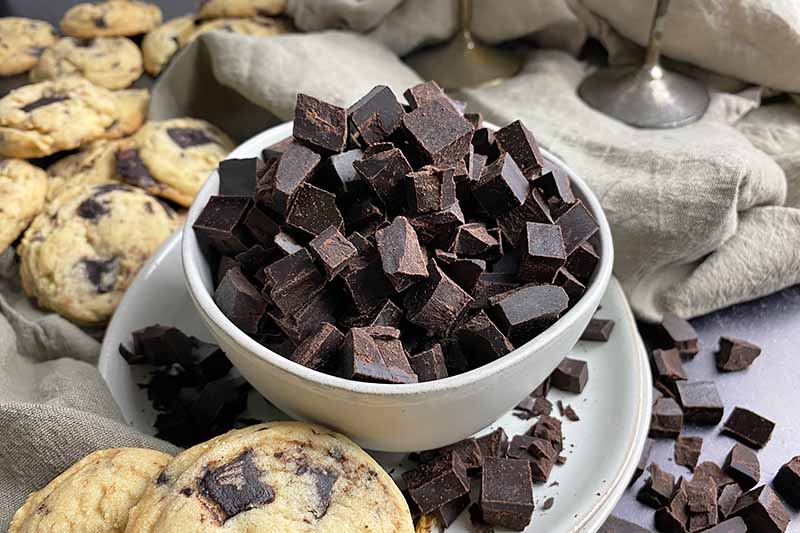
Homemade chocolate chunks, for baking, snacking, and more!
While not born of necessity, but rather a playful curiosity to see if it was actually possible to make something new using a few basic pantry ingredients, this recipe has already become a staple in my kitchen.
I hope it will gain just as much popularity in yours, particularly if you are seeking a more natural recipe to add chocolatey flavor to your desserts.
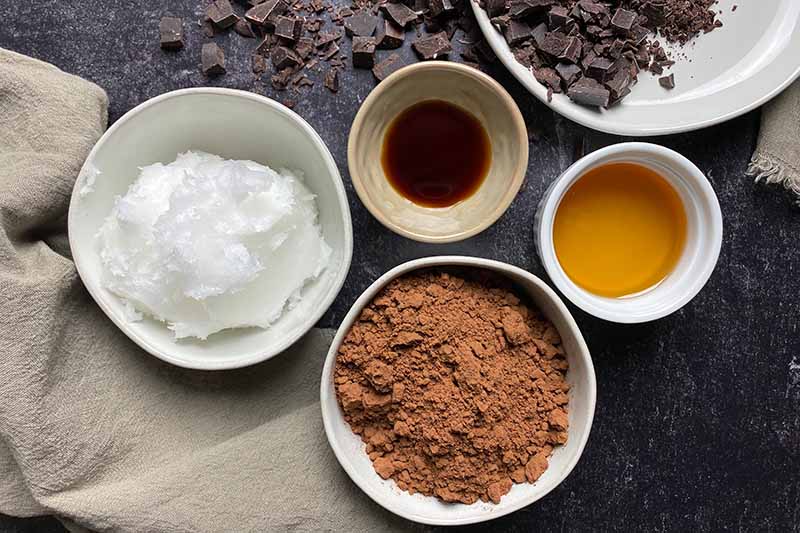
There is nothing to hide with this ingredient list. While many store-bought chocolate chips contain refined sugar, soy, milk, sneaky stabilizers, and at times unidentified natural flavors, my homemade version is simple and straightforward, with only four ingredients: coconut oil, agave nectar, cocoa powder, and vanilla extract.
It won’t be too sweet – the flavor profile is similar to a deep, dark chocolate with hints of vanilla fragrance from the extract, and a touch of sweet coconut flavor from the oil.
I love nibbling on a few chunks in my snack packs as an instant pick-me-up, when I need a quick fix to satisfy a strong craving for something a little sweet at work.
Other than munching on them for instant snacking, you can use them for a medley of other purposes across the entire spectrum of desserts and baked goods.
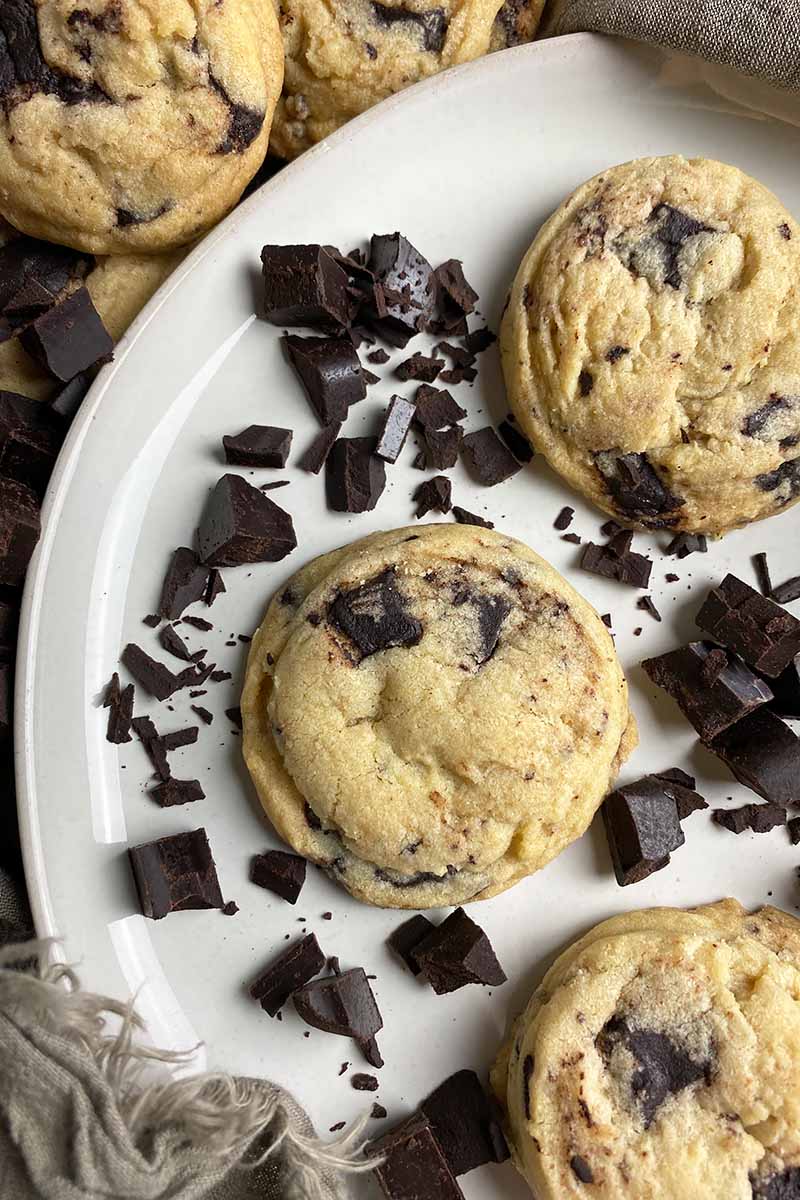
They are ideal for adding into your favorite recipes for cookies, healthier blondies, ice cream, and cakes. I’ve also recently used them in a fun round of baked banana boats with mini marshmallows, honey, and cinnamon!
For breakfast, consider mixing them into quick breads, pancakes, and French toast casseroles, or generously sprinkling a few on top of oatmeal and porridge.
Have some fun with this recipe!
And if you’re thinking what I’m thinking, you can invite over that friend of yours (you know the one) who is a pro at decorating, wrapping presents, hanging picture frames, and gardening, to help with some of your own home projects.
You just need to offer some freshly-baked chocolate chip cookie compensation!
It’s a fair exchange, I think.
Print
Homemade Chocolate Chunks for Baking
- Total Time: 1 hour
- Yield: Makes about 3 cups small chopped chocolate pieces (24 2-tbsp servings) 1x
Description
Not a big fan of the milk, soy, and stabilizers that are typically found in store-bought chocolate chips? Learn how to make them from scratch.
Ingredients
- 1 cup coconut oil, plus more for greasing
- 1/4 cup agave nectar
- 1 teaspoon vanilla extract
- 1 cup unsweetened cocoa powder, sifted
Instructions
- Lightly grease an 8-by-8-inch baking pan with coconut oil and cover the bottom and two sides with parchment paper, letting the paper hang over two of the sides.
- In a small saucepot, add the coconut oil, agave nectar, and vanilla extract. Melt the ingredients over low heat, whisking constantly, until everything is completely incorporated and the mixture starts to boil.
- Remove the pot from the heat. Gradually whisk in the cocoa powder. Continue whisking until the cocoa powder is completely incorporated and a smooth, runny sauce forms.
- Allow the mixture to cool for 5 minutes before pouring into the prepared pan. Place the uncovered pan in the freezer. Chill for 30 to 45 minutes, or until completely hardened.
- Remove from the pan by lifting the paper on both sides, and place on a cutting board. Remove the paper.
- Working quickly to prevent melting, chop the chocolate into small squares with a sharp knife.
- Transfer the chunks to an airtight container, and immediately place in the fridge or freezer for storage. The chocolate will keep in the fridge for 2 weeks, or in the freezer for about 6 months.
Notes
To prevent excessive melting, the chunks are best used when they are cold for recipes that require baking.
- Prep Time: 10 minutes
- Cook Time: 5 minutes
- Category: Chocolate
- Method: Stovetop
- Cuisine: Candy
Cooking by the Numbers…
Step 1 – Prep and Measure Ingredients
Lightly grease an 8-by-8-inch baking pan with coconut oil. Cover the bottom of the pan with parchment paper, letting the paper hang over two of the sides by a few inches.
It is not necessary to grease the paper on top. The chocolate will come off easily from the paper!
Set out a small saucepot, a whisk, and a spatula.
Measure the remaining coconut oil, agave nectar, vanilla extract, and cocoa powder. If you follow a gluten-free diet, check to make sure the extract that you use is certified gluten free.
You can use refined or unrefined (virgin) coconut oil. I advise sifting the cocoa powder to remove any lumps.
Step 2 – Heat Wet Ingredients
Add the coconut oil, agave nectar, and vanilla extract to the pot.
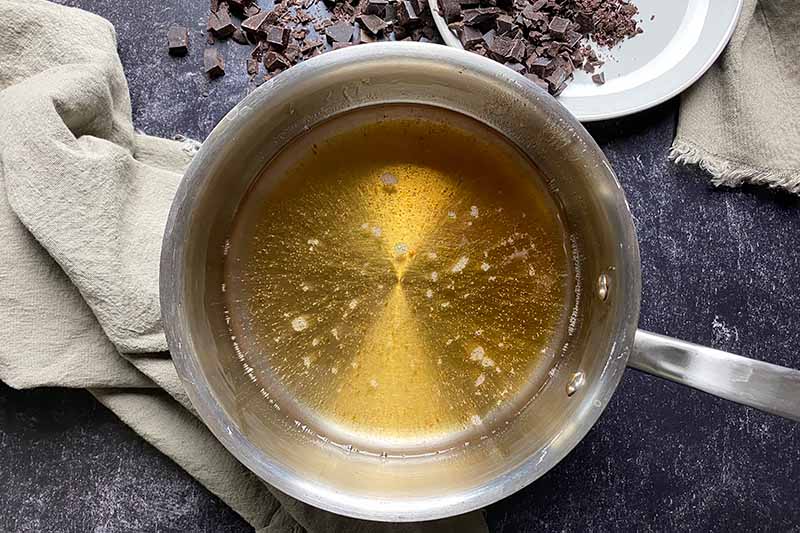
Melt the ingredients over low heat on the stovetop, whisking continuously, until everything is completely incorporated and the mixture starts to boil. This will take about 5 minutes.
Step 3 – Add the Cocoa Powder
Remove the pot from the heat. Gradually whisk in the cocoa powder to uniformly and quickly incorporate it into the liquid.
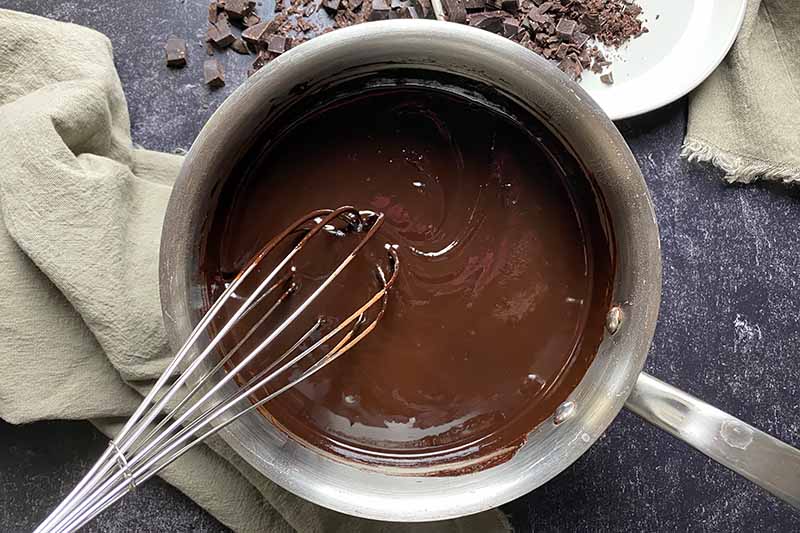
Continue whisking until the cocoa powder is completely incorporated and a smooth, runny sauce forms.
It will not be a very thick mixture. Rather, it will resemble a runny ganache. Don’t worry! It will set into a firm mass as it cools.
Step 4 – Pour into Pan and Set
Allow the mixture to cool for about 5 minutes before pouring into the prepared pan, using a spatula to remove all of the liquid from the pot.
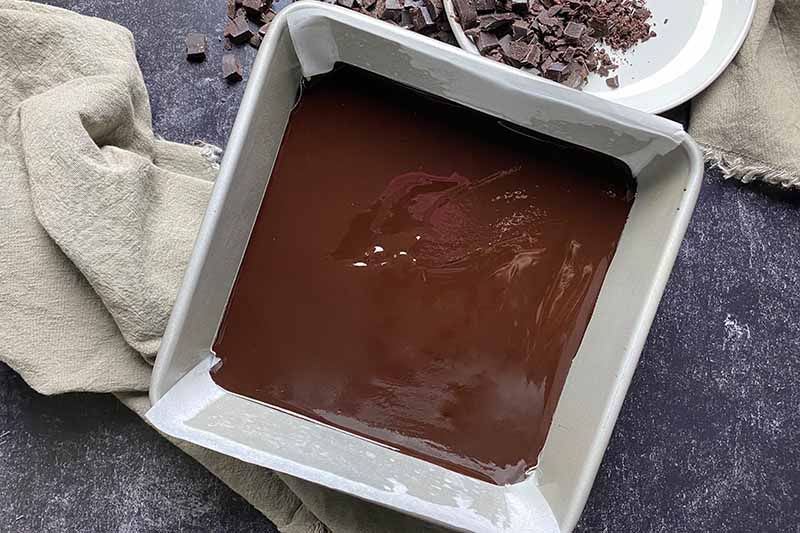
Place the pan in the freezer uncovered. Covering the mixture will cause condensation to develop if it is still warm, and this may negatively affect its ability to set properly. The droplets will also leave marks on the surface – not pretty!
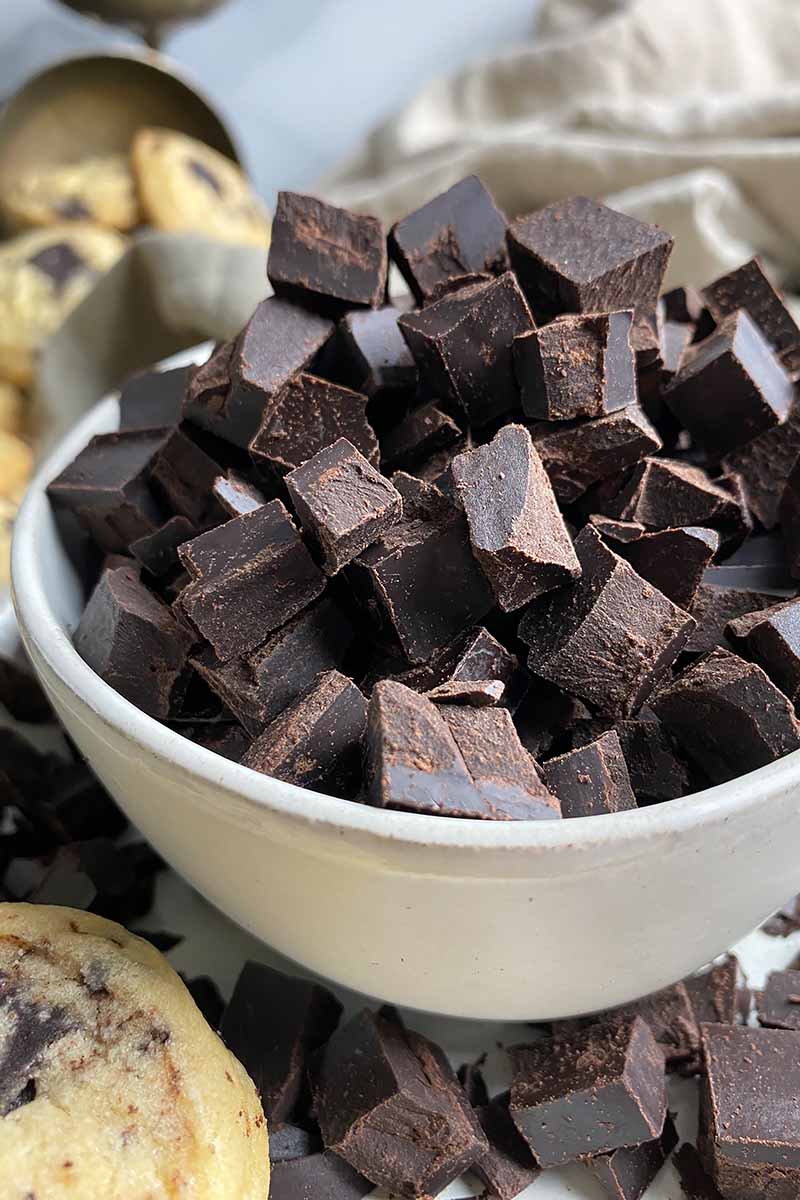
Because this natural, vegan recipe does not contain the same ingredients as a traditional chocolate, you may notice some discoloration in the final product from when the coconut oil resets in a cold setting. The chilled block will also be slightly granular, as there are no stabilizers or emulsifiers included in the mix.
But it will still be 100% edible and tasty!
Chill for 30 to 45 minutes, or until completely hardened.
You can also choose to chill the pan in the refrigerator, but this will take a little longer to fully set, about an hour or possibly a bit more. Cooling completely to room temperature before chilling is another option that’s available to you, though it will also take a bit more time.
Step 5 – Cut and Store
Gently press the surface with your finger or a spoon to see if it has hardened. Not quite done? Stick it back in the freezer!
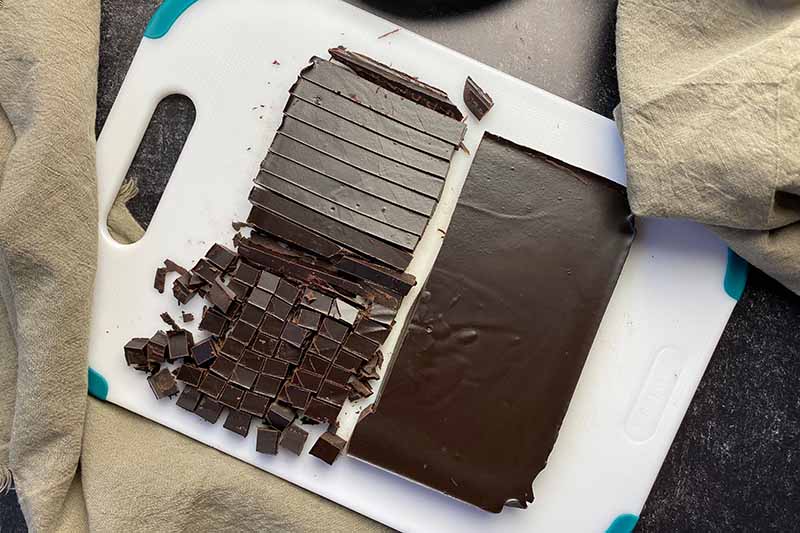
When the block is fully set, take it out of the pan, using the paper overhang to help with removal. Place on a cutting board and peel the paper away.
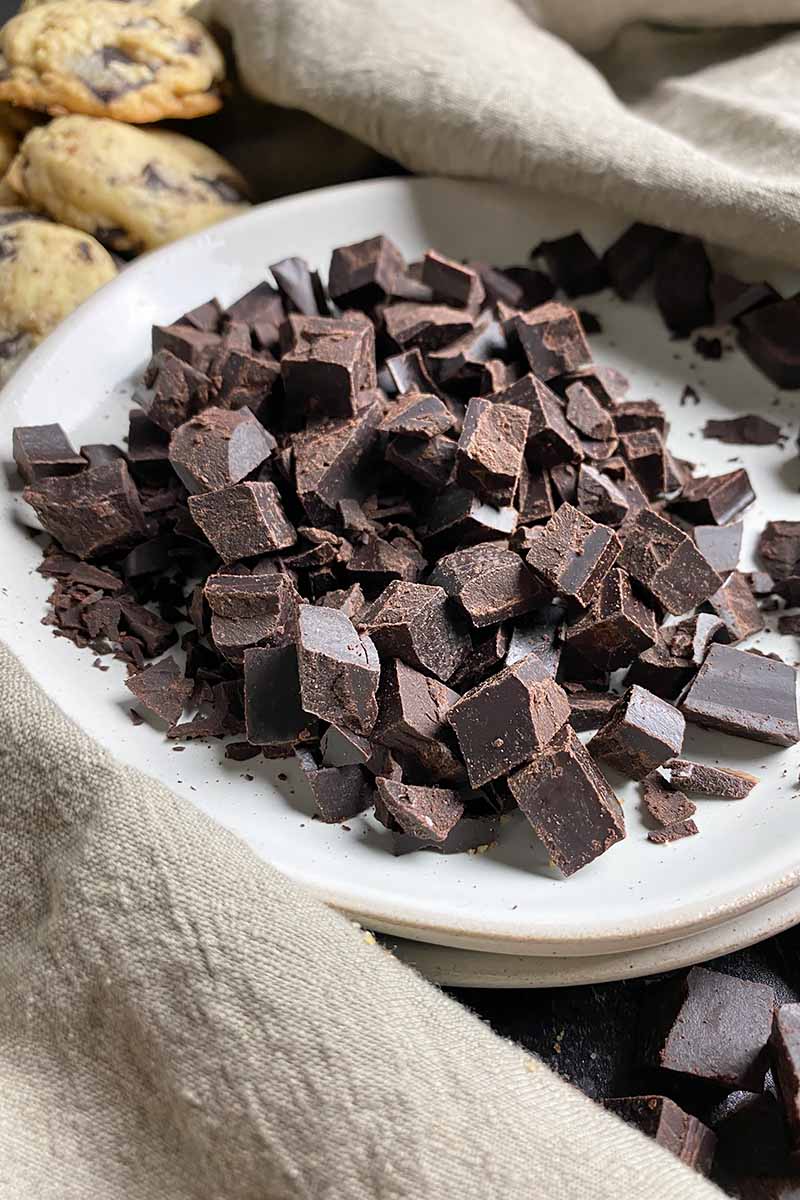
With a sharp knife, chop the block into small chunks, working quickly to prevent melting.
You can create chunks of whatever size you prefer for however you will use them. Larger squares are great for making chocolate chip cookies, since they will not melt as quickly, while shavings are perfect to use as a lovely garnish for cakes, ice cream, and other desserts.
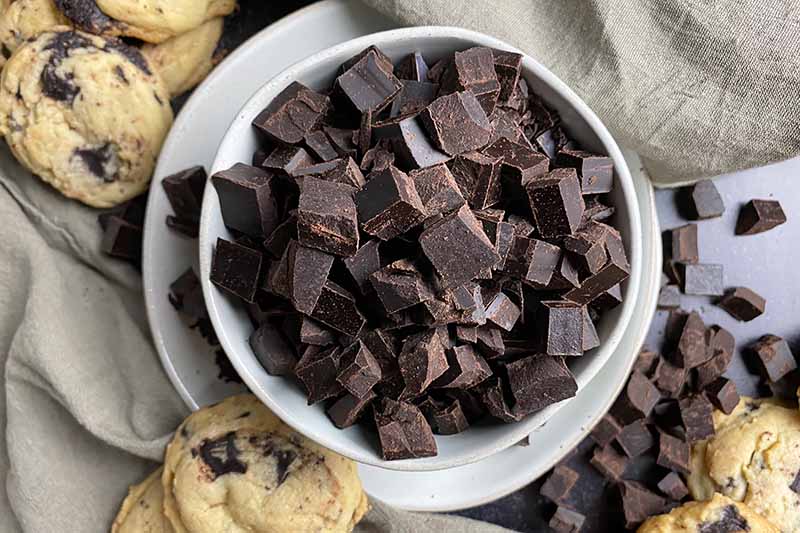
Transfer the chips to an airtight container, and immediately place it in the fridge or freezer for storage. The chocolate will keep in the fridge for 2 weeks, or in the freezer for about 6 months.
A word of caution…
You must store these chocolate chunks in a cold setting! Because they are homemade, they are not as stable as store-bought varieties if kept at room temperature.
This is particularly important when you are using these chips for recipes that require baking, like cakes, cookies, and quick breads. It’s best to keep the chips in the refrigerator or freezer until you are ready to incorporate them into the dough or batter. This will prevent excessive melting.
Personalize It!
Isn’t it just fun to be able to say that you know how to make chocolate chips from scratch?
And now you can make the experience even more exciting by adding a few touches of your own creativity and personal taste!
Here are just a handful of ideas to personalize your homemade creations for use in your own recipes, whatever they may be. Before you pour the chocolate into the pan, consider some of these additions:
- Try different extracts to replace the vanilla, like almond or peppermint (use 1/4 teaspoon, since other flavors are often stronger than vanilla)
- Mix in a teaspoon of freshly grated orange or lemon zest
- Mix in a handful of puffed quinoa, or chopped toasted nuts or seeds
- Raid your spice cabinet and use a pinch of your favorite dried seasonings or spices that pair well with chocolate, like cinnamon, cayenne pepper, or espresso powder
- Top with a light sprinkle of flaky sea salt before chilling
Do you have any ideas to personalize your own chocolate chips? What’s the first recipe you’ll use these fun chunks in? Let’s chat in the comment section below!
After we start digging into that dialogue, take a look at these vegan dessert recipes from Foodal that feature chocolate:
- Chickpea Flour Chocolate Chip Cookies
- Almost Raw Vegan Cashew Cream Chocolate Cheesecake
- Wacky Cake: No Eggs, Milk, or Butter Required
Photos by Nikki Cervone, © Ask the Experts, LLC. ALL RIGHTS RESERVED. See our TOS for more details. Originally published by Shanna Mallon on August 14, 2012. Last updated on December 22, 2021.
Nutritional information derived from a database of known generic and branded foods and ingredients and was not compiled by a registered dietitian or submitted for lab testing. It should be viewed as an approximation.
About Nikki Cervone
Nikki Cervone is an ACS Certified Cheese Professional and cheesemonger living in Pittsburgh. Nikki holds an AAS in baking/pastry from Westmoreland County Community College, a BA in Communications from Duquesne University, and an MLA in Gastronomy from Boston University. When she's not nibbling on her favorite cheeses or testing a batch of cupcakes, Nikki enjoys a healthy dose of yoga, wine, hiking, singing in the shower, and chocolate. Lots of chocolate.
Can you sub in honey for the agave nectar? I only have honey and I really want to make this recipe.
Yes, you can use them interchangeably, in the same amount that’s called for in the recipe!
What substitutes can you use for coconut oil in the recipe?
Hello, Joshua! Coconut oil is a major ingredient in this recipe, and really can’t be substituted with another fat. Coconut oil is a necessity here, since it is able to harden when chilled, providing structure to the chocolate chips.
If you find yourself experimenting with this recipe, let us know if you come up with a successful substitution!