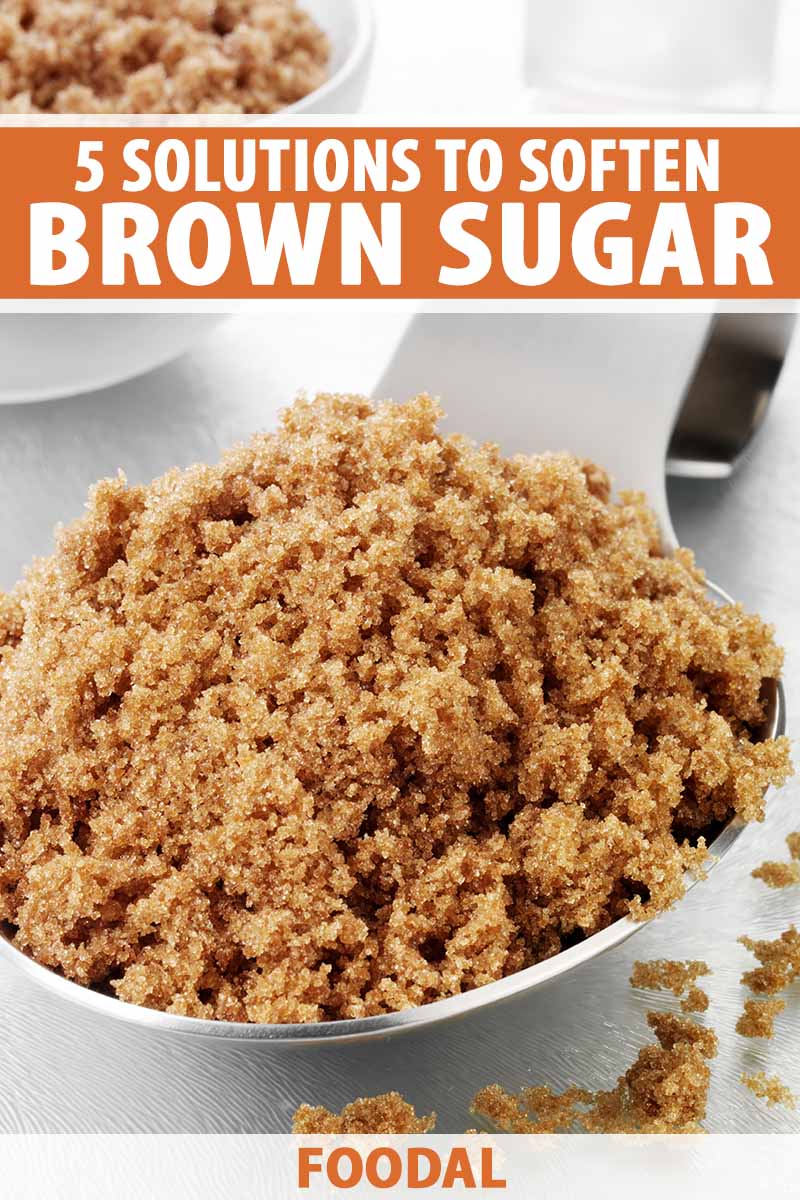
We’ve all been there… you’re about to start a recipe, pull out the ingredients, and the brown sugar you need is hard. Rock hard. And utterly unusable.
Thankfully, there are easy and quick solutions to soften this ingredient!
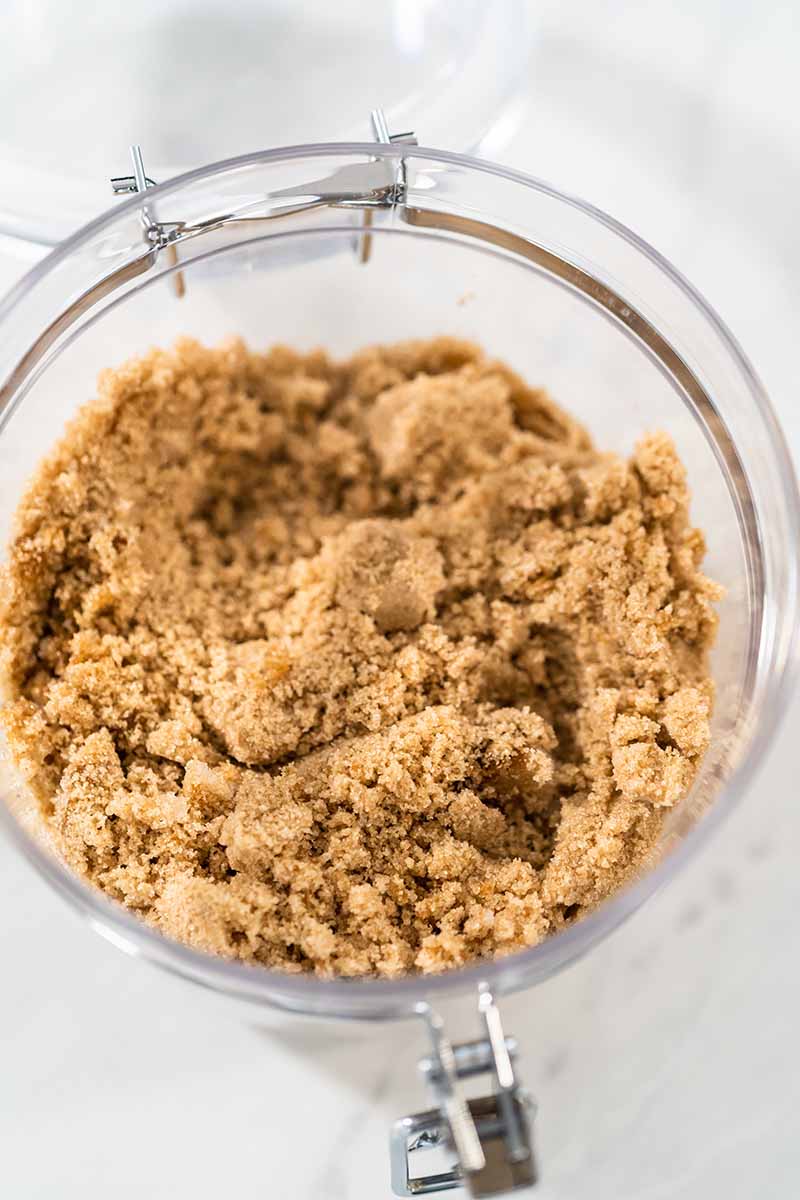
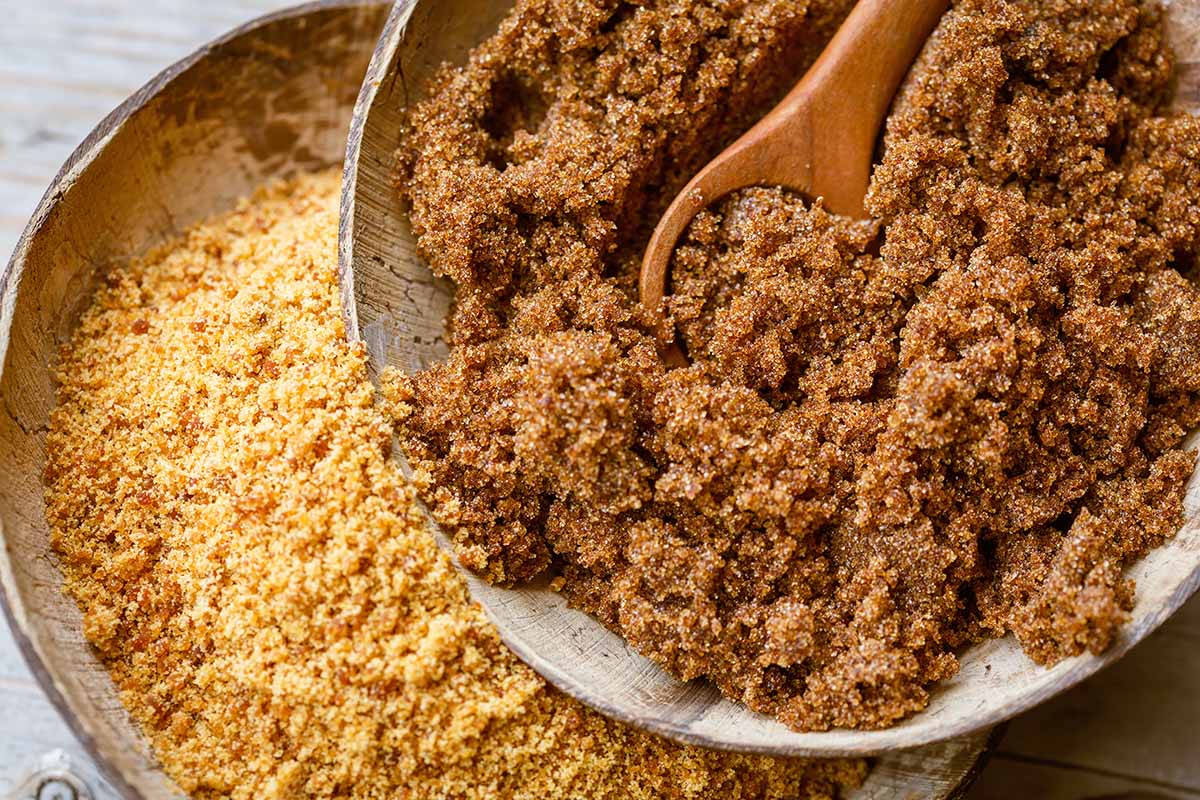
After opening, the brown varieties of sugar, including Demerara, golden, muscovado, turbinado, as well as the yellow types are potentially at risk of significant hardening in improper storage.
We link to vendors to help you find relevant products. If you buy from one of our links, we may earn a commission.
This is because the sticky crystals are coated in molasses and dry out when exposed to air, causing them to adhere together in hard lumps.
And no amount of chipping, hammering, or smashing them is going to yield enough for your recipe!
But that soft, fluffy, and tacky texture we love so much is easily restored by reintroducing moisture to the hardened mass.
You probably already have the ingredients in your kitchen to fix these hardened pieces in a few hours or overnight.
But if you need to break apart a cup of lumps now, there’s a fast fix for that too!
If you’re ready, let’s look at five sweet solutions to soften brown sugar – and how to keep it soft in storage.
Here’s what’s coming up:
How to Soften Brown Sugar
Coated in Molasses
Ever wonder why brown sugar goes hard and lumpy, but white sugar doesn’t?
It’s because the darker versions have more moisture, thanks to a coating of sticky molasses, a byproduct of the refining process.
Brown sugar and its variations are moistened white crystals coated in a thin layer of molasses, which adds a distinctive, lightly bitter taste with notes of smoky spiciness… and it makes the richest syrup to top breakfast foods like delicious pecan pie pancakes!
The darker the color, the more molasses has been added, increasing the intensity of flavor.
Molasses itself has a hygroscopic nature, meaning it will attract moisture from within its environment. And moisture is what keeps the darker colored varieties pliable.
But when exposed to air, the moisture in the molasses begins to evaporate. As each crystal dehydrates, it becomes tacky, gluing itself to the next in a hard, dense mass.
White varieties have had all the syrupy molasses residue and moisture removed in the refining process, leaving the crystal surfaces clean, dry, and non-sticky.
Like It or Lump It? No – Soften It!
Because of the hygroscopic nature of molasses, the way to soften the hard lumps is to re-introduce moisture – exactly what all of our solutions provide.
No matter the circumstances or how fast you need it, there’s a tip that’s right for you!
Let’s have a look:
1. Fresh Bread
To reconstitute lumps of hardened crystals, the moisture in a slice of bread is often enough to restore a loose texture without any transfer of flavor – and we have the perfect recipe for fluffy old-fashioned white bread.
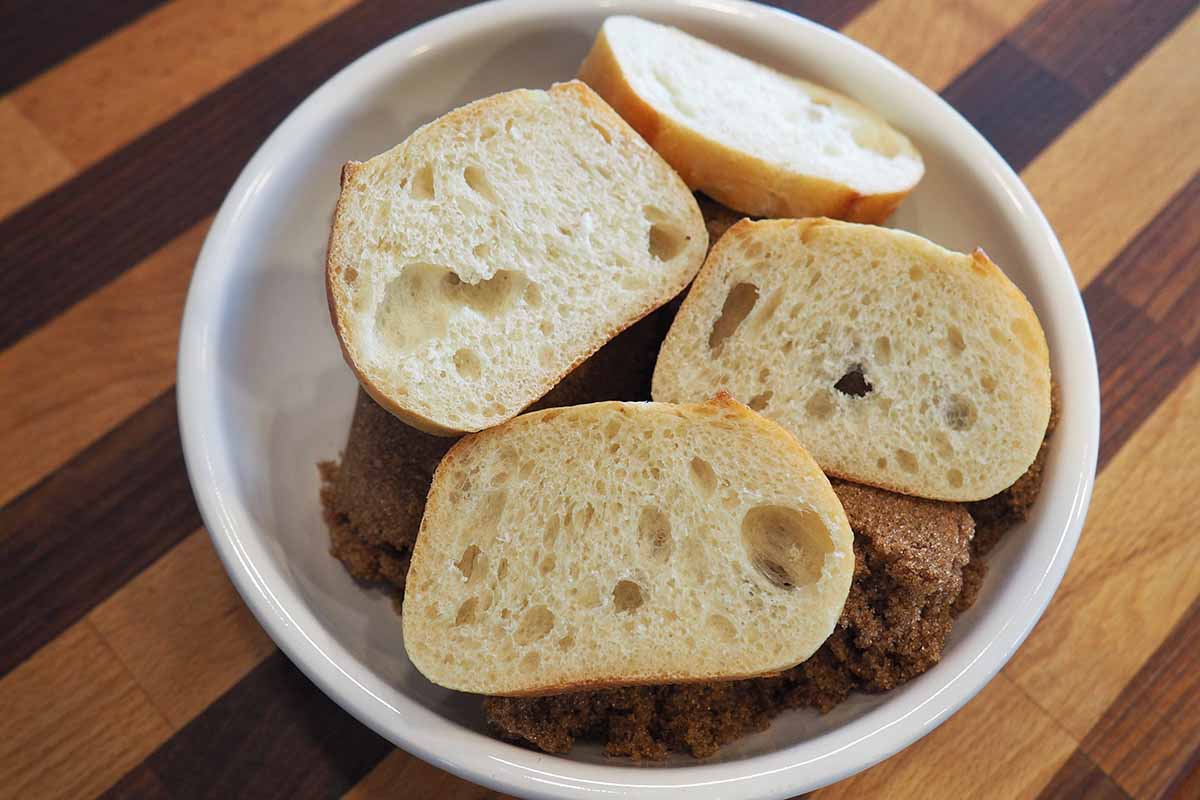
Pour the hardened lumps into a sealable container, then lay a slice of bread on top. Any type of plain bread works as long as it’s fresh – stale bread is already depleted of moisture.
If the lumps are spread out, cut the bread with a knife into halves or quarters to cover as much of the surface as possible. The crystals moisten fastest wherever they directly contact the bread, so covering the entire exposed surface area results in a more even softening throughout.
Seal with the lid and leave at room temperature.
If you’re looking for sealing storage convenience, this set of four Pyrex glass mixing bowls nest for easy storage and each one has a strong, sturdy lid. The set is available to purchase now from Wayfair.

Pyrex Smart Essentials 8-Piece Glass Mixing Bowl Set
Gradually, the molasses absorbs available moisture from the bread, and the individual granules begin to separate.
Check the progress after two hours, gently breaking apart lumps and stirring with a fork. If more time is needed, turn the bread over and reseal the container, checking it every hour until the desired texture is restored.
If condensation has formed on the lid, wipe away any drops of water with a towel before resealing.
You might find that the top edge of the lumps where the bread was touching is lighter in color.
This is because the bread has absorbed some of the molasses coating, but the paler crystals are still fine to use – although they won’t have quite the same rich flavor.
But once you mix everything together, the lighter surface will be equally redistributed throughout the rest of the crystals.
2. Apple or Carrot Slices
Using freshly sliced apples or carrots in close proximity to hard lumps is another way to provide the necessary moisture for crystals to rehydrate.
Plus, this easy fix is gluten free!
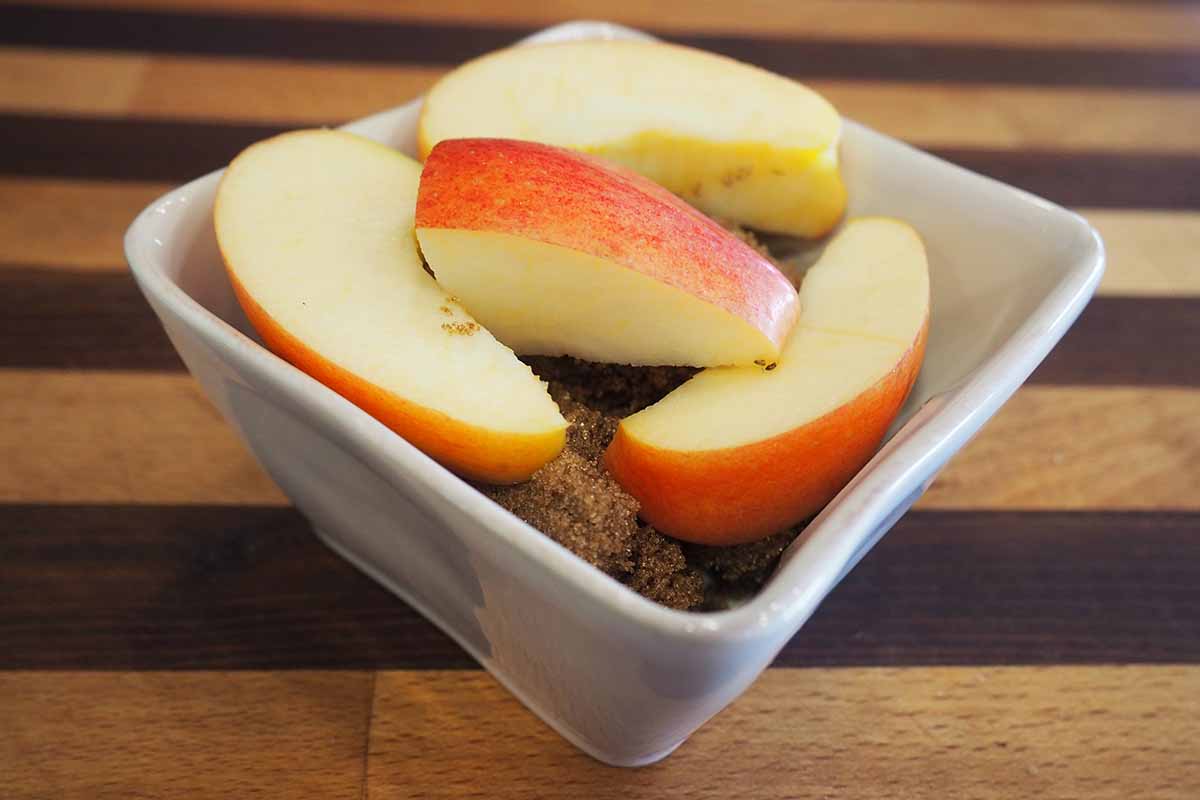
Place your hardened lumps into an airtight container and cut half of a washed apple or medium carrot into slices.
Arrange the slices on top and alongside the lumps then seal the container.
Allow the moisture to transfer for two hours before checking the texture, gently breaking down lumps and stirring with a fork.
Items like apples or carrots are quickly effective in an airtight container, restoring a fluffy texture in just a few hours. However, there can also be a slight transfer of flavor.
When finished, discard the slices and any syrupy residue stuck to their surfaces.

Food Huggers 5-Piece Reusable Silicone Food Savers
For a smart solution to keeping the other half of your apple fresh – and minimize single-use plastic products – Food Huggers give a snug fit to reduce food waste and are made of food-safe, BPA free silicone. Find them now from Amazon.
3. Water Vapor
Water vapor can be introduced to rehydrate hardened crystals in a slower, overnight process using a moist dish towel or cloth serviette.

Place lumps and chunks in a medium glass or stainless steel bowl and cover the top of the bowl with a clean, moist dish towel.
If needed, use an elastic band or kitchen twine to hold the towel taut over the bowl’s mouth and prevent it from sitting directly on the chunks.
And if your twine turns into a bird’s nest in the junk drawer, a dispenser is the best way to keep it snarl free. This cast iron twine dispenser stand from Moligou is heavy duty and sturdy and comes with scissors – it’s ideal for many kitchen tasks like trussing large birds and meat.

Moligou Cast Iron Twine Holder Set
Purchase this helpful tool now on Amazon.
Leave the bowl on the counter at room temperature overnight, and by morning the lumpy granules should be moist and easy to separate with a fork.
Be sure to wring out the towel before assembling it over the bowl so it’s just damp, and not sopping wet – you don’t want to dissolve the crystals and make a sweet water!
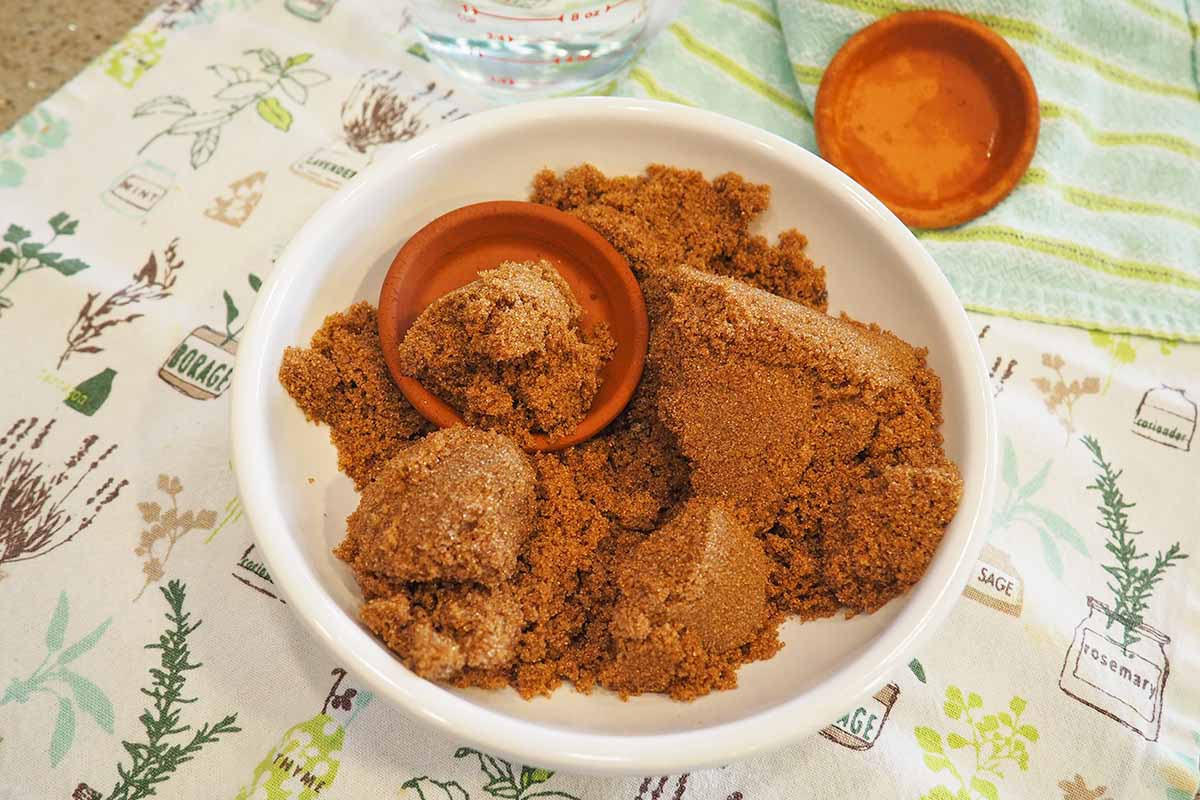
4. Terra-Cotta Discs
A terra cotta disc, or sugar saver, is by far the easiest and most effective method to reconstitute hardened crystals evenly and thoroughly.
Made of highly porous clay, terra cotta is excellent at retaining moisture and releases it slowly.

Fox Run Terra-Cotta Bee Sugar Keepers, Set of Two
Soak a clean disc in water for 30 minutes, or for the recommended time offered by the manufacturer of your specific product. Then, wipe the surface dry before tucking it into an airtight container with your brick or lumps.
In about an hour, the hard crystals will be rehabilitated back to a soft, moist texture with no remaining dryness at the edges or in the center.
This method also works without any condensation collecting on the walls or container lid.
A set of two Fox Run terra-cotta sugar keepers in adorable bee shapes are available through Amazon.
5. Microwave
When you’re mid-recipe and need some brown sugar pronto, the microwave can provide a quick fix!
It is best used on smaller lumps and chunks – large bricks take a lot of chiseling and scraping before everything is soft.
Pour the hardened pieces into a glass or ceramic bowl, and top with a clean, damp dish towel or paper towel. Make sure to wring out excess water so it’s only damp, not wet.
Place the covered bowl in the microwave and process on high in 10 to 20 second increments.
After each timed set, remove the towel to break up and stir lumps with a fork.
Be sure to check the texture after each increment to prevent overheating and avoid zapping it for longer periods as the refined crystals can start to melt with too much heat.
Process Carefully
This method doesn’t restore moisture as the above fixes do, but sometimes a spin in the food processor is enough to break up hardened chunks adequately so they can be measured out for a recipe.
Place your clumps in a food processor bowl and pulse on low for a few seconds at a time until all pieces have been reduced. Work in short bursts to avoid damaging the blades.
The food processor provides a quick solution if you’re mid-recipe, but isn’t useful for rehydrating or restoring a pliable texture.
The Best Storage Methods
Exposure to air is what causes the sweet molasses-coated crystals to dry out, so airtight containers are what’s needed for effective storage.
For the long term, the best method to maintain moisture is to double up on an airtight environment.
Pour the sugar into an appropriately sized zip-top bag, roll it up tightly to squeeze out excess air, then seal the bag. Store the bag in a tight-lidded container for up to 12 months.
Or you can store it in an airtight container along with a soaked terra cotta disc, which lasts about three months before you need to re-soak it.
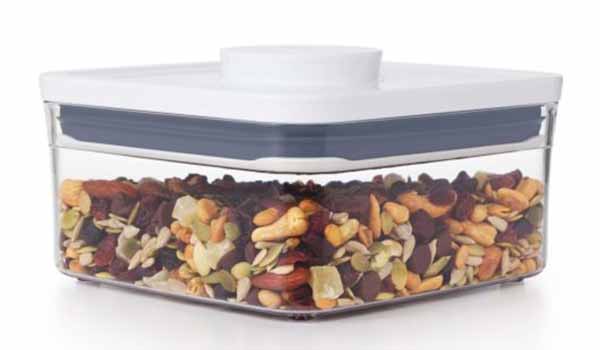
OXO POP containers are ideal for storage as they feature an air-tight seal and are made of BPA-free plastic. Purchase this 1.1-quart size directly from OXO now.
Another option for long term storage is to freeze in a resealable freezer bag.
Add your sugar to the bag and roll it up tightly to squeeze out excess air before sealing. When needed, remove from the freezer and thaw at room temperature for two to three hours before using.
Also, it’s important to note that the use of oxygen absorbers should be avoided in storage. Although they’re not desiccants – moisture absorbers – they contribute to drying out the coated crystals.
Soft and Fluffy
Hard brown sugar can be saved and restored to its soft, fluffy texture by simply introducing some moisture.
A slice of bread or a cut up apple works to slowly reconstitute the texture or try short increments in the microwave for quicker results. But the most effective solution is to add a moist terra cotta disc to soften hard lumps evenly.
Store in an airtight container to retain its lofty constituency, or add a terra cotta disc as soon as you open the original packaging to keep the crystals from compacting and hardening.

Do you readers have any tips to save this ingredient when it turns into a hard brick? Let us know in the comments section below.
To learn more about this and other sweeteners, be sure to add these ingredient guides to your reading list next.
- A Sweet Guide to Sugar: Different Types and How to Use Them
- Sweet, Sweet Sugar: Five Myths and the Real Facts Explored
- All About Honey: How Sweet It Is
Photos by Lorna Kring, © Ask the Experts, LLC. ALL RIGHTS RESERVED. See our TOS for more details. Uncredited photos via Shutterstock. Product photos provided by Wayfair, Amazon, and OXO. Originally published October 11, 2016. Last updated on December 18, 2023.
About Lorna Kring
Recently retired as a costume specialist in the TV and film industry, Lorna now enjoys blogging on contemporary lifestyle themes. A bit daft about the garden, she’s particularly obsessed with organic tomatoes and herbs, and delights in breaking bread with family and friends.


Wow, that is really interesting! I’ve never had my brown sugar go so hard (form lumps yes, but I can break them up with a spoon) but good to know there are some options if it does get to that point!
I do have some palm sugar though (for Malaysian and similar cooking) and it comes as a hard lump. I wonder if I can use any of the above methods to soften it up as required…
I also have never thought of freezing sugar – sugar has never become unusable that I feel the need to freeze if for prolonged storage. But if we get a bigger freezer I may try it as it will certainly protect against ants getting to the sugar!
I’m not all that familiar with palm sugar LSA, but the scoop online is to place it in a microwave safe dish with a teaspoon of water and nuke for 30 seconds on low – after that, you should be able to mash it down.
How exactly does the microwave soften the sugar? The heat evaporates water doesn’t it so wouldn’t it harden even more? Of course, I can’t try it because my microwave doesn’t seem to have power settings.
I believe the key is the damp paper Wheezybz – the sugar would absorb the moisture before the micro has a chance to dry it.
I used a tip I found online and it is wrapping the clump in alu foil and putting it in the oven. That worked well