If you are anything like me, you didn’t grow up watching your mom or dad do a lot of grilling and may not be aware of some of the details that go into preparing great tasting BBQ.
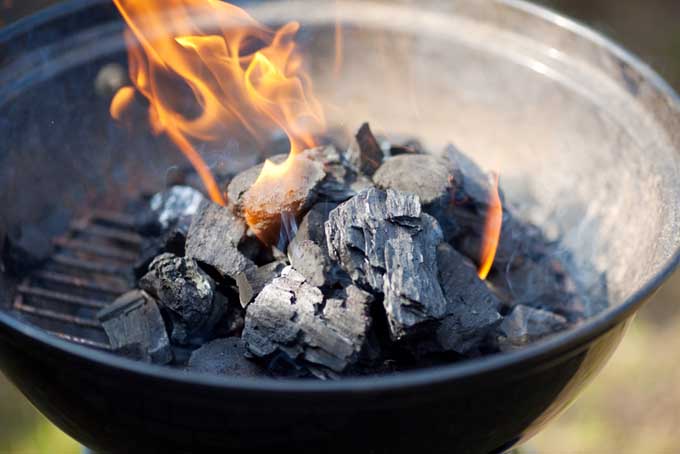
That being the case, you may have no idea how to set up your coals, figure out when the grill is hot enough, or even control the temperature once you’ve gotten it just right. Well, this article is just for you, then, because I’ll be going over all of that.
How to Arrange Your Coals
First things first: there are a few different ways you can arrange your coals, and the different arrangements are used for different methods of grilling your food. The first method is the most basic and the one with which most people are familiar. That would be having your charcoal spread in one even layer. This type of set-up is used for all of your typical direct-heat cooking, such as burgers, steaks, etc.
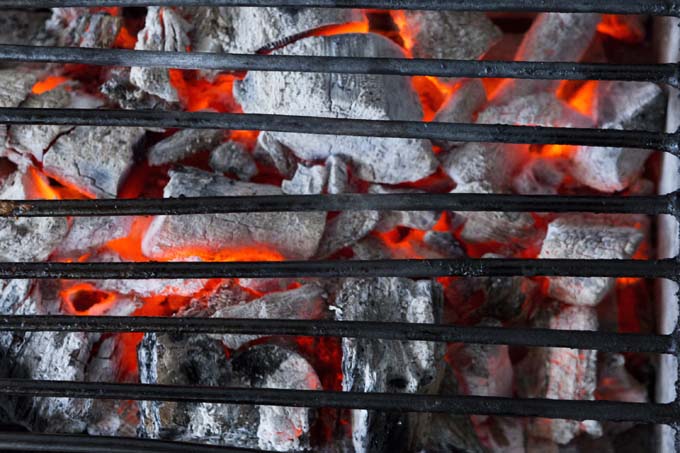
The next option is a two-zone, direct-heat lay-out. In this method of cooking, the majority of coals are piled on one side of your grill while the other side has one thin layer.
This set-up would be used for something like a really thick steak (even a lesser-known steak cut) or pork chop. In this way, you would be able to get a really good sear on the meat from the side with more heat, and then you would finish cooking on the side with less coals to avoid over-cooking the outside of the meat.
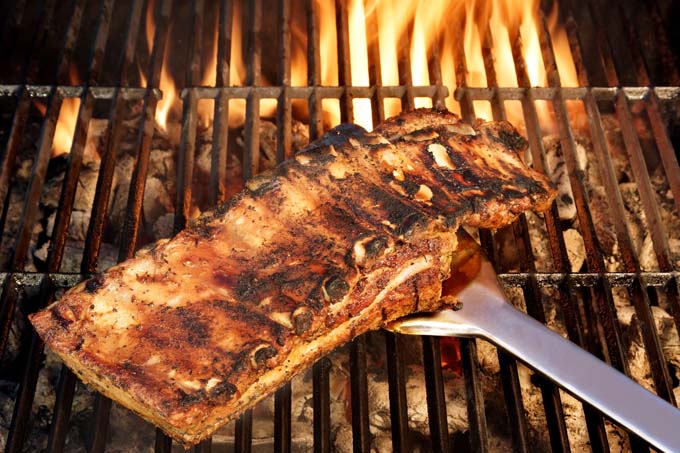
Another way to layout your fuel gives you two-zone, indirect heat. In this arrangement, all the fuel supply is banked on one side of your charcoal barbecue grill. You will use this method for cooking large roasts or whole birds. The meat goes on the side of the grate with no fuel directly under it.
Utilizing this preparation, you will be able to fully cook the inside of the meat without burning the outside.
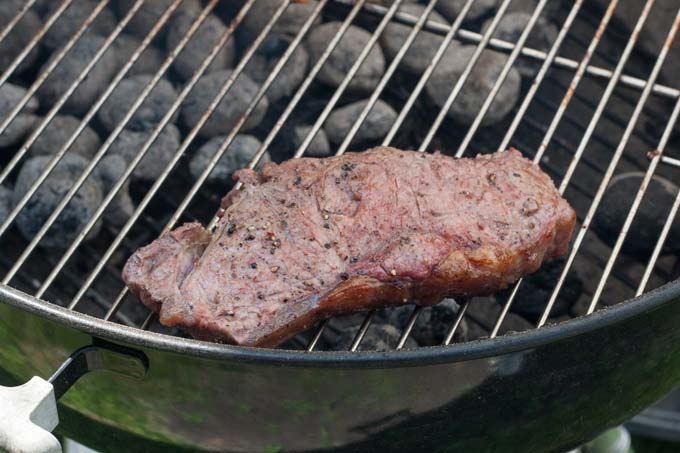
Finally, you can also make a three-zone fire and arrange the charcoal along both sides, leaving the middle section clear. This type of set-up is perfect for smaller roasts, pork loins, quails, small chickens, etc.
A Note on Portable Charcoal Grills
Make sure that you choose one with adequate space to arrange you coals. Many of these models do not have deep wells which make placement difficult. See Foodal’s Portable Charcoal Grill Buying Guide for assistance.
Is It Hot Enough Yet???
So, you have your charcoal arranged just right for what you intend to cook, and you have the fire going. Now, how do you determine when the heat level is correct? That, my friends, is as easy as holding out your hand.
Placing your hand directly over the grates, approximately 4-5 inches from the smoldering coals, simply count the seconds it takes before it feels like your hand will start smoldering itself.
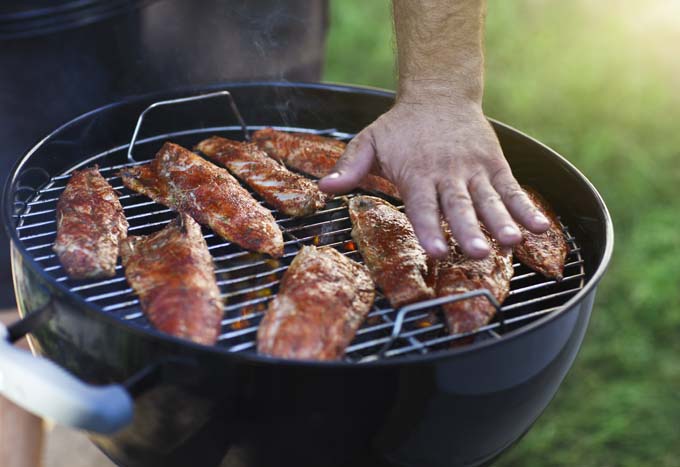
If you can only hold your hand there for a second or two, this is too hot to cook anything, but it’s a great time to stick your hand in an oven mitt and grab your stiff-bristled brush to scrape those grates clean.
Are you able to hold your hand above the heat for 2-3 seconds? This puts the temperature at around 450°F (high), which is still too hot for anything other than a really thin pork chop or maybe a tuna steak.
If you can last 4-5 seconds, you’re looking at anywhere from 375-450°F, or a medium=high heat, which is the optimum temperature for cooking your generic burgers and steaks. This is also when you want to cook any fish or veggies.
Keep in mind that your barbecue grill will go from high to medium-high in only 5-10 minutes, so you’ll want to have everything prepped and ready to go. Once you’re cooking, the grill will only stay at this heat level for 10-15 minutes, if left uncovered.
About Ashley Martell
Ashley has enjoyed creative writing since she was six years old, when she wrote her first short story. She majored in English literature at the University of Montevallo. After years of professional work, she is now a stay-at-home mom of three, who uses her craft to write about her life and adventures in and out of the kitchen.

OMG I literally have been doing this wrong my entire life. Whenever I’d do any bbq, I’d just place the coals pretty much randomly and could never really control the heat too well. Will definitely be utilizing these tips next time. Thanks for the post
I hadn’t owned a grill in years, but was really craving the taste and experience, so last year I bought a small hibachi, which is what I had years ago. I do love the hibachi, but will probably eventually graduate to something larger, and hopefully, dual fuel. But, in the meantime, I plan to use the hibachi as a learning experience, since I’m pretty green as far as grilling is concerned. I looked around on the internet a little before buying the grill, and saw people referring to two-zone cooking, etc., but wasn’t sure exactly what that was, or how I should go about setting up my coals, or regulating the temperature. I’m so glad I stumbled upon this article, because it gives a great explanation of those things, in easy terminology, so I can feel more in control of my grilling.
I love to watch Primal Grill on PBS. That’s where I honestly learned techniques like heating the coals separately & having a ‘cool’ zone. Which, by the way, has saved me more times than I can count. Thanks for the brush up before things start up in my backyard again. I love grilling. The only form of cooking where holding a beer is not frowned upon.
Oh is that all there is to it?! Haha. Great description of the different methods to arrange your coals. I like to keep one section (doesn’t necessarily have to be half) free of coals. That way when I’m grilling something that drips a lot I can move it to safety whenever a large flare-up occurs.
I just made my first shashlik (a type of kebab popular in Eastern/Central Europe) and I must say that it was pretty good for the first time! Just like you, I did not have anyone to teach me the proper grilling techniques, so the tips are greatly appreciated! 🙂
I love a good braai… that is what we call a barbecue here in South Africa. But I always wait for my brother to start the fire because I have no clue how to build a good fire. I knew there was a technique involved and thank you for showing us how.
I am definitely going to surprise my family at our next braai. We have something called “load shedding”here in SA That is where the electricity is switched off in each city or subhurb for two hours at a time to save energy, so we like to normally barbecue at those times. I will follow this technique of laying the coals.
Wow! Thank you so much for this article it will truly help me with my future grilling experience. I just recently started and I would have the hardest time just to get the coals hot. My mother would always use lighter fluid to get the fire burning, but it is not readily available here is Senegal, so they use plastic. I usually pile my briquettes in a mountain, but the grate becomes entirely to hot. My fish usually sticks and falls apart and my meat cooks way too fast on the outside. I am definitely going to try some of these methods and see how they work out for me.
Thank you so much for this post, I always knew there was a technique to getting the perfect whole fowl without overcooking it. This is just what I needed. Also a great method for my charred squash and potatoes.
I actually have grown up watching my parents cook on the grill. Or at least until they shoed me away after a while. We did the usual one even layer of charcoal. I never even considered any other way. The hand trick is very useful to know. I always thought you had to have something like a thermometer.
It is shocking how few people understand charcoal placement, and how necessary it is to produce a quality meal. There are several more styles of doing this including a ‘ring of fire’ method with the coals along the outer edge. Another is the ‘Bullseye’ method which is good when you are grilling continuously for many people. You have all the charcoal in a pile in the middle, and use the outer ring as the cool zone.
The type of charcoal you use is important too, as well as wood chips (soak half, leave half dry).
I certainly wish I could get it right when it comes to grilling with charcoal. My husband has to start the grill each time. I for the life of me can’t get the coals to start. Try as I may it just doesn’t happen. I have watched him many times, but sadly I just don’t have the magic touch. I continue to prefect it, and at times I do get it some what. Mostly I fail, but the taste of grilled foods will encourage me to keep trying.