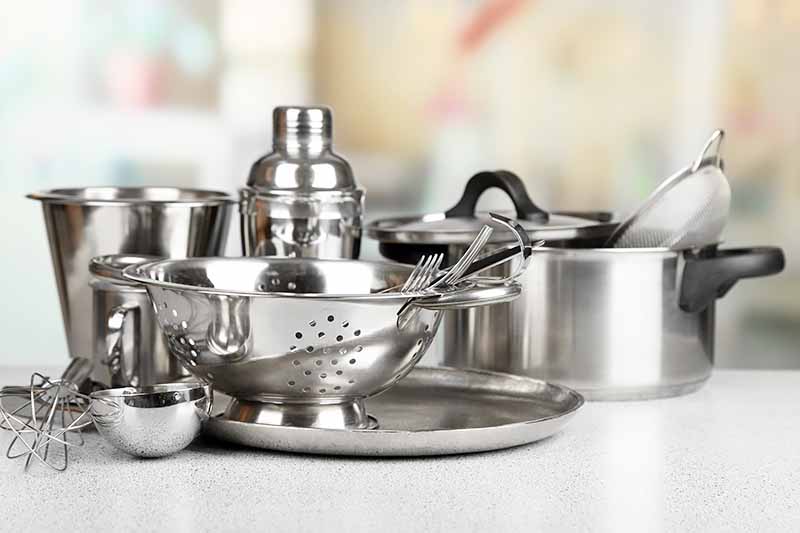
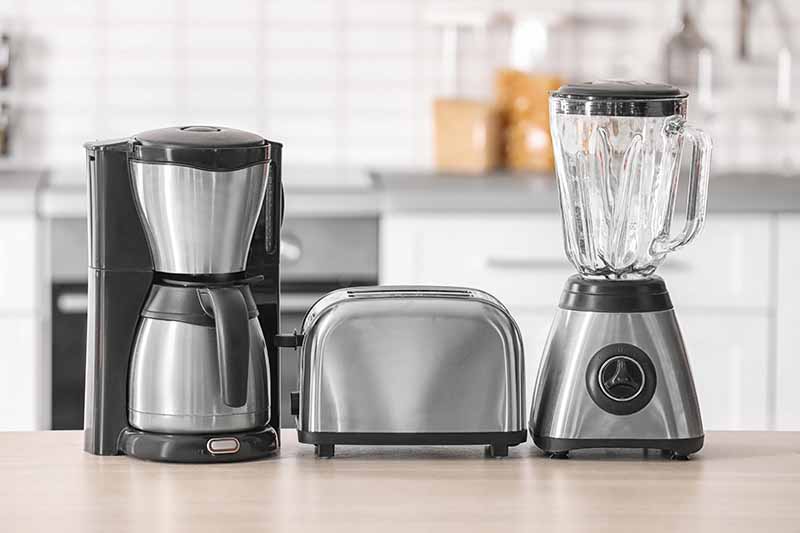
Gleaming stainless steel has a minimalist, sanitary quality synonymous with upscale, contemporary kitchen design.
However, maintaining a gleaming finish requires regular maintenance.
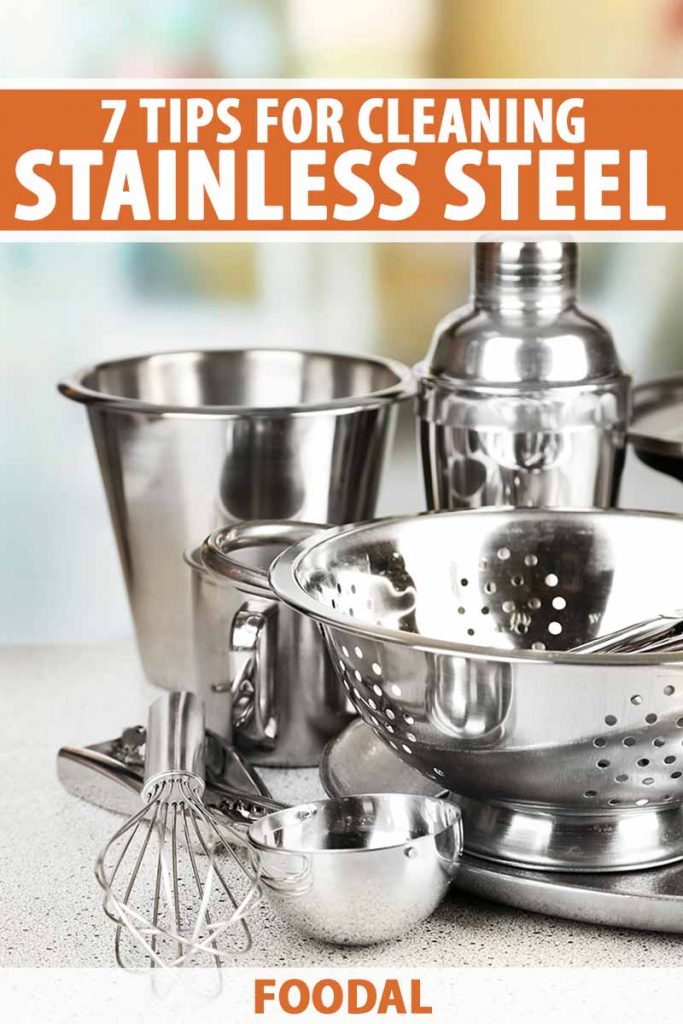
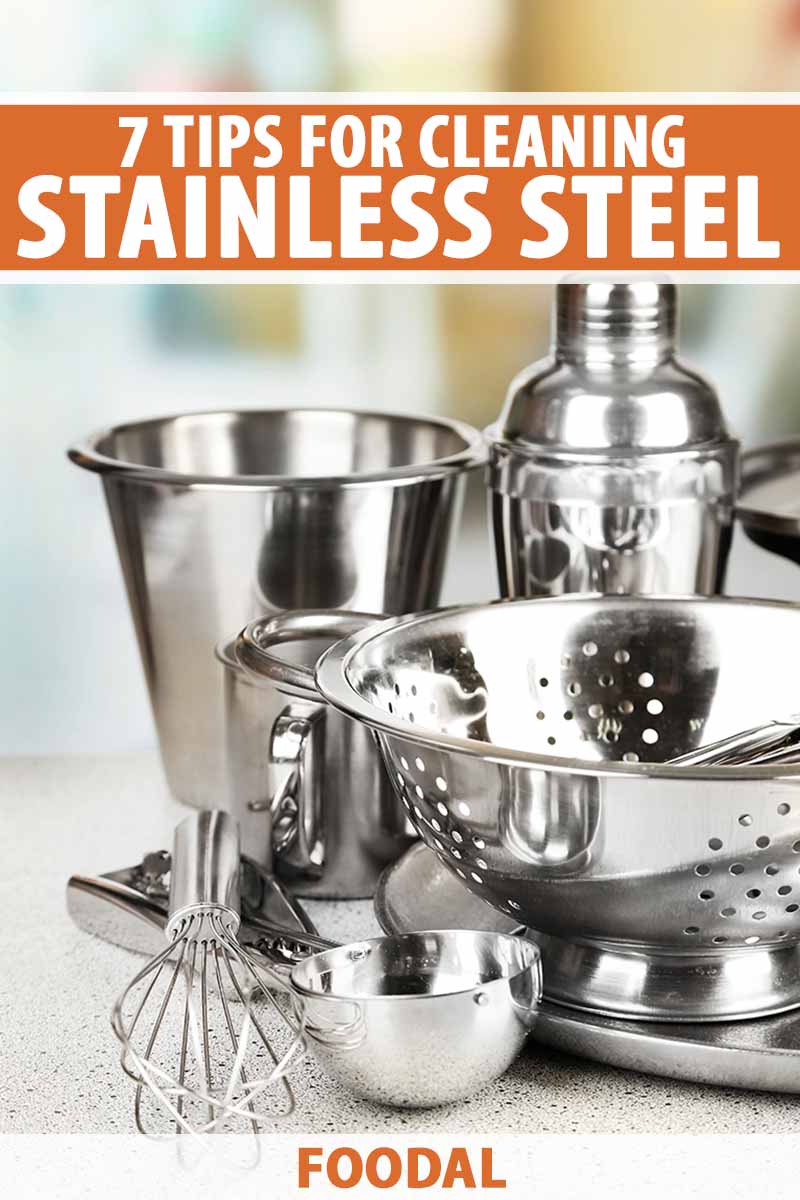
Read on for 7 tips to keep the stainless steel in your kitchen looking its best.
Here’s the lineup:
What You’ll Learn
Let’s get started!
What Is Stainless Steel?
Stainless steel is a mixture or alloy that consists primarily of iron but contains other minerals and elements, including carbon, nickel, silicon, and 10 to 20 percent chromium.
The chromium reacts with oxygen, creating a “passive” layer of protection from rust and corrosion, making the steel durable and able to withstand high temperatures.
There are different grades, and some have magnetic properties.

Stainless steel appliances, tools, faucets, and sinks are considered “high-end” and are often pricier than alternative models. In addition to silver, you’ll find a range of shiny tones including black and white.
Regardless of the grade, price, or item in question, you’ll want to maintain that brilliant showroom shine in your kitchen.
In addition, there are matte finishes that don’t require the buffing of their shiny counterparts.
A Maintenance Regimen
I always had white or almond kitchen appliances in the past. But finally, as pieces began to need replacement, I was able to have my dream choice – stainless, to match my sink.
Be careful what you wish for, folks!
Don’t get me wrong. My kitchen looks brand new, if you don’t look too closely at the old cabinets and countertops…
But I digress.
The fridge and microwave handles are usually smeary, with a hungry family in the house. And because I hang dish towels on my stove and dishwasher handles, the door fronts are perpetually water-spotted.
Fortunately, Whirlpool supplied me with instructions that I used to implement a cleaning regimen that goes something like this:
After dinner, I moisten a dishcloth or sponge and look around the kitchen. If I see streaks and smears on the fridge door, microwave handle, or front of the dishwasher, I wipe them off. Then I take a fresh, dry towel and dry the washed areas.
Simple, right?
Then, once a week when I am feeling ambitious or once a month when I’m not, I do a “deep cleaning.”
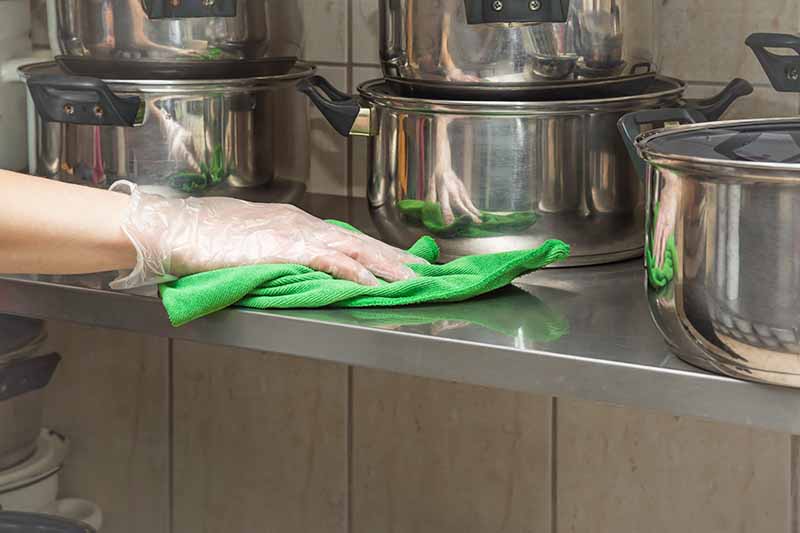
I saturate a dishcloth with warm water and a few drops of degreasing dish detergent, wring it out, and wipe down the fronts of all the large and small appliances, as well as the faucet, sink, and shelves.
Then I wipe everything dry with a fresh towel. I like to use microfiber because it buffs as it dries and leaves no lint behind.
If there are still streaks and gunk visible, I mix a teaspoon of baking soda with a quarter to a half teaspoon of water to make a thick paste. I rub the paste into the dirt with a soft, moist cloth until it is gone.
I follow the baking soda treatment with the soapy cloth to wash away the residue, and the dry towel to buff the area until it shines.
The more often you clean, the less elbow grease is required. If you only do it once a month, with no interim wiping, the job is harder and more time-consuming.
7 Tips for Cleaning Stainless Steel in the Kitchen
Now that you know my routine, let’s get to seven tips you can use at your house to keep your stainless sparkling.
1. Avoid Abrasives
When caring for products made with this style of material, it’s important to remember that they scratch easily. Whether you scrub the sink or the dishwasher door, you’ll need to take a soft approach.
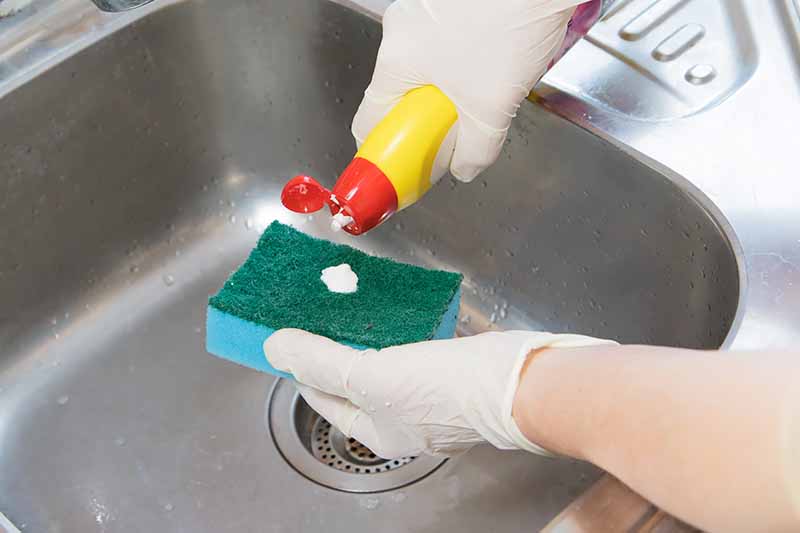
Items like sponges, microfiber cloths, degreasing dish detergent, and non-abrasive “soft-scrubbing” liquids are acceptable.
Scouring pads, steel wool, brushes, and powdered cleansers are unsuitable, as they are likely to scratch surfaces.
That first scratch is bound to happen eventually. But hopefully, it won’t be from improper maintenance.
Per Whirlpool, in addition to abrasives, don’t use oven or window cleaners or products that contain acetone, ammonia, citrus/plant oil, or vinegar.
You may read about using olive oil during the final buffing to make a fingerprint-resistant coating, but you may find it just serves to make everything greasier.
2. Do a Test Spot First
Don’t begin by wiping a large swath when working on a surface for the first time. It’s best to do a small patch to ensure your cleaner and cloth don’t discolor or scratch the finish.
For example, if you’re working on the fridge, test an inconspicuous spot on the side of the door near the bottom, where accidental marring won’t be as noticeable.
3. Dry Thoroughly
Regardless of how you maintain your items, it’s essential to dry them thoroughly afterward.
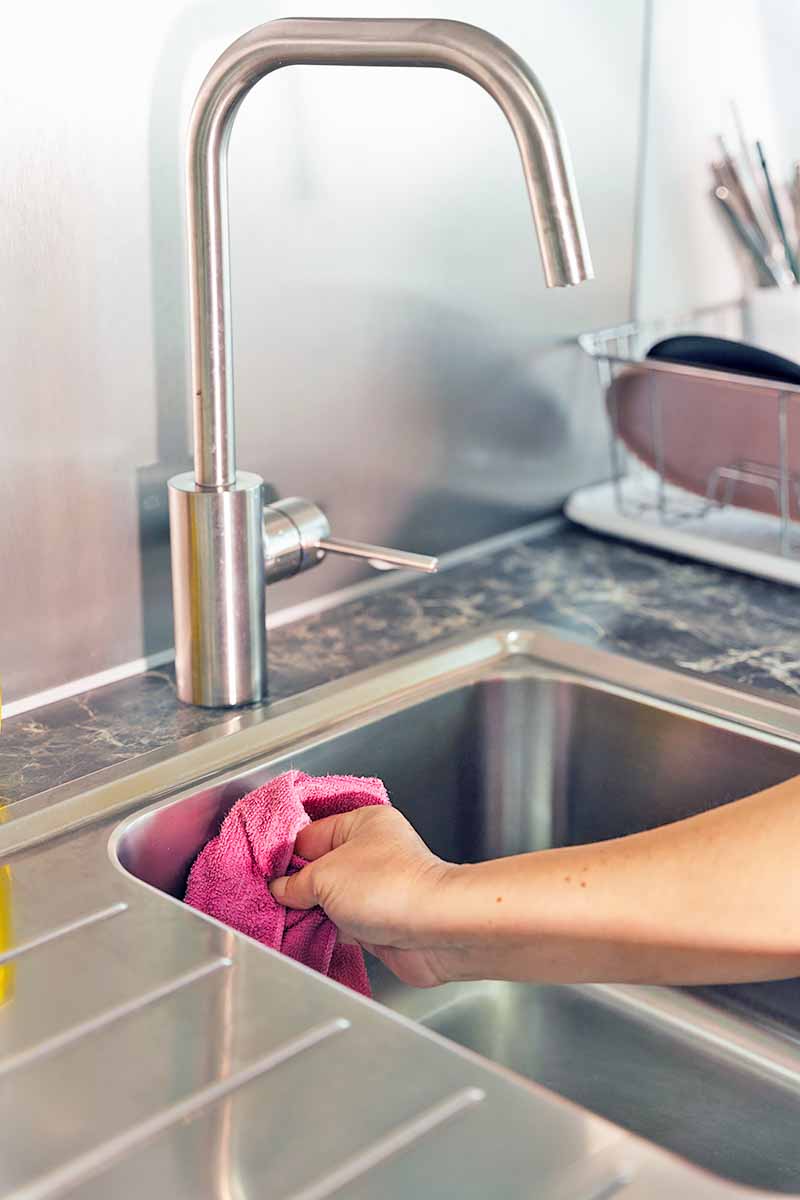
When you dry, be sure to use a fresh, dry cloth. Otherwise, you may smear soap and soil back onto your fresh surfaces.
A final buff with a fresh cloth shines, prevents water marks, and preserves the integrity of the chromium layer, your best defense against rust.
To keep faucets and sinks free of water stains and rust, wipe them dry at the end of each day after the kitchen is “closed” for the night. And don’t leave anything in the sink, especially wet steel wool pads that will likely leave a rusty stain by morning.
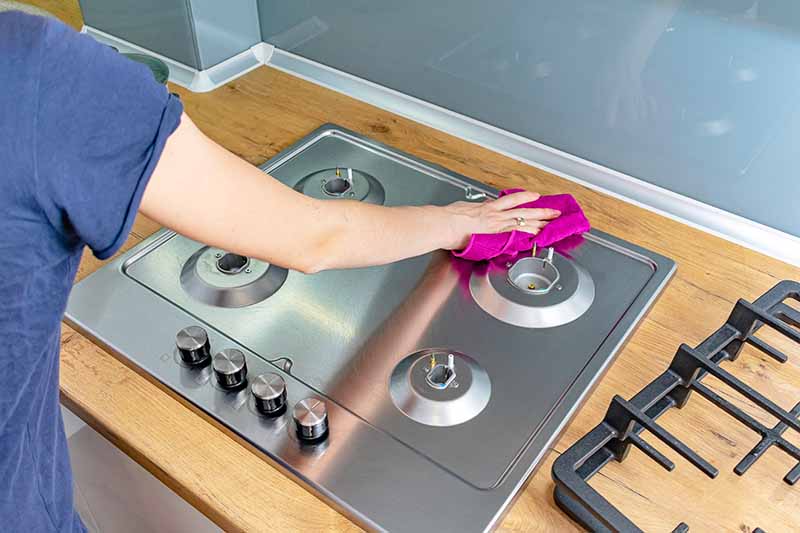
4. Go With the Grain
Stainless steel is non-porous but has a wood-like grain that is a byproduct of the manufacturing process. The grain is visible and consists of shallow grooves resembling brush strokes. It may run horizontally or vertically.
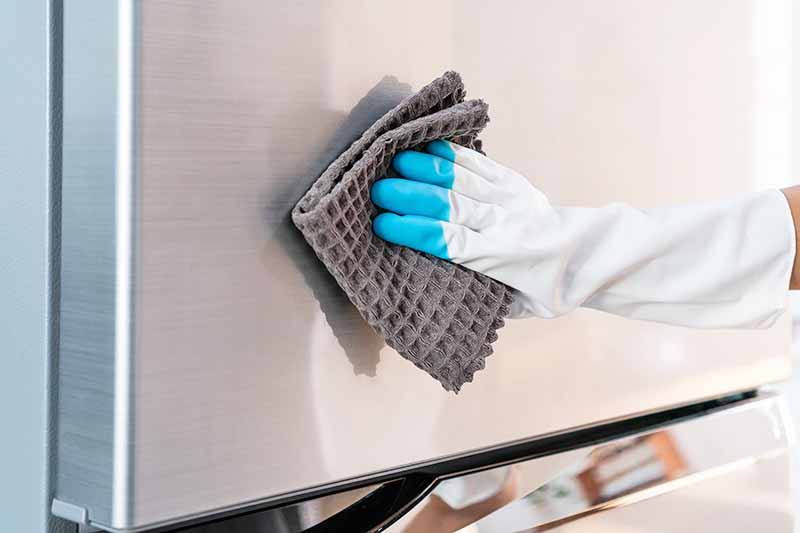
When cleaning, rub the sponge or cloth in the same direction as the grain to lift debris from the grooves each time you wipe over them, and polish to a bright finish.
5. Remove Rust
Even with a protective chromium layer, stainless steel that is perpetually wet may rust.
And if you’ve got rust spots, this is a job for one of my favorite household items: baking soda. If you have an old box absorbing odors in the fridge, take it out, replace it, and use the old one for soft scrubbing as we did above.
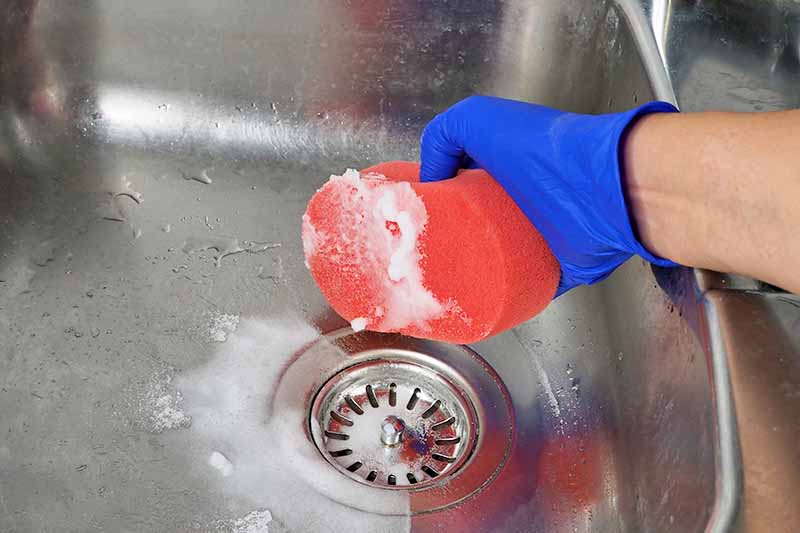
Kitchen sinks are notorious for scratching and rusting. Baking soda minimizes the appearance of scratches and removes light rust spots by polishing them away.
And if your stainless cutlery has rust specks, give it a good scrub with baking soda and wash it in soapy water or the dishwasher afterward.
6. Shine By Buffing
Buffing at the end of the cleaning process restores brilliance and keeps surfaces looking their best. Skipping this step may leave you with cloudy residue and watermarks.
To buff, move the cloth slowly with the steel’s grain, rather than in circles, applying light pressure as you go. Turn the cloth periodically to a fresh side and continue until you cover the entire surface.
Change cloths as needed during this step to avoid streaking.
7. Try a Commercial Product
I have allergies so I avoid chemical products, but you may find them convenient and practical to use. The Weiman company makes two products you may like.
Weiman Stainless Steel Cleaner and Polish, available on Amazon
Weiman Stainless Steel Cleaner and Polish is available from Weiman via Amazon. This ready-to-spray product is easy to apply with a soft cloth. Simply wipe away fingerprints, grease, smudges, and streaks, while adding a protective mar-resistant barrier. Each handy bottle contains 24 fluid ounces.
Or, if you prefer, there are wipes.
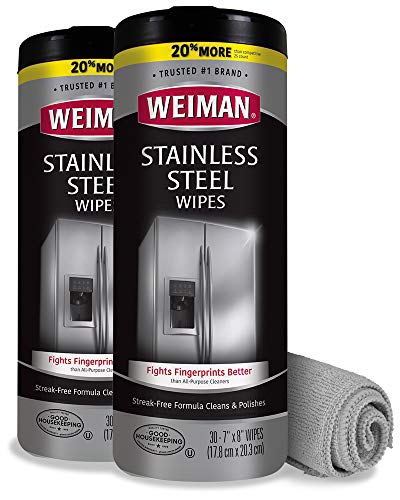
Weiman Stainless Steel Wipes, available on Amazon
It doesn’t get any easier than a canister of 30 ready-to-use wipes for removing and inhibiting dirt and restoring shine. Weiman Stainless Steel Wipes are also available via Amazon.
Maintain the Brilliance
Whether your stainless steel items are large or small appliances, countertops, cookware, cutlery, or shelving, it’s time to show them off with a sparkling shine achieved through regular maintenance.
If you have instruction manuals that came with them, follow the manufacturer’s instructions for the best results for your particular items.
And remember that while commercial products are available, caring for this specific kind of material doesn’t have to be expensive. A simple regimen using a degreasing dish detergent, water, baking soda for tough spots, and a cloth for drying and buffing is generally all you’ll need to restore a brilliant shine.
If you found these tips helpful, here are more ideas for keeping your kitchen equipment looking its best:
- 11 Ways to Remove Stains from Plastic
- Butcher Blocks and Wood Cutting Boards: The Best Natural Methods for Care and Cleaning
- Keep Your Kitchen Countertops Sparkling with These Tips
© Ask the Experts, LLC. ALL RIGHTS RESERVED. See our TOS for more details. Uncredited photos via Shutterstock. Product photos via Amazon.
About Nan Schiller
Nan Schiller is a writer from southeastern Pennsylvania. When she’s not in the garden, she’s in the kitchen preparing imaginative gluten- and dairy-free meals. With a background in business, writing, editing, and photography, Nan writes humorous and informative articles on gardening, food, parenting, and real estate topics. Having celiac disease has only served to inspire her to continue to explore creative ways to provide her family with nutritious locally-sourced food.