The dishwasher has become a standard kitchen appliance, alongside the microwave, refrigerator, and stove. With proper use and care, a new one can last for a decade or more.
I recently replaced a dishwasher that was well into its second decade. Read on to find 17 practical tips that helped me to get the most out of mine.
Here’s the lineup:
17 Dishwasher Tips
- Check for Obstructions
- Clean Regularly
- Don’t Pre-Wash
- Dos and Don’ts
- Fill the Load
- Let the Tines Guide You
- Location, Location, Location
- Mix the Flatware
- Monitor Expiration Dates
- No Nesting
- No Suds
- Put Plastics on the Top Rack
- Run Off-Peak
- Run the Hot Water
- Skip the Heated Drying
- Unload the Bottom First
- Use a Rinse Aid
And now, the tips!
1. Check for Obstructions
Before pressing start, draw the racks out one at a time to ensure they glide freely. If they don’t, check for obstructions like protruding mug, flatware, and pot handles. Items that stick out may impede the movement of the spray arms, the rotating bars that house the water jets.
Reposition items as needed and replace the racks. Reach between the dishes and give the spray arms a nudge. If they move freely, you’re good to go.
Some models have additional water sources called bottle jets in some of the tines on the top rack. They’re designed to clean baby bottles, water bottles, and tall, narrow glasses. If you are not using them, avoid obstructing them so they can contribute to the overall wash load.
2. Clean Regularly
Cleanliness goes a long way toward efficient dishwasher operation. Don’t wait once a year with the rest of your spring cleaning tasks!
And while cleaning the outside, including buttons or touch pads, keeps it looking sleek and shiny, the inside needs the most attention.
The pros at Whirlpool recommend cleaning removable filters and running an empty load with vinegar followed by baking soda.
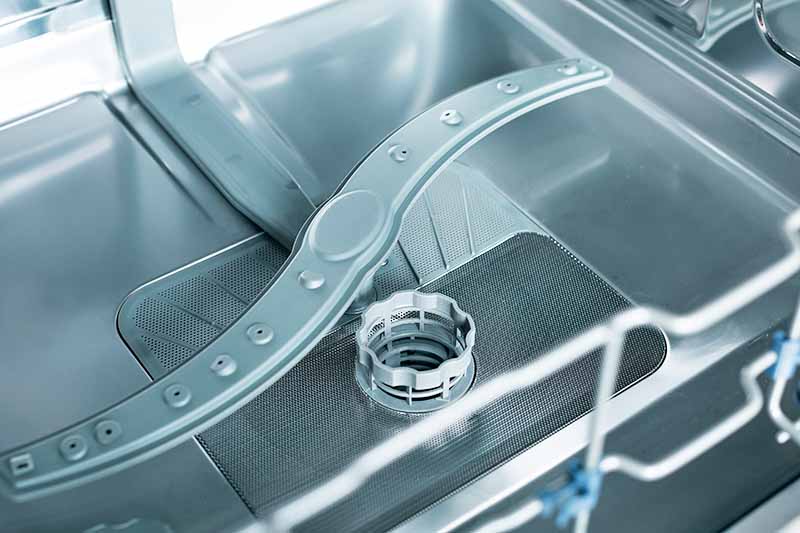
Here’s how:
Remove the racks.
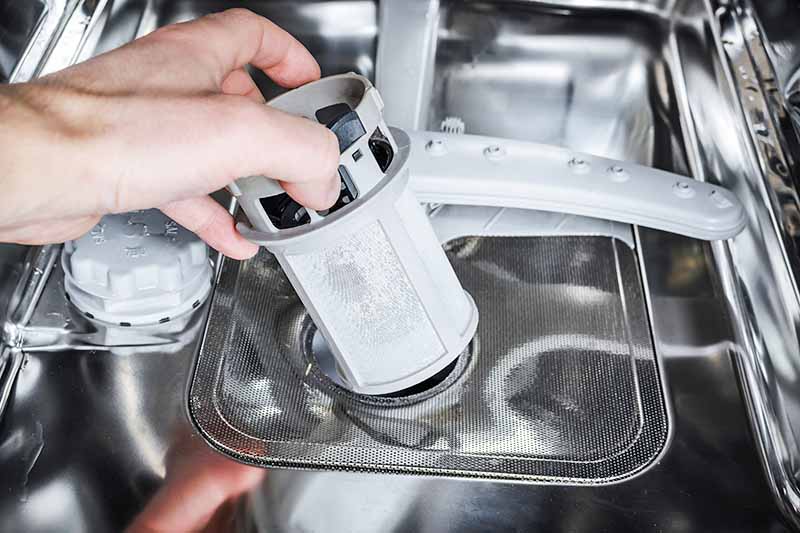
Locate the filter, the basket-like screen that traps food particles in the bottom of the machine. Models vary, but it likely has two parts: an upper cylinder and a lower plate. Turn the top cylinder counterclockwise and remove it, then lift out the lower plate.
Take them to the sink and run tap water over them. Use an old toothbrush to scrub them gently as needed.
Replace the bottom plate and top cylinder, lining up the tabs and turning the cylinder clockwise to lock it in place. Locking it firmly in place is essential.
Replace the racks.
Next, fill a dishwasher-safe ceramic or glass container with two cups of white vinegar. Place it on the lower rack. Run a complete normal cycle on the air-dry setting.
After the cycle finishes, pull the bottom rack out, sprinkle one cup of baking soda in the bottom of the machine, replace the rack, and run a cycle on the hot water or temperature boost setting.
Alternatively, you can use cleaner tablets per package instructions.
A clean machine harbors fewer germs that cause odors and operates more efficiently than a dirty one.
3. Don’t Pre-Wash
All you need to do to prepare plates for washing is scrape the large food bits into the garbage disposal or trash bin and place them on the rack. Rinsing is unnecessary.
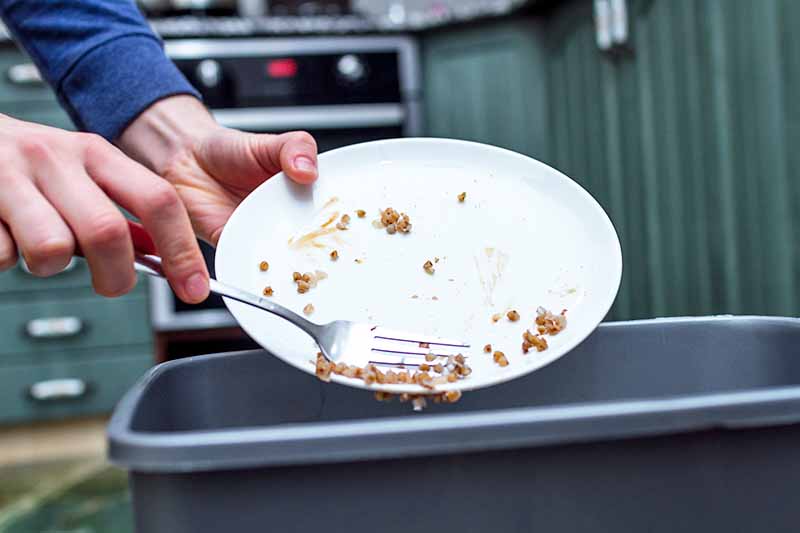
Detergents have enzymes that dissolve food, and models with auto-soil sensor settings gauge wash times by the amount of residue present. Let the machine do its work.
If you find that your dishes aren’t coming out clean, you may need to:
- Use a better-quality detergent
- Use a longer wash setting
- Refill the rinse aid dispenser
- Address a hard water issue
Mineral-rich or hard water can leave items cloudy and/or spotted. Troubleshooting options include:
- Using detergent designed to work with hard water
- Buying a dishwasher with a water softener that requires the addition of dishwasher salt
- Installing a whole-house water softener
There’s one caveat with not pre-washing: If you let your kitchenware sit too long with caked on food, it’s harder to remove. And an older machine may not produce the same results as a newer model.
4. Dos and Don’ts
If a pot, vase, toy, or other article is not stamped “dishwasher safe,” don’t put it in the dishwasher.
Per the Whirlpool pros, the following are dishwasher safe:
- Drinking glasses and sturdy wine glasses
- Everyday china and ceramic dishware
- Glass and stoneware baking dishes
- Hard plastic
- Metal and silicone utensils
- Stainless steel
And now for the items that are NOT dishwasher safe:
- Antique, handpainted, and metal-rimmed china
- Cast-iron, copper, and non-stick pots and pans
- Crystal and delicate glassware
- Insulated containers and mugs
- Knives
- Silver
- Thin plastic
Follow this guidance to avoid appliance damage, injury, and ruined items.
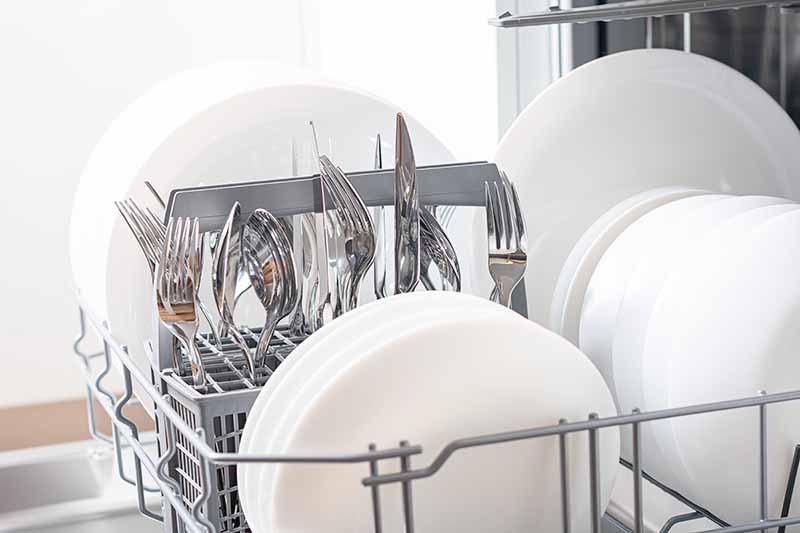
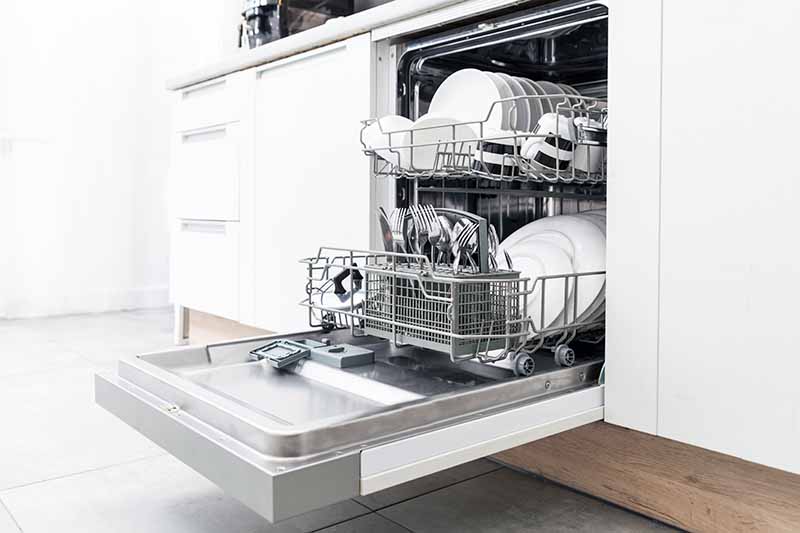
5. Fill the Load
Filling the racks, rather than running a partially full load, is economical and energy-saving.
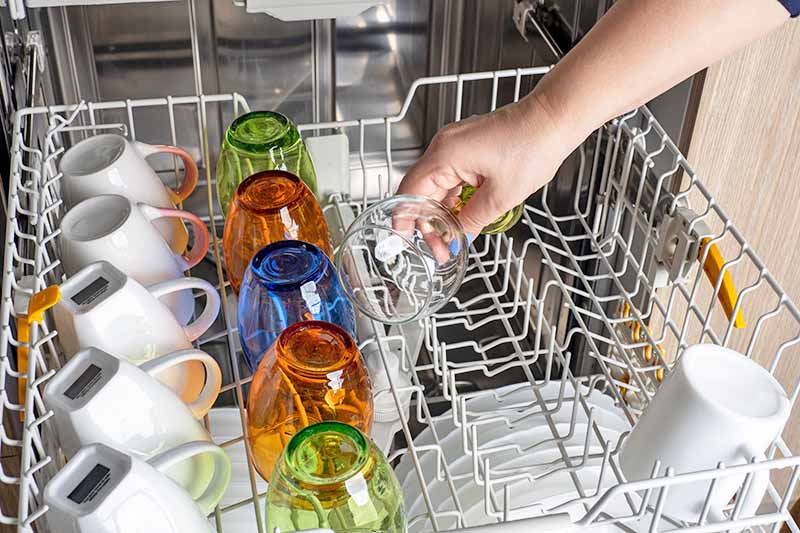
However, some of today’s models offer a half-load option. You can fill either the top or the bottom rack, and only the water jets aimed at that portion of the interior will function.
If you have only dinner plates, you can fill the bottom and use the bottom half option.
And if you want to do a load of coffee mugs, you can choose the top half setting.
The bottom line is that whatever size load you do, you should fill the rack(s) using the tines as directional guides, with no items touching, and get the best value for the water and electricity used.
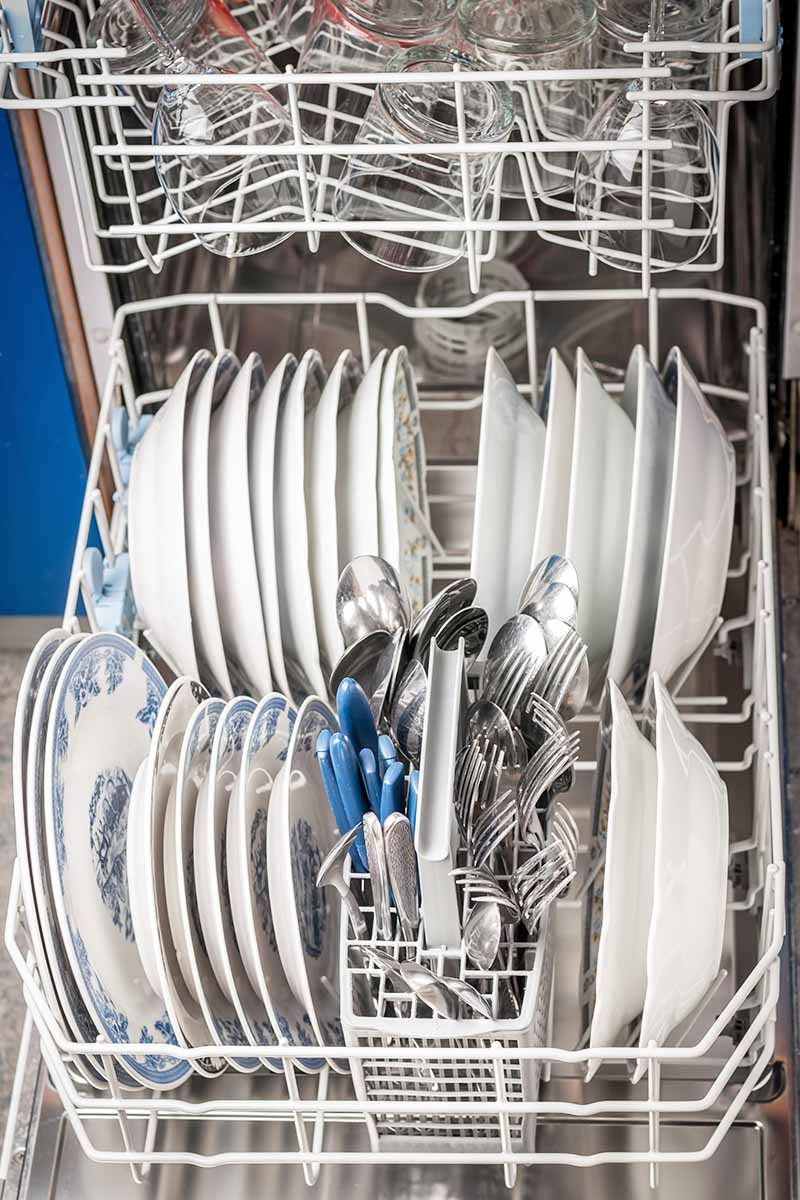
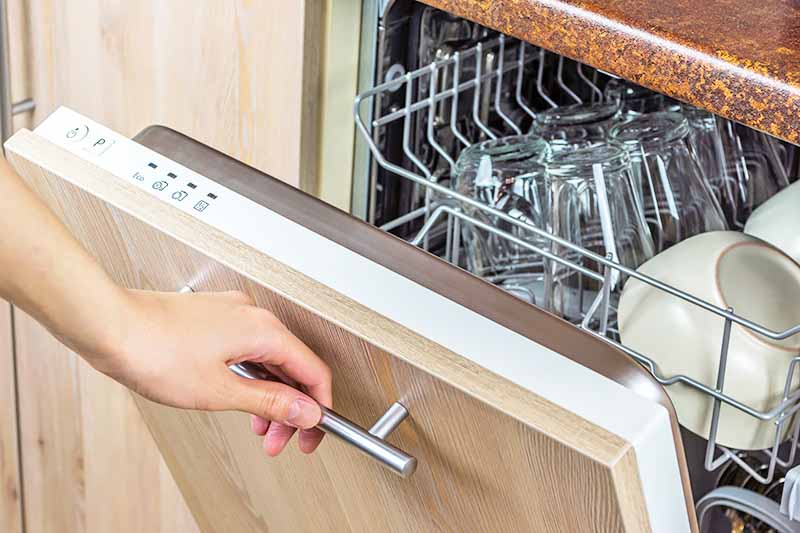
6. Let the Tines Guide You
Dishwashers vary. Some bottom racks have tines that slant to the right, like mine as seen in the photo directly below, with a flatware basket to the far right.
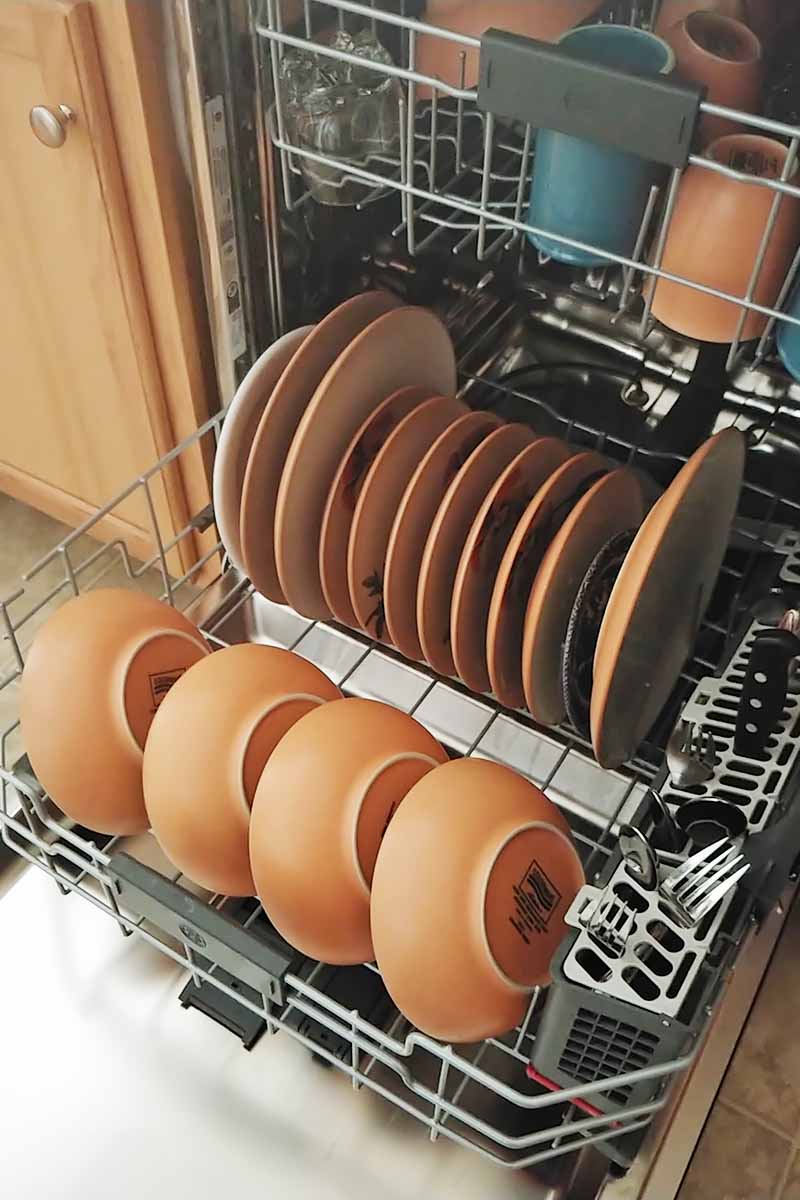
Others have two sections of tines that lean inward toward the center, with a flatware basket between them.
Whatever your configuration is, follow the tines’ slant when you fill the racks. Items should not touch each other, to prevent breakage and facilitate water flow and detergent distribution.
If you find the plates flop over against each other, try loading them the opposite way and see if they stand tall.
Dishwashers have one or more rotating spray arms that spray in a circular motion.
If you want to see the recommended loading configuration for your appliance, locate the model number near the door gasket and look it up on the internet, where complete owners’ manuals are available. If you don’t know the model, the make alone may be enough to find a diagram comparable to your configuration.
7. Location, Location, Location
As with real estate, location matters. If you are fortunate enough to have the opportunity to design a kitchen, put the dishwasher by the sink to tie in with the sink plumbing and make scraping scraps into your garbage disposal easy.
Keep it away from the refrigerator, as it gets hot during heated drying cycles and may cause the fridge to run harder.
8. Mix the Flatware
As you fill the flatware basket, try to mix the butter knives, forks, spoons, and miscellaneous utensils. Keep the handle sides down so the dirtiest parts face upwards.
You may read about putting utensils together, like forks with forks, to make restocking the silverware drawer faster, but you may find the items nest if you do this so they don’t get clean in between.
Another loading style is to put some item handles up, and some handles down. This arrangement may work for spoons and butter knives, but fork tines may catch debris in the bottom of the basket and come out dirty.
Models with lidded, sectioned flatware baskets help to keep utensils separate and require putting them into the little slots handles down.
9. Monitor Expiration Dates
Rinse aids and detergents don’t last forever. They have expiration dates after which they no longer clean well.
For best results, don’t let the dates go unnoticed.
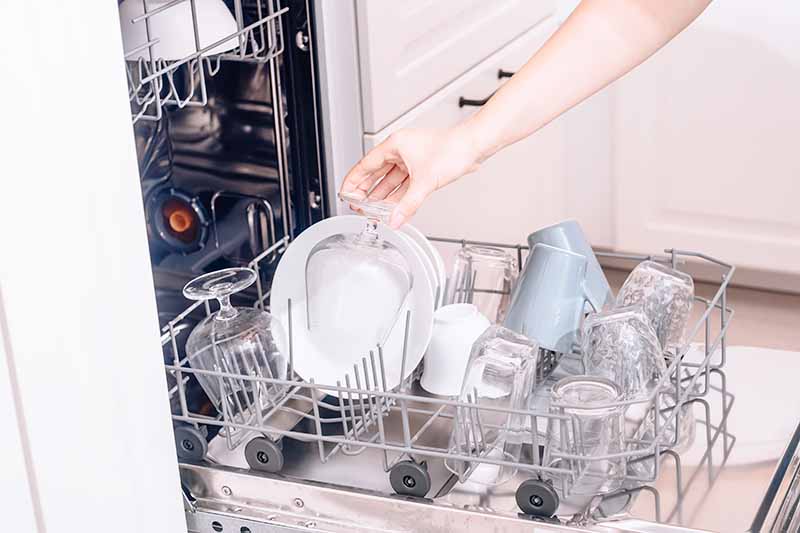
10. No Nesting
Whether it’s plates or spoons, there should be air space between items.
Besides the fact that breakables are more likely to chip when they touch, the detergent and water can’t get between items that fit closely together. You may not see food caked on them, but they will be dirty just the same.
11. No Suds
Don’t substitute liquid dish soap if you run out of liquid, pods, or powdered detergent.
It is high-sudsing and can wreak havoc, producing copious quantities of frothy bubbles that run out of the machine and onto the floor, like a not-so-hilarious cartoon.
12. Put Plastics on the Top Rack
People are washing all kinds of things in dishwashers today, from scrub brushes to shower poofs and teething rings to toothbrushes. And that’s fine, provided they are labeled “dishwasher safe” and anchored firmly by the tines on the top rack.
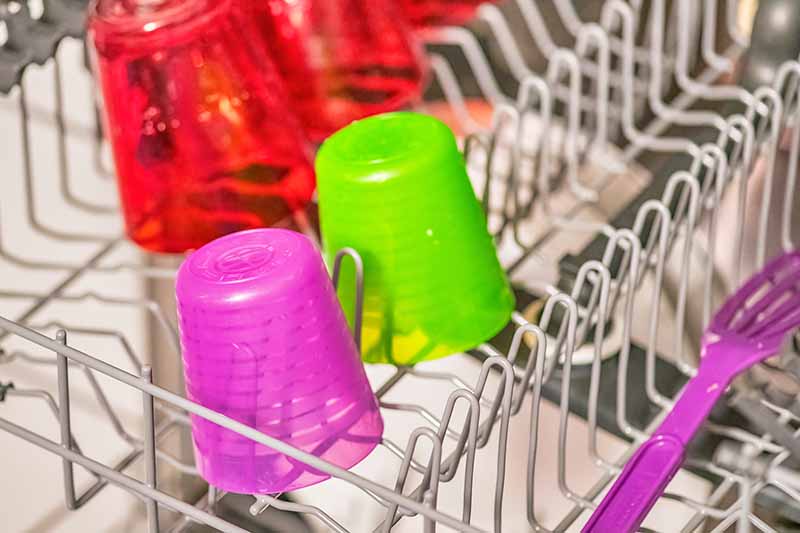
If you have a large plastic bowl that’s too big for the top rack, you’ll have to hand wash it.
Plastic placed too close to the heating element in the bottom of the appliance can melt, drip onto the element, and cause a burning odor. And while you may be able to scrub it off, you should probably consult a professional before attempting it.
Lids are likely culprits when it comes to slipping through the racks. If your model is newer and features a narrow third rack at the top for additional utensils, you can also use it to secure plastic lids.
13. Run Off-Peak
Avoid running your appliance during peak power usage hours, like right after dinner. If you can wait until after bedtime or get up early and start it before breakfast, you can save on electricity and water costs. Contact your local utility companies for specifics.
Also, when purchasing a new appliance, look for the “Energy Star” symbol for the most energy-efficient option. Rebates for Energy Star products are available.
14. Run the Hot Water
A dishwasher heats its water. However, it draws from the same water line that brings hot water through the kitchen faucet. So, if you run the hot water in the kitchen sink until it steams and then start the appliance, it takes less time to heat up before the wash cycle begins.
It may not save a tremendous amount of time but this may contribute to the longevity of the heating element. This essential component does double duty, heating water and drying the contents of the racks if you use the heated dry setting.
15. Skip the Heated Drying
While it may not break the bank cost-wise, heated drying adds time to the washing cycle and contributes to your total electricity consumption.
Unless you want to super-sanitize, as in the event of illness, use the air dry setting and increase the air circulation by leaving the door ajar after the machine stops.
Whether I dry with heat or without it, I find I have the same little puddles in the bottoms of my coffee mugs that I have to pat dry before I unload.
In addition to making the overall washing and drying cycle take longer, if you dry with heat, you have to allow additional time for the contents to cool down before unloading, or else risk burning your fingers.
16. Unload the Bottom First
It’s often logical to work from top to bottom. However, if the coffee mugs on top have water puddles, they’ll dribble on everything below when you slide the top rack out.
And while you may also have bowls below with little puddles on their undersides, minimizing splashing from the top can still help you get the job done faster.
17. Use a Rinse Aid
A rinse aid is a surfactant that reduces the surface tension of water to make it slide off objects in a sheeting motion. It helps to prevent spotting and promotes faster drying, especially when drying without heat.

Use the little window of the dedicated rinse aid dispenser to determine whether it’s full. When it dips below half, refill it using a funnel to guide the stream. It’s easy to overfill, so pour slowly.
Sparkling Clean
My family got its first dishwasher when I was a teenager. It was portable, and we rolled it to the sink and hooked it up to the faucet. And while portable models are still widely available, dishwasher features have evolved significantly over the years.
They are quieter, especially when they have a stainless steel interior. Automatic soil sensors and sanitizing settings offer superior cleaning. And auto-release doors help speed drying.
Racks are less one-size-fits-all, with more levels and adjustable heights, stabilizers, and clips. Jets are more numerous, with specialized settings to direct water as desired. And advanced filtration takes food out of the way and keeps drains clear.
Regardless of the make and model in your kitchen, it’s time to use these 17 tips to maintain your dishwasher and enjoy loads of sparkling clean dishes.
Would you like to share any tips you’ve discovered for making the most of your dishwasher? Please post them in the comments below.
If you found this article helpful and want to read about more dishwasher-related topics, we recommend the following:
- Cover the Basics with Made In’s Plateware: All the Plates, Bowls, and Platters You’ll Need
- Tips to Minimize Dish Cleaning During the Holidays
- Top Techniques to Clean Large Kitchen Appliances
Credited photo by Nan Schiller, © Ask the Experts, LLC. ALL RIGHTS RESERVED. See our TOS for more details. Uncredited photos: Shutterstock.
About Nan Schiller
Nan Schiller is a writer from southeastern Pennsylvania. When she’s not in the garden, she’s in the kitchen preparing imaginative gluten- and dairy-free meals. With a background in business, writing, editing, and photography, Nan writes humorous and informative articles on gardening, food, parenting, and real estate topics. Having celiac disease has only served to inspire her to continue to explore creative ways to provide her family with nutritious locally-sourced food.