We love our kitchen appliances, don’t we?
They keep our food fresh, cook it, clean our messes, entertain, and pamper us.
And kitchen appliances have a particularly commanding physical presence as well. They occupy a large area of space, with expansive interior and exterior surfaces that attract a lot of dirt and grime.
So to keep them looking and performing their best, large appliances like fridges, stoves, dishwashers, and microwaves all need regular washing, and more intensive periodic cleaning as well.
Here are some of the best methods and suggestions to handle these chores quickly and efficiently.
Microwaves
For crusty, caked-on food inside the microwave, heat a small bowl of water for a few minutes, and let the steam do the hard work of loosening it.
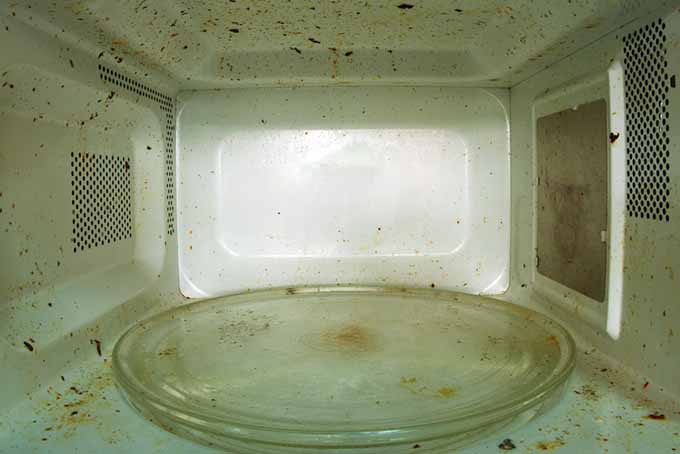
After steaming, wipe down the interior and exterior with a sponge and warm, soapy water.
If any tough stains remain, make a paste of baking soda and water, and apply a small dab with your sponge. Scrub gently until the residue is lifted.
Rinse with clear H2O, then towel dry.
Stovetops
How you clean your stovetop will depend on the type of stove you have.
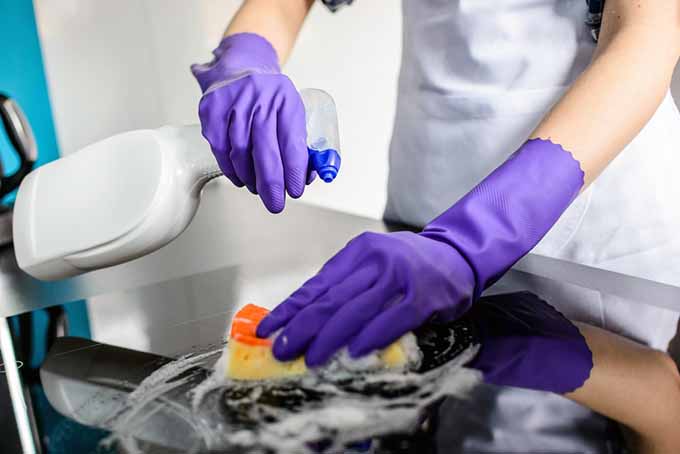
Glass Ceramic
For glass ceramic cooktops, using baking soda, water, and a non-abrasive ceramic cooktop sponge is a good choice. This is a quick and efficient way to lift tough burnt-on stains, prevent scratching, and leave the surface sparkling.
Here’s what you need to do:
1. When cool, wipe and remove any loose debris with warm, soapy water and rinse with clear water.
2. Mist the entire stovetop with water, then sprinkle on a liberal amount of baking soda.
3. Mist again with water, then gently rub in a circular motion with the microfiber side of the sponge.
4. Cover the entire surface with a damp cloth or paper towels, as you don’t want the baking soda to dry out. Let this sit for 15-20 minutes, and then use the scrubbing side of the sponge to lift tough marks.
5. Wipe up with a soft, dry rag, slightly dampened as needed.
6. Buff with a dry microfiber cloth for a lint-free sparkle.
7. For really stubborn spots, use a ceramic cooktop scraper or single-edged razor blade held at an approximately 30° angle against the edge of the stain. Carefully and gently apply pressure to avoid damaging the surface, and skim the residue off the cooktop.
8. Wipe with a soft, dry cloth and buff to a shine.
Painted Enamel
For stovetops with a painted enamel surface, use a soft sponge with warm, soapy water to lift grease, spills, and splatters. Use the scrubbing side of a sponge to remove any dried-on debris.
Remove the burners and wipe down electric ones with a damp cloth.
Gas burners can be scrubbed with a scouring pad in a sink full of warm, soapy water. If they’re porcelain coated, put them in the dishwasher (check your manufacturer’s recommendations first).
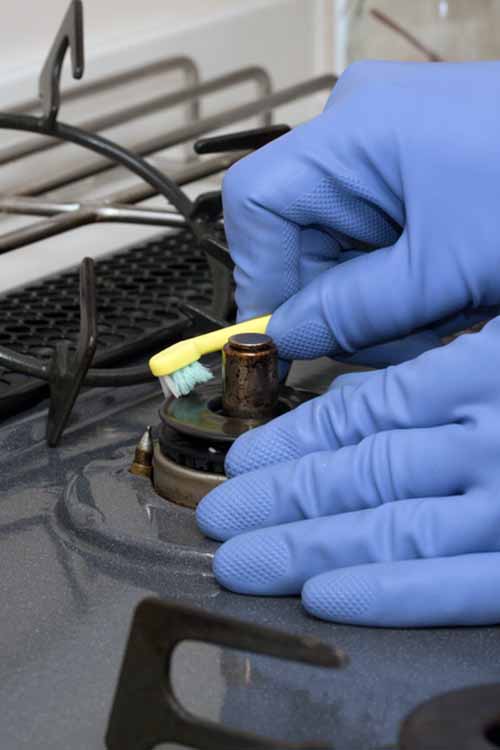
Remove burner rings and burner pans from electric ranges with coil burners, and wash with warm, soapy water. Use a paste of salt, baking soda, and water (see recipe below in the Ovens section) with the textured side of a sponge to scrub away burnt-on stains.
Remove the control knobs and soak in warm, soapy water. Use a soft brush to scour any ridges or crevices. Rinse and allow to dry thoroughly before replacing.
Ovens
If you use your oven often, a deep cleaning will be needed every few months – or as soon as you notice smoke coming from it when you try to bake something!
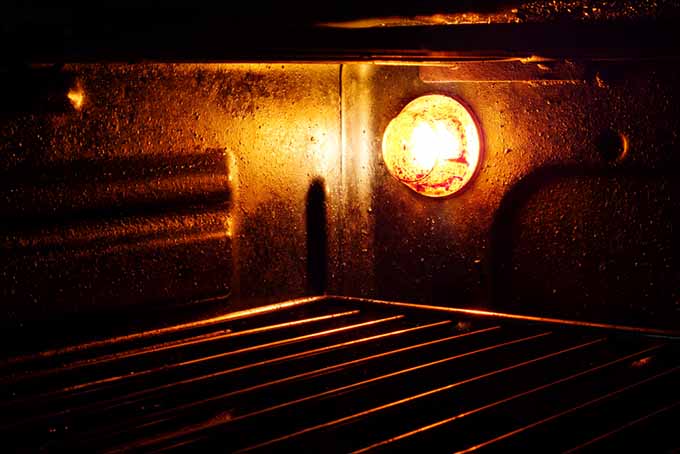
If you have a self-cleaning oven, simply follow the manufacturer’s instructions in your user’s manual, and wipe up any residue after the cycle is complete.
1. For manual-cleaning models, first remove the grates from the oven. If they’re heavily stained, soak in a large tub of hot, soapy water for a couple of hours, to release baked-on grime.
2. After soaking the grates, pour 2 tablespoons of dishwasher granules into a small dish. Dip a nylon scouring pad into the granules and scrub until stains are lifted. Rinse and dry before replacing in the oven.
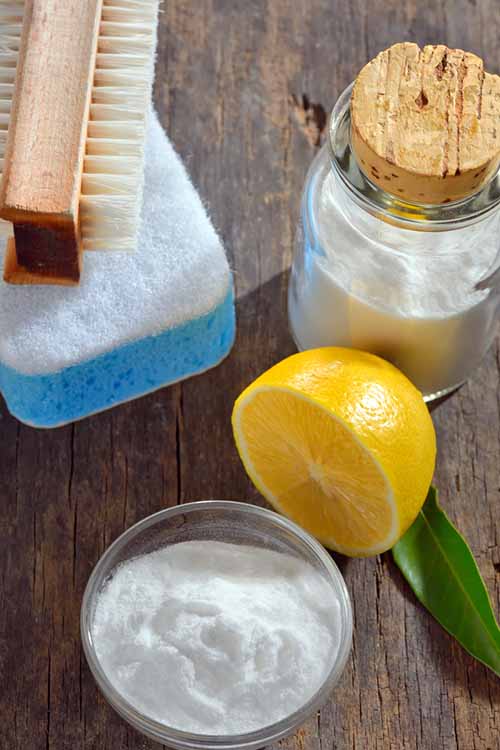
3. To clean the oven, an effective mixture for lifting burnt-on residue is to make a paste of 1/4 cup salt, 3/4 cup baking soda, and 1/4 cup water.
4. Plug any holes where the grates go with a bit of aluminum foil, then lay on the paste. Allow it to work for 10 minutes, then use a 1 or 2” metal putty knife to carefully scrape away any thick, baked-on gunk.
5. Apply more paste as needed, and scrub all surfaces with a nylon scouring pad. Rinse well with water and pat dry with paper towels.
To make cleaning easier in the future, line the bottom of your oven with a reusable, nonstick oven liner. Just take it out to wipe down as needed, then replace in your oven.
Vent Hoods
Wipe down the outside surfaces with a soapy sponge. Rinse with a water, and dry with a soft cloth.
Every couple of months, the vent fan filters should be cleaned. Soak them in hot, soapy water first, then use a brush to gently scrub clean.
Rinse with warm, running water and allow to dry thoroughly before replacing.
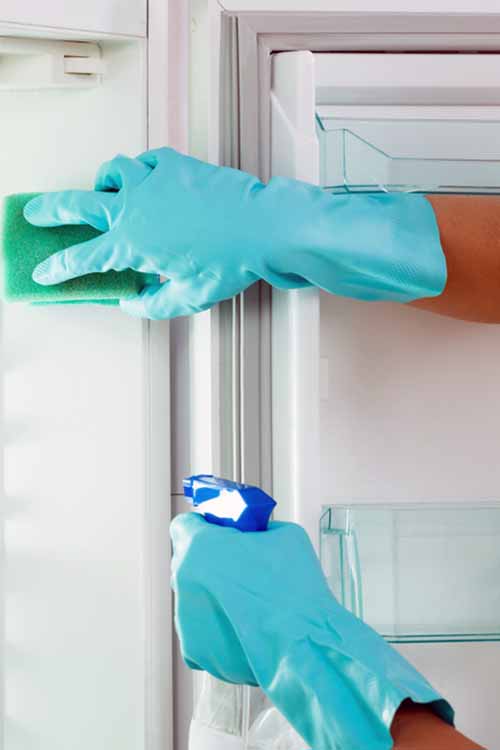
Fridges
Wash out the fridge before going grocery shopping. But first, do some fridge reorganizing: remove all items (or find creative reuses) and discard anything that’s expired.
Make a solution of 2 tablespoons baking soda and 1 quart warm water. Use a soft sponge to wipe down all surfaces, drawers, and shelves. Remove these if you can, for easier cleaning.
For sticky spots, sprinkle baking soda directly onto the sponge for scouring.
Rinse with H20, and dry with a soft cloth.
A box of baking soda left in the fridge will help to eliminate odors and keep your fridge smelling fresh. You’ll find additional suggestions for filling your home with a pleasant aroma in our post on natural air fresheners.
Freezers
Turn your freezer off for cleaning, if you can.
Remove your frozen goods and put in a cooler while you clean, and toss in the garbage anything with freezer burn or items that have expired.
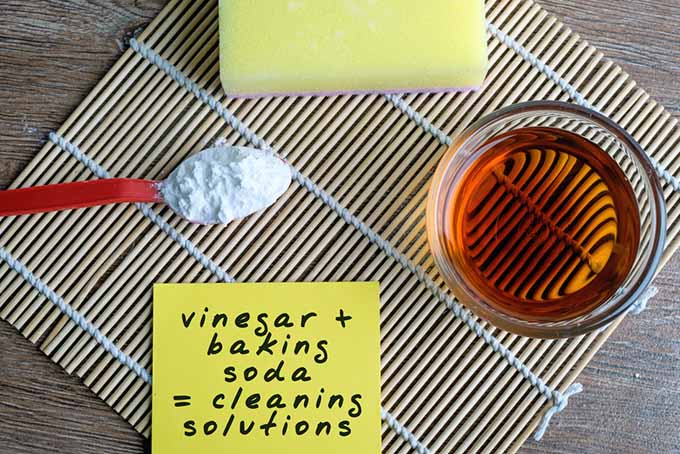
In a spritzer bottle, combine 1 cup water with 1 teaspoon white vinegar and 1 teaspoon dish soap. Shake well.
Spray the entire interior, including the door and trays.
Wipe down with a sponge, rinse with water, then dry with paper towels.
Replace your frozen goods, and turn the freezer back on.
Brushed Stainless Steel Appliances
In the showroom, brushed stainless steel appliances sparkle and shine with a pristine glow, but it’s a different story once you get them home.
Their radiant halo is quickly tarnished by fingerprints, spills, splashes, crud from grubby small hands, and nose prints from the dog.
Similar to wood or fabric, the steel used in manufacturing kitchen appliances has a grain. Often, it will appear as light striations or a very faint directional etching – like long brush strokes.
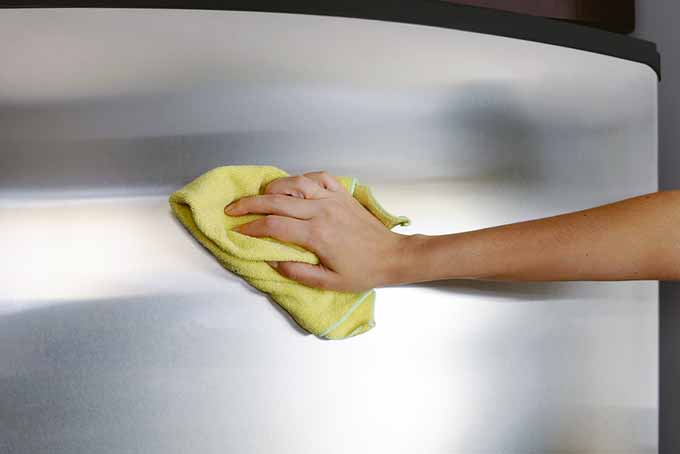
Why is knowing the grain important? At an almost microscopic level, the grain forms ridges and troughs. In order to release any oil and or residue that resides in these troughs, you have to go with the grain, not against it.
So take a moment to determine the flow of the grain before you begin to clean. Then do the following:
1. Mix a solution of 1 teaspoon mild dish detergent with 1 quart hot water.
2. Working in small sections using a soft cloth or sponge, rub the appliance surface, always going with the grain.
3. For stubborn spots, add a drop (just a drop!) of detergent or white vinegar to your wet cloth, and rub it in with a liberal dose of elbow grease.
4. Rinse with hot H20 and dry promptly with a soft, dry cloth.
5. To bring out a satiny shine, add a few drops of a nontoxic oil, such as food-grade mineral oil or baby oil, to a soft, dry cloth.
6. Going with the grain, rub the oil into the surface using long strokes. Feather the oil with the grain, rubbing back and forth all the way to the edge.
7. Flip the cloth over to the dry side, and buff to absorb the oil until it shines – going with the grain, of course. Your stainless steel will once again have a rich, lustrous glow to it.
For more tips, review our article on the best advice for cleaning stainless steel.
Shiny, Happy Appliances
Well, perhaps the appliances aren’t actually happy, but when they’re shiny and clean, their owners usually are.
The trick to keeping these big pieces looking good is to adopt a habit of wiping up spills as they happen. That, along with a weekly wipe-down, means that the more labor-intensive cleaning of your large appliances won’t be required as frequently – leaving you with more time to enjoy your kitchen!
Small kitchen appliances need cleaning, too! Make sure to check out our article on small kitchen appliance cleaning tips.
Now it’s your turn, readers – do you have any fabulous tips for cleaning large appliances that you’d like to share? Leave us a note in the comments below to share your expertise!
Photo credit: Shutterstock.
About Lorna Kring
Recently retired as a costume specialist in the TV and film industry, Lorna now enjoys blogging on contemporary lifestyle themes. A bit daft about the garden, she’s particularly obsessed with organic tomatoes and herbs, and delights in breaking bread with family and friends.


I think someone used an oven cleaner on my self-cleaning oven. I live in an apartment. I have cleaned it through the regular electrical way and used this vinegar and baking soda. It still doesn’t look clean with a film of gray. HELP!
It is interesting to know that brushed stainless steel appliances have a grain like wood. Our family loves the shiny, antiseptic look of stainless and this is precisely why we’ll send mom your tips before she proceeds to do some deep spring cleaning of her beloved equipment!