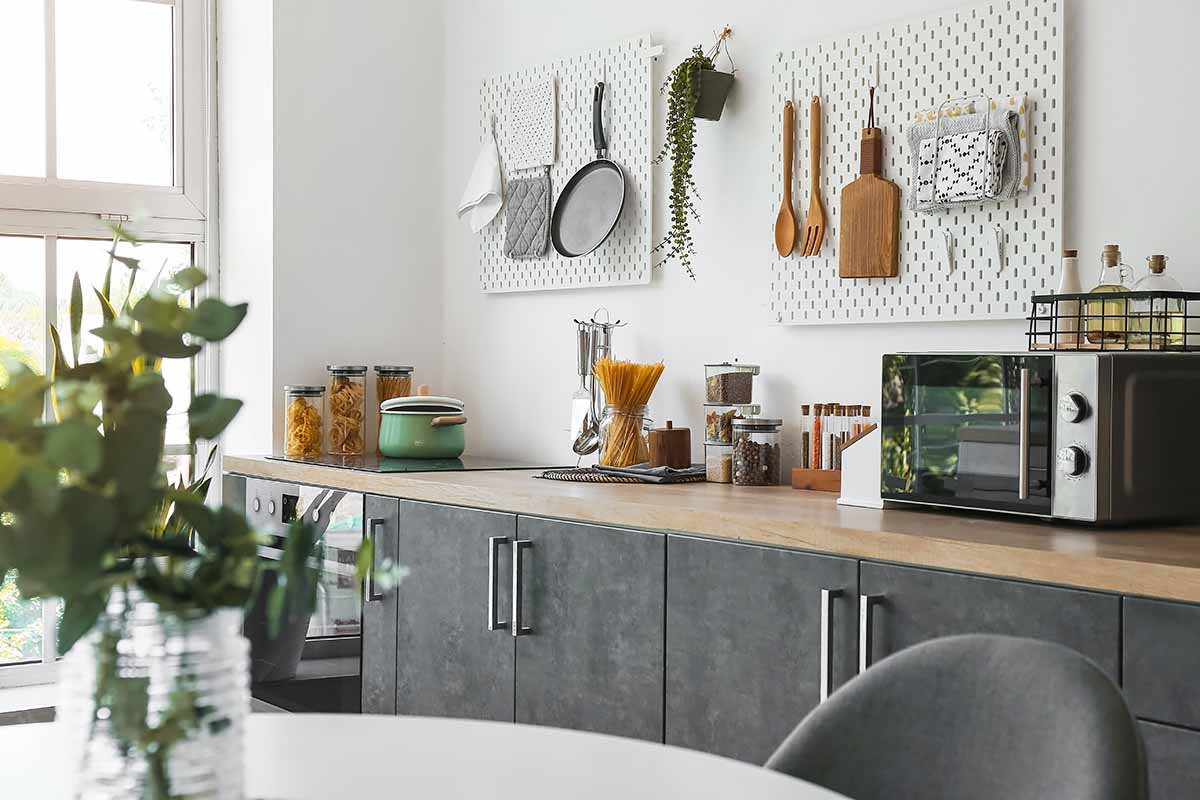
Small kitchen appliances are the glue that holds a functioning kitchen together.
They don’t often get the glory of fancy knives or gleaming cookware. But without them, our lives would be different indeed.
From juicers to garbage disposals, these handy gadgets bring us ease and convenience, and we’re able to save time on daily kitchen tasks. So to reap all the benefits of our favorite gear, a little effort should be spent to clean and maintain them in good working order.
With that in mind, let’s have a look at the best ways to clean some of our favorite small kitchen appliances.
Garbage Disposals
Even with all of the suds and water going down the kitchen drain on a daily basis, we don’t often think about sanitizing the garbage disposal. But it can be a breeding ground for germs and bacteria.
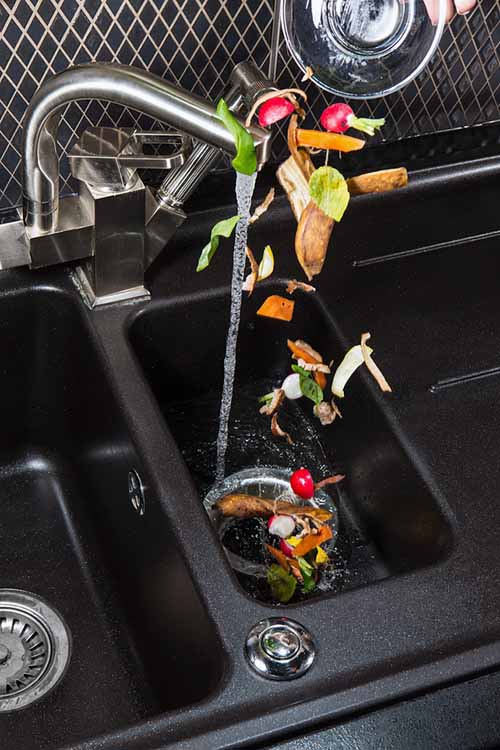
The following will clean and sanitize your disposal without having to use nasty and corrosive chemicals:
Baking Soda and Vinegar
On a weekly basis, sprinkle 1/2 cup of baking soda into the disposal, then add 1 cup of white vinegar.
As the soda and vinegar work, boil a kettle of water. Pour the boiling water down the drain.
Ice and Salt
Alternatively, fill the drain with about 2 cups of ice cubes, plus 1 cup of coarse salt. Run cold water into the drain and turn on the disposal, letting it run until the ice is gone.
Clean and Deodorize
To remove gunk and deodorize, cut a lemon into quarters.
Run cold water down the drain and turn the disposal on. Toss the lemon quarters into the disposal to bust odors.
Fill the Kitchen With a Fresh Scent
To freshen and deodorize, put a tablespoon or two of dried lavender flowers or fresh rosemary sprigs into the disposal. Run the cold water and turn the disposal on.
Both lavender and rosemary have proven antibacterial properties that will help to sanitize.
Fresh mint, ginger, or citrus peels also make good deodorizers.
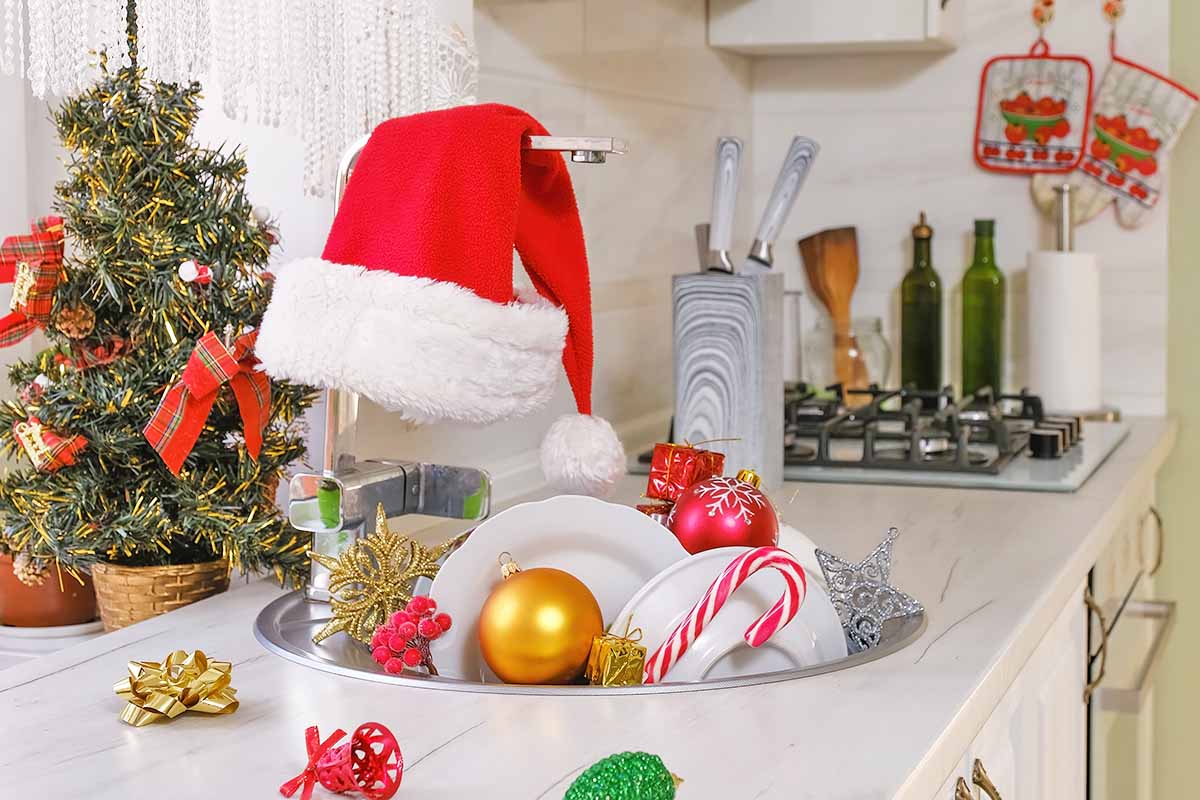
Sinks and Faucets
Keep stainless steel sinks and faucets looking good with a daily washing with warm, soapy water and a soft sponge.

Deep Weekly Cleaning
For a deeper weekly cleaning, both Bar Keepers Friend and Zud work well on sinks and taps, and biodegradable Bon Ami is another gentle option.
Always scrub with the direction of the polish lines, and use warm water with a soft sponge.
Gentle Abrasive
Baking soda has enough grit to gently scour, but isn’t so abrasive that it will scratch – which makes it good for polished faucets.
Use a soft toothbrush dipped in baking soda to get into crevices and joints.
Avoid using abrasive chemicals or steel wool, as both will scratch the surface.
Vinegar Rinse
Rinse with white vinegar to remove any hard water spots, then rinse with warm water and wipe dry with a paper towel.
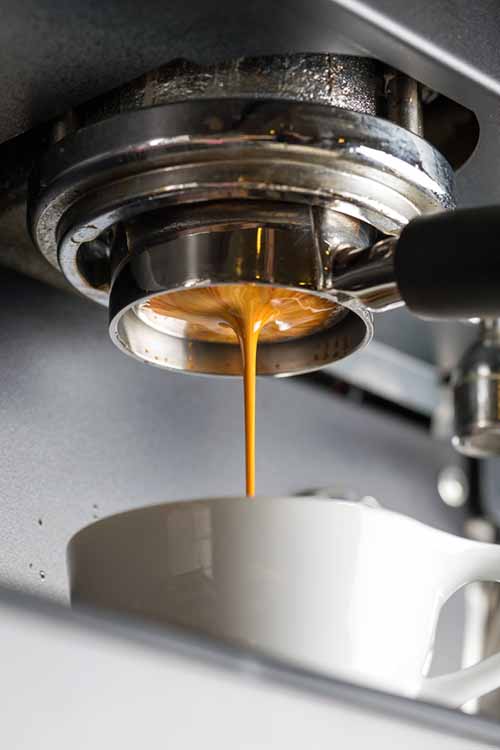
Coffee Makers
Surprisingly, coffee makers are also hotspots for germs, particularly the water reservoir.

The following cleaning regime will help to keep your automatic drip coffee maker sparkling, and producing the best tasting java.
Wash Daily
On a daily basis, the basket, carafe, and lid can all be quickly hand-washed in warm, soapy water. The exterior, including the burner plate, should be wiped down with a damp cloth.
Keep it Dry
Leaving the lid of the reservoir open after your maker is turned off for the day will help to dry out the interior – and this is a great idea because germs love wet environments for breeding and spreading.
Sanitize Weekly
A weekly run through the dishwasher is also a good idea for sanitizing.
Use the top shelf away from any drying elements for the carafe, lid, and basket to avoid warping any plastic pieces.
Decalcify Monthly
Once a month, decalcify the entire system. The vinegar solution that is called for is not compatible with all coffee makers, so be sure to check your manufacturer’s directions first.
To use the vinegar method, fill the reservoir with a half and half mixture of white vinegar and cold water.
Turn the maker on and let it process half of the vinegar/water solution. Turn it off and let it rest for 30 minutes, then turn it back on to process the remaining solution.”
When finished brewing, empty the pot of the vinegar/water solution and run a full pot of fresh, clear water. Do this twice to completely flush the internal workings of calcified buildup, and to remove any vinegar taste.
What about Soap?
Many of you are probably averse to having soap anywhere near your coffee maker. If the components aren’t cleaned and rinsed adequately, dish soap can leave a residual soapy flavor in the brew by clinging to plastic or mesh baskets, stainless steel, and even glass carafes.
To counter this, after your daily washing, rinse all components with white vinegar followed by a thorough rinse with water. The vinegar won’t adhere to the plastic, metal, or glass as soap will.
If the thought of using soap anywhere near your coffee really bugs you out, rinse the basket in water only. Swish the pot with crushed ice and a quartered lemon to lift and remove oils, swishing until the ice begins to melt and moves smoothly in the pot.
Blenders
Though some blenders like the Breville Boss offer their own built-in cleaning functions, many others don’t.
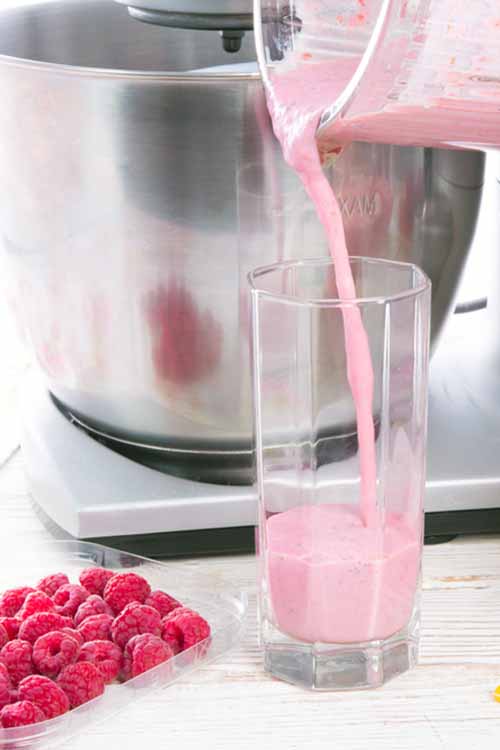
Here’s a fast and easy method for cleaning your blender when you want a quick turnaround to get to other tasks:
1. Rinse the carafe and lid under running water.
2. Fill the carafe halfway with hot tap water and add just a drop or two of dish soap.
3. Put the lid on and cover with a dish towel. While holding the lid in place securely, turn the blender on and run for 10-15 seconds.
4. Rinse it out with fresh water, and your blender is ready for its next task.
How to Sanitize:
For sanitizing, remove the carafe from the base, and pop the blades and rubber gasket off. The carafe, lid, and blades can all go in the dishwasher for sanitizing.
Double check your manufacturer’s directions to ensure that this is the case for your particular model.
Sensitive Parts
Wash the rubber gasket by hand as the heat in the dishwasher will dry it out, causing it to disintegrate.
Cleaning the Base
Wipe down the base with warm, soapy water and make sure to clean where the rubber gasket sits as well – use a soft brush to dislodge any stubborn gunk.
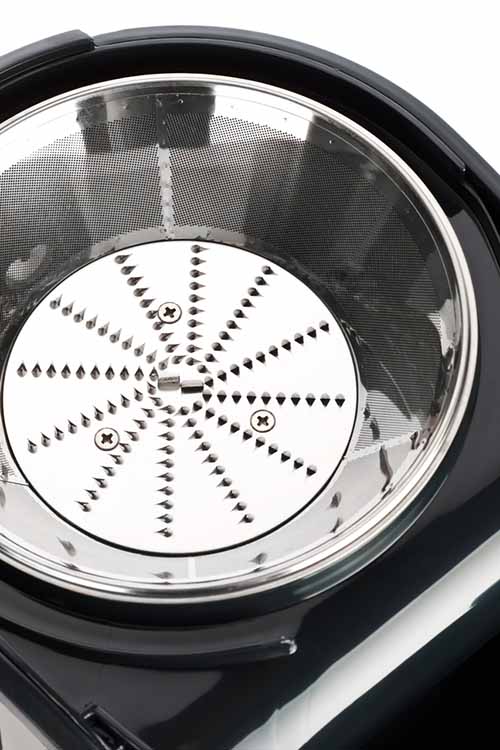
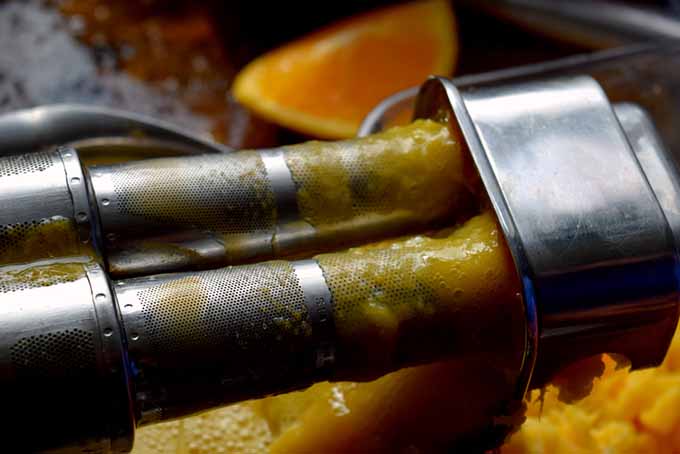
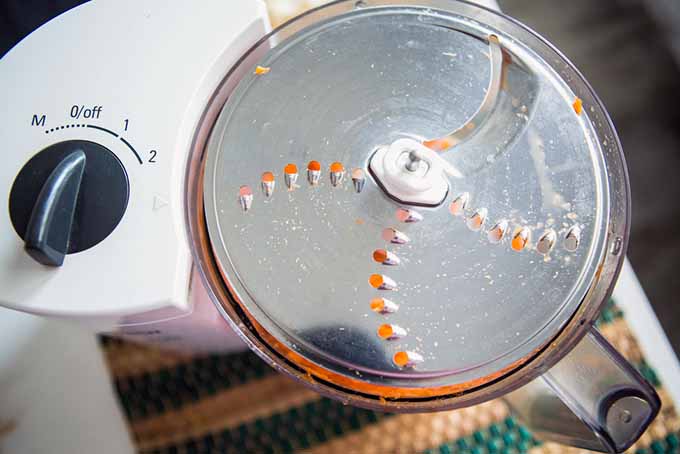
Food Processors and Juicers
There’s just no getting around it: washing a food processor or a juicer is a tedious job.

Unfortunately, there aren’t a lot of tricks when it comes to cleaning them, but a handy little tool set can make the job much easier.
Pick up an inexpensive water bottle cleaning set that comes with a long bottle brush, a straw brush, and a short detail brush – they’re perfect for scrubbing tight angles, the fine mesh of juice strainers, and the slots and holes of blades.
To clean:
1. Disassemble food processors and juicers, and separate all the individual pieces – lids, pushers, screens, blades, and bowls.
2. Rinse with running water, then place all of the components except the motor base in warm, soapy water, and wash with a soft cloth.
3. Use the long brush to clean chutes and handles. The straw brush is ideal for getting inside blade perforations, while the short detail brush will scour uneven blade surfaces and screens.
4. Rinse with water and dry all pieces with a towel.
5. Use a damp cloth to wipe down the motor base, then reassemble for storage in the kitchen.
Knowing how to clean your small appliances quickly and effectively makes using them more attractive – which also leads to more fun in the kitchen, and healthier eating habits.
Good Things Come in Small Packages
It can be pretty easy to take our small kitchen appliances for granted, but they do make our day-to-day lives and kitchen tasks a lot easier and simpler, so they deserve a little TLC.
And if you treat them right with regular cleaning, and not just once a year with the rest of your ignored spring cleaning tasks, most will operate efficiently for years of service.
If you’d like more great ideas on the care and cleaning of small appliances, as well as some in-depth product reviews, click the Gear Talk tab at the top of any Foodal page and select Kitchen Appliances from the dropdown menu. You’ll find information for bread makers, ice cream makers, waffle presses and much more!
Large appliances love a good cleaning too, so make sure to check out our guide to cleaning fridges, stoves, microwaves, and more.
Now how about some homegrown cleaning tips? If any of you readers have a clever idea to pass on, drop us a line the comments below and share your knowledge!
Photo credits: Shutterstock.
About Lorna Kring
Recently retired as a costume specialist in the TV and film industry, Lorna now enjoys blogging on contemporary lifestyle themes. A bit daft about the garden, she’s particularly obsessed with organic tomatoes and herbs, and delights in breaking bread with family and friends.

I have recently bought a coffee maker and was struggling to clean it ever since. This post helped me a lot. I can now now enjoy my fresh coffee everyday!
Nothing like the taste of fresh java! Glad you found it helpful Sophie.
Great tip! I’ve done this, and it works great. It’s worth noting that it only needs a VERY VERY thin, imperceptible layer of oil. If it gets sticky or feels oily, you’re using way too much.
This is great advice! Very honest and practical. I really enjoyed this post. These tips may help me in the future.
Thank you so much for the tips. I recently bought a juicer from Juicermoz and didn’t know how to clean it. I use it quite often but whenever I use it, then afterward I can’t clean it properly. And the odor remains and gets mixed up with the next fruit or vegetable juice I make.
Great tips! My boys are responsible for washing tables and counters, doing the dishes and sweeping/ swiffering the floor each night. It makes such a difference to keep up on it.
PLEASE PLEASE Tell me how to clean countertop icemaker. It has pink moldy stuff in it. HELP PLEASE.
Like all applicances, portable ice makers require regular maintenance to keep them clean and running properly. Specific cleaning instructions will depend in part on the machine that you own- check the manufacturer’s instructions or contact customer service at the company that made yours for detailed directions. Empty the ice machine out, and clean and sanitize all interior and exterior surfaces according to the recommendations that you receive, with an appropriate food-safe cleaning product. Keep it cleaned regularly, and be sure to use clean water to fill it. Good luck!