We occasionally link to goods offered by vendors to help the reader find relevant products. Some of these may be affiliate based, meaning we earn small commissions (at no additional cost to you) if items are purchased. Here is more about what we do.
Garbage disposals may have been a luxury when the first “InSinkErator” hit the commercial market in the 1940s, but today they are a standard kitchen amenity in many American homes.

Some multi-dwelling residences require the devices. They aid in reducing waste management costs by decreasing the quantity of trash that’s tossed in dumpsters. They also lessen the odor in trash receptacle areas and make them less attractive to animals and insect pests.
Proponents of the grinders say that the biosolids – the organic matter that remains after wastewater treatment – make excellent alternative fertilizers in the garden, and emissions from trash trucks may be reduced without the extra weight of food waste that needs to be transported.
In other locales, soft food waste disposers are uncommon, especially where septic systems may fail to handle the added volume of shredded food in wastewater.
Opponents of these kitchen gadgets say that waste disposers overburden wastewater treatment plants and add to the carbon footprint when additional biosolids require transport to landfills, anaerobic digesters, or incinerators.
Case in point, did you know that garbage disposals were once banned in New York City?
From the ‘70s to the ‘90s, they were considered a risk to the city’s aging pipes.
When I moved to a house that had a garbage disposal for the first time, I had a lot to learn before finally making peace with the “grinding monster” that now lives in my kitchen.
If you are one of the many who have a disposal, either by choice or requirement, the following 13 tips will help you to use and care for it. I know they have helped me!
Here’s the lineup:
13 Tips for Using a Garbage Disposal
Let’s get right to the tips!
1. Clean Regularly
At least twice a month, you should clean your unit. You may have read about using lemons for their fresh scent and antimicrobial properties. But I don’t recommend them because the peels can stick, and the freshness is temporary.
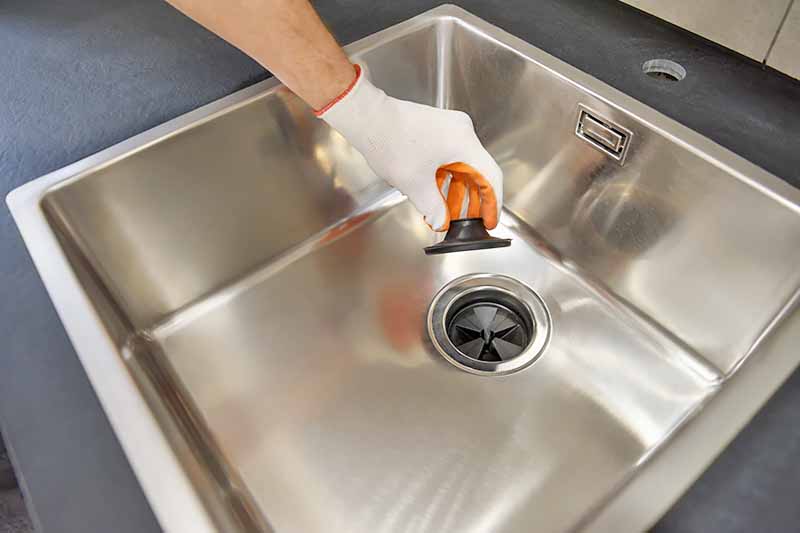
To effectively clean a disposal, you must shut it off, unplug it, and put on disposable gloves. Now, here’s the part most articles don’t tell you:
You have to de-gunk the underside of the rubber splash guard by pulling the food residue off with your gloved hands.
Yes, it’s pretty gross. But this is where much of the odor-causing bacteria congregate. With this buildup no longer in place, you’ve won about half of the odor battle.
The rest of the smelly food fragments tend to tangle around the impellers, blunt protrusions that force food pieces against a grinding ring to reduce them to bits.
To dislodge clinging food, run cold water while putting in five or six ice cubes, one or two at a time. It’s a very noisy process best done with a strainer stopper to prevent rogue ice chips from shooting out.
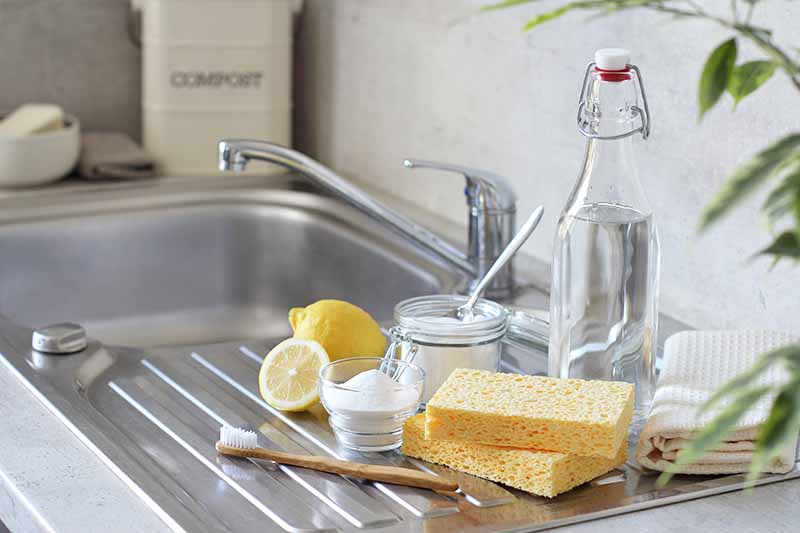
You might also use baking soda and vinegar, a tried-and-true natural cleaning combination. Pour about half a cup of baking soda down the drain. Add half a cup of white vinegar and let the mixture fizz for about 15 minutes before rinsing with cold water.
An alternative is to purchase a cleaning product intended for use in these appliances.
Affresh Garbage Disposal Cleaner, available on Amazon
Garbage Disposal Cleaner is available from Affresh via Amazon in three- or nine-tablet packages. Use one tablet every month to keep the grinding chamber, working parts, and waste line pipe debris-free.
In addition, you can clean the stopper or strainer guard as we’ll discuss below, to rid it of odor-causing food residue. A good scrub with dish detergent is adequate. Some are even dishwasher-safe.
If foul odors persist despite regular cleaning, consult a plumber to evaluate possible pipe or sewer issues.
2. Don’t Overfeed
When preparing a meal or cleaning up after, don’t collect a sink full of waste and push it down the drain en masse. Instead, feed it slowly, maintaining a continuous flow of water while adding scraps.
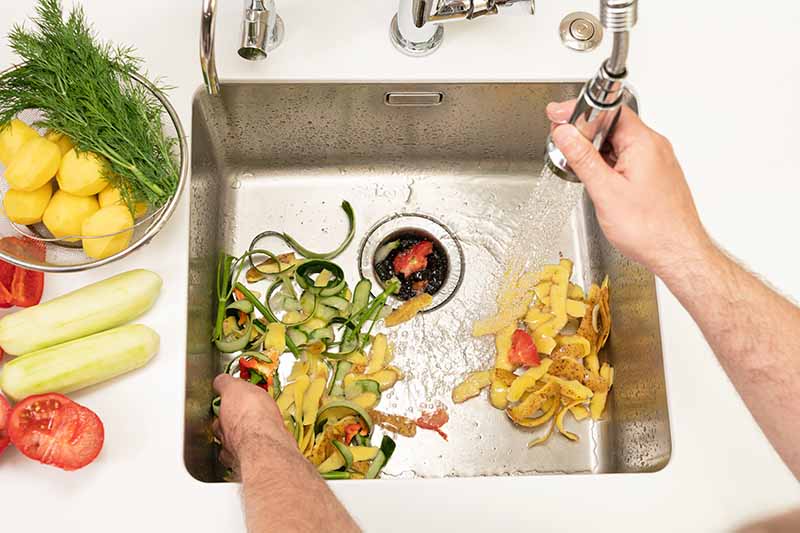
Gradual feeding works best when one- to two-inch pieces of food are completely ground before the next batch comes down.
Overfilling may cause jamming, requiring one of the troubleshooting methods below to restore function.
3. Heed the Sounds
My disposer is an old one, jerry-rigged by the previous owner. The in-sink part is one brand, and the grinding unit below the sink is another. It’s noisy on a good day and clogs occasionally. I’ll soon be in the market for a new one.
Regardless of its age or quality, you will get to know the sounds of your particular product. When it sounds “off,” flip the switch to off.
A humming sound may indicate an overload and clogging. A loud clatter is usually an indication that a non-food item has fallen in.
Sometimes you can see the offending chunk of hard food or perhaps a spoon that slipped in. To retrieve it, make sure the switch is off and unplug the power cord. Do not skip these essential safety steps.
Use a pair of long metal tongs to recover the item. Dispose of hard food waste in the trash and sanitize the tongs (and the spoon) after use.
4. Install Sensibly
If you’re lucky, like me, and finally have a double sink, a combination large and small sink, or even multiple kitchen sinks on opposite sides of the room, you have options if you’re deciding where to install a new disposal.
Mine is in the small sink. I have a standard stopper that is admittedly usually off – leaving a gaping hole waiting to swallow up my flatware. I scrape plates into the small sink and do the washing up in the large one.
Keep your bar soap, scrubbing pad, or any other small kitchen items on the side of the sink that’s away from the hole. I learned this important lesson the first time the soap did a slippery dive into it.
And finally, remember that a disposal takes up room under the kitchen sink as well. Consider what you keep there and how you’ll arrange it around the new addition.
5. No Hands!
Unless you have shut off and unplugged your unit to clean the rubber splash guard, you should never put your hands in the hole.
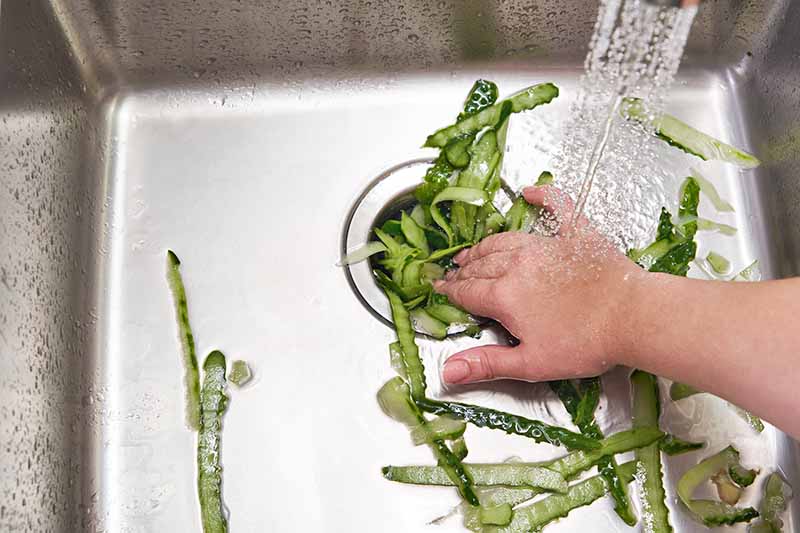
Someone in my house scares the bleep out of me when he reaches in to push the food down. No, no, no!
We never know when equipment may fail, or someone may come into the kitchen and flip the disposal switch, thinking it’s the light.
Take no chances and use a pusher – either the end of the stopper, if you have such a model, or a dedicated pair of metal tongs, the same ones we’ll use for troubleshooting in the upcoming section.
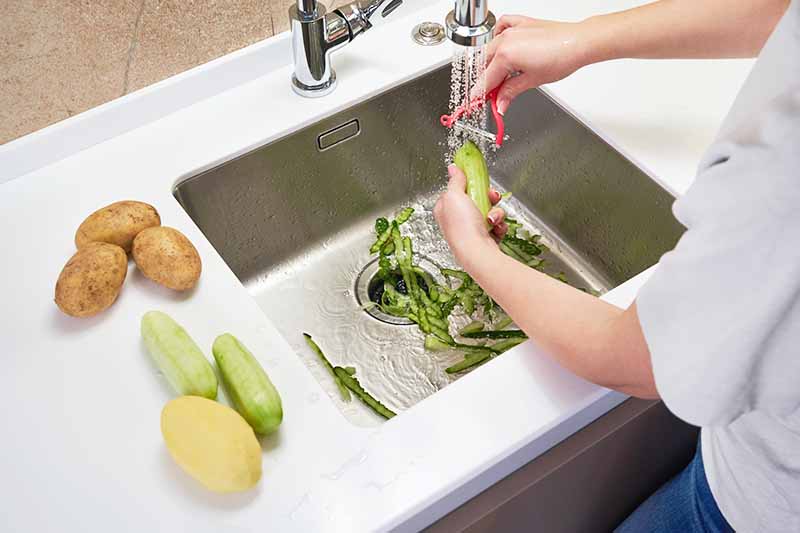
6. Reduce Waste Size
When disposing, cut large and soft food bits into one- to two-inch pieces and feed them through slowly.
Cutting up banana peels and apple cores may sound like extra work, but it can save you from an annoying clog. Bigger items can also be put in the compost instead, if this alternative appeals to you.
There are many foods that are not suited to putting into the grinder, as we will discuss below, but it can be hard to remember which ones they are. By making sure to cut waste into small bits before feeding, you can reduce the chances of a blockage.
7. Respect the No-Nos
The list of foods that should never go down a disposal is long. But if you get in the habit of cutting all waste into manageable pieces, you may not cause a clog if you make an occasional mistake and push the wrong bits down.
However, if you err regularly, especially with large pieces or significant quantities of no-no items, you may have frequent clogs that require plumber visits or eventual replacement of the unit.
For the best operation and longevity of your device, do not use your disposal for grinding:
- Bones
- Coffee grounds
- Corn husks
- Eggshells
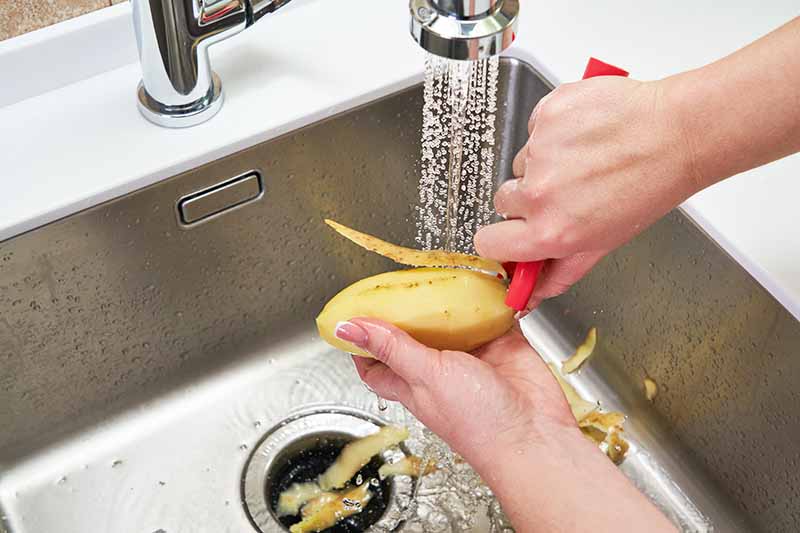
- Fruit peels, like slick apple skins and thick, oily citrus rinds
- Grease
- Hard nuts and seeds
- Non-food waste like fruit stickers, glass, napkins, and plastic
- Oil
- Onion skins
- Soap
- Starchy, sticky potatoes, potato peels, pasta, and bread
- Stringy, fibrous foods like asparagus, celery, and fennel
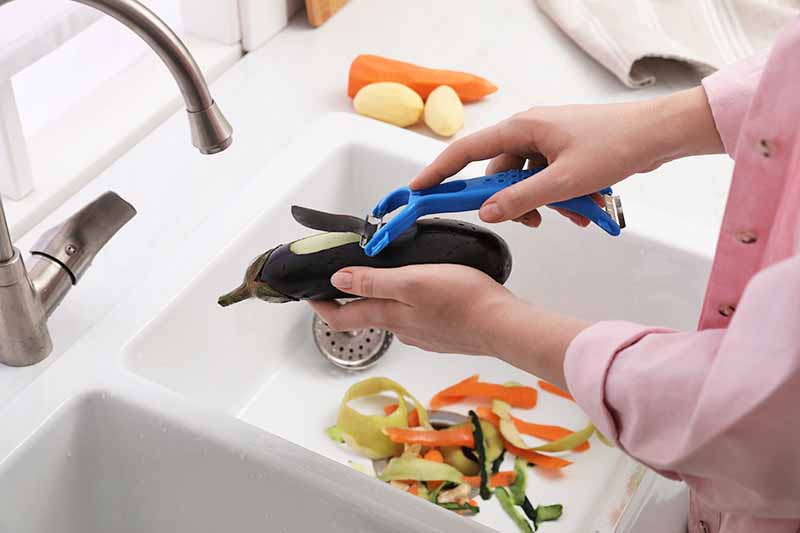
- Vegetable peels that are slick, like carrot, cucumber, and zucchini
- Wax
Generally speaking, if something that you wish to dispose of could potentially wrap around the impellers, jam the impellers, stick to the sides of the grinding chamber, or gum up the moving parts, throw it in the compost or trash instead.
As mentioned, sometimes a few of the no-nos go down with no problem. But a mass of them added at one time, or an accumulation over time, may cause a blockage.
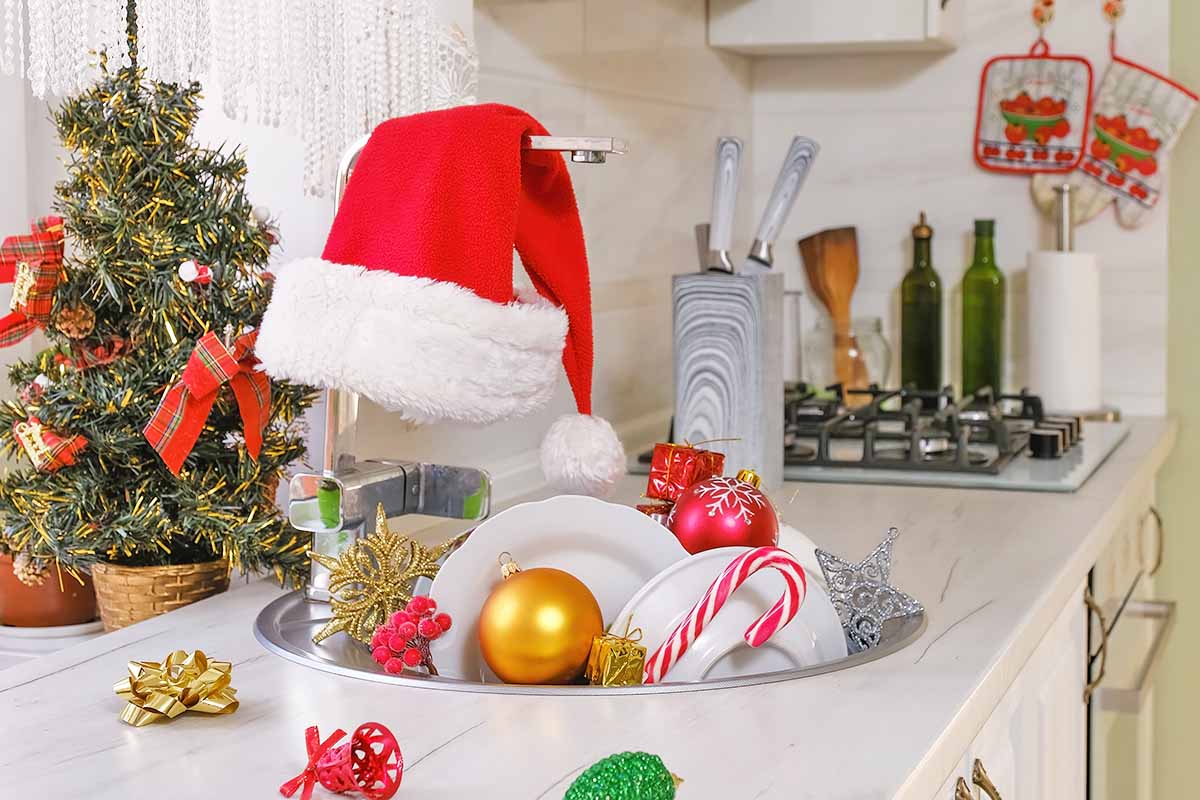
My daughter reports that she had to call a landlord to replace her unit after a big batch of holiday potato and carrot peels were pushed down the drain. Twice. Lesson learned – eventually!
8. Run Daily and Long
Like a car, a disposal benefits from regular use. Even if you aren’t cooking today, run the cold water and turn on the disposal. This will help to remove food remnants, reduce odor, and inhibit rust and corrosion of the components.
In addition, when you use the device, don’t pulse it like a food processor – no short bursts.
In my house, we announce, “I’m running it!” to avoid surprising anyone with a noisy jolt. And while the dull roar it emits can be a nuisance sometimes, like when one is on the phone, running water and the unit for at least 20 seconds goes a long way toward clearing food and keeping the parts running smoothly.
A newer model than mine, especially one of the InSinkErator Quiet Series models, and a stopper that stays in during operation, can greatly reduce noise emission. We’ll discuss both in upcoming sections.
9. Skip the Harsh Chemicals
If your appliance develops a blockage, it might be tempting to reach for a heavy-duty liquid drain cleaner. Resist the urge!
Caustic products are corrosive, and while they may be safe for copper pipes, they can eat through polyvinyl chloride or PVC and corrode the metal in your device.
In addition, they may harbor the overpowering and irritating odor of the product for days to come.
10. Spend Accordingly
If you are a family of one and eat out regularly, but must comply with community rules and have a waste disposer, you may not want to buy a top-of-the-line model.

However, if you have a large family that eats at home at least twice a day, you may find the investment in a better model well worth it, especially if it comes with the latest features, like:
- A torque motor that resists jams
- Heavy-duty bone, fruit rind, and vegetable peel grinding
- Quiet operation
- Suitability for septic systems
InSinkErator’s Evolution Supreme, a Quiet Series model, delivers these features for a mid-range price.
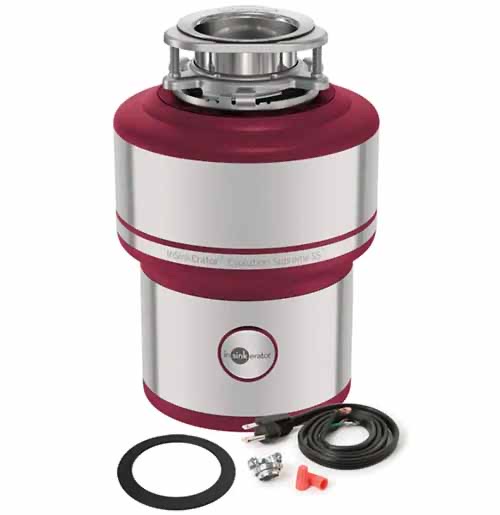
InSinkErator Evolution Supreme, available from Home Depot
It has lift and latch technology for easy installation, a three-stage, multi-grind motor, a leak-guard liner, and a rubber sink gasket that requires no putty to install.
The InSinkErator Evolution Surpreme is available at Home Depot.
In addition to the continuous-feed models that make up the preponderance of today’s offering on the retail market, there are some high-end batch-feed models as well. They offer the unique feature of not requiring a wall switch.
To operate, a “batch” – or several cups of scraps – are placed into the hole. With the water running, the user pushes down the strainer stopper to start the grinding, or some models may require a twist. Between batches, the electricity is off, potentially offsetting a portion of the purchase price by using electricity in bursts instead of continuously.
It also eliminates the accidental wall-switch turn on, a potential safety hazard.
11. Troubleshoot with Caution
If you have a clog that is so dense that water is backing up in the sink, you can try using a standard rubber sink plunger to dislodge it.
When a non-food object or inappropriate hard food waste is the suspected culprit, you can try the following:
Turn off the unit.
Unplug the power cord under the sink.
Use long metal tongs – not your hands – to attempt to grasp the offending object(s).
After debris removal, plug in and turn on the unit.
With a severe blockage, a feature called an overload protector may cause an automatic shut-off. It makes the reset button on the bottom of the unit pop out. If it does, proceed as follows:
Shut off the unit.
Unplug the power cord.
Attempt to dislodge the clog with metal tongs, removing as much debris as possible.
If the device feels hot, wait a few minutes to let it cool down before proceeding.
There is a hole in the bottom of the device for an Allen wrench. If you have one that’s the right size, you may be able to use it to manually turn the motor shaft. It may feel very tight at first, but try to turn it to the left and then the right. If it loosens, you may have dislodged the blockage.
After using the wrench, plug the power cord back in.
Push the reset button on the bottom of the canister.
Be sure to sanitize the tongs. I keep a dedicated pair under the sink.
Do not take your product apart. If these attempts to solve a problem are unsuccessful, seek advice from a plumber.
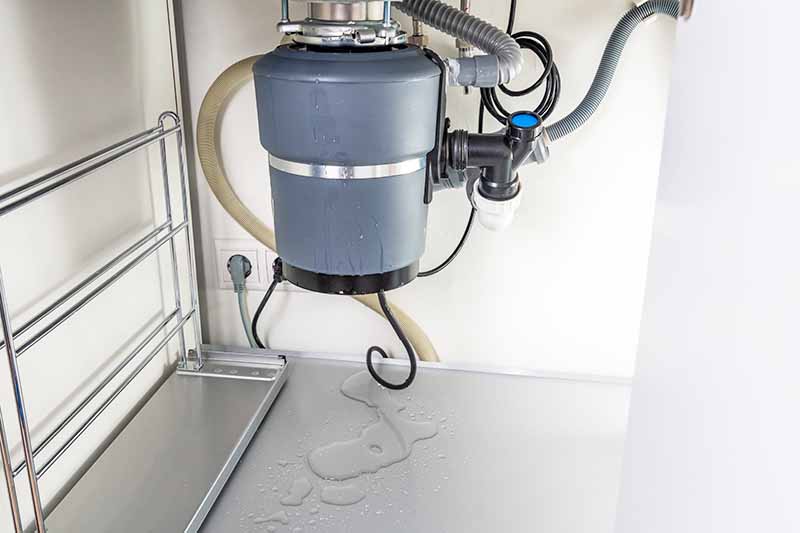
Other issues may occur as a unit ages, including slower grinding, increased volume during operation, and leaks under the sink. Consider purchasing a new product if yours has reached or exceeded the 10-year mark.
12. Use a Strainer Stopper
A disposal needs a stopper to prevent accidentally dropping non-food items in the hole when it’s not in use.
Some units, like mine, have a standard non-strainer stopper. However, because it does not let water through, it is not used during operation, leaving the hole wide open with food and water splashing about.
I recommend an upgrade for safety and noise reduction.
If you choose a new stopper for your unit, select one that lets the water run through, and that has a pusher to help the food bits go down. This type remains in place during use.
Consider this strainer stopper from Danco. In addition to keeping flatware and jewelry from disappearing, it lets you use the disposal with the stopper in for reduced splashing and noise.
Disposal Genie II, available on Amazon
The Disposal Genie II is available from Danco via Amazon in a variety of colors, including black, blue, purple, green, and red. It is dishwasher-safe for convenient cleaning.
13. Use Cold Running Water
When operating a disposer, it’s essential to keep cold water running during the grinding process. A continuous stream of water helps to wash down small food particles.
A cold temperature ensures that greasy or sticky food residue remains firm and passes through as bits rather than melting and gumming up the works.
Convenient and Effective
I had avoided having a garbage disposal for years. However, compromise prevailed. I am happy to report that the “grinding monster” and I are getting along now!
The ability to whisk small scraps off the cutting board and into the sink, instead of over the trash can, is admittedly convenient. And the quantity of food garbage we produce is now minimal.
I still cringe when I hear the unmistakable hum of a clog or the clatter of a piece of flatware dropped in “the hole.” But I find there are fewer mishaps and maintenance issues with these 13 tips in mind, and I hope you will, too.
Do you have a garbage disposal? What are your thoughts on its performance and value in your kitchen?
If you found this article useful, you’ll find more kitchen gadget information in the following guides:
- 10 of the Best Kitchen Gadgets to Save You Time and Money
- The Complete Countertop Grain Mill Buying Guide
- The Geryon E5700: An Inexpensive Option for the Home Kitchen
© Ask the Experts, LLC. ALL RIGHTS RESERVED. See our TOS for more details. Uncredited photos via Shutterstock. Product photos via Amazon.
About Nan Schiller
Nan Schiller is a writer from southeastern Pennsylvania. When she’s not in the garden, she’s in the kitchen preparing imaginative gluten- and dairy-free meals. With a background in business, writing, editing, and photography, Nan writes humorous and informative articles on gardening, food, parenting, and real estate topics. Having celiac disease has only served to inspire her to continue to explore creative ways to provide her family with nutritious locally-sourced food.

“13 Tips to Use a Garbage Disposal Right” blog offers a comprehensive list of practical advice for optimal and safe usage of this kitchen appliance. The author covers essential tips such as avoiding hard or fibrous materials and using cold water while operating the disposal. The article serves as a helpful guide for maximizing the lifespan and efficiency of a garbage disposal, ensuring smooth and trouble-free operation.