A good knead is vital to creating the perfect loaf of bread.
But without knowing an understanding of the mysterious actions that occur during the process, it can be difficult to tell when it’s done.
Have no fear! Foodal is here to provide you with a thorough guide to the perfect knead, so you’ll never under or over turn your dough again.
Why Knead?
When flour is hydrated, small, dormant strands of proteins become activated. As these proteins – called glutanin and gliadin – unravel, they interlock with one another to form a strong web that allows bread to stretch and hold its shape.
This gluten web can form through two different processes – either through a long fermentation followed by a few folds, or through the relatively brief process of kneading.
The fermentation process requires 12-18 hours, as enzymes and yeast unravel the strands and develop a sharp, tangy flavor in bread. For breads made in a shorter amount of time, kneading expedites gluten formation as the heat from friction unravels the strands, and folding locks them all together.
When a solid gluten net is developed, the dough can be shaped into a variety of loaf designs. It will form a well-structured interior crumb as well as a nice exterior crust. While kneading and shaping, there are several signs that can help you to know how your net is forming.
Starting Steps
The perfect dough begins a step ahead of your knead, and a proper mix will set you off on the right foot.
Begin with your dry ingredients in the bottom of the bowl. Form a well in the center, and pour in your liquid.
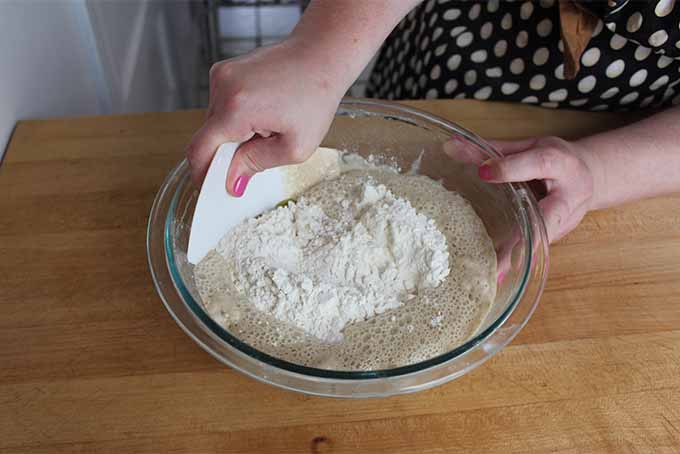
Make sure that your water is no hotter than 100°F, which will feel just slightly warm to the touch. If it is too hot, it will make your dough very sticky and difficult to work with.
Using a plastic bowl scraper, draw flour from the outside edges of the bowl into the center well. Starting out by using a bowl scraper will help keep the flour and water from clumping up on your hands, and will make it simple to hydrate your dough.
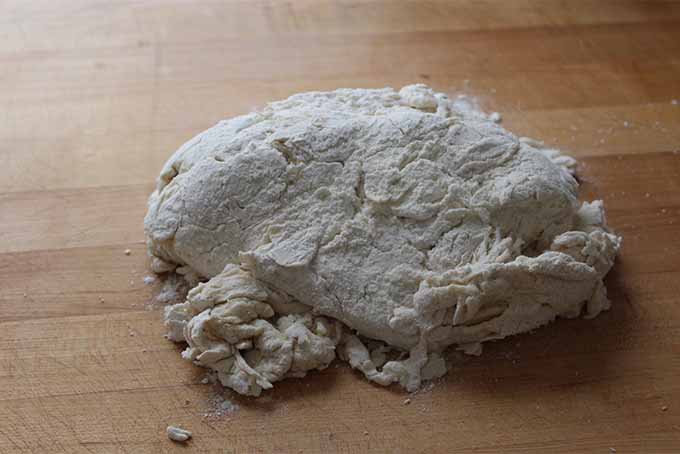
Once all of the flour has been hydrated and you’ve formed a shaggy dough, it is time to turn it out onto your work surface.
Work on a surface that is around hip height for proper leverage. A counter or tabletop that is too high or too low will make it difficult to finish the process without exhausting your neck, back, and shoulders.
Kitchen footwear is also key when you’re spending long periods on your feet, kneading and working dough. Check out our review of the top footwear for culinary enthusiasts, from the home chef to the professional.
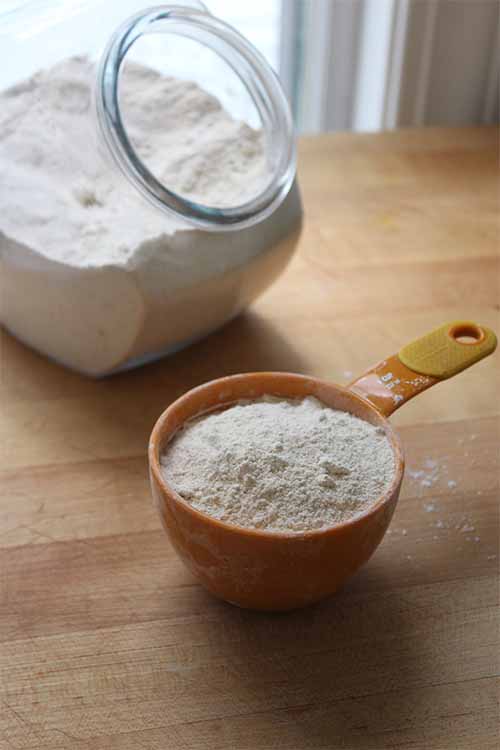
Easy on the Flour
Several variables can affect stickiness. The outdoor temperature, water temperature, and humidity are the most prominent variables, all of which affect the exact amount of flour needed in your dough.
The water temperature is the only variable that you can control, which is why it is so important to make sure you don’t get it too hot!
It can be tempting when you begin kneading to continue adding flour to a tacky dough. However, as you continue working air into the mixture, it will decrease in stickiness – thus what might seem too sticky in the beginning will actually turn into the perfect texture.
Incorporating too much flour will leave you with a tough, dense block that is difficult to work, and will likely tear.
If your dough feels quite sticky after mixing, begin with a light dusting of flour on your counter. If it remains shaggy and a bit dry, then you can begin on a clean countertop.
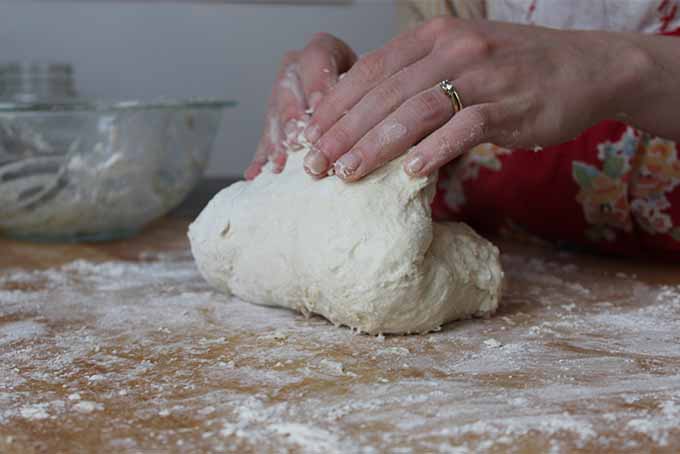
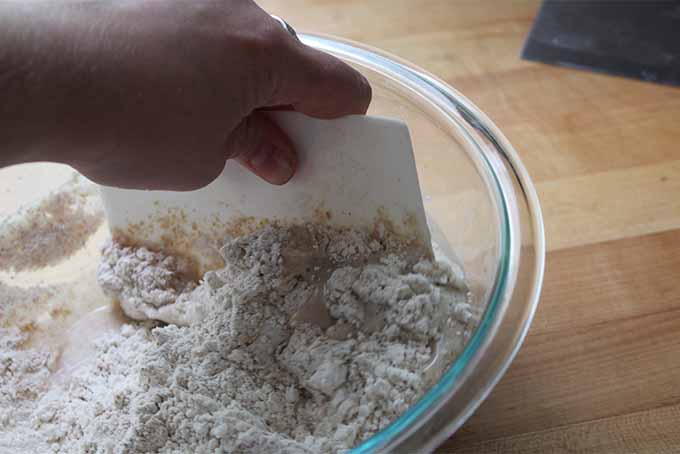
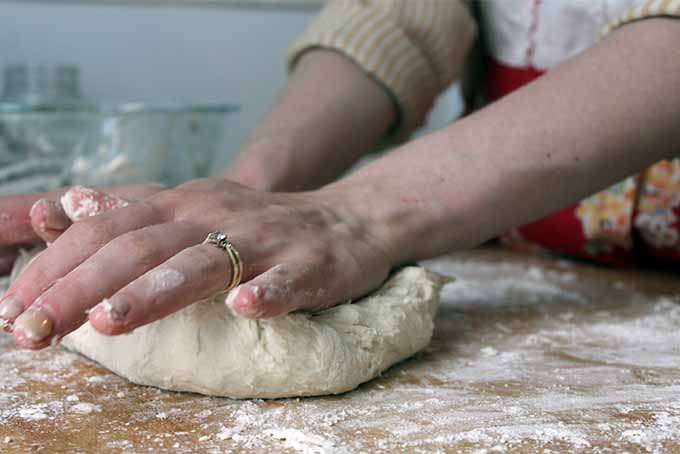
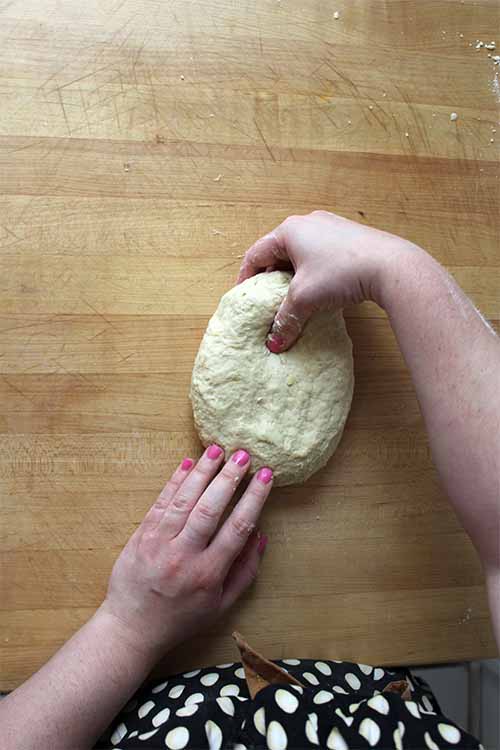
As you press, use the heel of your hand rather than your fingertips so that you don’t break the outer skin. This will help to prevent revealing the stickier inside, and will allow you to work without flour clumping on your fingers.
The ideal texture will be tacky but not sticky. It will cling to your hand, but will release without clumping.
If the dough starts out very sticky, start kneading with the bowl scraper. If it continues to remain too sticky to knead, then incorporate additional flour a handful at a time.
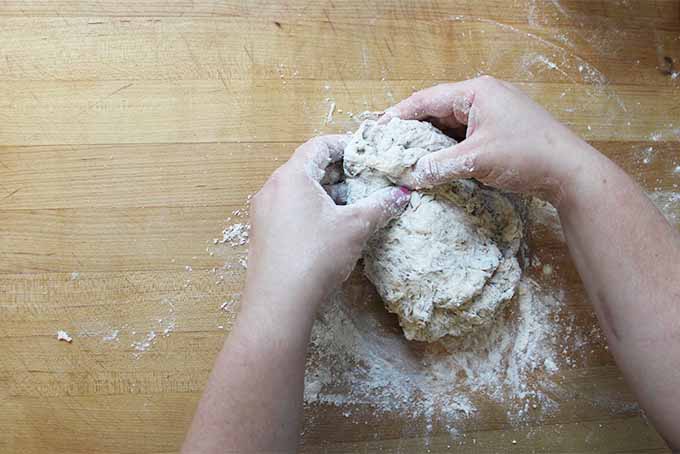
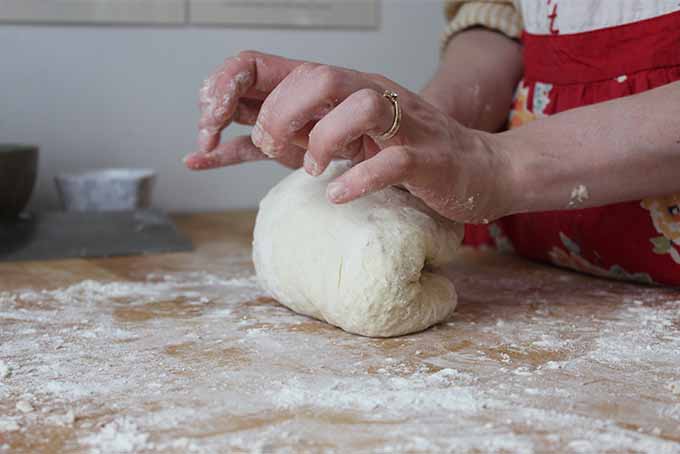
Fold & Turn
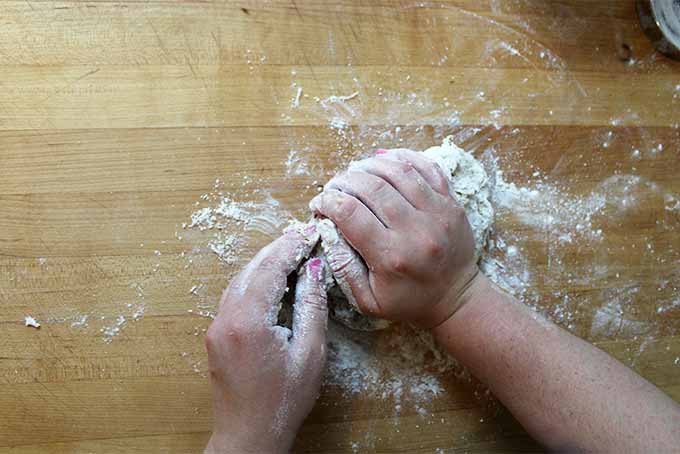
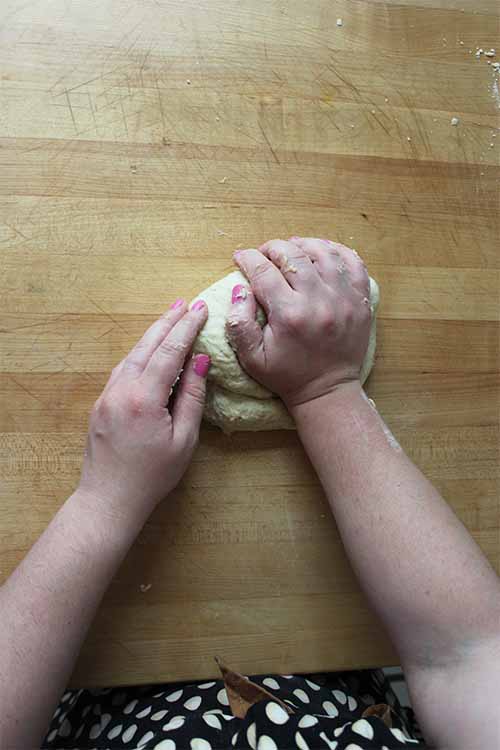
Fold the dough in half towards yourself, and push it forward using the heel of your hand. Rotate 90° and repeat. This is your basic motion.
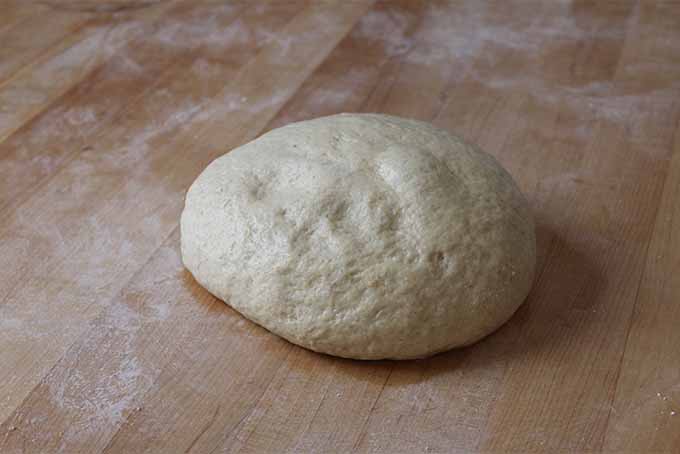
Continue for 10-15 minutes until it comes together into a smooth ball.
If your hands get covered, rather than wash them in the sink, do a dry clean with flour. Take a small handful of flour and rub it between your palms and fingers. This will release the dough on your hands without getting them wet (and adding extra moisture to your dough as a result).
Troubleshooting
In case you run into any problems during this crucial phase of the baking process, there are some easy troubleshooting tips that you can follow, to address the most common problems that may occur:
- If the dough feels tough and resistant to folding, this means the gluten is exhausted and wants some time to rest. Step away for 3-5 minutes to let the gluten relax before continuing.
- If it tears as you fold and push, this means the strands of gluten are breaking rather than stretching. Try working more gently. If they continue to tear, let your dough rest for 3-5 minutes.
Machine Kneading
If you have a stand mixer, it is possible to knead using the hook attachment. To read more about our favorite models on the market today and for tips that will help you to select a stand mixer for your own kitchen, check out this post.
When machine mixing, start with your liquid ingredients in the base of the bowl and add the dry on top. This helps to ensure all of the flour is incorporated.
Keep your machine on medium to medium-low speed. Some stand mixers have difficulty processing large amounts of yeasted doughs, so keep an eye on your machine throughout the mixing process. And consult your owner’s manual to determine whether there are any special instructions for mixing doughs with your machine.
If you’re using a stand mixer, the process should be complete in about 8-10 minutes.
Testing Gluten Formation
Your dough is done when you have developed a strong gluten net. There are three ways to check your gluten formation:
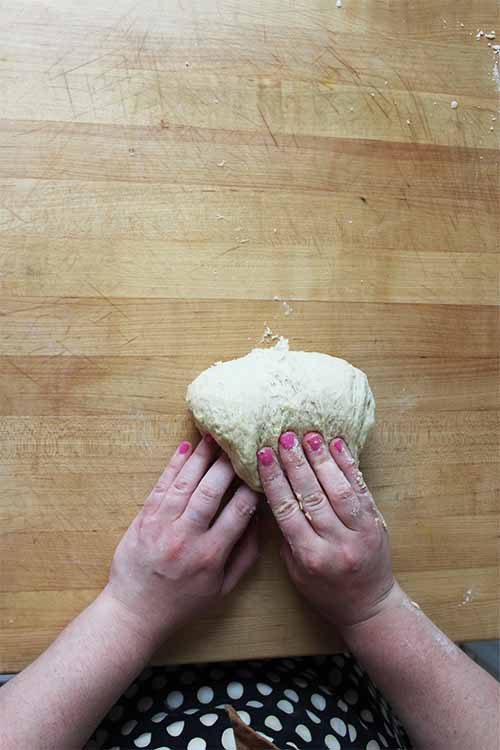
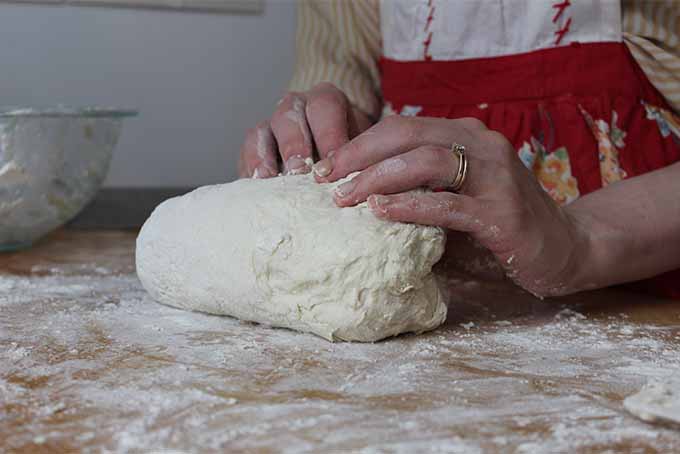
Test #1: Sight
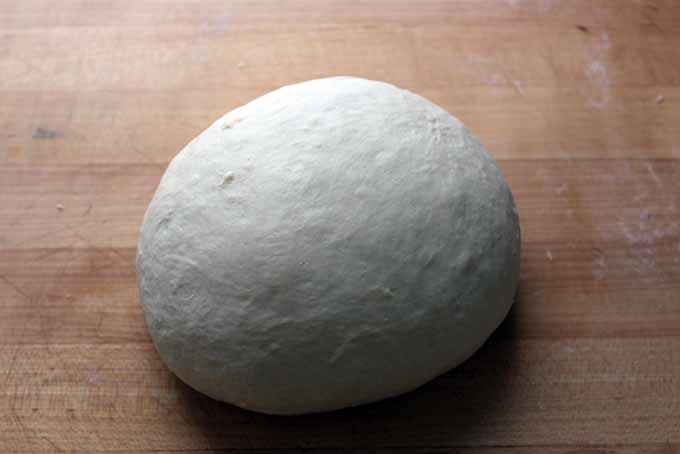
First, it should be able to form a completely smooth ball. This is the first and simplest test, and it relies on your visual sensibilities more than anything else.
Test #2: Touch
Once this is achieved, you can perform a touch test.
Press against the skin with your fingertip. As you release, the indentation should slowly release back. If it does not, give it 5-10 more folds and turns.
As you get more comfortable with kneading, you will be able to see and feel the first two signs easily as you work.
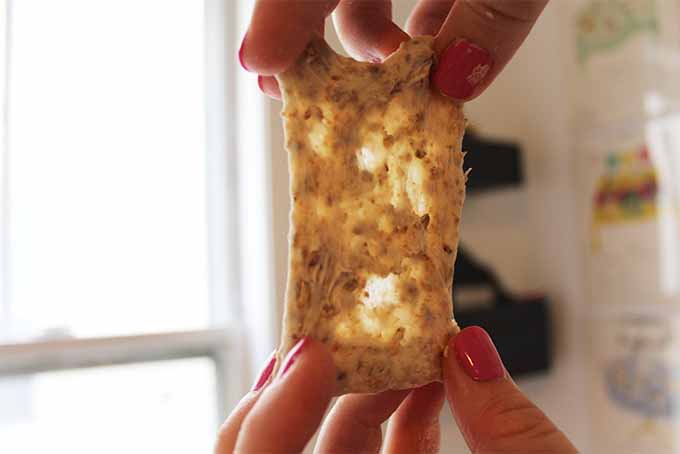
Test #3: Windowpane
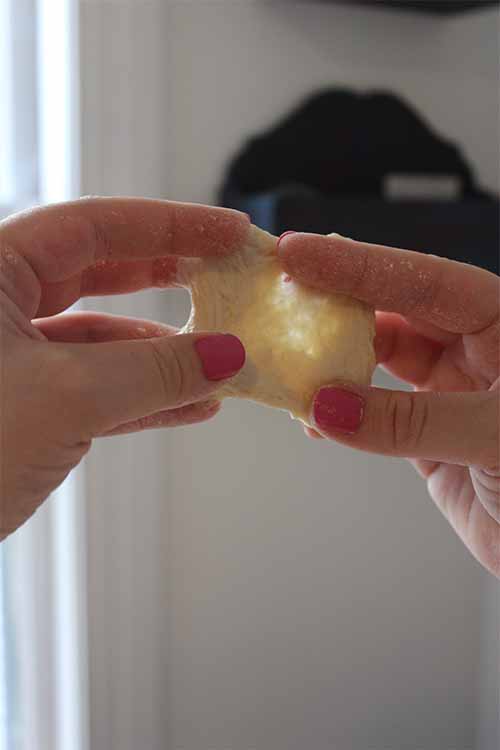
Once your dough has passed both the sight and touch tests, it is time to move onto the final and most thorough gluten test: the windowpane.
Cut off a small portion of the dough, and slowly stretch it out until it is very thin in the center. It should be able to stretch thin enough that light can shine through without breaking, like a windowpane.
Once you can perform a windowpane test without tearing, the dough is ready for its first rest.
Over and Under Kneading
Under kneading increases the likelihood that the dough will tear as you shape it.
It will also have a crumbly interior crumb and uneven lift. If the dough passes a windowpane test, you do not have to worry about it being under done.
Overworking will tear the gluten strands, and thus will behave similarly to under kneaded dough. It is nearly impossible to overwork dough by hand, as your body will get physically exhausted far before your reach this point.
Machine mixing increases the likelihood of over kneading. Thus, when using a stand mixer it is important to perform a windowpane test after 8-10 minutes, and every minute after until it is done.
Tips
- Start your mixing with a bowl scraper to hydrate flour without it clumping on your hands.
- Make sure your water is no hotter than 100°F. Because your body is 98.6°F, this will feel slightly warm to the touch.
- Work on a clean counter at hip height. If your counter is too tall, try standing on a stool. This will help you to avoid back, neck, and shoulder pain.
- Wear shoes with good arch support when you’re baking. Not only will this protect your feet from drops and spills, it will also help you to avoid aches and pains associated with long periods spend standing.
- Hold back with the flour! Incorporating too much will make your bread dense, dry, and difficult to work.
- Listen to the gluten and let it rest. When it is feeling resistant, give it a break in order to relax.
- Test the gluten window. It can be tempting to skip this step when you think things feel done, but it is an important indicator that can help you to avoid a disheartening crumbly loaf.
You’re ready to get going! If you are looking for a fun and delicious starter bread, try our recipe for Pull-Apart Bread. It’s a simple and tasty bread to test out your new skills, and it’s easy to make your own sweet or savory variations.
Ready for something a little more advanced? You’ll love this Twisted Cinnamon & Cardamom Loaf, for breakfast or an afternoon snack.
Be prepared to break a sweat and feel those biceps burn – this is hard work! You’ll be richly rewarded at the end of your workout with a batch of freshly baked bread.
Still have some concerns about kneading? Let us know in the comments what issues you run into, and what questions you have. We’d love to help you troubleshoot your bread making woes!
Photos by Kendall Vanderslice, © Ask the Experts, LLC. ALL RIGHTS RESERVED. See our TOS for more details.
About Kendall Vanderslice
Kendall’s love of food has taken her around the world. From baking muffins on a ship in West Africa and milking cows with Tanzanian Maasai, to hunting down the finest apfelstrudel in Austria, she continually seeks to understand the global impact of food. Kendall holds a BA in Anthropology from Wheaton College and an MLA in Gastronomy from Boston University, and has worked in the pastry departments of many of Boston’s top kitchens. Based in Somerville, Massachusetts, Kendall helps to run a small community supported bread bakery and writes about the intersection of food, faith, and culture on her personal blog, A Vanderslice of the Sweet Life.


Finding a surface that was hip level was my biggest struggle for the longest time, and it was so annoying. All of the counters in the home were just a little too high and my arms would really pay the price for that whenever I was kneading some dough. There was one little table but it was no nice and I did not want to get it all messy and dirty, so I was just out of luck. I have found one since, though, so all is good, and it makes a world of difference.
It really does make such a difference doesn’t it?
I have worked in several restaurant kitchens where I resorted to carrying a stool around with me in order to make sure I was always at the proper ergonomic height.
It’s actually incredible how many factors we need to care about in order to create the perfect dough, or at least, when it comes to people who don’t really cook, at least a decent one, lol. I haven’t worked with dough itself before, but my dad, when we were kids, he used to make us flour tortillas (they were amazing!) but the most difficult part about them it was definitely the dough process, and I think that I finally know why, it’s such a process! But it’s still a good article to remember.
Thanks for sharing!
Thank you for this great post! I’ve just recently taken the plunge into making breads (really simple no knead recipes) and i just love the detailed breakdown you’ve given here. In the past, my attempts have been poor, totally guilty of adding more flour to a tacky dough, and ended up tossing my efforts when I couldn’t work them. Will definitely be taking your suggestions and tips on my next bread baking adventure!
I get a lot of satisfaction from kneading bread, particularly if I’ve had a bad day – it’s great to get rid of all your pent up anger on a batch of dough!
Yes, it definitely is! I actually first started baking bread as a way to relieve stress and anger. Now I find it soothing no matter my temper 😉