Nothing bad has ever resulted from asking the question, “Would you like to put an egg on that?”
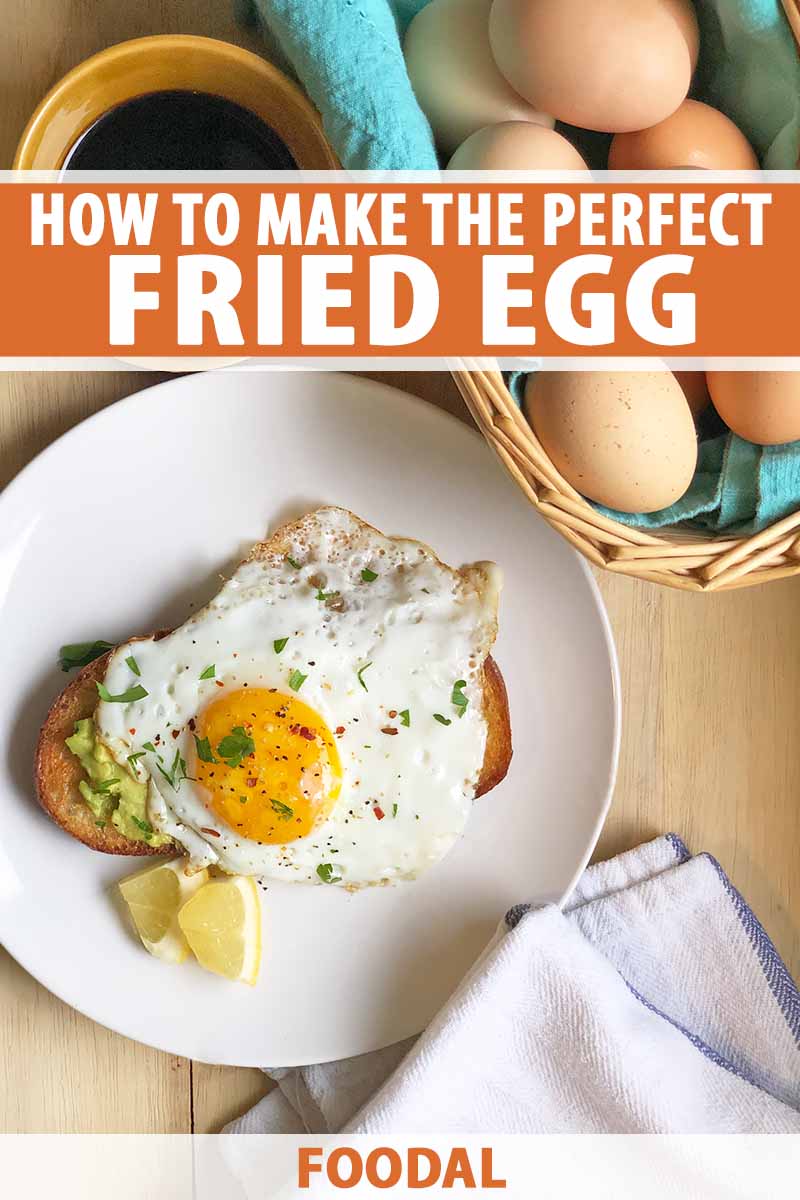
Whether you’re enjoying a brunchtime burger, a crisp BLT, or even a tangy, brothy bowl of ramen, a perfectly fried egg is an unmatched accompaniment.
Like the bad boy in high school, tempting you with a motorcycle ride during third period, it’s always like, “Hey, let’s be a little naughty. I won’t tell.”
The gooey golden center just begs to be burst so it can release its silky, buttery joy all over your life.
I say, let it.
When it comes to these unctuous orbs, in general, everyone has their own definition of supremacy. I’ve always been a soft scramble kind of girl myself, whereas you may be a die-hard fried fan.
But that’s where things get complicated.
Though there are many different cooking techniques available – boiling, poaching, and so on – none seems to be as controversial or as complicated as making them fried.
Is it better in butter? Should it be prepared in a cast iron skillet, or a nonstick frying pan? Does it need a lid on top while it cooks?
At what point does it do a somersault?
I took an afternoon (or three) and went on a journey to procure the perfect, most delicious and beautifully textured fried egg. I broke down and tested each unique form, in an attempt to master their distinctive levels of doneness.
Sunny-side up. Over-easy. Over-medium. Over-hard.
These are their stories.
What You’ll Learn
Achieve the Ideal Level of Doneness
So, what’s your pleasure?
From a sunny just barely kissed by the heat of a hot pan, to the hard option that’s been cooked thoroughly with a firm yolk inside, definitions of “perfect” may vary.
Here’s what I came up with, with a brief rundown on the best methods for achieving your ideal consistency.
Sunny-Side-Up
Though the method for making a classic sunny-side up version seems to be the most obvious of the bunch, the technique isn’t exactly as straightforward as it sounds.
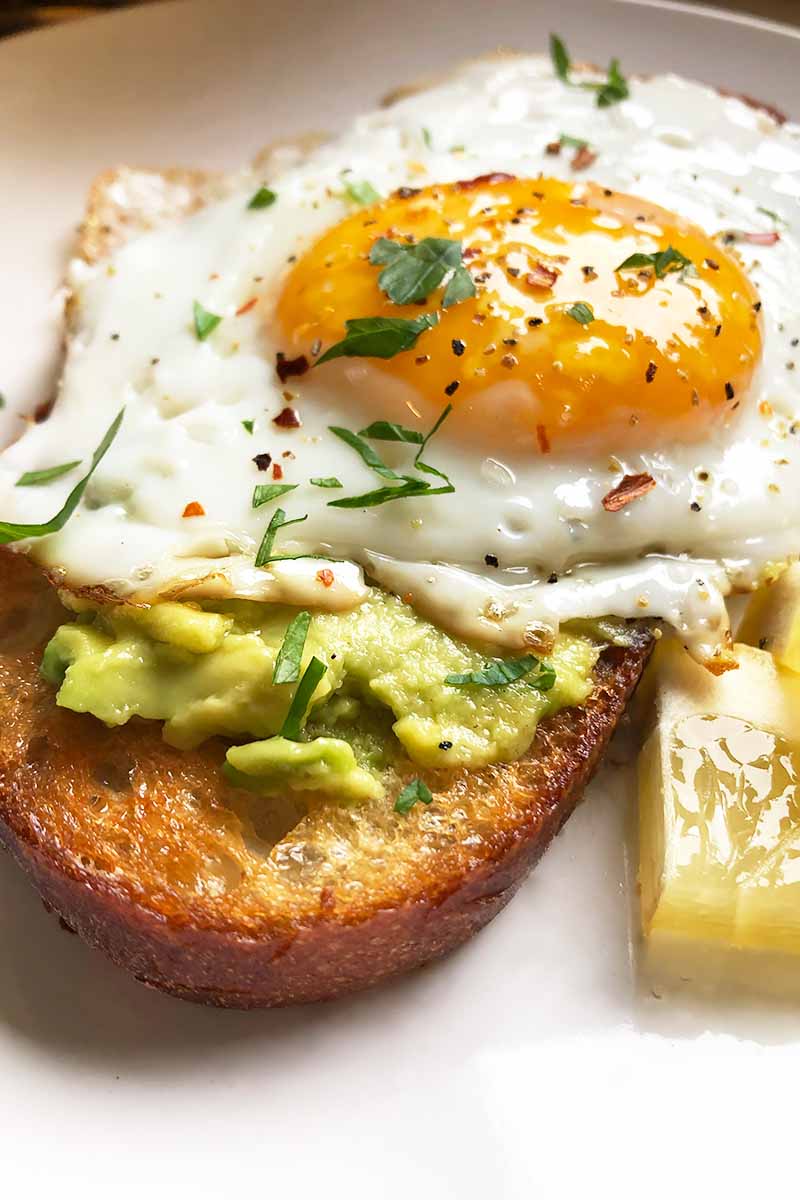
The basic principle for this category is that the yolks should always be runny.
Always.
As for the whites, some folks prefer a little translucency while others want them to be entirely set.
In order to firm up the whites without overcooking the yolks, I found that the best practice is putting on a lid right when the whites are almost fully past their see-through stage.
Within ten seconds or so, you’ll have your expertly oozy yolk with nice tender whites.
And of course, no flips here.
Over-Easy
For over-easy, the end result is fairly similar to the above, but with just a touch more heat.
What you’ll end up with is a still-completely-runny yolk, but whites that are entirely set, because everybody involved has hit direct heat.
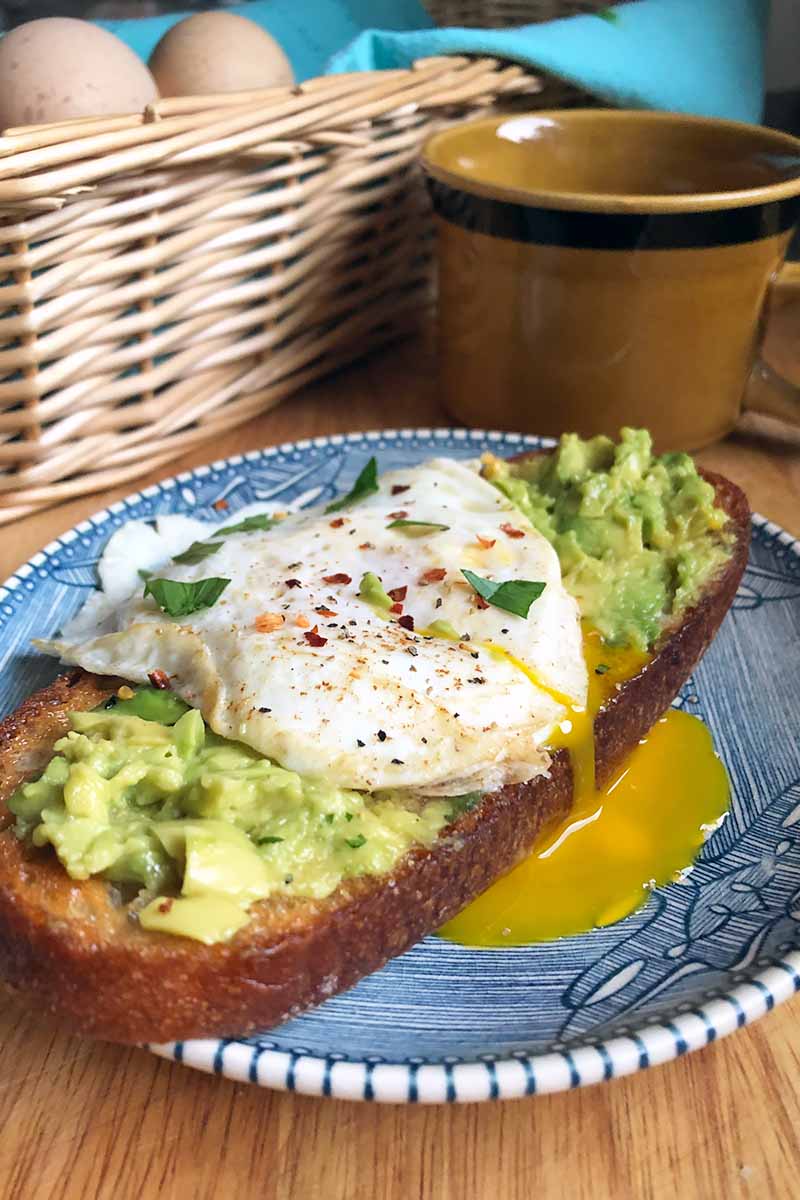
Right at the same moment when you’d put on the lid for those sunnies, you carefully flip it over – just a flick of the wrist is required here, no need to put on a show – give it about five more seconds on the heat, and then plate and send it off to be devoured.
Over-Medium
For over-medium (the actual perfect level of doneness, in my opinion), once they’re flipped and the tops hit that heat, it’s closer to a fifteen-second count to reach savory nirvana.
The whites will be fully cooked, and while the yolk will still be creamy, it won’t create as thin of a stream when you break it open on your plate.
Over-Hard
While the over-hard option is not in high demand according to my observations, there are plenty of circumstances where a set yolk comes in handy.
Have you ever tried eating an English muffin breakfast sandwich in the car that contains over-easy eggs with runny yolks?
One chomp down, and there go your shorts.
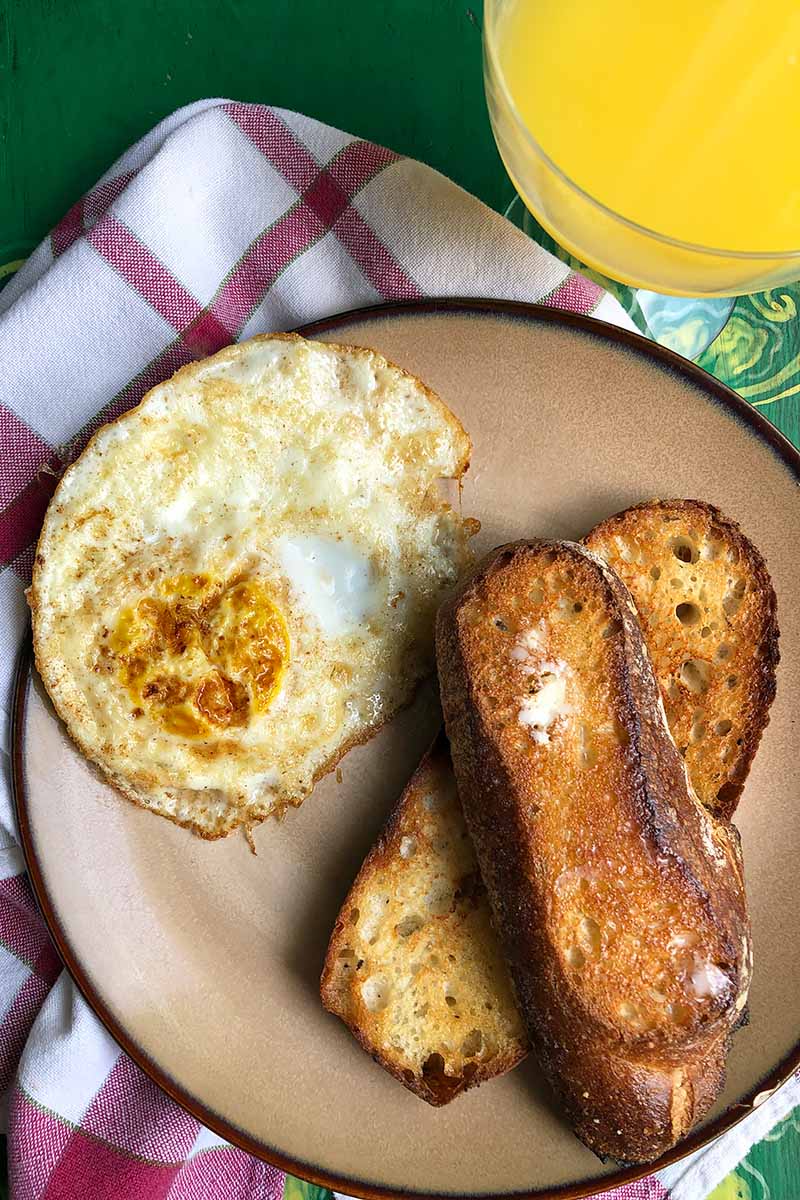
For breakfast on the go, an over-hard version makes for much less of a mess. Once the whites have set, they’re flipped, and then you might as well go sit down and watch a season of Lost while you wait for these babies to finish up in the pan.
Just kidding. But the wait time here is longer, as the yolk needs to become completely and unquestionably solidified.
I found that the trick to keeping it in the pan for the necessarily extended amount of time without it getting rubbery is adjusting the heat level.
When the egg slid in for its initial sizzle, I started at medium. Once it began to bubble, I reduced the burner to low.
It cooked until the yolk started to thicken, for about a minute. Post-flip, it went for another minute until the yolks were thoroughly hard.
Cooking Fats: Oil or Butter?
Now you know yolk ABCs, come talk about some fats with me. (Sung to the tune of, well… you get it.)
While cooking in butter versus oil is certainly a taste preference, there’s also a basic reason why people choose one over the other:
Butter burns faster than oil. It’s as simple as that.
Both can provide those wispy brown edges coveted by many a breakfast connoisseur, but butter provides a tasty added nuttiness, and will give you a darker color faster. Oil offers more of a bubbly, puffy crunch to your whites.
But for my perfect version?
I believe in the combined powers of both. A little oil for those especially lacy edges that don’t get overly brown, and some butter for added aroma and flavor.
Select the Best Pan
Wait! You’re not excused yet. We’ve still got vessels to cover.
No, seriously, the method of covering the pan isn’t something I just pulled out of my head. Especially when you add a splash of water, the addition of steam is a brilliant way to get some indirect heat on the yolk and the top of the whites.
As for the vehicles that help to get this deliciousness from point A (the cardboard carton) to point B (your belly), many cooks consider classic nonstick frying pans (not saute pans, because there is a difference!) and cast iron skillets to be engaged in a head-to-head race for first place.
I tested both.
Nonstick pans don’t conduct heat the same way as cast iron, so they’re most efficiently used at lower temperatures. I’ve found that a level around medium is their sweet spot.
Cast irons are known for their ability to retain high heat, so they’re your best bet for creating seriously crispy edges. But keep in mind that these heat up more slowly.
I found that my cast iron pan created more of a rippling effect than the nonstick. The bubbles led to a golden-brown bottom on my sunny-side up version that I was absolutely not mad at.
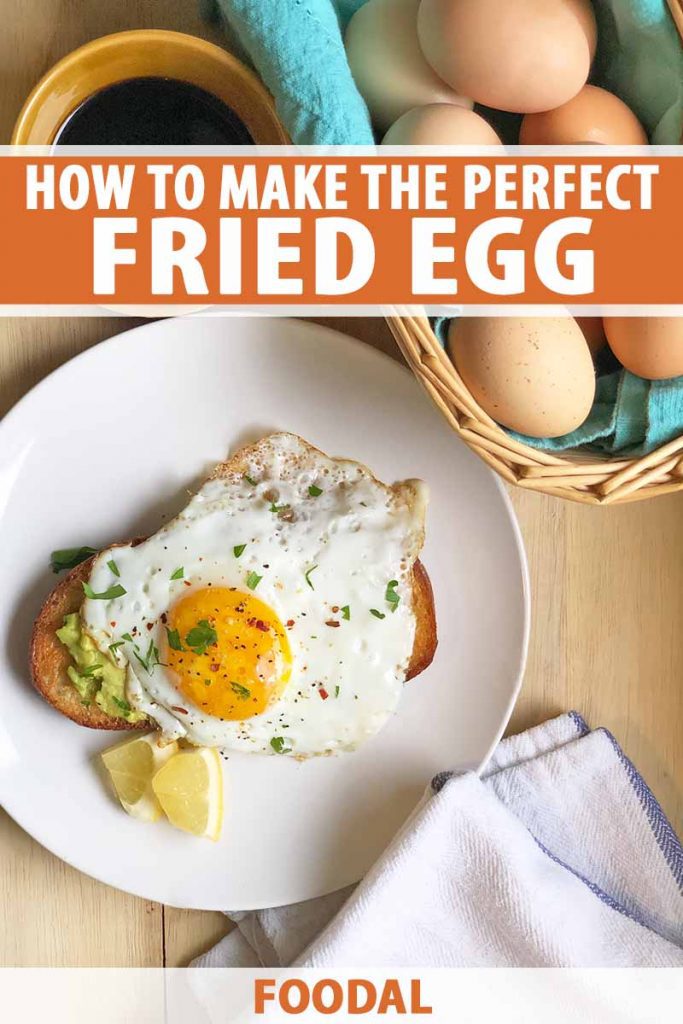
In fact, that was the very same glorious creation that made me call it a day. I plunked it right onto a slice of crusty avocado toast, and decided that my job was done. I’m a self-proclaimed over-medium lover, but I was sold!
Now that we’ve walked through the valley of breakfast, hand in hand, which style will you flip (or not flip) for tomorrow morning?
How to Make the Perfect Fried Egg
Nothing says “Good morning!” like the buttery smell of breakfast sizzling on a stovetop. These methods achieve fried excellence every time.
You will need:
- 1 large egg
- 1/2 tablespoon unsalted butter
- Coarse salt and freshly ground pepper, to taste
For Sunny-Side Up:
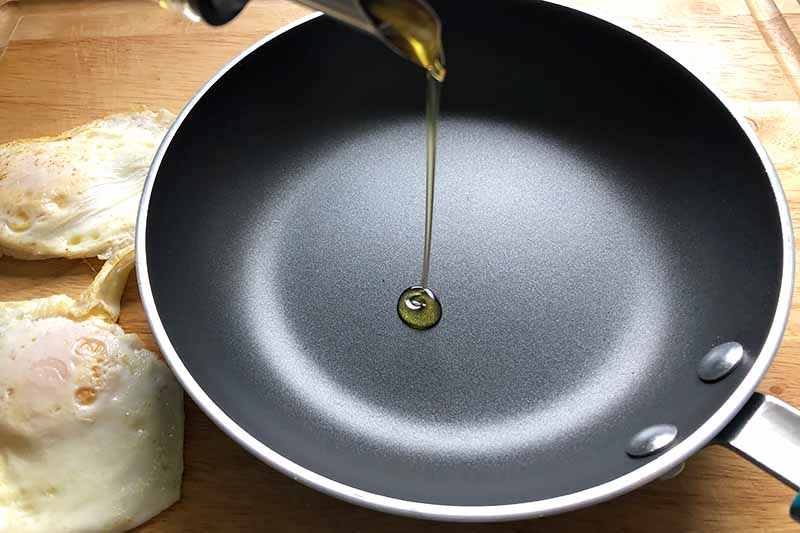
Add the butter to a small nonstick skillet, and place it on medium heat. Carefully crack the egg into a ramekin without breaking the yolk, and pick out any shell fragments if you need to.
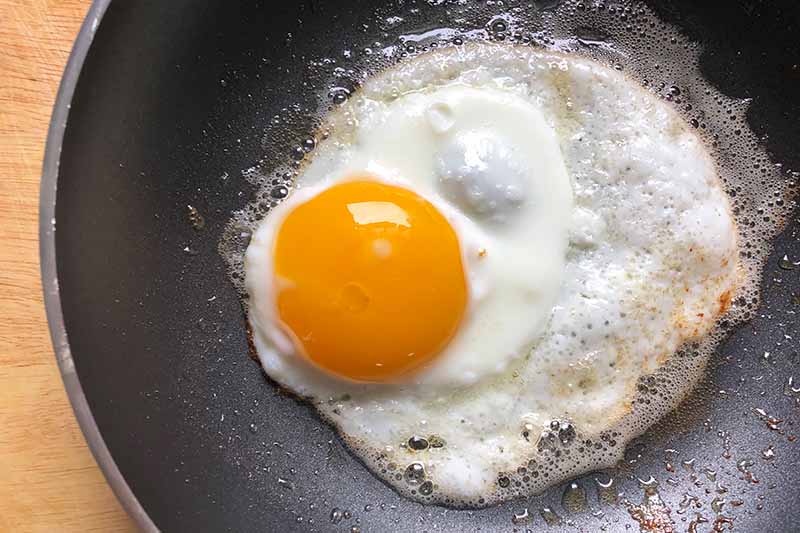
Once the butter begins to lightly foam and bubble, swirl the pan to coat, then add the egg into the pan.
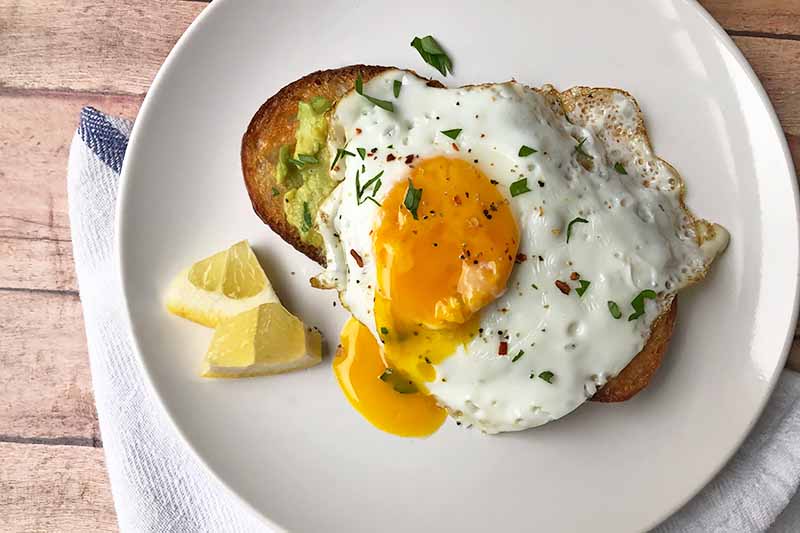
Just as the whites become opaque, cover the pan with a tight-fitting lid. Allow it to cook for about ten seconds, and then slide it onto a plate.
The whites will be set, but the yolk will still be runny. Season with salt and pepper and serve immediately.
For Over-Easy:
In a small nonstick skillet over medium heat, add the butter. Crack the egg carefully into a ramekin without breaking the yolk, and remove any shell fragments if you need to.
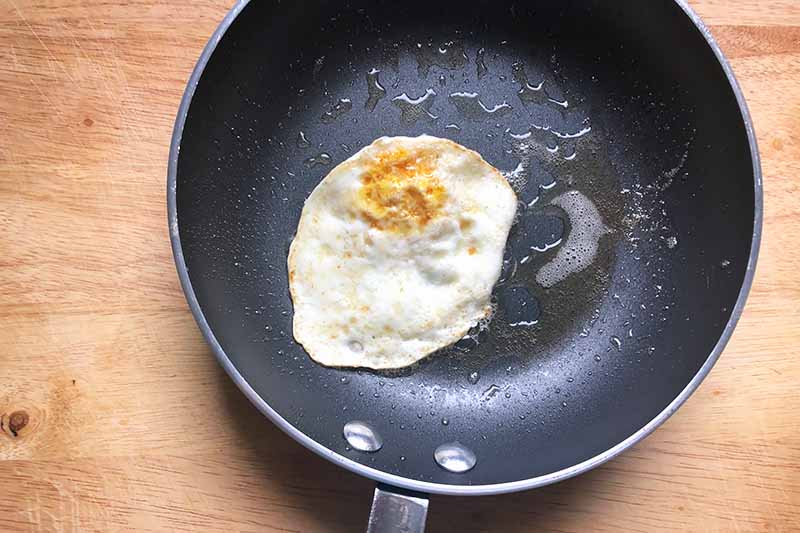
Once the butter begins to lightly foam and bubble, add the egg to the pan.
Just as the whites become opaque, jiggle gently to loosen from the pan.
To flip, you have two choices: either flip it over with a rubber spatula, or lift the pan above the heat, and flip it by pushing the pan away from you and then quickly snapping it upwards.
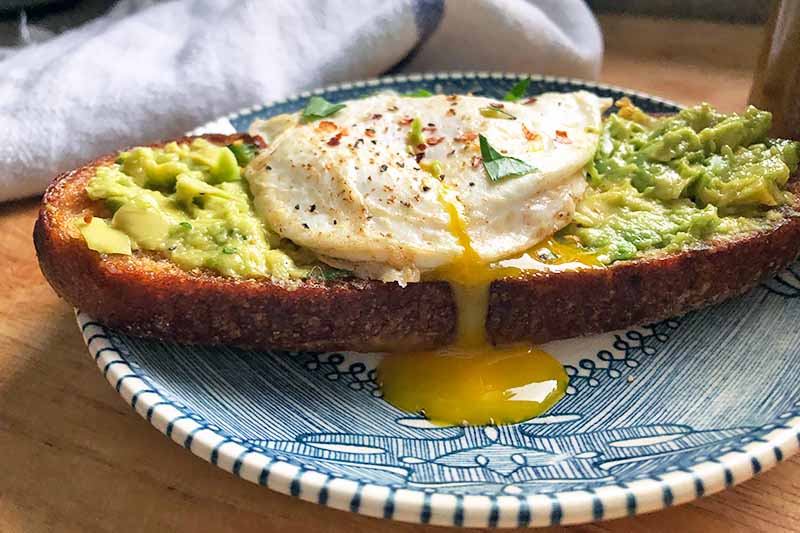
Cook on the other side for about 5 seconds, and then slide it onto a plate. The whites will be set, and the yolk will be just barely cooked and still very runny.
Season with salt and pepper, and serve it up.
For Over-Medium:
Add the butter to a small nonstick skillet. Place it over medium heat.
Crack the egg into a ramekin or small bowl. If you accidentally break the yolk, save that one for scrambling or making another recipe, and start again.
Once the butter begins to lightly foam and bubble, swirl the pan to coat the surface. Add the egg to the pan and place it back on the heat.
Keep a close eye on it. Just as the whites become opaque, jiggle the pan a bit to loosen its grip on the pan.
You can either flip it over gently with a spatula, or lift the pan above the heat and flip it by pushing the pan away from you and then quickly snapping it upwards, diner style.
Allow it to cook on the other side for about 15 to 20 seconds, and then slide it onto a plate. The whites will be set, and the yolk will be runny, but with a thicker texture than an over-easy one would have.
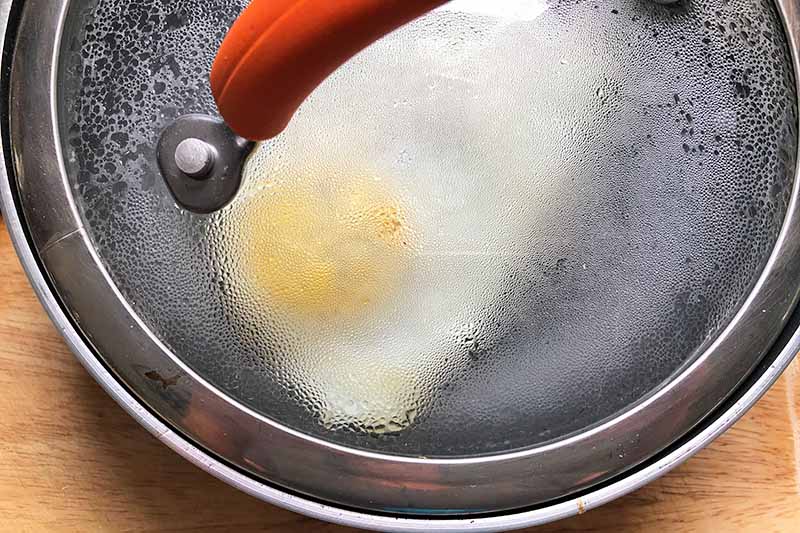
Alternatively, you may use the steam method:
After you flip, quickly add a splash of water into the pan, and then cover it with a lid. Continue to cook for about 10 seconds, and then slide it onto a plate.
The water will have evaporated, and the egg will be perfectly cooked. Season with salt and pepper, and serve.
For Over-Hard:
Add the butter to a small nonstick skillet over medium heat. Crack a large egg into a ramekin or small dish. Do this carefully, so you don’t break the yolk.
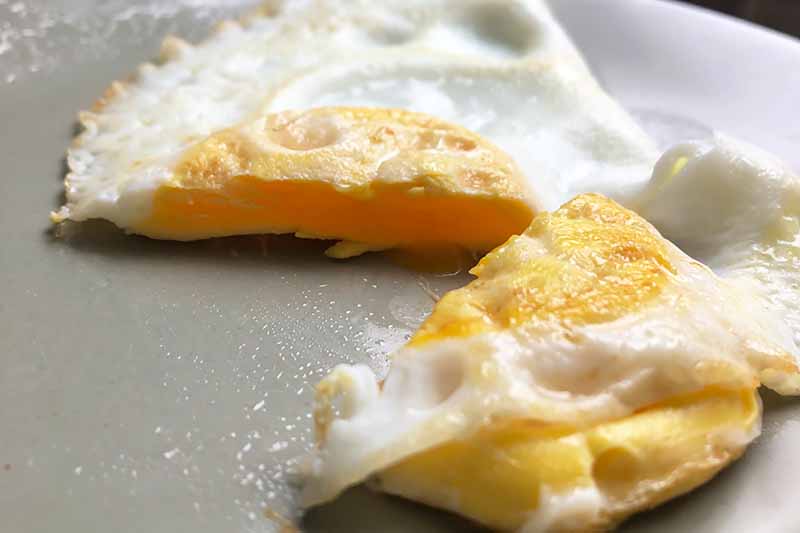
When the butter begins to foam and bubble lightly, add the egg to the pan. Reduce the heat to low.
Cook until the whites are firm and the yolk has started to thicken and solidify, for about 1 minute. Flip it over with a spatula.
Continue to cook until the yolk is completely firm, for about 1 minute. Slide it onto a plate, and season with salt and pepper before serving.
Fry Me to the Moon
No matter how the yolk runs, nobody loses when it comes to these fried delights. Whether you’re all about the sunny-side up for life, or you’re an over-hard devotee, every rich, ethereal bite is pure bliss.
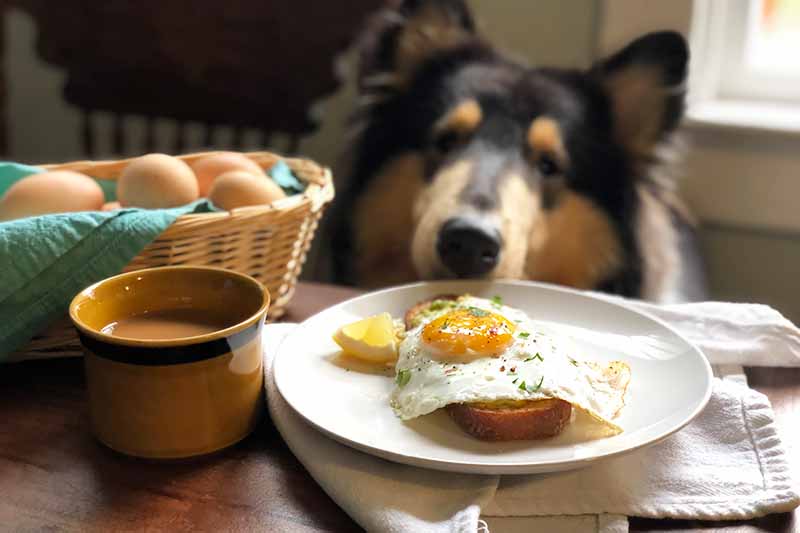
Olive oil may be your go-to if it’s sitting by the stove, but play around with other varieties like grapeseed, avocado, coconut, or sunflower. After you slide your finished prize out of the pan, use the leftover oil to give your bread a toasty sheen.
If a dozen is never enough for you, get cracking with these other egg recipes and tips next:
- The Perfect Benedict with Magical Blender Hollandaise
- Smoky and Spicy Chipotle Deviled Eggs
- Mix up Your Eggs with These Easy Cooking Methods
What’s your preferred method for preparing the ever-versatile fried egg? Lid on or off? Flipped or left alone? Share your eggs-tra special secrets in the comments below!
Photos by Fanny Slater, © Ask the Experts, LLC. ALL RIGHTS RESERVED. See our TOS for more details. Originally published by Shanna Mallon on January 26, 2011. Last updated on July 16, 2021.
Nutritional information derived from a database of known generic and branded foods and ingredients and was not compiled by a registered dietitian or submitted for lab testing. It should be viewed as an approximation.
About Fanny Slater
Fanny Slater is a home-taught food enthusiast based in Wilmington, North Carolina who won the “Rachael Ray Show” Great American Cookbook Competition in 2014, and published her cookbook “Orange, Lavender & Figs” in 2016. Fanny is a food and beverage writer, recipe developer, and social media influencer. She was a co-host on the Food Network series “Kitchen Sink,” was featured on Cooking Channel’s longtime popular series “The Best Thing I Ever Ate,” and continues to appear regularly on the “Rachael Ray Show.”

What a great post. I think one of the keys to life is finding the beauty in the everyday and trying to maintain some level of simplicity.
Simplicity is a very good thing. Like Lisa said 🙂
I love this! I felt exactly the same when I was moving in september, I made a similar post about the simplicity of eggs. Hope moving is going well! One look outside my window this morning and I’m about to pack up and come with you…wintry mix in new york city. EW.
Oh! Just what I needed this morning. Not the egg and toast — although they sound good — but the reminder. Thanks!
I eat a fried egg on toast every morning. I have since I was 20. It is the very most wonderful routine part of my life – keeps me steady while everything else is tilting. So glad you feel the same way. 🙂
YES.
Love it. I’ve been doing the same thing a lot lately, but fancying it up a bit with some mashed avocado spread on the toast. Perfect breakfast, if you ask me.
this is my fave way to consume eggs, it reminds me of my grandfather, he used to make this for me when i was a kid. not only is the simple beautiful but food memories are even better.
I love fried eggs. I think I’ll make this tomorrow morning
I had two fried eggs this morning, in large part to this post. Aaaaaand, you’re welcome.
A fried egg on toast is probably one of my fave meals. We ate it often when I was growing up! It truly reminds me of my Dad.
I find simple dishes and runny egg yolks very inspiring. Sometimes, simple is just what we need. Thanks for sharing.
I commented this morning, but it didn’t show up for some reason. So I’ll just repeat it now:
YES.
I TOTALLY just ate fried egg on toast for dinner. I’m not even kidding.
i love this. thank you.
My favorite breakfast. I love this post, there’s so much to simplicity.
Eggs & Toast are my comfort food…my mom always made them for me and called them “Eggies On Toast.”
Love your blog!
Yup. Things couldn’t get any better than egg on toast. Oftentimes, the simplest is the most inspired.
yes i make them like sandwiches with some cheese for the boys… they are loved in this house!! It is one of my husbands favorites…
We live on fried egg sandwiches at our house!!! (really good homemade bread would be so awesome with this…) Lovely post!