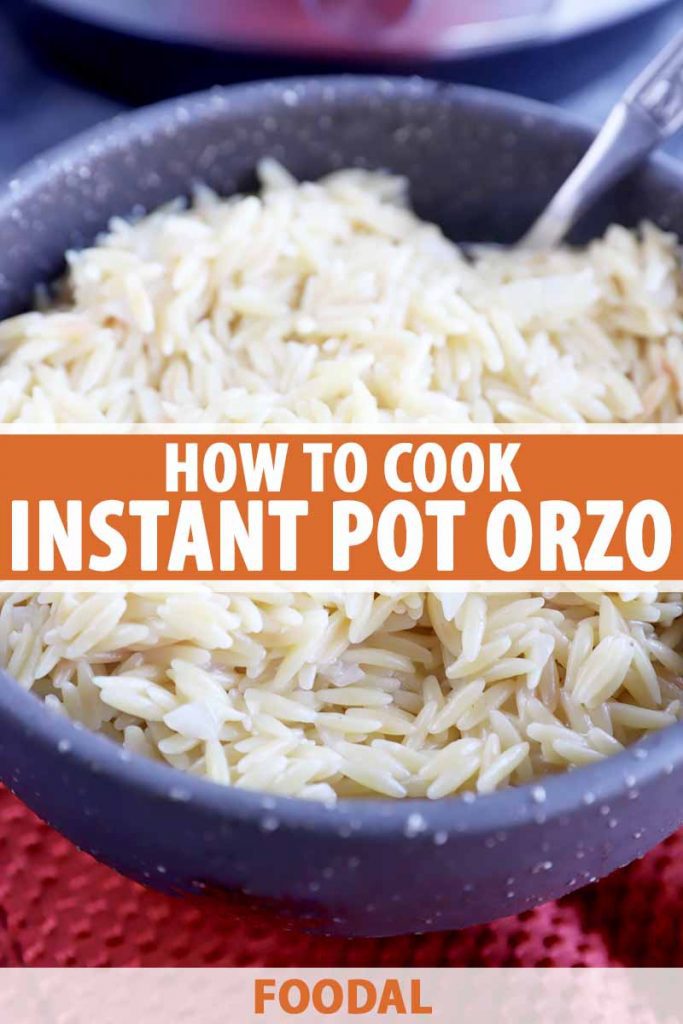
If I am getting sick of rice and want to change up my dinner routine, the first box I reach for in the pantry is one filled with orzo.
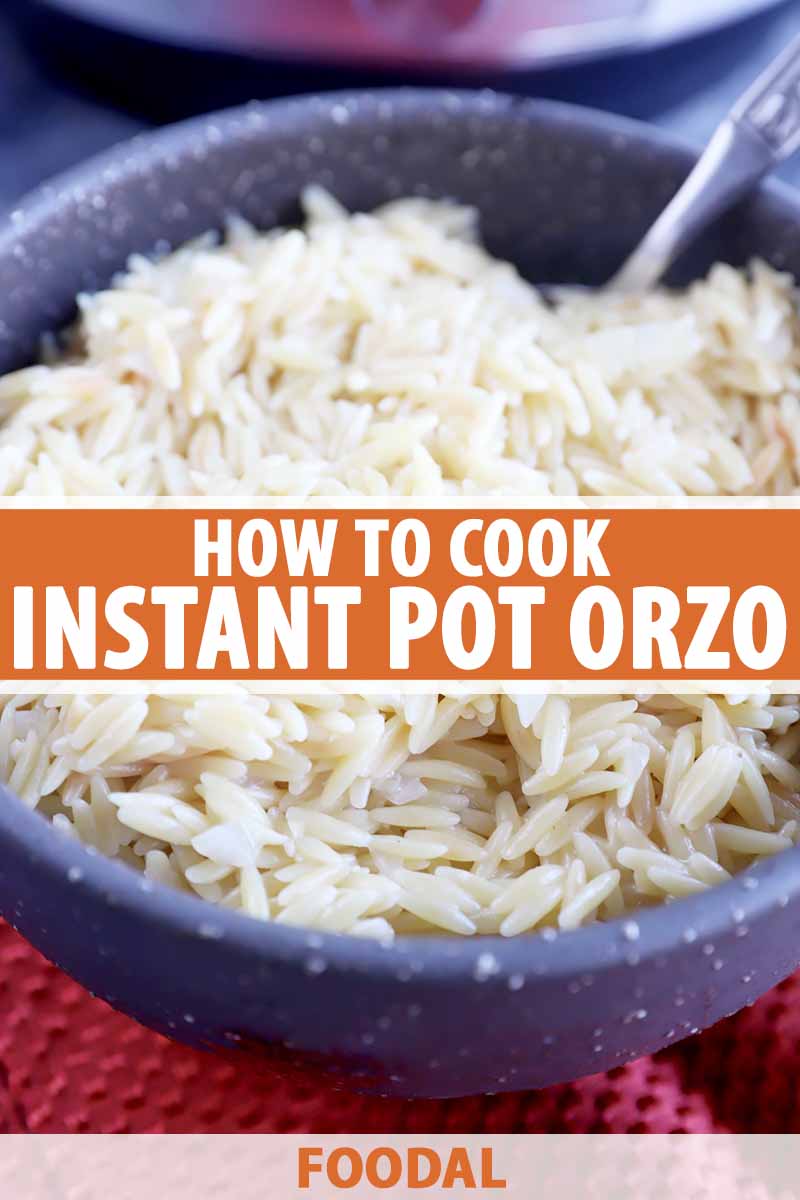
But what is orzo? Is it a grain, or is it pasta?
Often mistaken for something akin to rice, it’s actually a small, simple pasta with a shape that’s similar to the popular grain, but it becomes tender much faster. It can be served either as a side dish or a main meal, if you bulk it up with some meat, poultry, or seafood, and veggies too.
Personally, I like it because it’s so versatile. It lends itself to so many different flavor profiles, so you can create various seasonal dishes to enjoy throughout the year.
I think it’s one of the best cheap pantry items to stock up on, whether you want to use it for one-pot suppers, make-ahead salads, or side dishes. Plus, you can cook it in the electric pressure cooker.
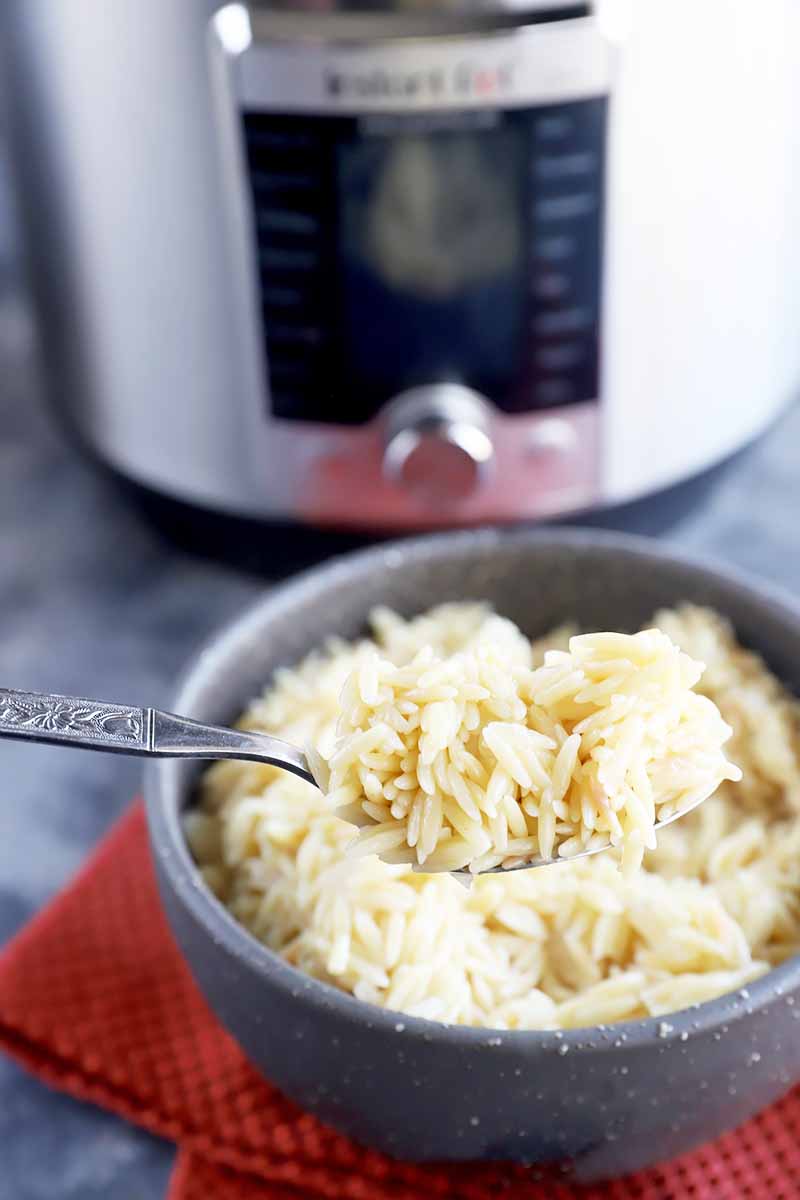
Please note that because these tiny noodles are typically made with wheat flour, this is not a gluten-free option unless the package specifically states that it has been prepared with flour that does not contain gluten. If you need to refrain from eating wheat, stick with rice, or try another type of starch or grain instead.
With this quick and easy prep method, it’s always worth it to have a couple of boxes on hand in the pantry! Here’s a quick preview of everything we’ll cover:
Why Do I Need to Toast the Orzo?
Toasting it with some onion is something that I always like to do when I make mine at home. It adds a wonderful taste to the end result.
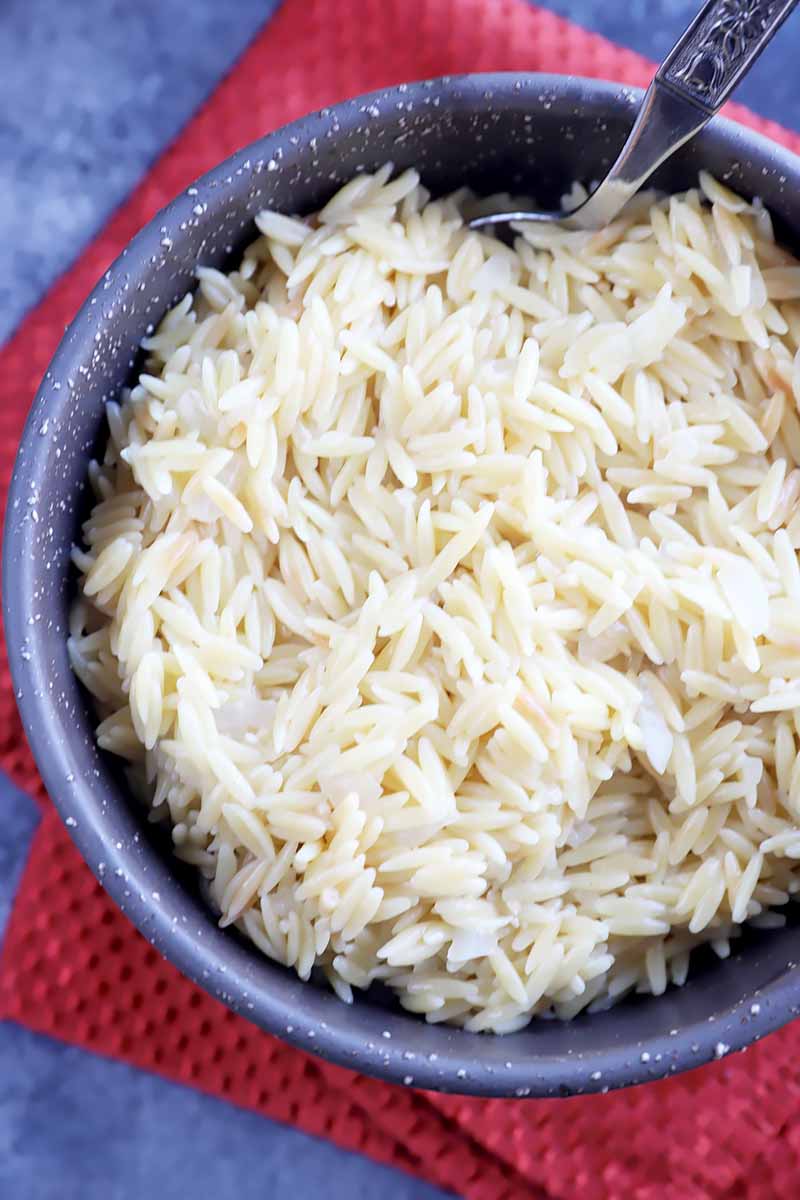
You want the grains to turn light brown in color. There’s added depth from the toasting, especially when you use a stock like chicken or vegetable instead of water to cook it in.
Seasoning and Serving Suggestions
If you are looking for creative ways to serve and enjoy this dish, there are plenty of possibilities. Whether it’s a main dish or a side, you’ll want to incorporate it into your weeknight meals as often as possible, or even serve it as an exciting option for a dinner party or gathering.
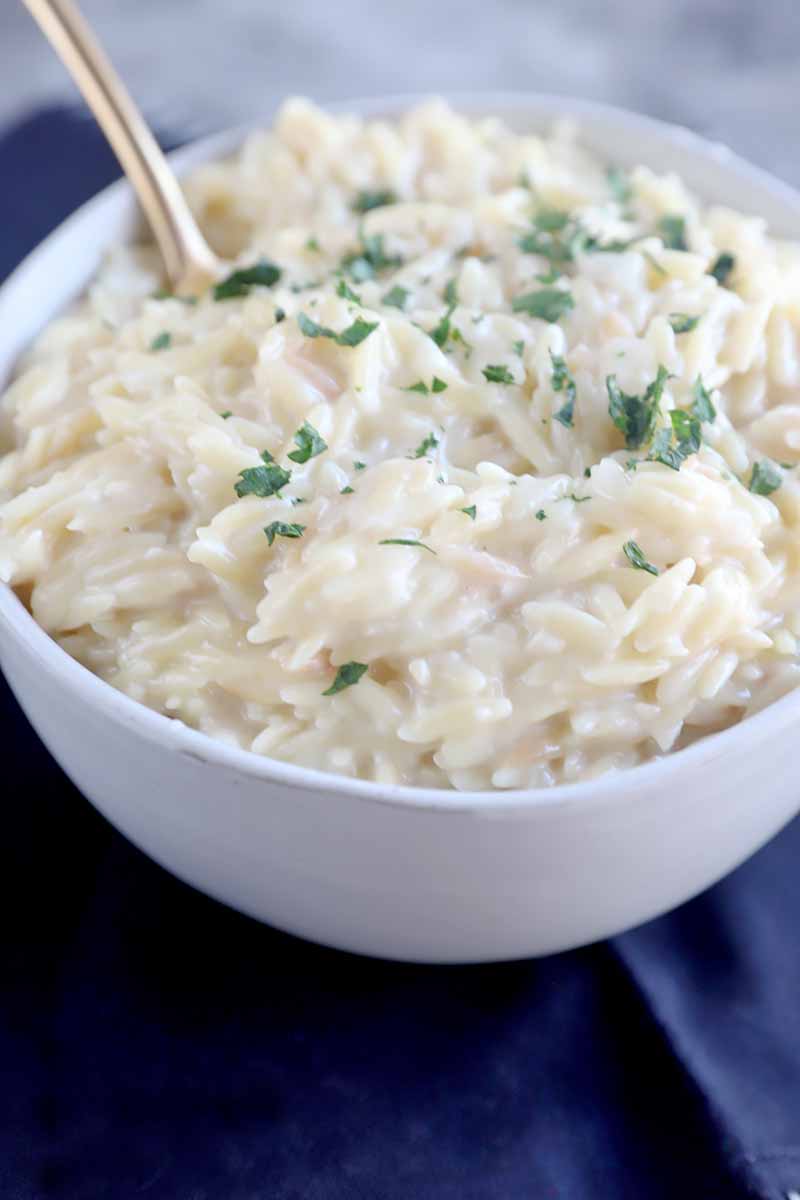
Adding cheese is one of my absolute favorite ways to liven up pasta of all kinds. After making the orzo, stir in 2 1/2 cups of shredded cheese (I use a combo of mozzarella and parmesan) and 1 cup milk. Once the cheese is melted, taste it and then season to your liking with salt and pepper.
A light and refreshing way to serve this is with an herby lemon twist. All you have to do is stir in 2 tablespoons of lemon juice, 2 tablespoons of freshly chopped parsley, and 1/2 cup of grated parmesan. You can even add halved cherry tomatoes or roasted chopped chicken if you want to serve it as a main dish.
Or, use it as the base of a salad. Be sure to cool it completely before combining the ingredients. A couple of our favorite pasta salads are spinach and sun-dried tomato, or creamy Greek pasta with shrimp.
Stir it into soups that you would use other types of noodles or rice in, for something a little different.
To serve it as a main dish, add meat, poultry, or seafood. You can use seared sliced steak, chopped chicken or salmon, shrimp, shredded chicken thighs, or any other protein that you love.
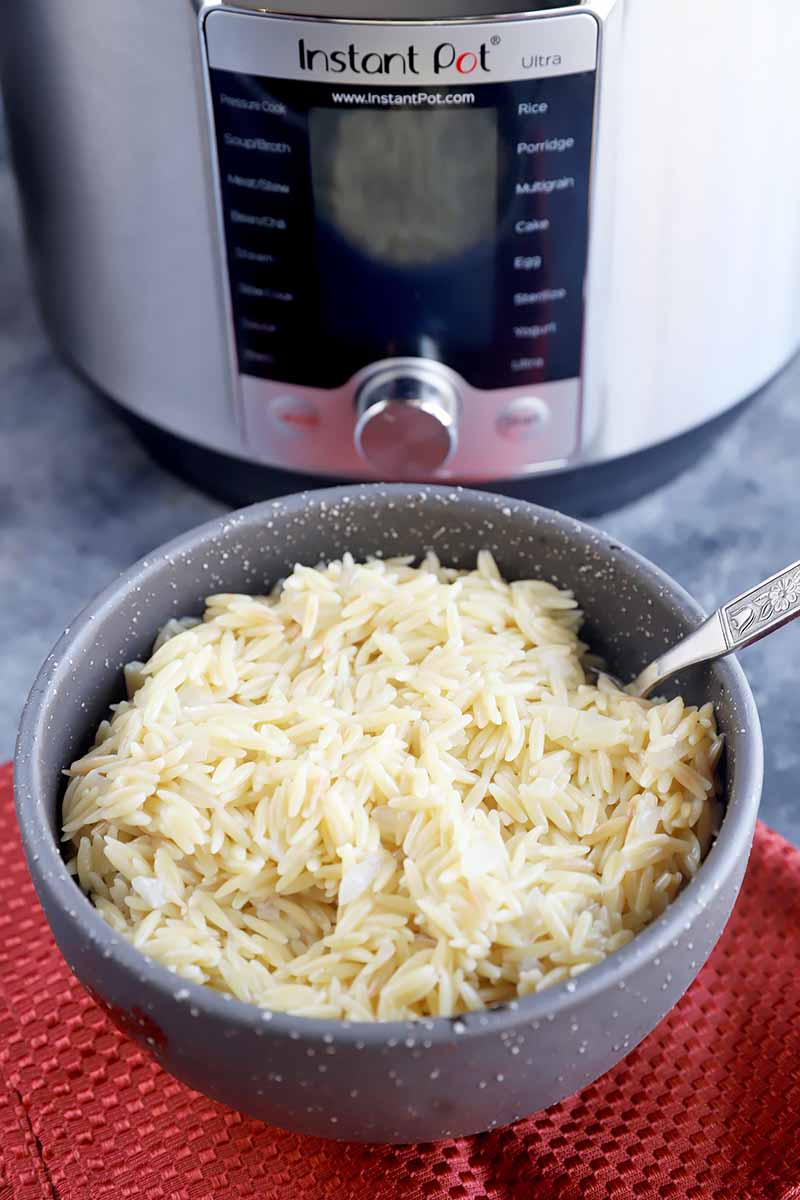
Stir in chopped steamed vegetables for a nutrition-packed side.
Substitute it for other types of noodles in classic dishes such as a charred broccoli pasta bake, shrimp fra diavolo, or a cheesy hamburger skillet.
There are so many ways to make this type of pasta even more interesting and flavorful, and that’s why I think it’s such a lovely and unique type to use for a wide range of dinner ideas. Plus, it really does take a lot less time to prepare than rice, simplifying your weeknight meal process.
How to Cook Orzo in the Electric Pressure Cooker
Simple orzo is a straightforward side dish that comes together quickly in the electric pressure cooker.
You can flavor it however you like once it’s made, whether that’s with cheese, lemon, fresh herbs, or your choice of spices. See what you have in the pantry and spice rack, and let’s start!
Step 1 – Measure Ingredients
To begin, gather your ingredients:
- 2 tablespoons olive oil or unsalted butter
- 1 1/2 cups uncooked orzo
- 1/4 cup diced white or yellow onion
- 2 cloves garlic, minced
- 2 3/4 cups low-sodium chicken broth, vegetable broth, or water
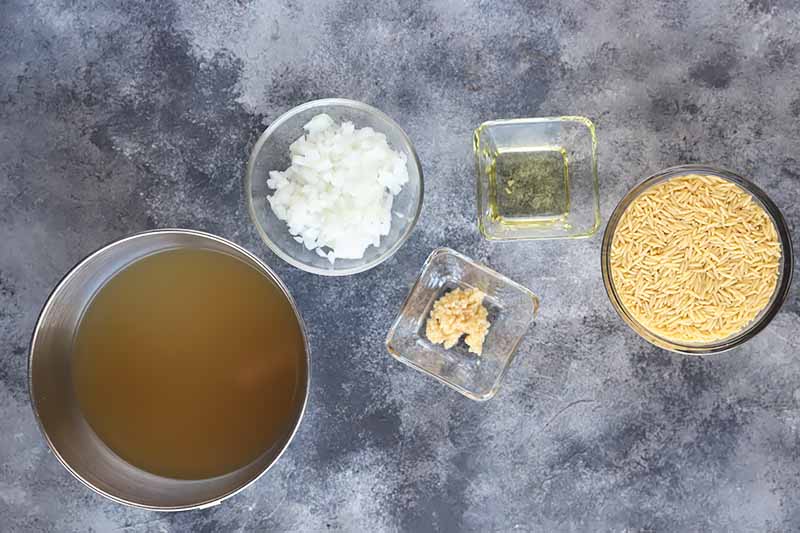
Measure out the ingredients as listed on the ingredients list.
Step 2 – Toast Pasta, Onion, and Garlic
Set the electric pressure cooker to Saute, and add the olive oil or butter.
Once it’s hot, add the pasta and onion. Toast, stirring often, until the pasta is lightly browned and the onion is softened and translucent, about 3 minutes.
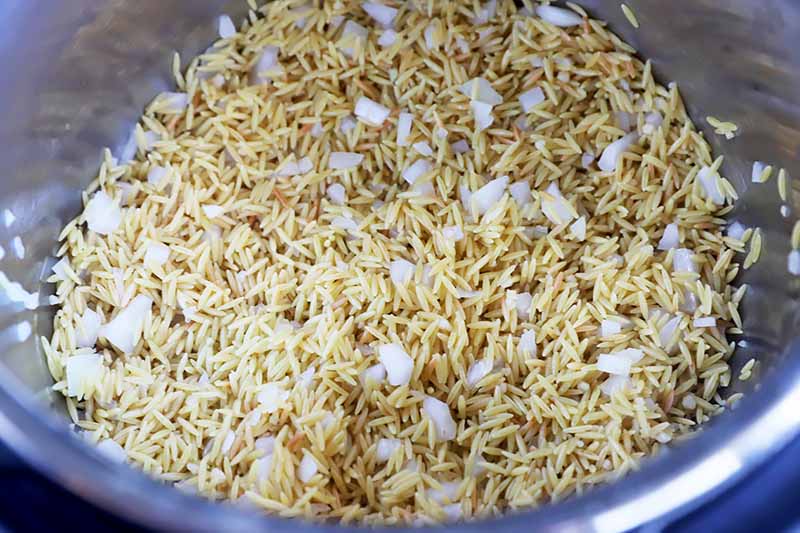
Add the garlic and stir occasionally for an additional 30 seconds to 1 minute, just until fragrant. Turn off the pressure cooker.
Step 3 – Pressure Cook
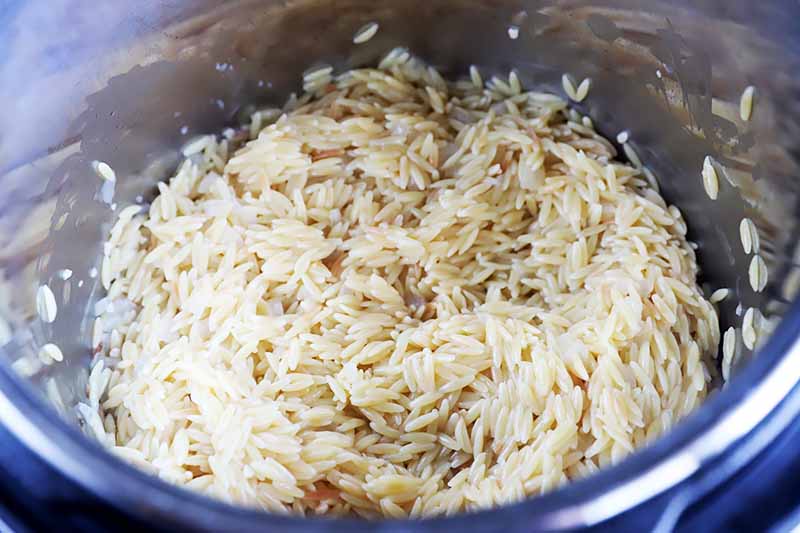
Stir in the broth and cover. Set to Manual and cook on High pressure for 3 minutes.
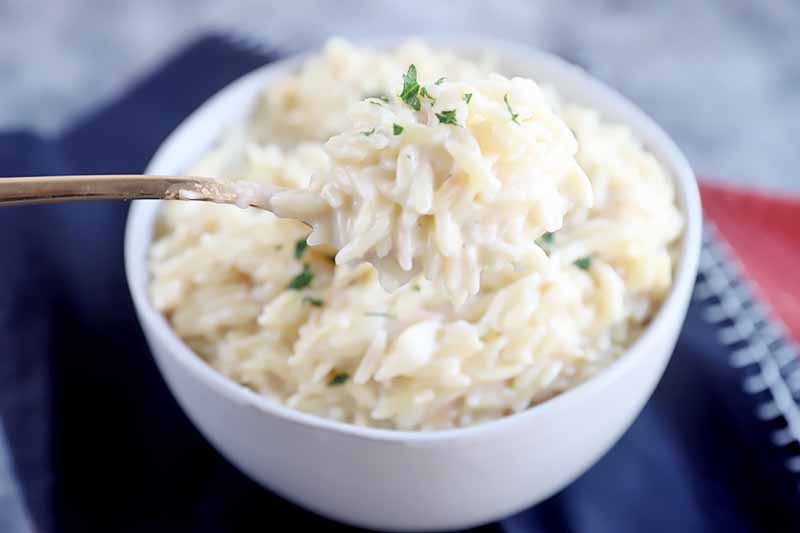
Manually quick-release the pressure when it’s done, and stir before serving. If you are adding additional ingredients, stir them in now until they’re fully incorporated, and then serve.
Can I Make Orzo Ahead of Time?
You certainly can, which makes this pasta a fantastic choice when you are doing your meal prep for the week, whether it’s for lunch or for dinner.
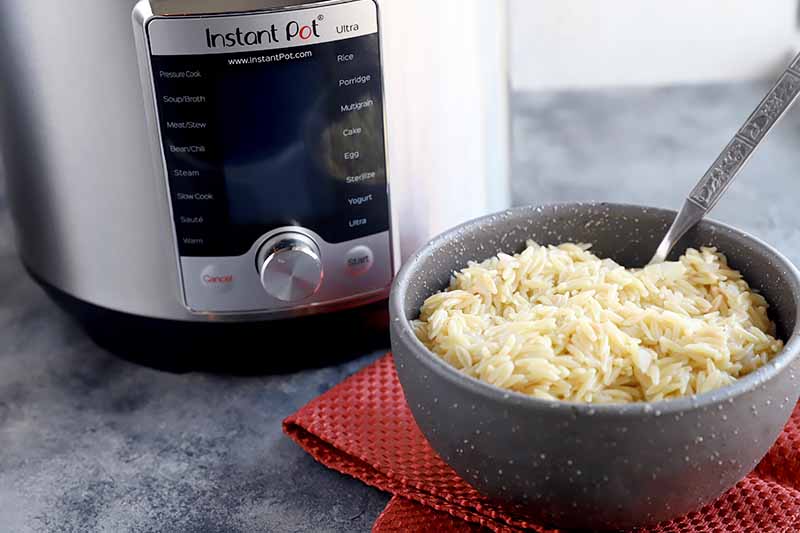
When you want to store the prepped orzo, cool it completely and transfer to shallow airtight containers or resealable plastic bags. It will last for 3 to 5 days in the refrigerator.
Do you like to serve orzo as a side dish or a main? What are your favorite pairings? Tell us in the comments below.
Want to learn how to make different types of pasta in the electric pressure cooker? Check out the following how-to’s next:
- Spaghetti
- Whole Wheat Pasta
- Elbow Macaroni (coming soon!)
Photos by Meghan Yager, © Ask the Experts, LLC. ALL RIGHTS RESERVED. See our TOS for more details.
About Meghan Yager
Meghan Yager is a food addict turned food and travel writer with a love for creating uncomplicated, gourmet recipes and devouring anything the world serves up. As the author of the food and travel blog Cake 'n Knife, Meghan focuses on unique foodie experiences from around the world to right at home in your own kitchen.

