
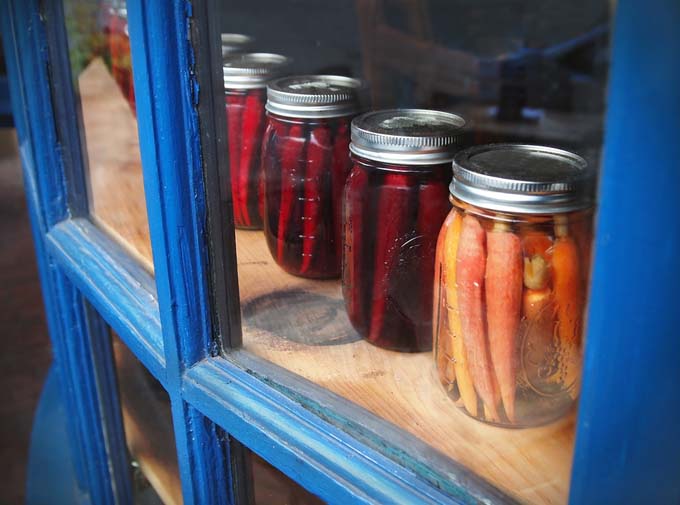
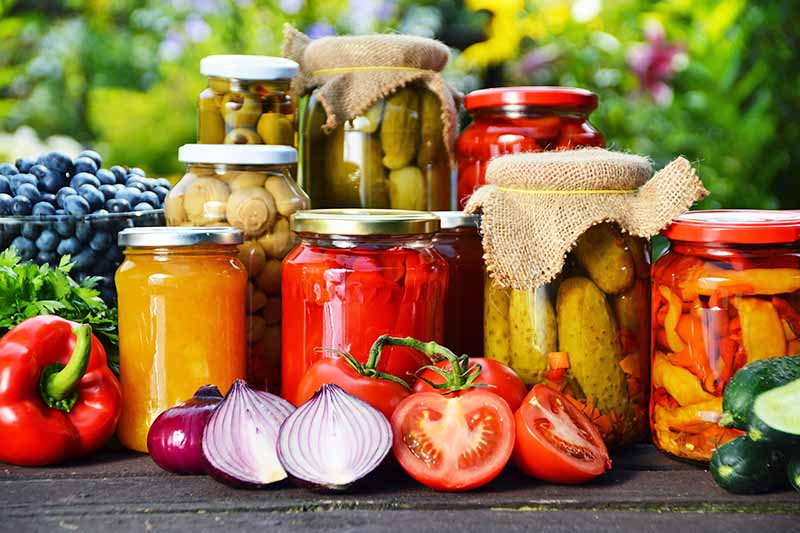
Are you geared up for canning season?
With gardens yielding their delicious harvest and farmers markets in full swing, preserving time will be here before you know it, and you’ll want to to take full advantage of summer’s bounty.
If you’ve had less-than-stellar results with a pressure canner in the past or if you think they are too dangerous to use, you might be a bit hesitant to get started.

If you’ve tried in the past and the results weren’t up to your expectations, your dissatisfaction is probably just the result of one or two common mistakes. And as canning isn’t something we typically do on a daily basis, it’s easy to make an error here and there… but it’s also easy to correct.
To ensure successful results for your low-acid foods this year, go through our checklist ahead of time (don’t forget to check out our guide for water bathing high acid foods). This way, you’ll be prepped and ready to go when your local fruits and veggies, seafood, game, and other foods are at their peak, and ripe for preserving.
From start to finish, we’ve covered the most frequent oversights and mistakes that arise when using pressure canners, and we offer solutions, too!
Now let’s get to it – here are our top tips to help you maximize your efforts, and get the most out of this year’s harvest.
1. Take It for a Test Spin
Well in advance of your planned canning date, run your kettle through its paces.
First, add 3 inches of water to the canister and bring it a boil.
Test the accuracy of the pressure display of dial gauges as per your owner’s manual, and check the seal to ensure that it’s steam-tight. Gauge testing can be done at hardware stores or household appliance centers, and in the U.S., many of your local cooperative extension offices will test gauges as well.
Check the sealing gasket and make sure that it’s still soft and pliable enough to create a proper seal, and inspect any other rubber gaskets on vent tubes and overpressure plugs as well.
Clean all vents with a pipe cleaner or skinny bottle brush, to clear any mineral deposits or trapped materials.
If your model has a cover lock with a piston in the lid or handle, ensure that it activates when the kettle is pressurized, and that it releases when the pressure dissipates.
For models with clamp-down wing nuts and no sealing gasket, give the nuts a drop of lubricating (vegetable) oil, and check that the nut heads and threads are free of cracks or damage. Lightly lubricate the lid and kettle edge to help form a complete seal.
Order replacement parts as needed so you’ll be ready to go when canning time comes.
It’s also a good time to go over your recipes. Read them all the way through and check to make sure you have all of the equipment, tools, and ingredients that you’ll need. Anything that’s missing needs to go on your shopping list before you begin.
2. Follow the Recipe
For best results, always follow the recipe. And when it comes to food safety, always err on the side of caution.
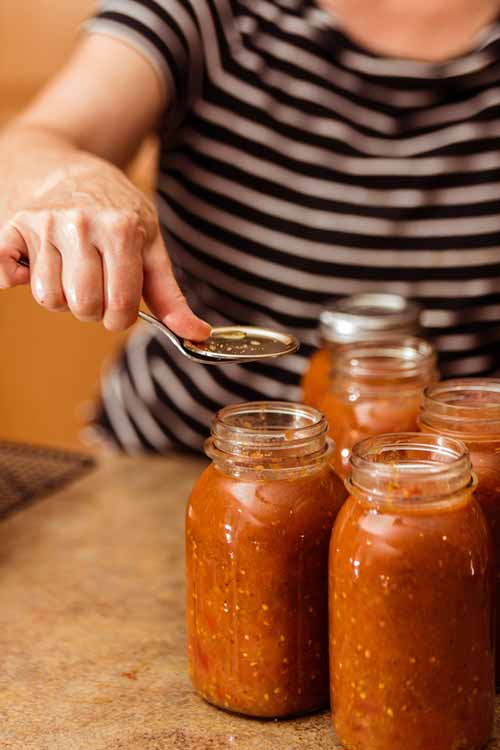
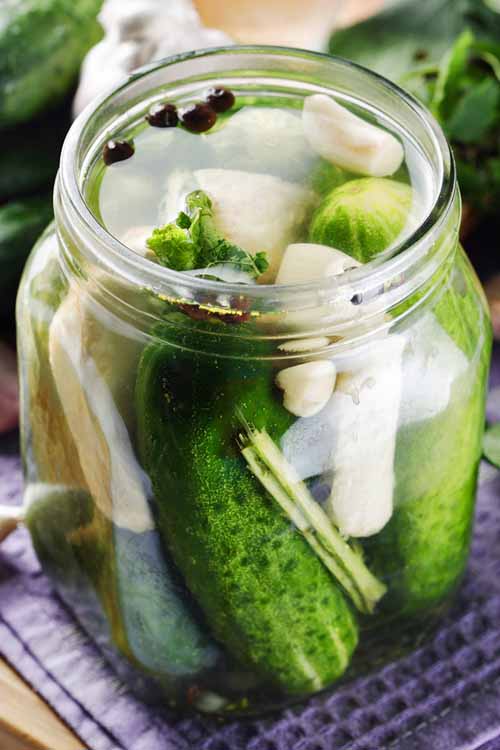
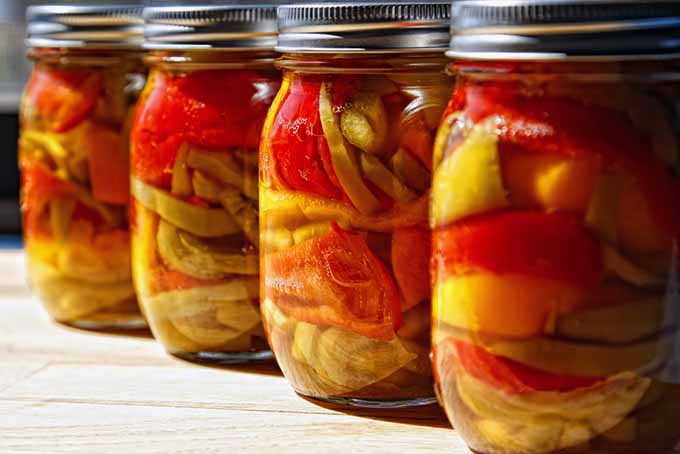
Follow directions and prep ingredients to the size called for in the recipe, to promote even cooking. Use only fresh ingredients in their prime, don’t make substitutions, and allow adequate headspace when filling the jars.
3. Handle Jars with Care
Always use a jar lifter to place filled jars onto the rack when it’s sitting in hot water. And use it to remove them as well.
Make sure that the jar lifter has a secure position below the neck of the jar, under the screw band. Maintain the jars in an upright position when moving, to prevent spillage into the headspace/sealing area of the jar.
4. Aluminum Foil Helps Keep the Mess at Bay
Canning your own foods at home can be quite messy. A judicious use of aluminum foil can make cleanup a whole lot faster.
Cover your work surfaces, countertops, and even your stovetop with a layer or two of the foil (and remember to cut out holes for the burners).
When you’re done for the day, simply wad up the foil and discard (into your aluminum recycling bin of course).5.
5. Always Cook With Enough Water
Canning with pressure requires less water than a boiling-water bath, but a certain amount is needed to produce the steam that creates the pressure.
If the recipe you’re using doesn’t specify how much water to add, use enough to have a level of 2-3 inches in the kettle.
To speed things up a bit, you can pre-heat the water to approximately 180°F for hot-pack jars, or to about 140°F for raw-pack jars – using a bit more than you need to account for any evaporation. You don’t want to inadvertently reduce the water level by any significant amount before adding the jars.
Remember that longer processing times will require more water, but never overfill the kettle. Although steam is gaseous, it requires adequate space in the kettle to build pressure.
6. Don’t Heat the Kitchen – Use an Outdoor Deep Fryer
Pressure canning creates lots of heat. And it is normally done in the high temp months of the summer. Rather than heating up your kitchen or even your whole house (especially if you have an “open concept”) move the party outdoors with traditional “fish cooker” or a propane deep fryer unit.
Also, this protects your range against chipping, cracking, or other abuse, which is pretty important if you have an electric glass flattop or an induction stove.
To take it up a notch, you may want to invest in a larger two or three burner camp stove. The better examples of these can output a whopping 36,000 BTU (about 2 – 3 times the output of normal home hob). This allows you to get the pressure up very quickly!
7. Adjust the Heat & Build the Pressure
The idea of pressure canning is pretty simple.
To kill harmful bacteria, ingredients need to be heated to 240-250°F. As water boils at only 212°F (at sea level), this higher temperature needs to be reached with steam heat.
The hot, trapped steam builds pressure in the kettle and raises the temperatures to 240°F and beyond, allowing low-acid foods to be safely preserved without any additional acids.
And without having to add an acidic ingredient like vinegar, the flavor and color of food is maintained in its natural form.
Once the jars have been racked and the lid securely fastened, open the petcock, or remove the weight from the vent pipe, and turn the heat up high.
When the water reaches a boil and the steam is being forcibly exhausted through the vent in a funnel shape, maintain the high temperature and allow the steam to exhaust continuously for 10 minutes.
After the kettle has vented, attach the weighted gauge or counterweight on the vent pipe, or close the petcock, and adjust the heat to a lower burner setting to maintain the correct pressure.
Hitting the exact temperature that you need can be a bit finicky with an electric range, so reduce or increase the heat in small increments for better control of the heat and pressure levels.
8. Be Precise with Your Timing
You need to ensure that the correct pressure is evenly maintained for the duration of your process time, in order to can your delicious harvest properly. The exact method depends a lot on which model you own, but you don’t need to worry.
Here’s how to do it:
Begin the processing timer when the dial gauge indicates that the recommended pressure has been reached. Or, for weighted gauge models, when the weight begins to jiggle, rock, or spin, as described by the manufacturer.
If the pressure should drop below the desired level, bring it back up to where it needs to be, and begin the process time again. Not only are high, 240°F temperatures required to kill pathogens, they also need to be maintained for precise lengths of time in order to be effective.
9. Adjust for Altitude
High altitude canning means you’ll need to increase the amount of pressure, not the cooking time.
To compensate for the loss of atmospheric pressure at higher elevations, the pressure is controlled in one of two ways:
For a dial gauge model, the burner needs to be adjusted to raise or lower the pressure on the gauge.
For weighted gauge models, the weight is increased and will release any pressure above the desired amount.
If you’re not sure what your elevation is, this link will calculate your location’s altitude anywhere on the globe. Or, an online search for “altitude, city, state/province, country” will give you the answer as well.
Your recipe, or the instruction manual for your model, should provide the necessary calculations for altitude adjustments. But here’s a quick table reference for your convenience:
| Altitude in Feet | Dial Gauge | Weighted Gauge |
|---|---|---|
| 0 - 1,000 | 10 | 10 |
| 1,001 - 2,000 | 11 | 15 |
| 2,001 - 4,000 | 12 | 15 |
| 4,001 - 6,000 | 13 | 15 |
| 8,001 - 10,000 | 14 | 15 |
| 10,001 - 12,000 | 15 | 15 |
10. Let the Pressure Dissipate Naturally
Once the processing time is complete, turn off the heat and allow the kettle to cool naturally.
One of the premier safety features of today’s pressure canners is that they can’t be opened until the pressure is completely released from the canister.
Allow the pressure to release on its own as the kettle cools down, and don’t attempt to speed up the process with cold running water on the exterior.
For safety, the jars and their contents need to remain level and stable to depressurize at the same rate as the kettle. Forced cooling can cause loss of liquid from the jars, and seal failure.
With dial gauge models, even after the dial reaches zero pounds, be careful removing the weight from the vent pipe. Tilt the weight away from you to allow any remaining steam to escape before removing it completely.
Depressurization of older models that don’t have a dial gauge will need to be timed. A standard-sized kettle with heavy walls will take approximately 30 minutes to cool and depressurize when pint jars are used, and about 45 minutes for quart jars.
Newer models with thinner walls will cool faster, and will be equipped with vent locks or cover locks that are designed to open only when the pressure is released. A small piston, usually located in the lid or the handle, will release or drop back into place to indicate when the lid can be removed.
11. Wrapping It Up
After the kettle has depressurized, remove any weights from vent pipes and/or open the petcock. Wait another ten minutes, then loosen the lid and remove it carefully, using it like a shield to direct any remaining steam away from your face.
With your jar lifter, carefully remove the jars while keeping their upright position. Lower them directly onto towels or a cooking rack, and allow about one inch of clearance between each jar.
Allow the jars to sit without moving them until thoroughly cooled, about 12-24 hours.
Remove the screw bands from sealed jars, label jars with the date and delicious product that they contain, and store in a cool, dry cupboard out of direct light.
Any jars that didn’t seal should go into the fridge to be used first, typically within two weeks at the most.
12. Always Remember to Practice Safe Canning
Unlike their counterparts from the 1950s and earlier, today’s pressure canners have many safety features that ensure reliable and safe use.
Pressure gauges and counterweights, overpressure plugs, blowout windows, and cover locks all contribute to our confidence in their use. And a little common sense helps too…
Always remember that the canner is venting high-temperature steam – at 240°F, it is extremely hot and can cause serious injury on contact. Keep your face, arms, and hands away from the vents at all times when steam is being expelled.
When the canner is full, it needs to be lifted to be moved. Shuffling or sliding it can cause the jars to tilt or tipple, which must be avoided. Some of these kettles are heavy, 20 pounds when empty – so if you can’t easily lift yours from the burner to cool down, leave it where it is. This will only add 5 minutes or so to the cooling time.
Use the appropriate tools and gear for handling hot equipment. Glove protectors, oven mitts, and jar lifters all have a purpose – they’re there for your protection and convenience, so use them!
13. Store It Right for Longer Gasket Life
After your canning session is complete, wash and dry as per the manufacturer’s instructions.
Always wash all components before storing – the pot, lid (if it’s a weighted gauge), and rubber gasket all need to be washed by hand in warm, soapy water. If you have a dial gauge, clean as per the manufacturer’s instructions, or wipe the lid down with a damp, soapy sponge, taking care not to immerse the gauge in water. Rinse well, and dry thoroughly before putting away.
Because pressure canners are rather large and bulky, the most convenient way to store them is to flip the lid upside down, and nestle it on top of the pot.
For storage, a drop of vegetable oil rubbed onto the gasket will help to keep it soft and pliable. Storing the lid upside down has another benefit in that there’s no compression of the gasket from the weight of the lid, which helps to keep it flexible and longer lasting.
Ready to Start Canning?
This brings us to the end of our look at the top 11 tips for having a fun and successful canning season.
As you can see, using a pressure canner to preserve meats, veggies, and other low-acid foods isn’t nearly as challenging as their reputation would have us believe.
It’s really about being prepared, buying the correct jars and lids, following directions carefully for both your canner and recipes, and employing safe practices. Do these things consistently and you’ll soon have a pantry full of delicious home preserves!
What about you? Do you have any pressure canning tips or insights you can share with our readers? Leave your ideas, or any questions, in the comments below… your thoughts are always appreciated!
Originally published August 20, 2014. Significantly revised and expanded and republished July 23, 2016. Uncredited photos: Shutterstock.
About Lorna Kring
Recently retired as a costume specialist in the TV and film industry, Lorna now enjoys blogging on contemporary lifestyle themes. A bit daft about the garden, she’s particularly obsessed with organic tomatoes and herbs, and delights in breaking bread with family and friends.

Awesome tips to put to book…i know they’ll come in handy when that family comes along and i may need to salvage my hard earned work in the garden..although for storage, should they be exposed to bright light {canned foods} or a cool dimly lit pantry?
Wow, I never thought about using the deep fryer trick. It’s genius! My biggest problem canning is that I run out of space in my kitchen. Usually it expands onto the dining room table. That’s alright I guess. Thank you for the tips!
The deep fryer trick is a really good idea. I used to help my grandparents when they did their canning and it took a really long time. This would be a major help to shorten the process when I am able to do it in the future. I also like the trick regarding cooling down the vegetables after cooking. I’ll have to use this article when I do canning.
I have a small kitchen with minimal counter space, but I have a big dining room table. If the jars are supposed to cool for up to 24 hours (pressure canned), without being disturbed, I cannot afford to have my kitchen counter space out of commission for that long. So I have a big wooden cutting board that the jars go onto. I can move the whole set of jars around if I need to without disturbing them too much. It is good to have a plan though: and by plan I mean don’t plan to do a whole lot of jarring around heavy cooking days (like Thanksgiving). I learned the hard way 🙁
I want to thank you heaps for all these excellent tips about canning. I’ve only recently started my foray into this sort of thing and your tips have been unimaginably helpful 😀
I’ll take some pictures sometime 🙂
Is it just me or am I the only concerned about canning? I wish it were as simplistic as it seems but temperatures & safety make it difficult for me to dive into. Especially considering botulism, I have a tough time dealing with canning.
It’s work but it is easy and completely safe as long as you follow USDA guidance.
I think more people should start canning their own produce, it is a great idea that usually helps with your pocket too!
We have a fairly small kitchen, so it can be hard to have the space to can a lot of products at a time, but we manage just fine using the fryer method. I love how long the products can last, so you are not in a rush to use them before they go off!
My grandmother used to can all her vegetables from the garden and it was actually a pretty good process. She ended up saving a lot of money by doing so. I personally don’t have a garden so canning vegetables isn’t something I’d venture into, especially since I can’t know what the vendors are putting in them.
One of my favorite things to can is pickled vegetables. I absolutely love pickled eggplant. At the end of every summer my aunt and I take all the excess veggies from our garden, prep and put them in jars with vinegar. After some time we enjoy them with toasted biguettes.
Well thank you for the nice little list. There are plenty of things on there that seem to slip my mind when i am canning things or using them in the kitchen, and I know that the aluminum foil tip will come in handy. I always do seem to make a mess out of these sorts of activities, so this would be nice to have a quick and easy clean up. I also should take the “handle with care” one to heart, because I am also a little clumsy when it comes to glass jars. Thanks for the tips.
You’re welcome RZ3300! And glad you enjoyed the tips!
Being able to use foil to help with cleaning is a good idea. It reminds me of when I line the pans with foil for easy clean up after baking. You are also right that we need to err on the side of caution. Even if we have been canning for years, it is still easy to make small slips.
It’s so very easy to make mistakes – which makes a checklist so valuable. Thanks for your thoughts Jasmine!
My grandmother used to practice these methods like a lot, it’s a shame she is not around anymore to teach me, however, these are some goodtips, now I will have to find out what my altitude is in order to follow the recipe, thank you very much for sharing this.
Grandmothers make some of the best memories! Glad you enjoyed the post Casiox.
I’ve been growing vegetables on my own in my garden as a hobby these days, so I was thinking of canning them once they are ready to be harvested. I appreciate you informing us that ingredients should be heated to 240-250°F to safely preserve low-acid foods and kill potentially harmful bacteria.