Dry, overcooked, and stringy turkey. Does this sound familiar?
There are various methods that have been developed to prevent dryness, and today we are going to combine three of them to roast the perfect bird for your Thanksgiving (or any time of the year) table.
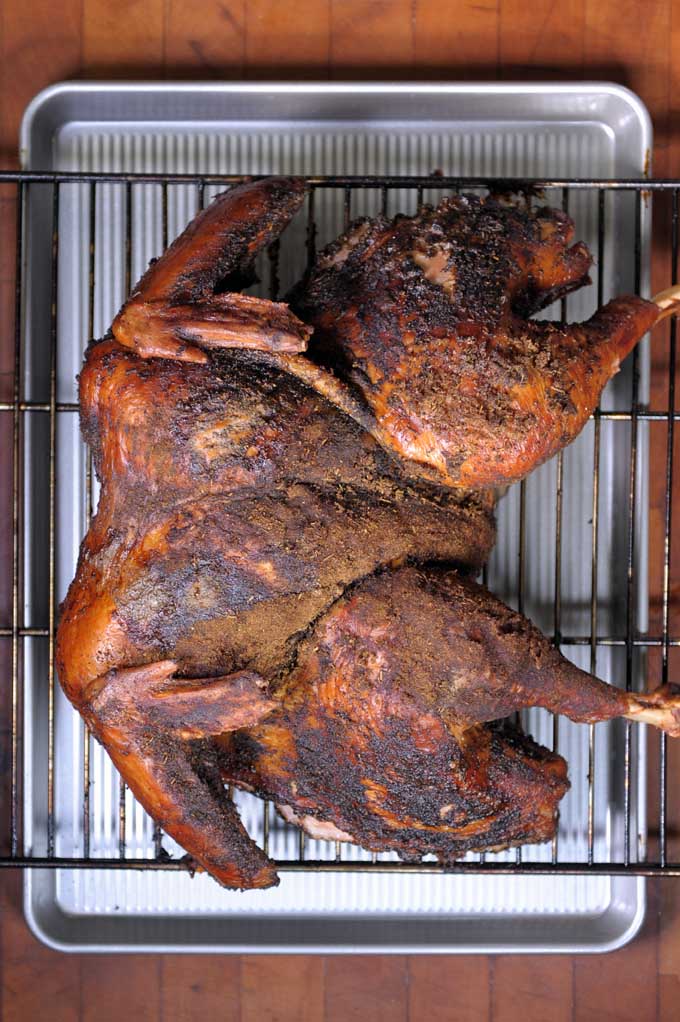
This sage-rubbed smoked turkey will be the juiciest hunk of bird that you’ve ever tasted. And I guarantee that if you serve this up, you’ll be the designated turkey chef every holiday.
This bird uses three methods to help prevent dryness:
Spatchcocking
This means cutting out the backbone and flattening the legs so that parts of the carcass cook evenly. And since the legs are on the outside, they will reach the 180°F temperatures that are ideal for dark meat, and at the same time the breast will reach the preferred 150-160°F temperature range that’s best suited for the white meat.
Note that the FDA recommends 165°F for food safety, but most chefs and home grilling experts agree that’s too high and will contribute to dryness (keep in mind: the bird continues to cook while it rests).
Get More Details on Spatcocking Now.
Dry Brining
This involves coating the skin of the carcass with salt. I generally like flakey, coarse sea salt for this purpose, but kosher salt will also work. This dehydrates the skin, which then provides a protective barrier to keep the insides from drying out during the cooking process. Also, as the sodium moves into the interior of the bird, and the chemical attraction of the water to the salt allows more water to be retained in the interior.
Get More Details on Dry Brining Now.
Dry Rubbing
This involves coating the exterior of the bird with a spice blend, further protecting the carcass from evaporation while providing built-in seasoning.
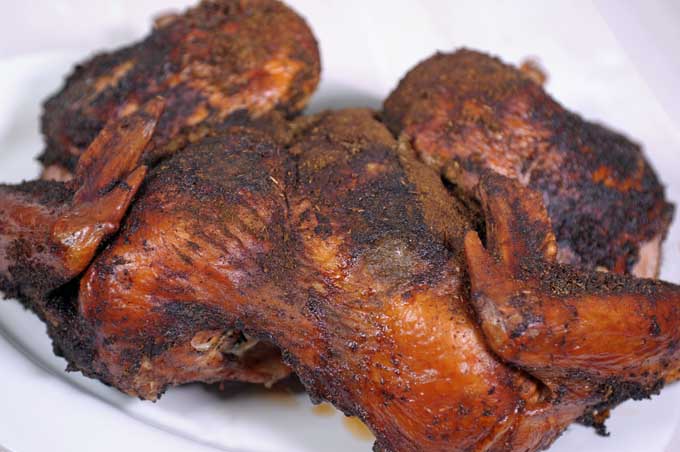
I’ve used a couple of other tricks with this bird. The dry rub has baking soda added to it. This expands the surface area of the skin, which allows more heat to reach the skin molecules to encourage browning through the Maillard Reaction, as well as crispness.
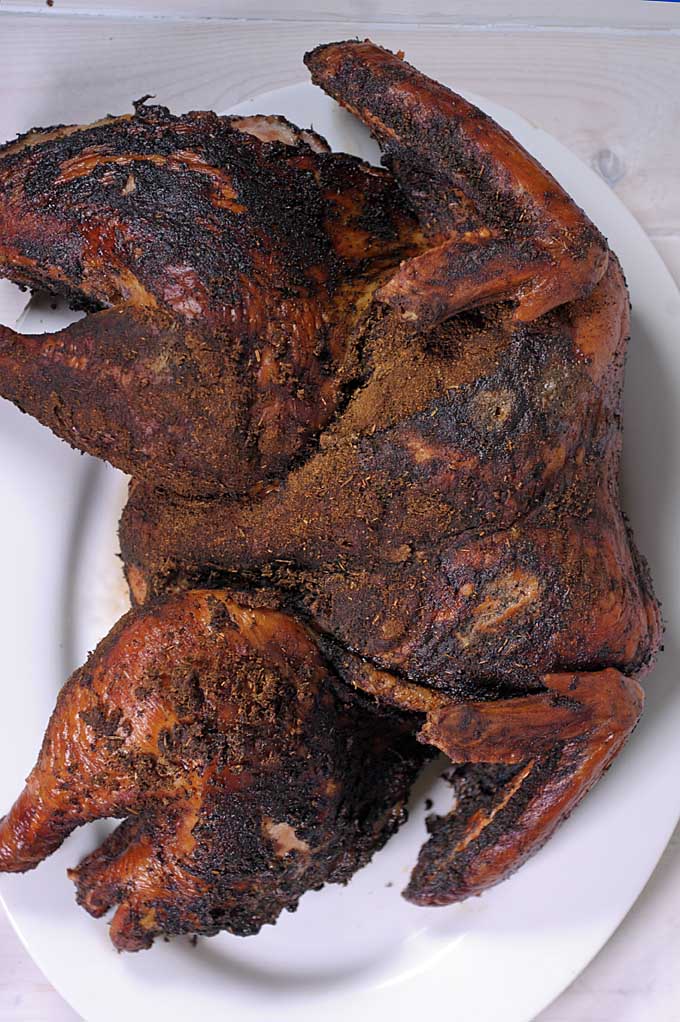
You can use this method both when smoking your poultry or when roasting in the oven.
Speaking of smoking, I’d recommend using either hickory or pecan wood for poultry, as apple and other fruit woods are too heavy. Poultry soaks up wood smoke quite easily and you only need a bit to add a lot of flavor. But the choice of wood is up to you.
The Recipe
- 1 12- to 15-pound turkey non-frozen, brine-free preferred
- 1/2 cup flaky coarse sea salt
- 2 tablespoons rubbed sage
- 2 teaspoons dried thyme
- 2 teaspoons dried marjoram
- 2 teaspoons dried rosemary
- 2 teaspoons coarse ground pepper
- 2 teaspoons granulated garlic
- 2 teaspoons onion powder
- 2 teaspoons baking soda
- Remove the wishbone.
- Spatchcock the bird by removing the backbone and splitting the breastbone. Clip the wingtips off.
- Dry brine for a minimum of six hours but try for at least 24.
- Mix the spices for the dry rub together and use a mortar and pestle to grind to a medium coarse powder.
- Cover any extremely dried areas of the skin with a light coat of olive oil and liberally coat the entire surface of the bird with the dry rub powder.
- Place the bird in your smoker and adjust temperatures to 325-350°F. Use pecan or hickory wood for a light smoke. Roast for about 90 minutes. You are shooting for around 180°F in the thighs and legs and around 155-160°F on average on the breast portion.
- Once the proper temperatures have been reached, remove the carcass from the grates and allow to rest for 15-20 minutes before carving.
Cooking by the Numbers…
Step 1 – Spatchcock the Bird
Start with washing the bird and removing the enclosed giblet packet and neck. Cut off the tail and check for any remaining pin feathers.
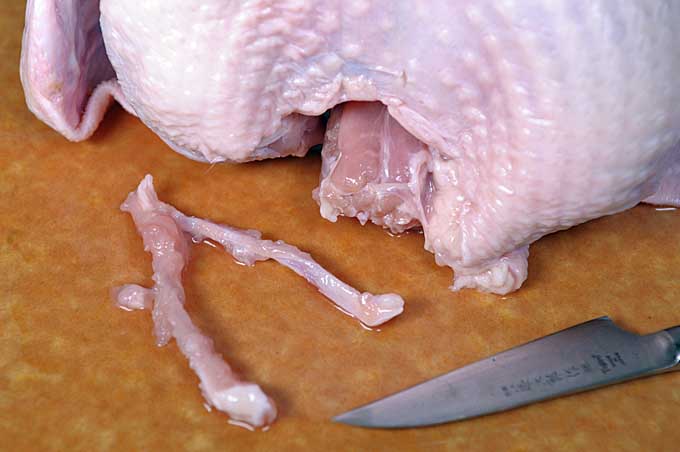
You should remove the wishbone. It will make carving the breast later much easier. Follow these steps and you can have it out in a few minutes. It’s not that hard. Promise.
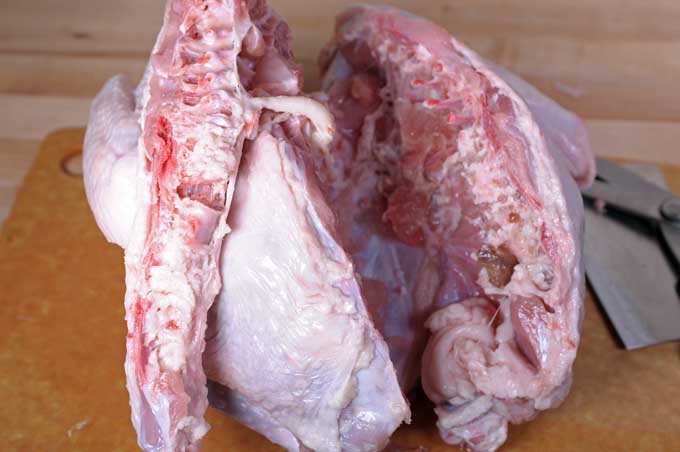
Next, you’ll need to spatchcock the carcass. Remove the backbone and flip the bird over. Crush the rib cage and flatten out the bird. Clip the ends off the wings, as they normally burn no matter the cooking method.
Get more detailed instructions on spatchcocking now.
Step 2 – Dry Brining
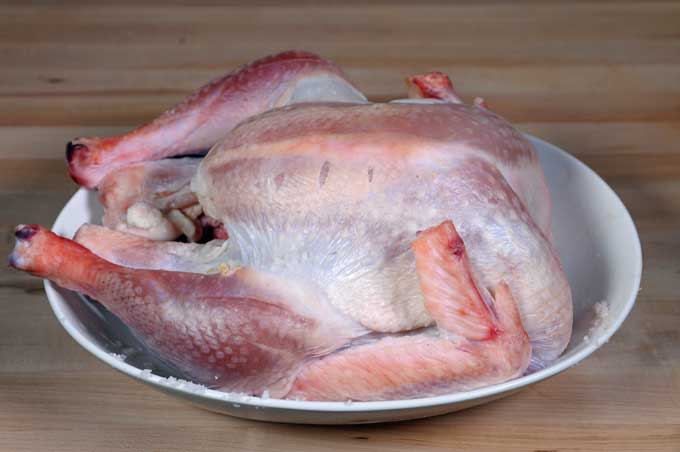
Place the carcass in a large bowl or roasting pan. Cover with flaky coarse sea salt (preferred) or kosher salt for a minimum of six hours. Twenty-four hours is better, and 48 is better yet. Make sure you refrigerate it uncovered – the cold air will help with the drying of the skin and help to make it super crispy after it is cooked.
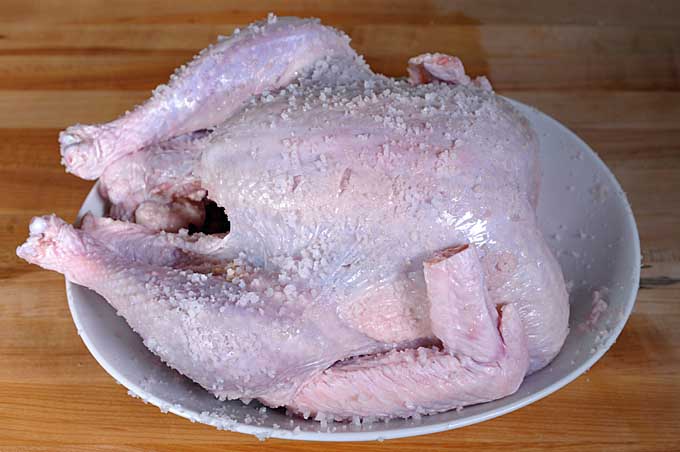
Get more details on dry brining now.
Step 3 – Prepare the Dry Rub
This dry spice rub uses sage as the main ingredient to give the bird a robust, earthy flavor. Mix the sage, thyme, marjoram, rosemary, coarse ground black pepper, granulated garlic, and onion powder together.
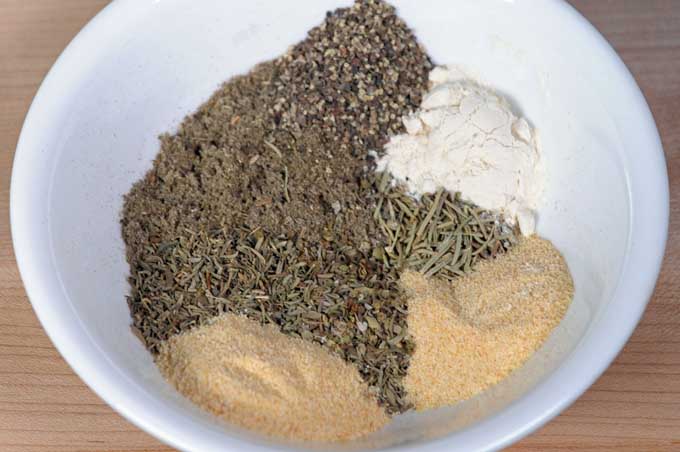
Add the mix to a mortar and use a pestle to grind the spices into a medium coarse powder. You may need to do this in two batches.
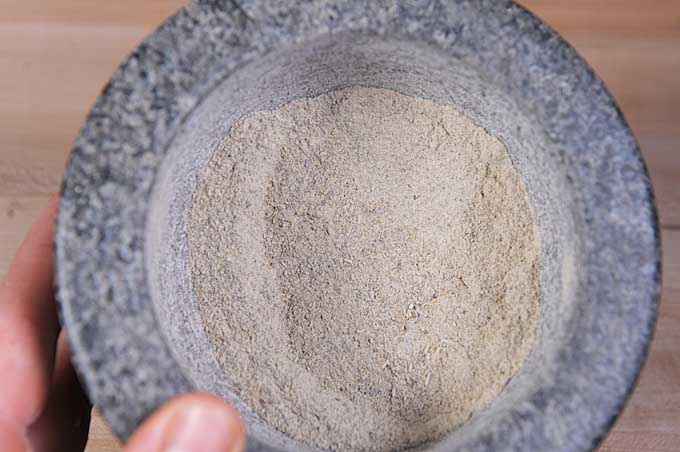
If you don’t have a mortar and pestle, a good blender or even a blade style coffee grinder will work (just be sure to clean this well or your significant other may be a bit pissed when his/her next cup of coffee tastes like onion and garlic).
If you don’t like a strong sage taste, you might want to try our all-purpose purpose dry rub for poultry recipe.
Step 4 – Coat with Dry Rub
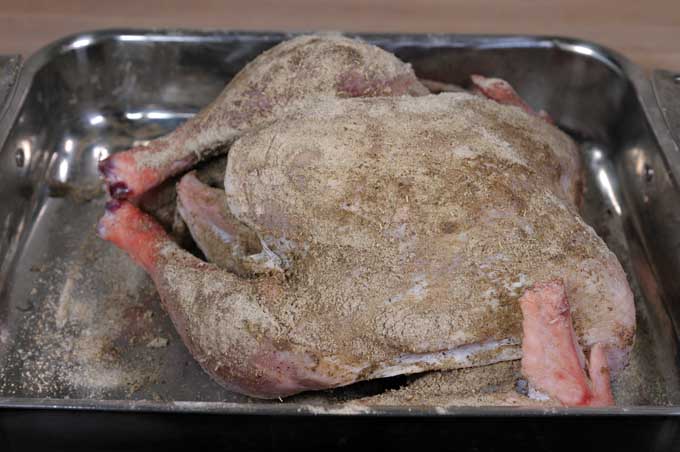
Pull the bird out of the refrigerator. If it looks like it’s been stranded during the winter with Sue Aikens at the Kavik River Camp (Life Below Zero), then that’s a good thing. Sun- and wind-burned is good in this instance.
Next, you’ll need to add your dry rub powder. If the skin is completely dried out, feel free to add a LIGHT coating of olive oil to encourage the rub to stick to the carcass.
Step 5 – Smokin’ Time!
Prepare your smoker. I’m using a propane based smoker here (specifically the Camp Chef Smoke Vault), but whether you’re using an electric, pellet, off-draft, or kamado style, the process is about the same.
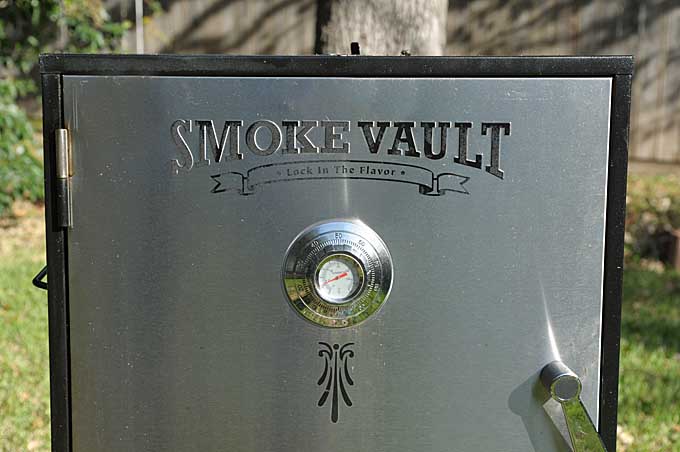
Clean the grill racks if you didn’t after your last cook (you know you really should, right?) and add water to the pan. This isn’t absolutely necessary, but it provides another layer of protection against direct heat.
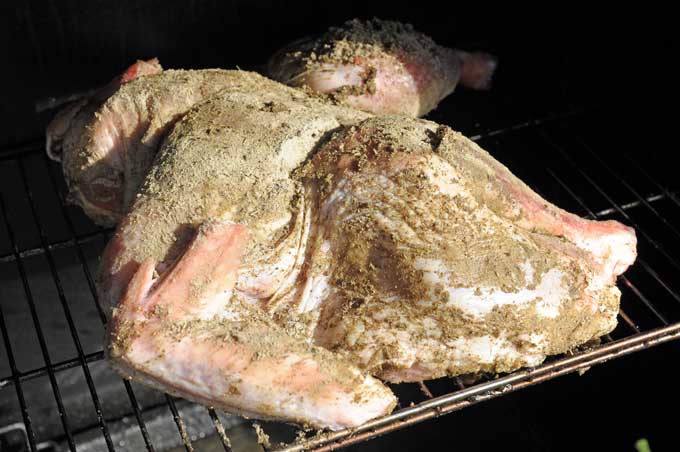
Place the carcass on one of the now cleaned racks and throw a couple of handfuls of pecan or hickory chips in the burn pan. Don’t go crazy here. Like I’ve mentioned, turkey and other poultry soaks in smoke very easily.
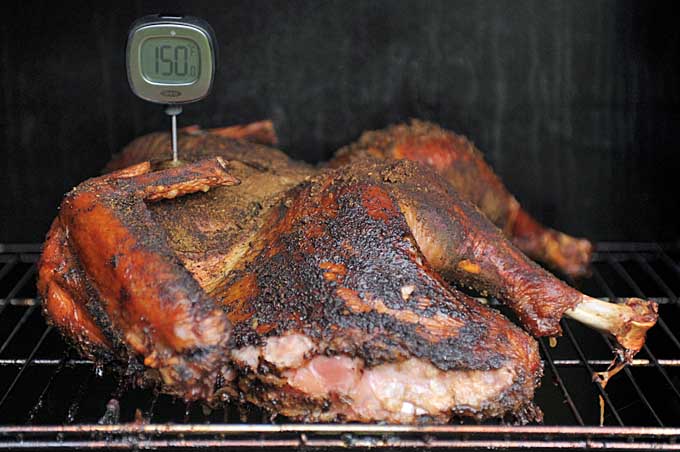
Turn the smoker on medium-high at about 325-350°F for about 90 minutes. Poultry doesn’t respond well to “low and slow,” so this will be a faster cook than you may be used to on a smoker.
You’re really cooking towards temperature rather than time. You want the legs and thighs to reach 180°F and the breast to reach around 150°F at the deepest point and around 155-160°F on average.
Step 5 – Remove and Rest
After the bird has reached the proper temperatures, remove and let it rest for 15 to 20 minutes to allow the juices to soak back into the interior of the flesh.
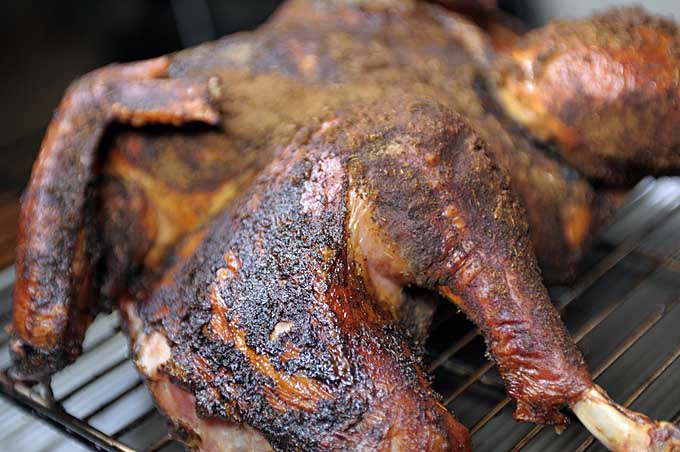
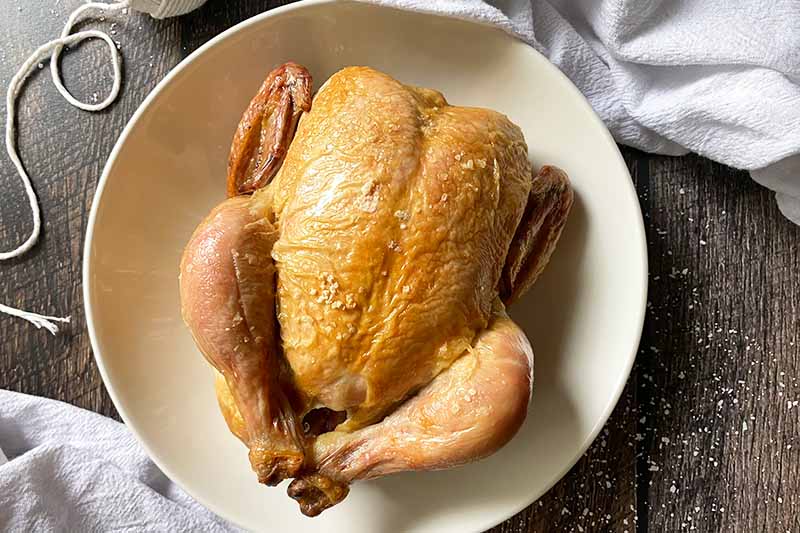
You’ll notice that the skin is a beautiful brown color with splotches of full caramelization and a Maillard sear on the legs.
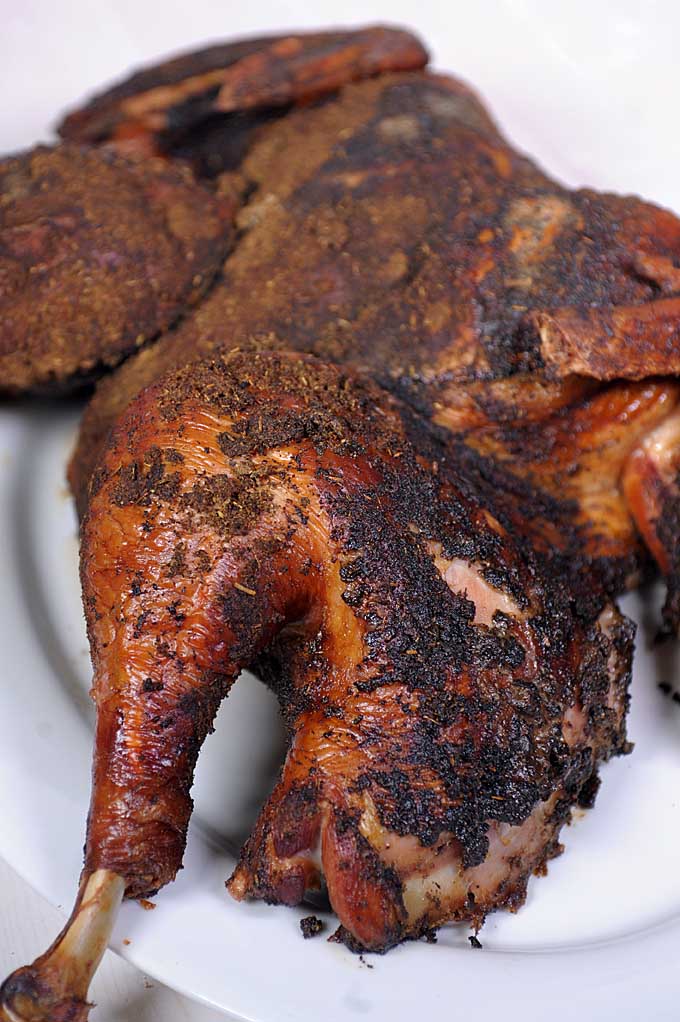
Once the carcass has fully rested, you can begin carving.
Step 6 – Carve and Serve
Slice off the breast in two large pieces following the breast bone as the dividing line. Slice each piece of breast across the grain into thinnish layers.
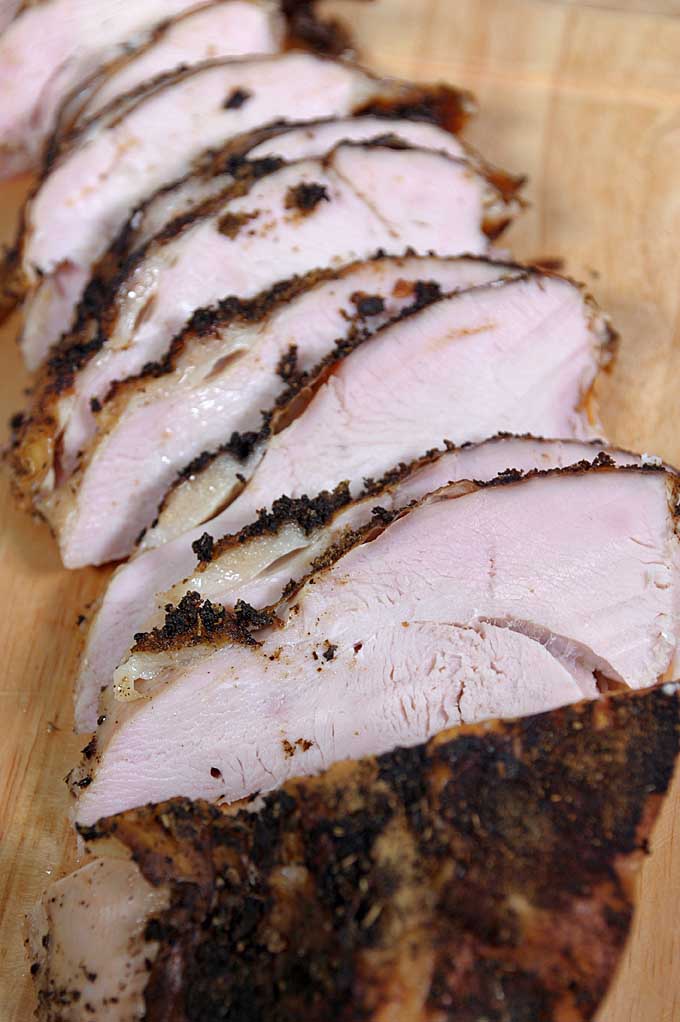
Carve up the legs and thighs as you would for any other whole carcass poultry dish.
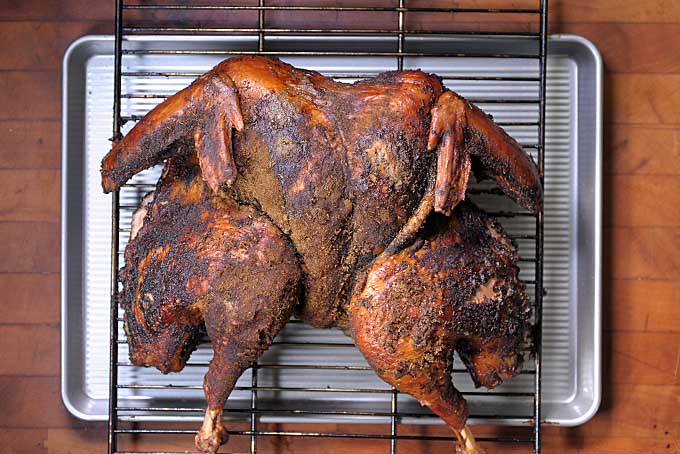
And taste… the flavors are guaranteed to blow your socks off and make all of your previous turkey attempts seem like a school lunch.
What say you? Have you attempted any of these poultry preparation methods? Let us know your results in the comments below!
Don’t forget to Pin It!
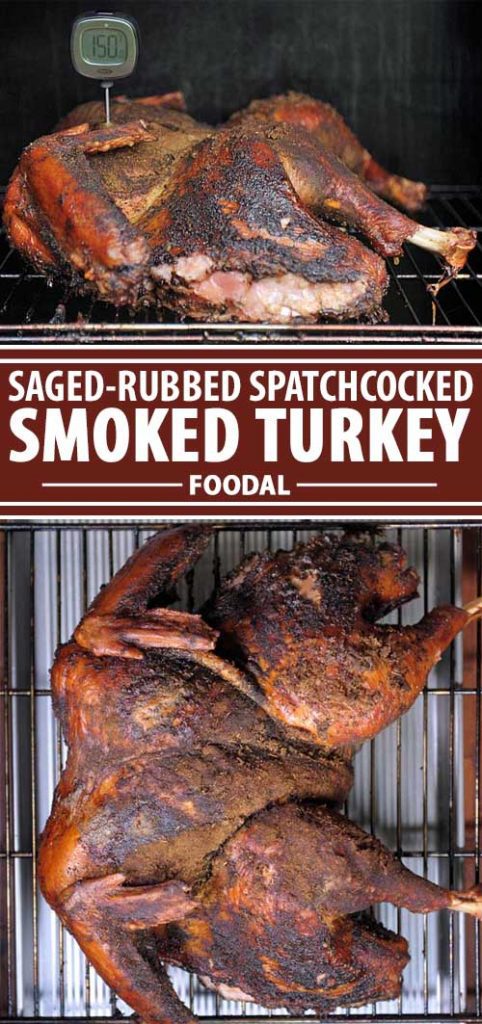
Photos by Mike Quinn, © Ask the Experts, LLC. ALL RIGHTS RESERVED. See our TOS for more details.
About Mike Quinn
Mike Quinn spent 20 years in the US Army and traveled extensively all over the world. As part of his military service, Mike sampled coffee and tea from all virtually every geographic region, from the beans from the plantation of an El Salvadorian Army Colonel to "Chi" in Iraq to Turkish Coffee in the Turkish Embassy in Kabul, Afghanistan. He spent nearly a decade in the Republic of Korea where he was exposed to all forms of traditional teas. Mike formerly owned and operated Cup And Brew, an online espresso and coffee equipment retail operation.

Do you use baking powder or baking soda? The blog says baking powder in the dry rub, but the recipe list says baking soda.
I’m interested in trying this recipe for Thanksgiving and have never done any of these methods. Thanks.
Thanks for your message, Amanda! This should be baking soda- a correction has been made above. Let us know how the recipe turns out!
I already purchased injected/brined turkeys. Will the 24 hour salt dry brine make it too salty? Next time I’ll get the natural, but am stuck with these two birds now. Thanks for the great instructions!
Hi Hayden,
You could still do a dry brine but just go a little lighter with the salt and let the air help dry out the skin.
Hey there,
Thank you for the great recipe! I was wondering if this would work for a 20 lb bird? I’ve seen a lot of recipes that put onions and apples in their bird could I put them underneath in this case for a similar effect?
Yes, this will make any size turkey cook faster, and you could put vegetables and fruit in the roasting pan underneath, with the turkey on top of a rack placed above them. Just keep in mind that these will need to be at least partially submerged in liquid (stock or water) to prevent burning.