
I want to dedicate this post to my sister. When I was down in Orange County last weekend to support my dad after his knee replacement, my sister mentioned that she wanted to buy a rice cooker because she couldn’t cook rice properly on the stovetop.
I tried and tried to tell her that you don’t need a rice cooker, and that cooking rice in a pot is the easiest thing in the world, but she was skeptical. So, I told her I’d do a how-to post just for her, explaining how to do it. And here I am!
Before we get into it, let’s talk about why you don’t need that darn rice cooker first. I have three reasons for you:
3 Reasons to Skip the Rice Cooker:
1. It’s Just Another One-Job Appliance
Here’s my personal rule: if the appliance only does one job, and that job can be done using something that I already have on hand (like a pot, in this case), the appliance is a no-go.
2. It Wastes Prime Kitchen Real Estate
Save that space for something better – like a cookie jar!
3. You Don’t Have Any Control Over the Texture
“Set it and forget it” is great – until you want the texture to be a little different from the generic standard that a given appliance will produce. Sometimes I want it a little crunchy, sometimes I’m craving something more mushy. Cooking in a pot gives you more control.

Now, I know some of you live and die by your rice cooker. If you have plenty of storage space or the whole set-it-and-forget-it thing really saves you time, then by all means, charge ahead and use your rice cooker. If you already have one, by all means, use it.
But, if you are considering buying one, then just give your plain ol’ pot a shot first. With the proper technique, cooking in a pot is super duper easy – and you don’t need to buy another appliance to get the job done.
How to Cook Rice:
Step 1 – Gather Your Kitchen Implements and Ingredients
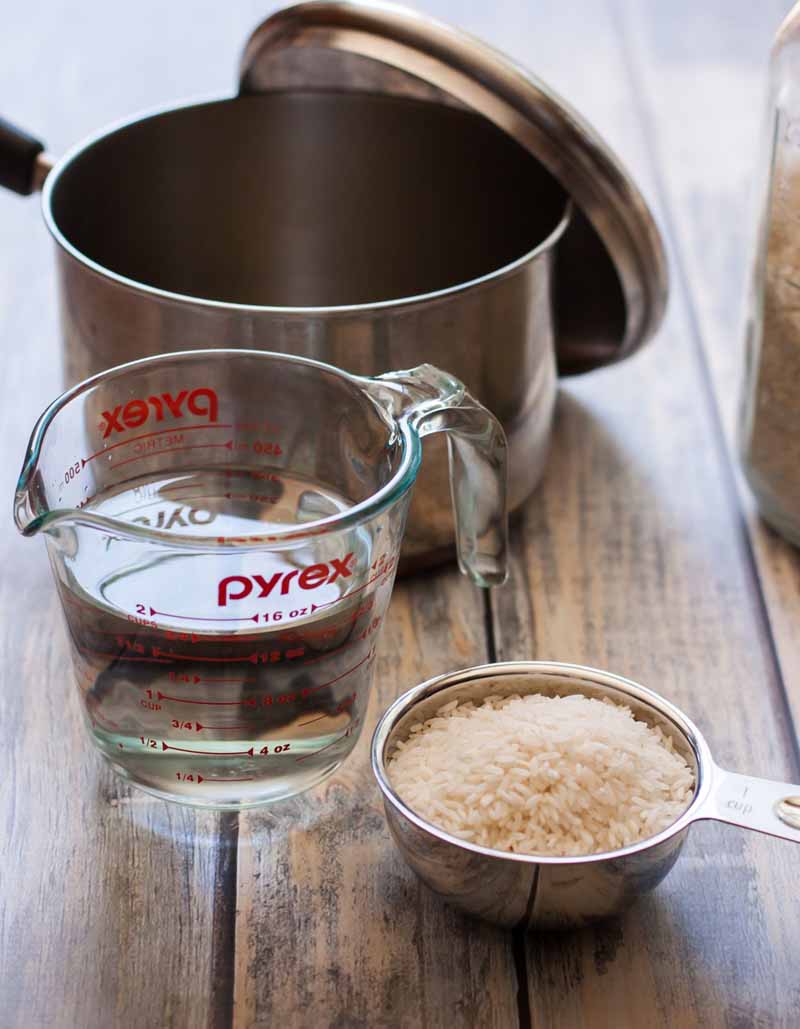
You’ll need a pot that holds twice the volume of the uncooked grain and the water you are putting in it. So, if I’m cooking 1 cup of white rice with about 2 cups of water, I’ll want a pot that holds at least 6 cups of water. Make sense?
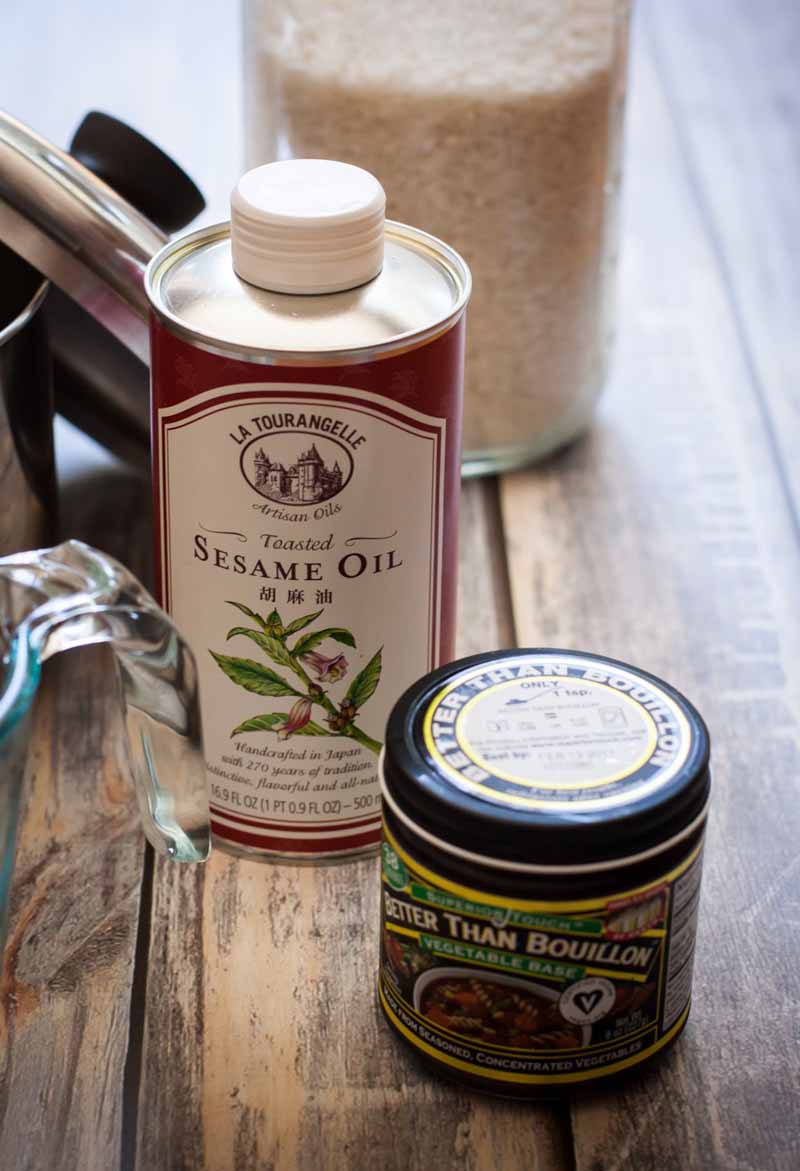
You’ll also need liquid and dry measuring cups, your choice of rice, water or broth, and any flavoring ingredients you like. Some of my favorites are sesame oil, butter, or bouillon paste.
Step 2 – Calculate
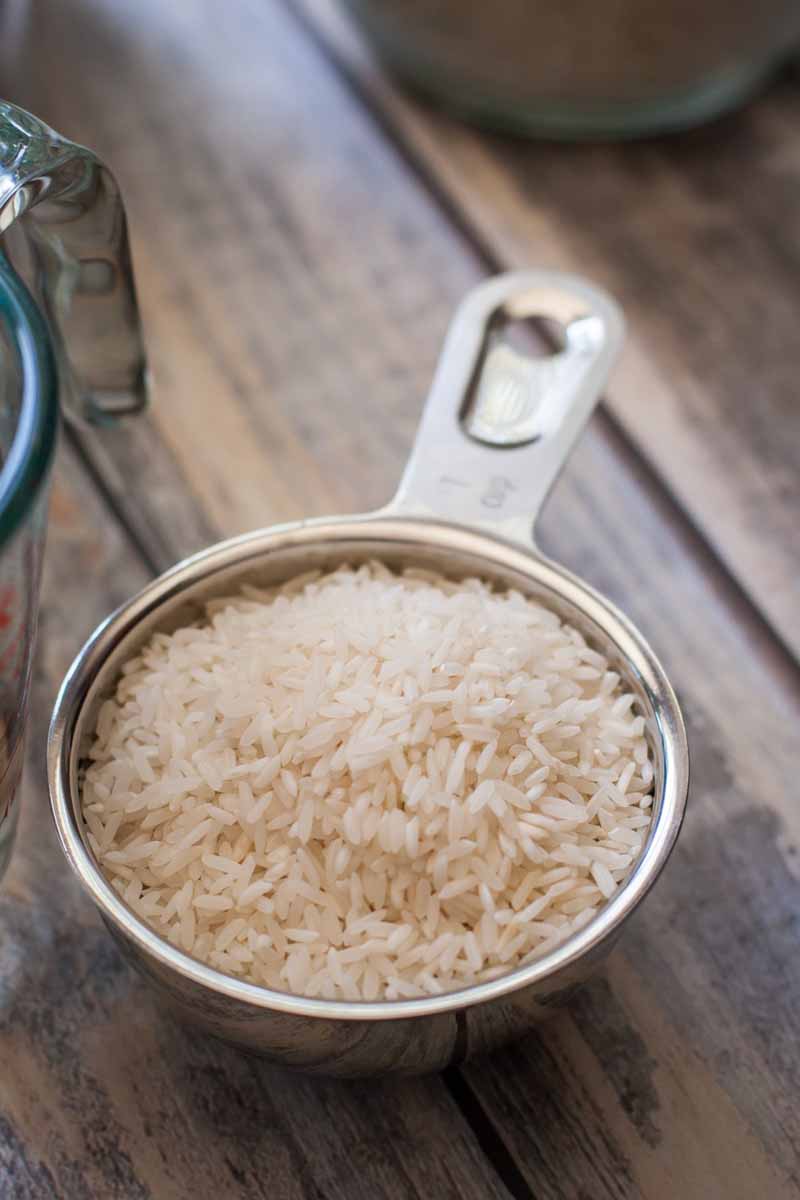
For every 1 cup of uncooked white varieties, you’ll need 1 3/4 cups water or broth. Most packages say to use 2 cups of liquid, but I have found this to be excessive for the vast majority of the types I’ve used.
For brown varieties, you’ll need 1 cup of uncooked grain and 2 cups water or broth.
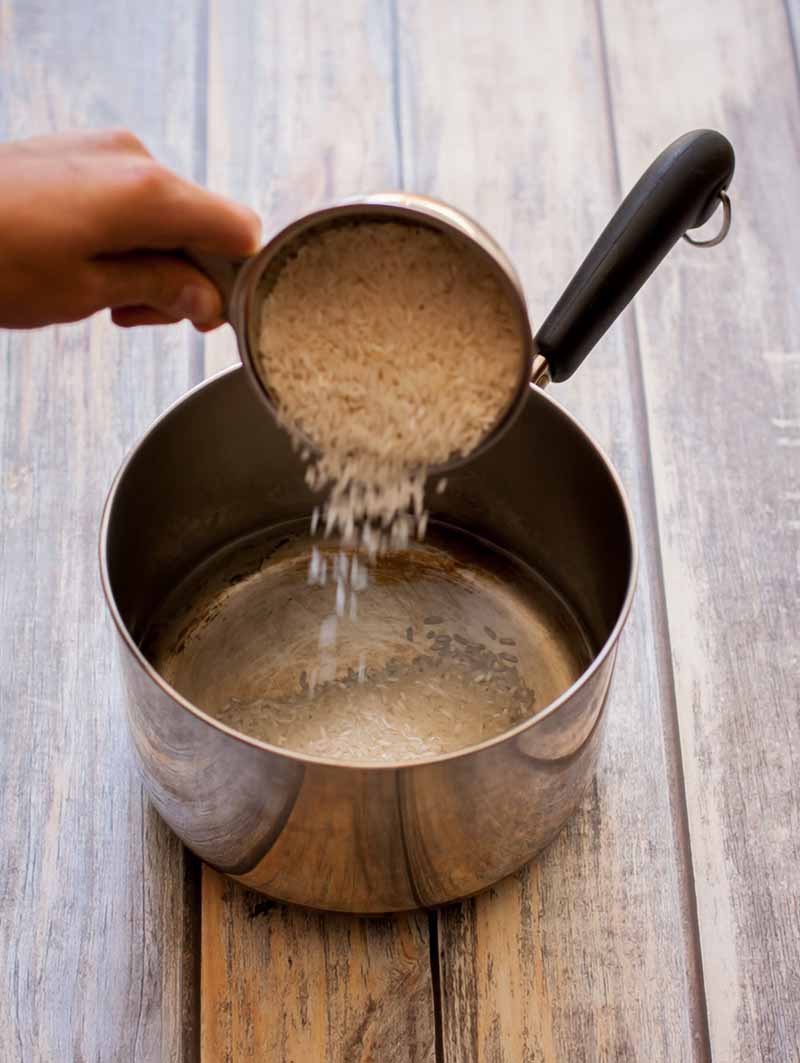
Step 3 – Boil
Bring the water to a boil on the stove over high heat. Add the rice and any add-ins if you want to use them, stir, and return to a boil.
Step 4 – Cook
Once the pot comes to a boil again, put the lid on and turn it down to very low heat. Most stoves don’t go too low, so you’re probably okay turning it as low as it will go without the flame going out or the burner turning off.
Cook white long grain varieties for 15 minutes. Cook brown types for 45 minutes.
Important! During this cook time, do not lift the lid to check doneness. This lets the heat escape and results in unevenly cooked grains.
Step 5 – Let Sit
Turn the heat off and remove to a cool place if necessary (i.e. to a cool burner if your stove is electric). Let sit without removing the lid for 5-10 minutes for white long grain and 15 minutes for brown.
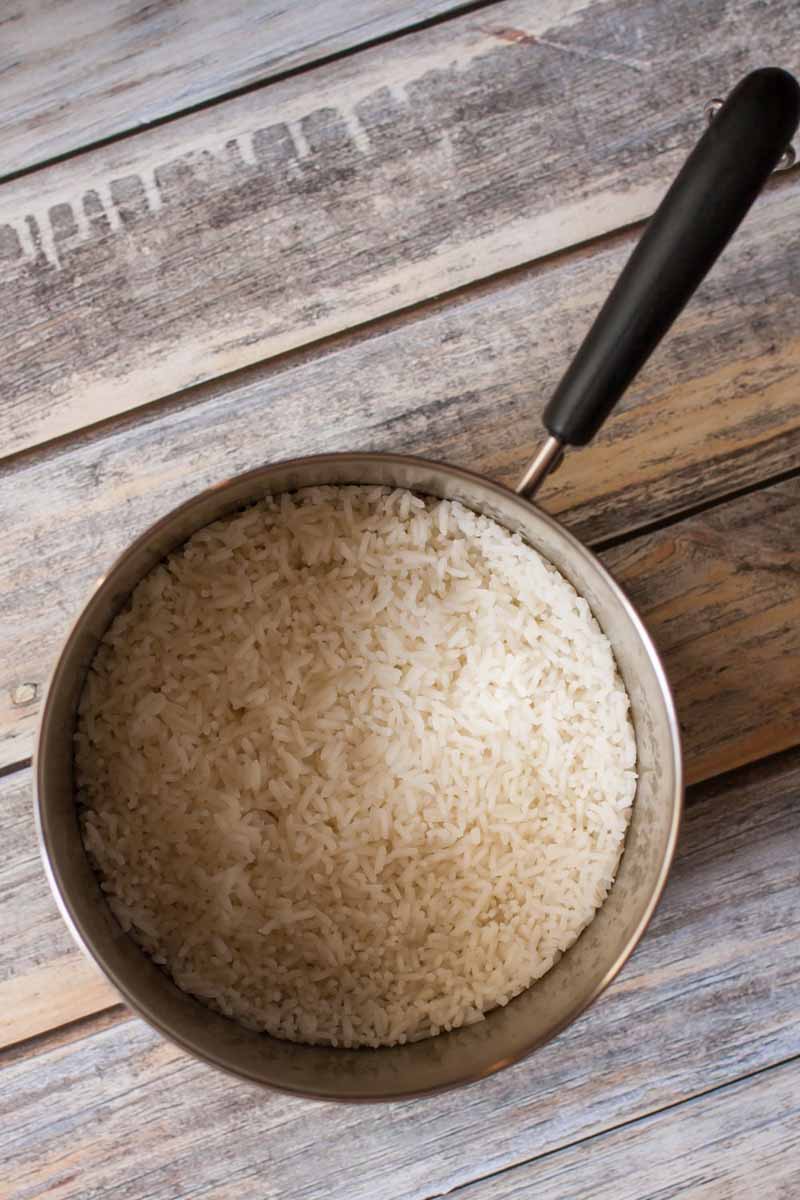
Step 6 – Fluff
After it’s finished resting, fluff with a fork (not a spoon – it makes a difference, I promise, since your goal here is to separate the grains). Now you’re ready to serve! If you are going to let it sit a while longer, keep the lid on the pot.

And you’re done! I hope you enjoyed this short tutorial, and that it helps you cook tender, satisfying polished or whole grain rice without burning it, and without having to buy another appliance.
Now that you have the basic technique down, you can adjust as needed to get the texture exactly the way you want it for a specific recipe.
Add more liquid to start and cook a little longer for a softer final result that’s more like porridge, or add a touch of oil and return to the heat after cooking for a crispy crust. Your options are nearly limitless, and you don’t need to be afraid of uncooked grains, or unwanted burned bits that stick to the bottom of the pan and make it difficult to clean.
Best of luck in all your rice-cooking endeavors! If you have any questions or comments, please let us know. And give some of these delicious dishes a try to show off your new skill.
For more guides on how to cook your favorite grains, read more of the following:
Photos by Raquel Smith, © Ask the Experts, LLC. ALL RIGHTS RESERVED. See our TOS for more details. Originally published June 22, 2015. Last updated: June 24, 2020 at 19:09 pm.
Nutritional information derived from a database of known generic and branded foods and ingredients and was not compiled by a registered dietitian or submitted for lab testing. It should be viewed as an approximation.
About Raquel Smith
Raquel is a whole foods enthusiast, an avid mountain biker, and a dog lover. She works by day at Food Blogger Pro and formerly maintained her food blog "My California Roots" (now merged into Foodal).


Been using boil in the bag rice for years just to make life easier but I feel like such a fraud! Definitely going to give this a go.
I couldn’t cook rice on the stovetop until I watched this video:
https://www.youtube.com/watch?v=JOOSikanIlI
It makes the point that we’re all taught there’s a ratio that increases as you increase the amount of rice, e.g. as in the above article, ‘For every 1 cup of uncooked white varieties, you’ll need 1 3/4 cups water or broth.’ But the video illustrates that the ratio of rice to water remains 1:1, and that you then add on a constant amount of water to allow for evaporation. So for Jasmine rice, I add on 1/3 cup of water, no matter if I’m cooking 1 cup or 2 – if it’s 1 cup of rice, it’s 1 and 1/3 cup of water, if its 2 cups of rice, it’s 2 and 1/3 cup of water. Watch the video, do a couple of tries at home and you’ll find the right amount of evaporation water for your tastes, and you won’t need a rice cooker ever again.