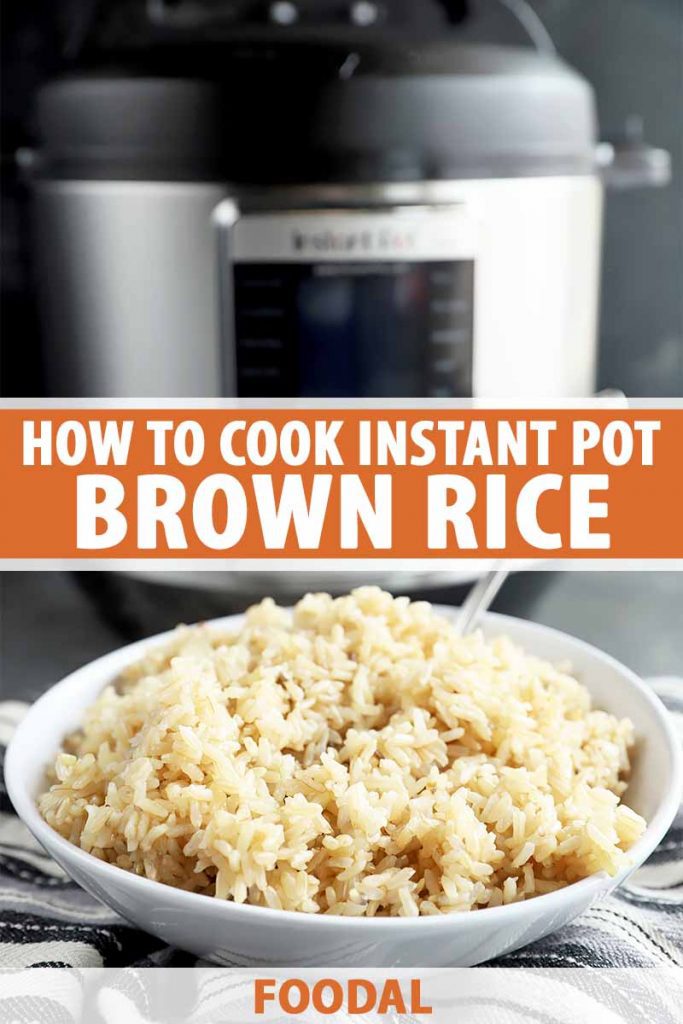
It took me a little while to come around to enjoying brown rice.

I was strictly a white rice kinda lady for a long time, because it was something I knew, and because it was easy to make.
We all tend to stay in our lanes unless we challenge ourselves, after all.
When I decided it was time to give this healthy whole grain a shot, I found the cooking process to be frustrating. As hard as I would try, every time I cooked brown rice on the stovetop, it came out terribly.
It was either over or undercooked, not the right texture, and, well… a downright mess.
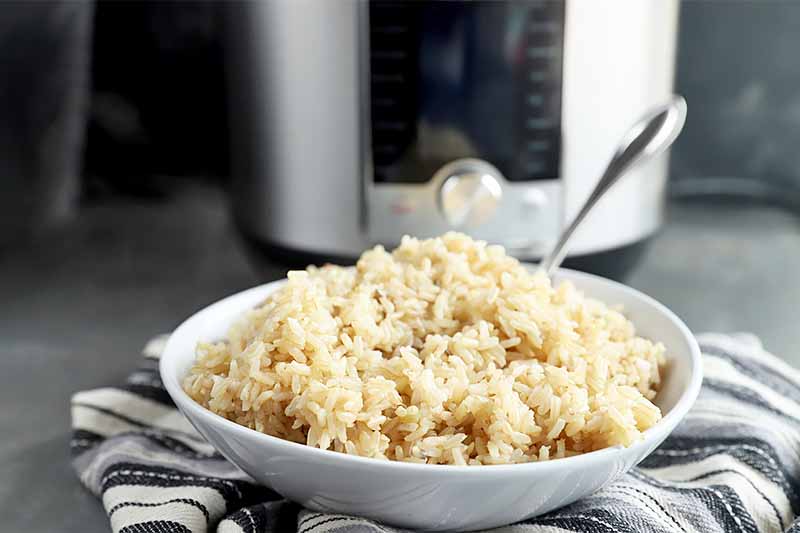
Thank goodness for the electric pressure cooker!
Here’s what’s to come in this article:
What You’ll Learn
You Can Serve This Side in a Variety of Ways
How Much Brown Rice Can I Cook in an Electric Pressure Cooker?
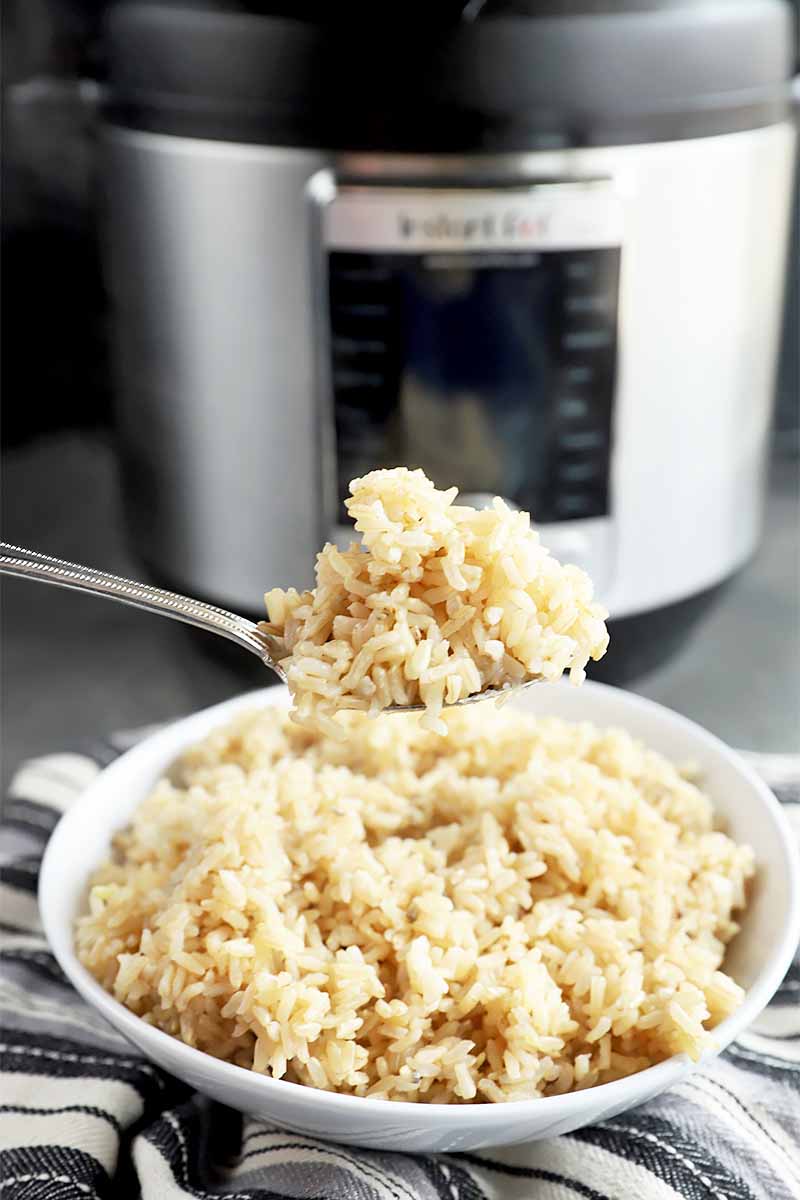
With this one appliance, I learned not only how to cook brown rice quickly, but also that this grain can be cooked easily as well.
My Instant Pot is my favorite thing to use for big tasks like making chili or soup, but it’s really been a delight to learn how to complete small tasks like cooking fluffy and satisfying grains, and I’m excited to share my tips with you.
There’s no more tending to a pot over the stove, or worrying about whether you let it cook too quickly over too much heat. You won’t have to worry about throwing out a terribly cooked batch ever again with this cooking method.
All you need are two ingredients – brown rice and water. You add these to the electric pressure cooker insert and set it to High pressure.
This particular grain does take a little bit of time to cook – about 30 minutes in total – so you can work on the rest of your meal during this time.
The first 22 minutes are cooked on pressure. The key is to leave the pressure cooker alone for 10 minutes after the timer goes off. This allows the grain to cook the rest of the way.
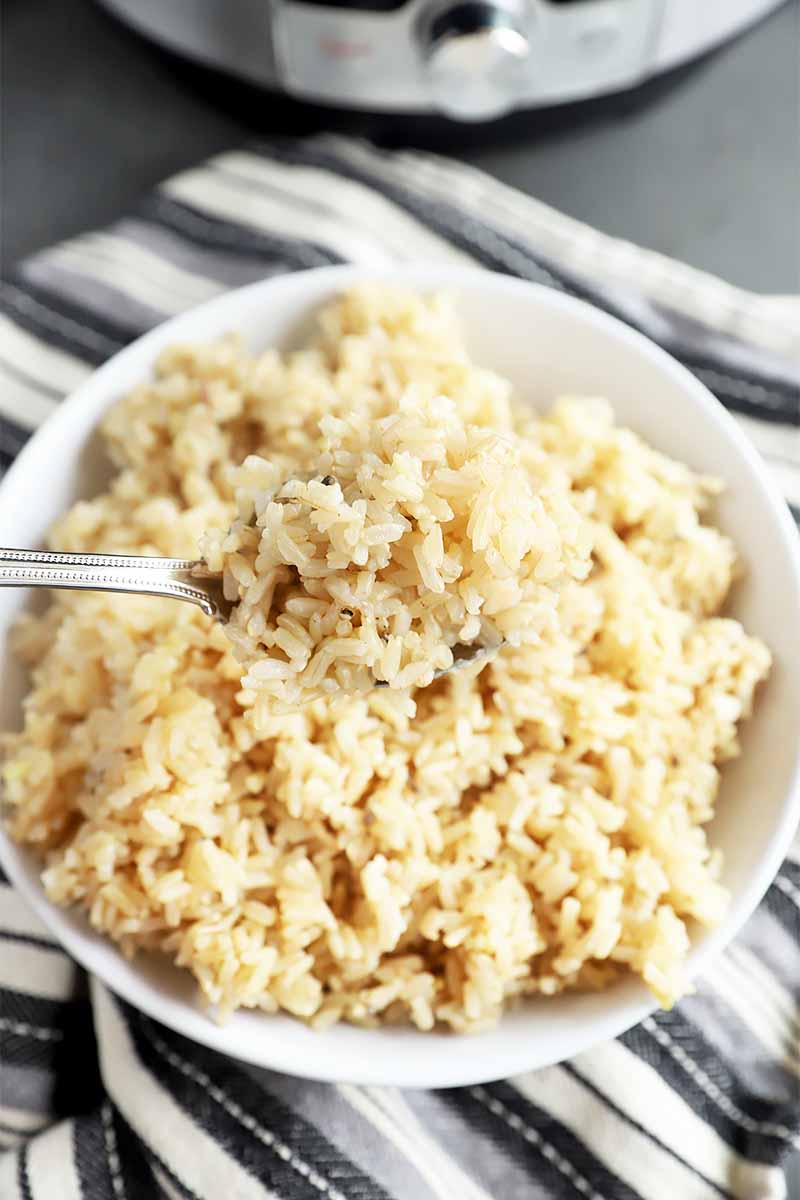
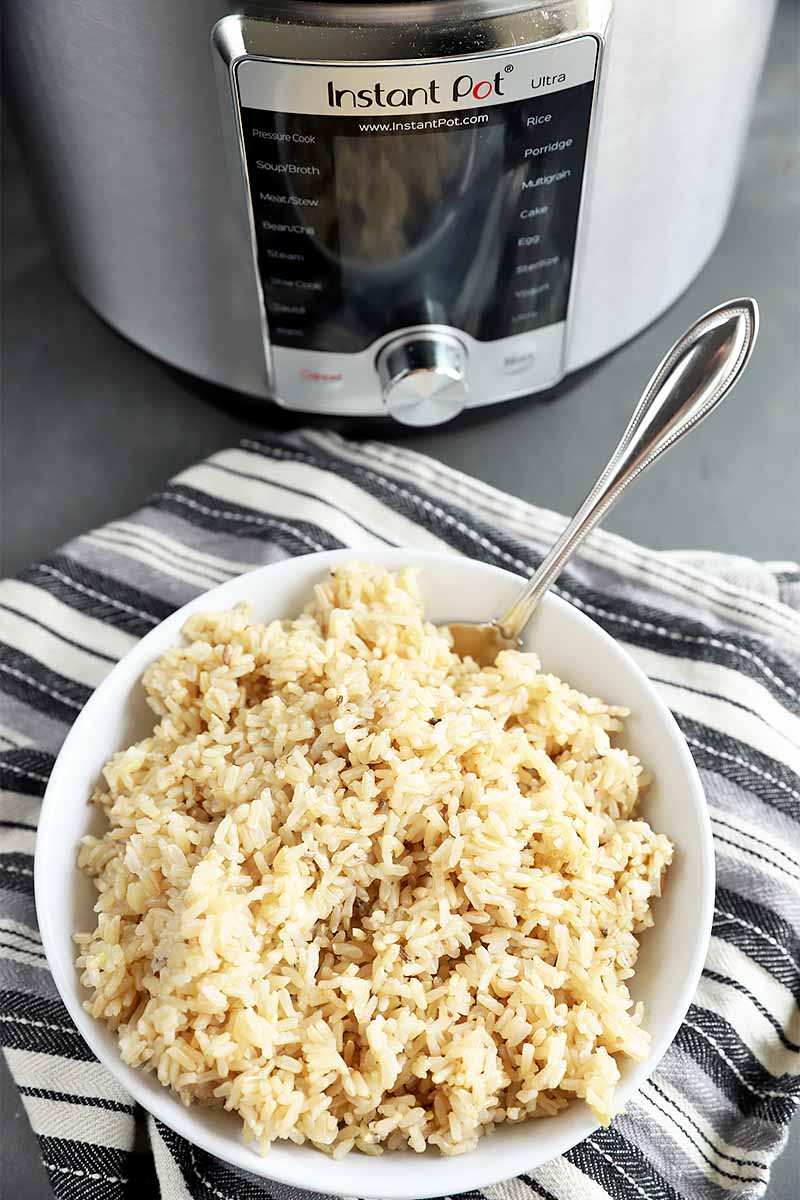
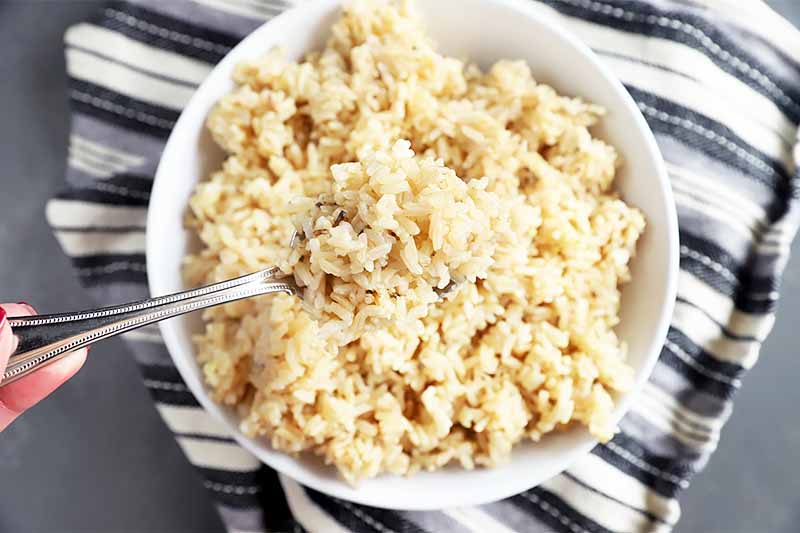
Release the remaining pressure, and voila! You have fluffy rice that is ready to use in whatever way you want.
You Can Serve This Side in a Variety of Ways
So, what’s on the menu?
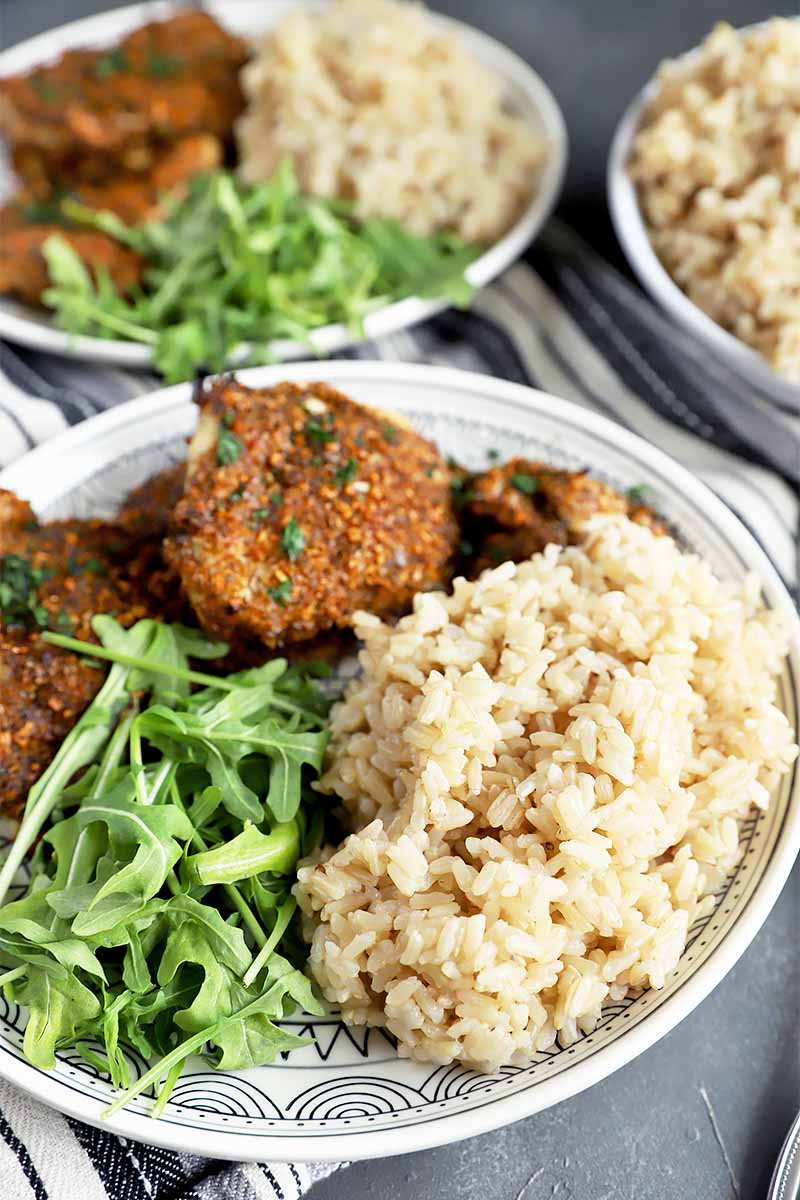
Here are some serving suggestions for your perfectly cooked brown rice:
- The most obvious option: serve this grain as a side dish with any main you have planned. It pairs wonderfully with pretty much any protein from beef to poultry, and tofu to seafood.
- Meal prep by making it and portioning a batch out for use throughout the week (I’ll share more details on that at the end of this article, so keep reading).
- Make rice bowls with the grain as the base.
- Roll up that rice in a burrito, or make a burrito bowl or Mexi-bowl, so you don’t have to go out to satisfy your craving.
- Use it in lettuce wraps to make them a little heartier.
How Much Brown Rice Can I Cook in an Electric Pressure Cooker?
Personally, I haven’t cooked more than a couple of cups at a time in my 6-quart Instant Pot because I don’t need more than that. However, if you need to make more, you can cook up to 5 cups of dry rice with an appliance of this size. Maintain the ratio of rice to water, and you’re good to go.
All you need to do is make sure you don’t fill the pot more than halfway, for safety reasons. A larger electric pressure cooker can hold more.
How to Cook Brown Rice in an Electric Pressure Cooker
You can easily cook for a crowd, or simply for yourself, with this easy method. The grain comes out cooked to perfection each and every time. Let’s get started!
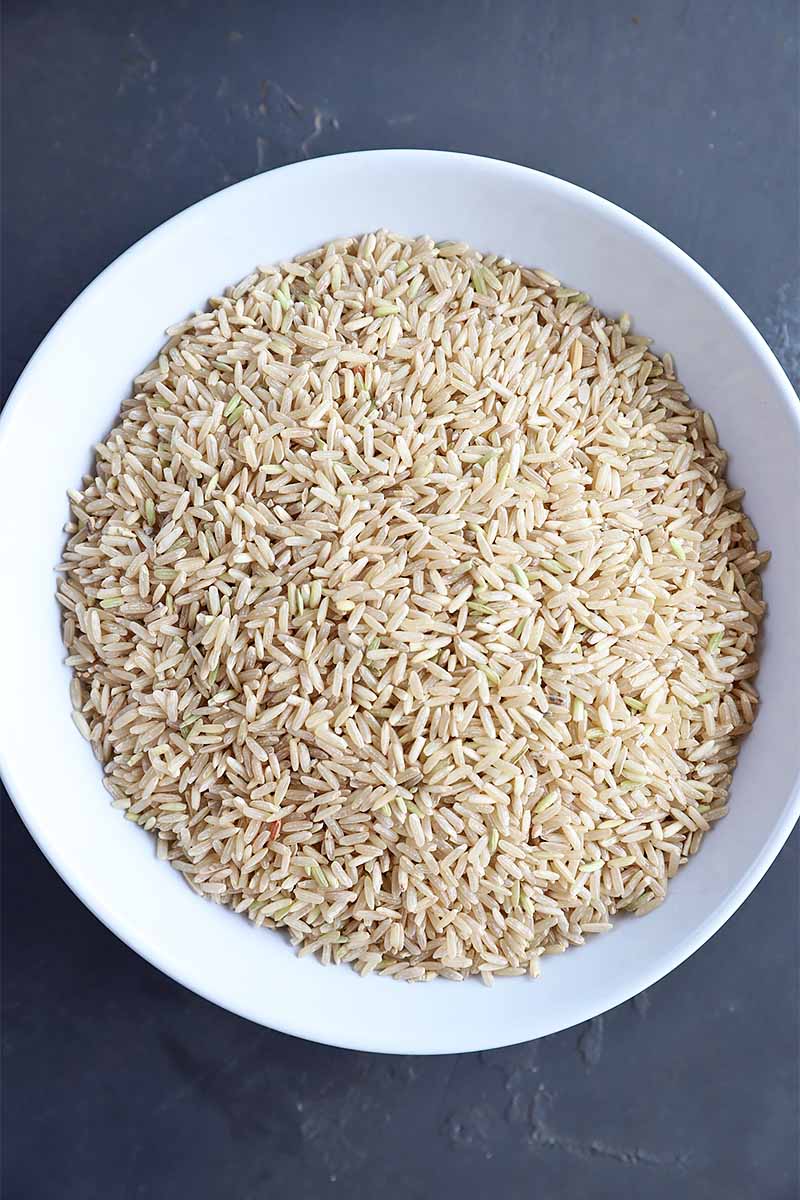
Step 1 – Measure Ingredients and Rinse
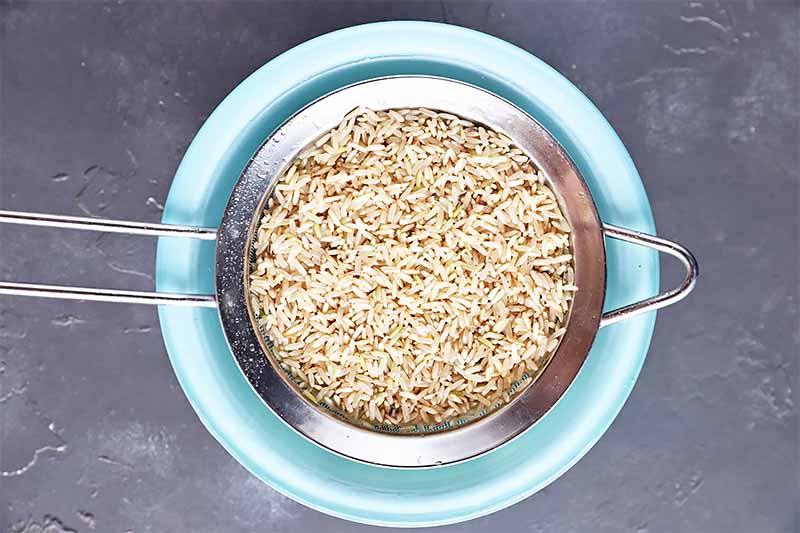
Measure out 2 cups of brown rice. Rinse the rice well with cold water and let it drain.
Measure 2.5 cups of cool water. I like to use a glass liquid measuring pitcher for this, so it’s easy to pour.
Step 2 – Pressure Cook
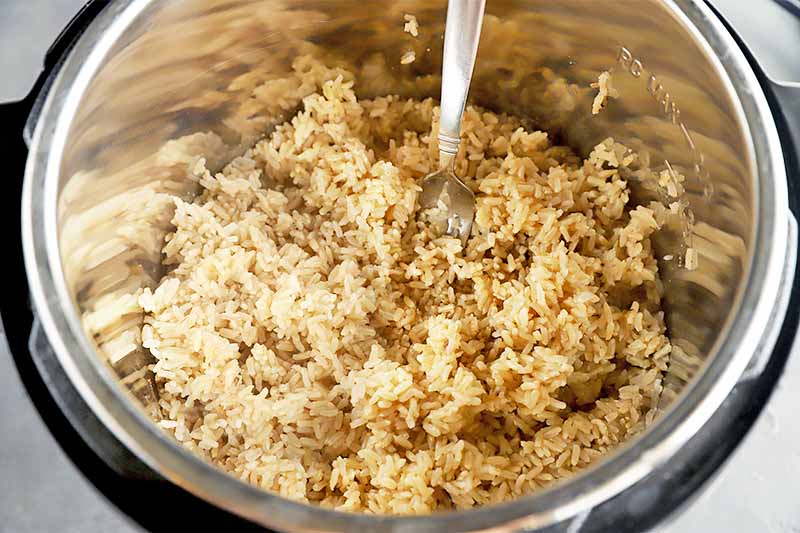
Add the rice and the water to the electric pressure cooker insert. Stir together.
Secure the lid, making sure the steam release valve is set to Sealing.
Pressure cook on Manual set to High pressure for 22 minutes.
Step 3 – Natural Release
When cooking is complete, allow the pressure to release naturally for 10 minutes.
After 10 minutes, release any remaining pressure by carefully opening the steam release valve.
Remove the lid and fluff the rice with a fork before serving.
Can You Meal Prep for the Week with This Method?
You can definitely prep a big batch of brown rice with this method, and it’s a fantastic use of your pressure cooker.
To store the cooked grain properly, be sure to cool the rice to room temperature before refrigerating it. The best way to store rice for meal prep is in shallow, airtight containers.
Cooked brown rice will keep for about five days in the refrigerator. To keep the rice fresh, reheat only the portion you need for the meal you are going to eat.
Are you inspired to find out what else you can do with your electric pressure cooker? Check out these how-to guides and recipes from Foodal next:
- Instant Pot French Onion Soup
- Instant Pot White Wine Braised Chicken
- How to Cook Pulled Pork in the Electric Pressure Cooker
And be sure to take a look at our our guide on cooking black rice or cooking sushi rice in the electric pressure cooker for other tasty, and gorgeous, grain options!
What’s your favorite way to use brown rice? Tell us in the comments below!
Photos by Meghan Yager, © Ask the Experts, LLC. ALL RIGHTS RESERVED. See our TOS for more details. With additional writing and editing by Allison Sidhu.
About Meghan Yager
Meghan Yager is a food addict turned food and travel writer with a love for creating uncomplicated, gourmet recipes and devouring anything the world serves up. As the author of the food and travel blog Cake 'n Knife, Meghan focuses on unique foodie experiences from around the world to right at home in your own kitchen.

Thank you The only article that nailed it for my brown rice quinoa mix Pressure at 22 turn Sat The. Opened at 30 perfect !!!!