You know what makes me so happy? SUSHI.

I still remember the first time I tried it.
I was in college, and I’ll admit that I was totally freaked out by the idea of eating raw fish. But my boyfriend at the time insisted for weeks that I would love it.
After all, wasn’t I a foodie? Didn’t I want to try new flavors?
Finally, I caved and decided to forgo my usual shrimp tempura roll for some “real” sushi. I am pretty sure the first maki roll I ever ate was a simple spicy yellowtail, and it was amazing.
That first bite was an explosion of exquisite flavor that I just couldn’t get over.
Ever since then, I have been hooked. I try to eat it at least once a week, and I’ll be honest – if I had it my way, I would eat it every day.
Heck, my husband and I traveled all the way to Japan because of my love for this delicious dish!
Of course, it can be an expensive habit to maintain, even if I’m indulging just once a week. So I try to get my fix at home when I can.
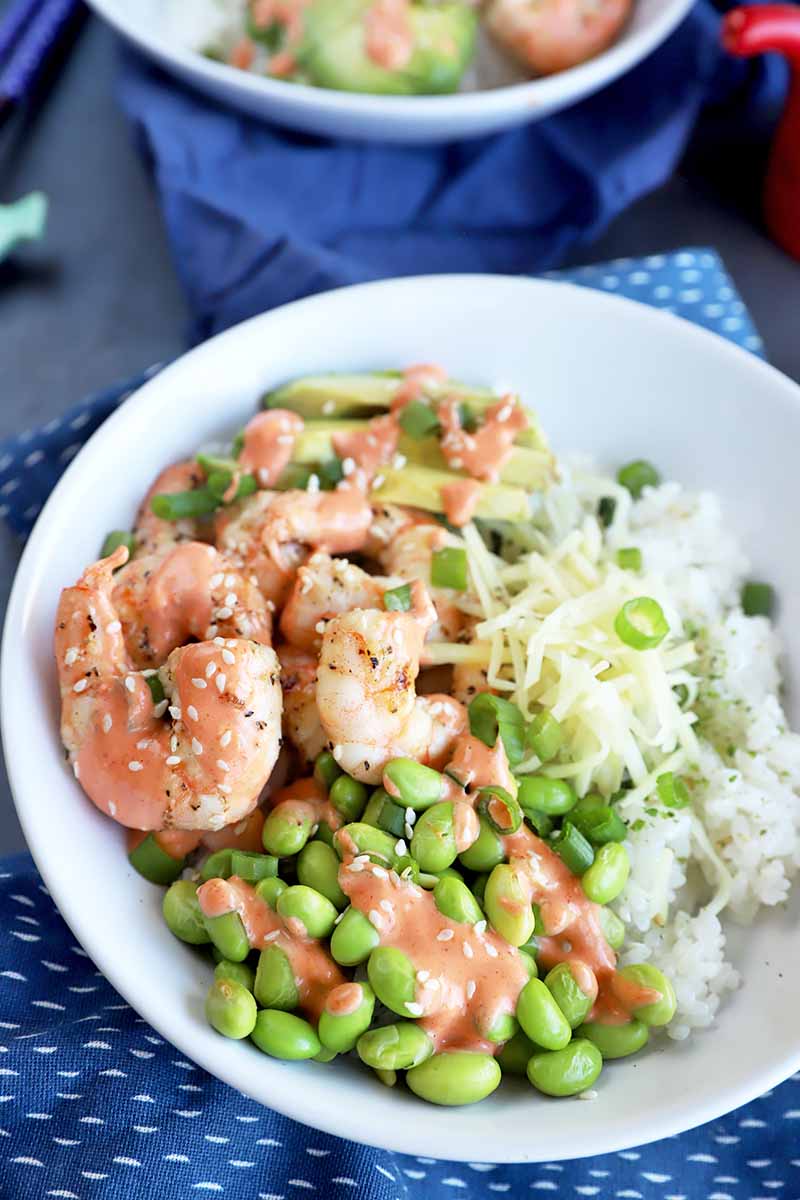
As much as I might try to perfect the art of sushi at home, I know that even I have my limits. My skills don’t lie in creating gorgeous rolls, so I like create fresh bowls instead because it’s so much easier.
But listen – no matter your skill level, if you want to make your own sushi, sushi bowls, or any of the other ideas that I’ll chat about later in this article, you can at least make this rice easily.
So, why do I prefer using an electric pressure cooker to make this recipe? There’s a simple reason:
Consistency.
You don’t need to have a rice cooker to cook this grain with perfect results if you have a pressure cooker at the ready. It takes away the guesswork every time, so you always end up with the best finished product.
Ready to learn how to make it yourself at home? Here’s what’s ahead:
What Is Sushi Rice?
It’s not just the white short-grain type, though that is the basic ingredient that we’re talking about.
Instead, making true sushi rice is a little more complicated than that. The grain is also seasoned with rice vinegar, sugar, and salt.
To make the best possible version at home, be sure not to use regular white long grain rice. You need to look for Japanese short-grain at the store.
Another pro tip is to make sure you do not stir the seasoning after it is cooked. This will crush the grains. Instead, gently fold the seasoning ingredients into the cooked grain to blend them in.
How Do I Store the Cooked Grain?
The cooked grain can be stored for up to three days in an airtight container in the refrigerator.
Do I Need to Chill It Before Serving?
Yes, this grain is best served cold. You can either let it chill for an hour in the refrigerator, or you can make it the day before you plan to use it.
If you want to cool it faster after cooking, spread it out onto a baking sheet and stir occasionally to release the steam. Place it in the freezer until cooled completely.
Serving Suggestions
There are so many ways to use the cooked grain:
- Sushi rolls or hand rolls
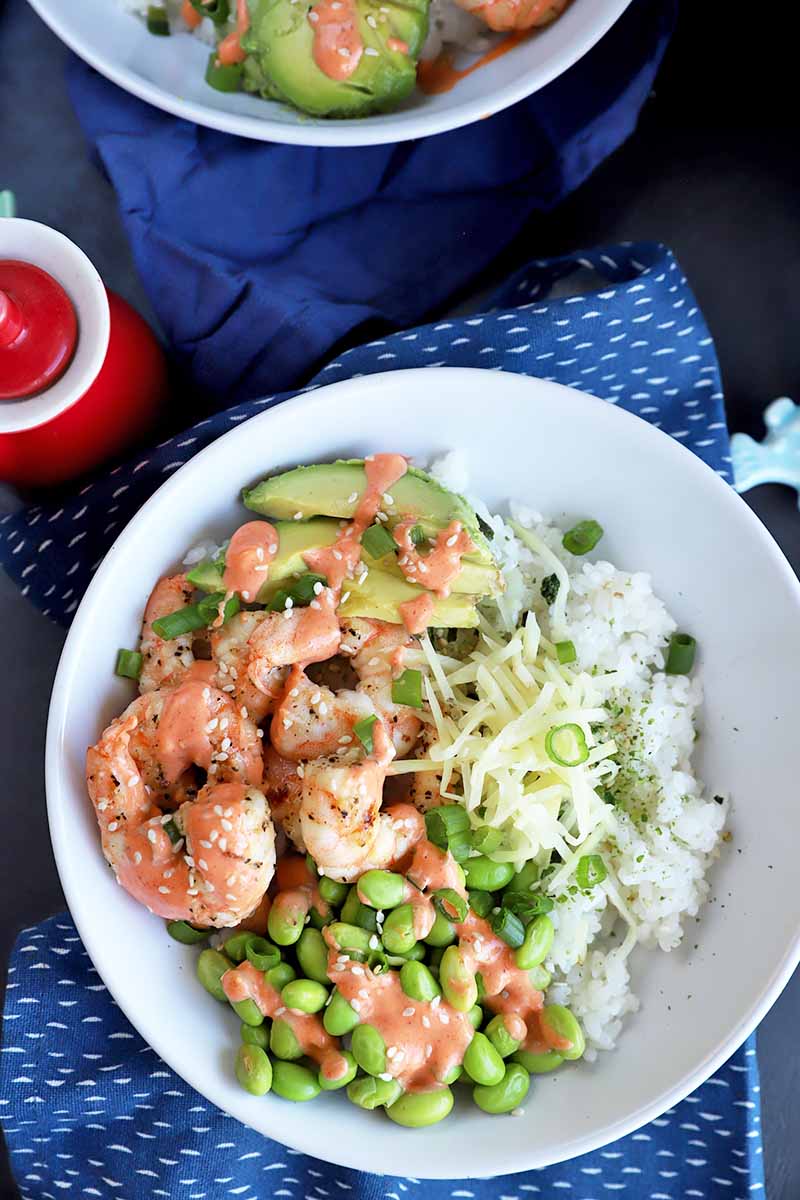
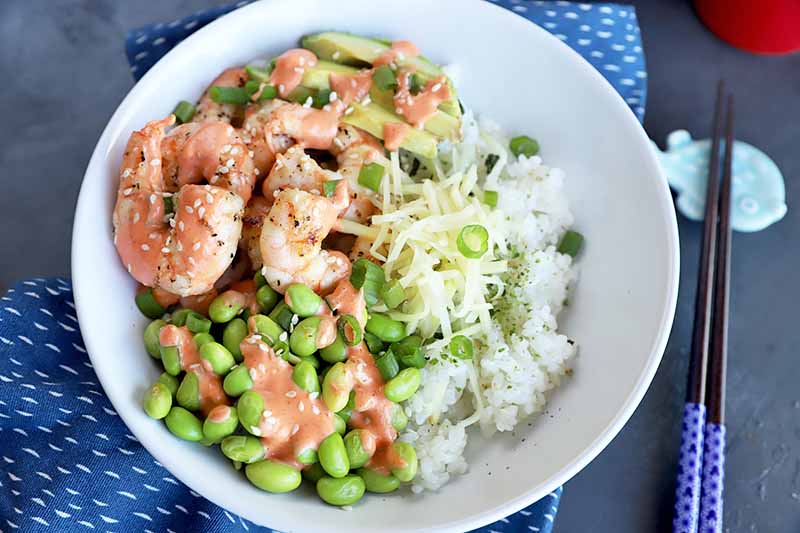
- Sushi bowls
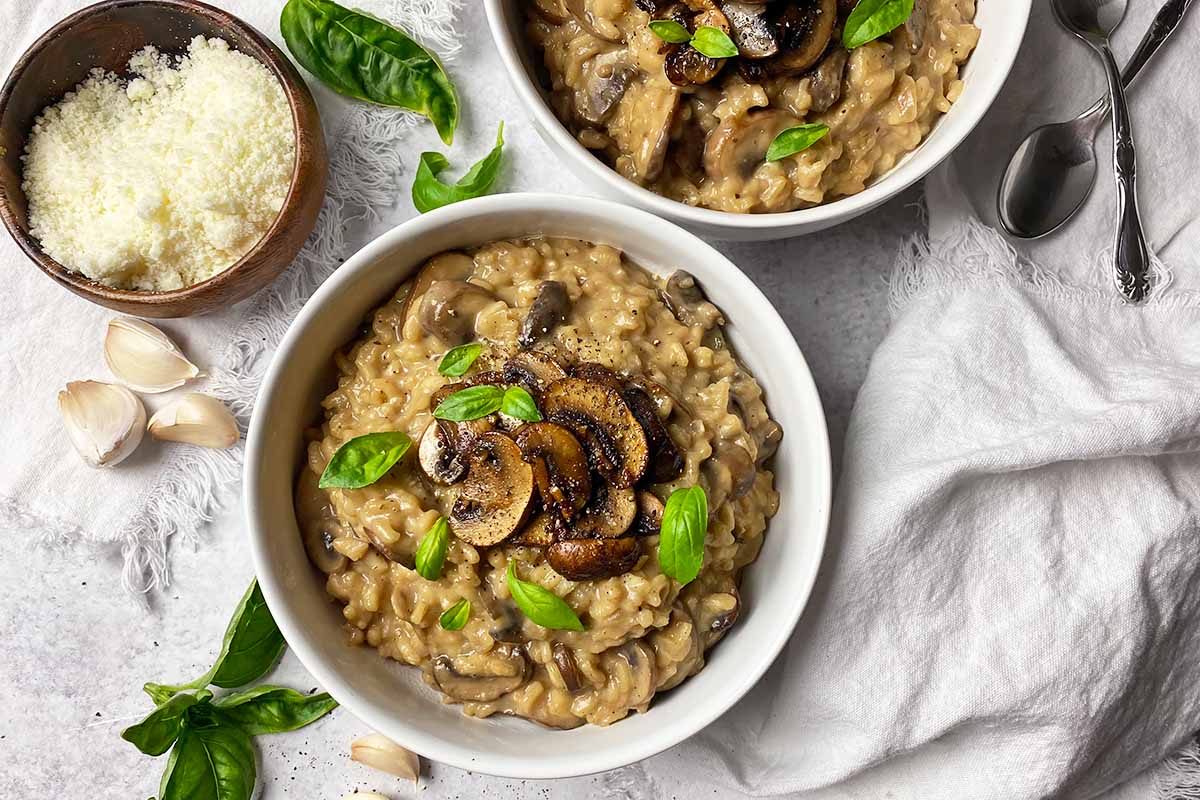
- Risotto
- Pudding
- Fried rice
- Arancini (aka Italian fried rice balls)
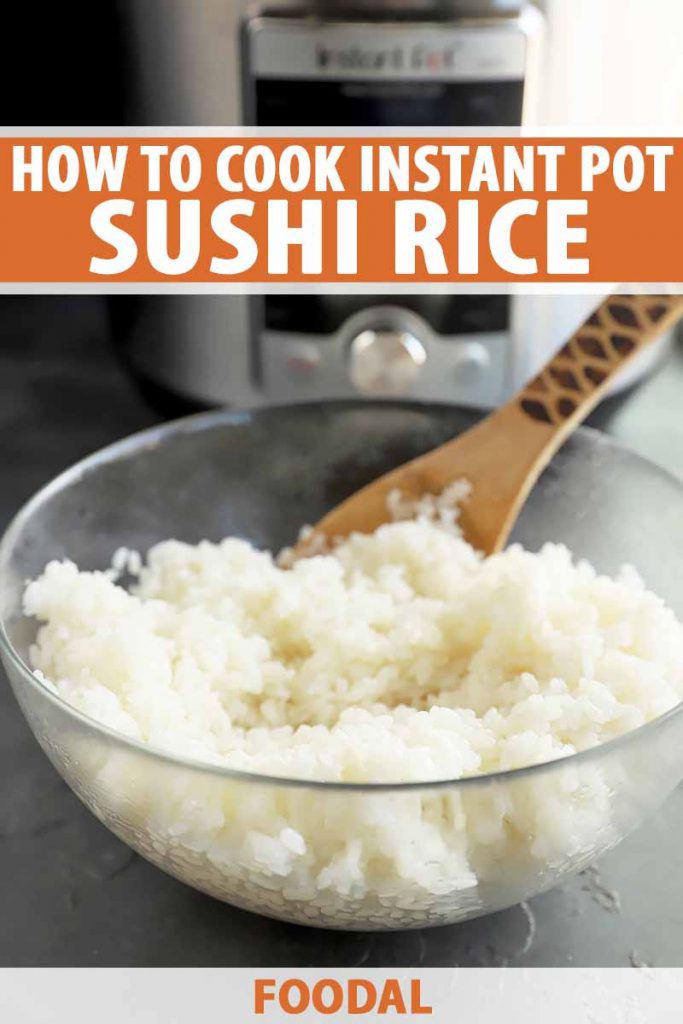
How to Cook Sushi Rice in the Electric Pressure Cooker
Ready to get cooking? The technique is simple, and making this delicious grain only requires a few simple ingredients.
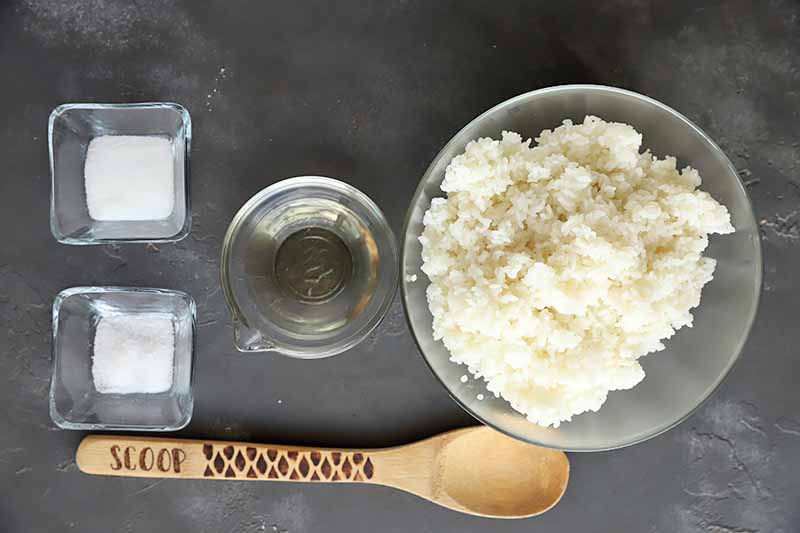
Step 1 – Rinse Grains and Measure Ingredients
- 2 cups short-grain Japanese sushi rice
- 2 cups water
- 1/4 cup rice vinegar
- 1 tablespoon granulated sugar
- 1 1/2 teaspoons salt
Rinse the grains under cold water for 1 to 2 minutes. Drain well.
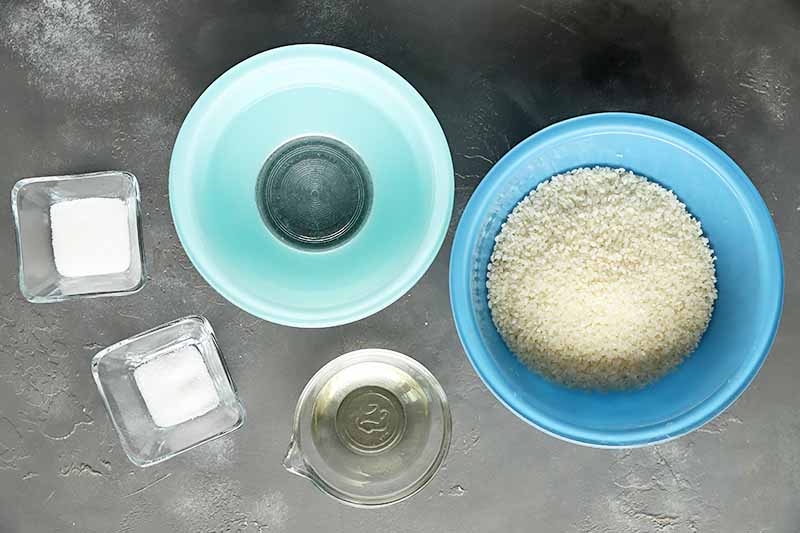
Measure out all of the ingredients as listed on the ingredients list.
Step 2 – Pressure Cook
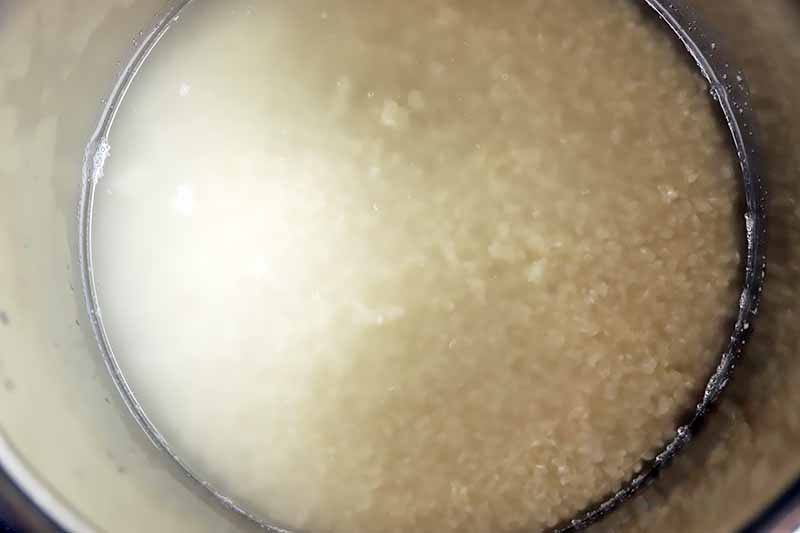
Add the rinsed and drained grains and water to the insert of an electric pressure cooker. Secure the lid and set the pressure cooker to manual on High pressure. Cook for 10 minutes.
Allow the pressure cooker to naturally release pressure completely, for about 10 minutes.
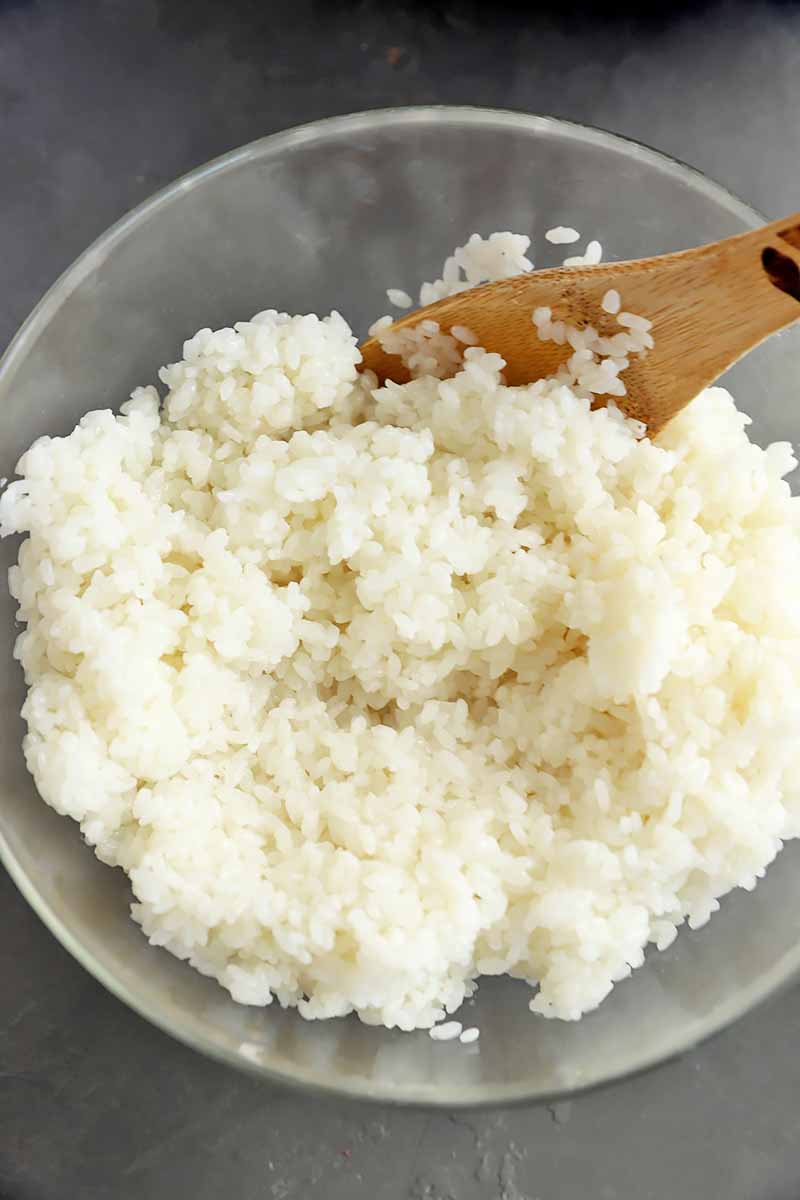
Step 3 – Season
While the pressure is releasing naturally, add the vinegar, sugar, and salt to a small microwave-safe bowl. Microwave for 15 to 30 seconds to warm up the vinegar a little, then stir until the sugar is completely dissolved.
Manually quick-release any remaining pressure, and open the lid.
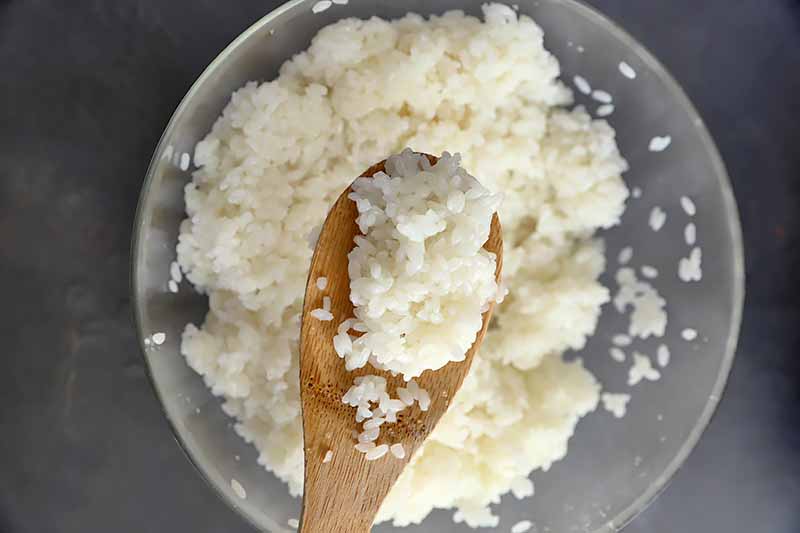
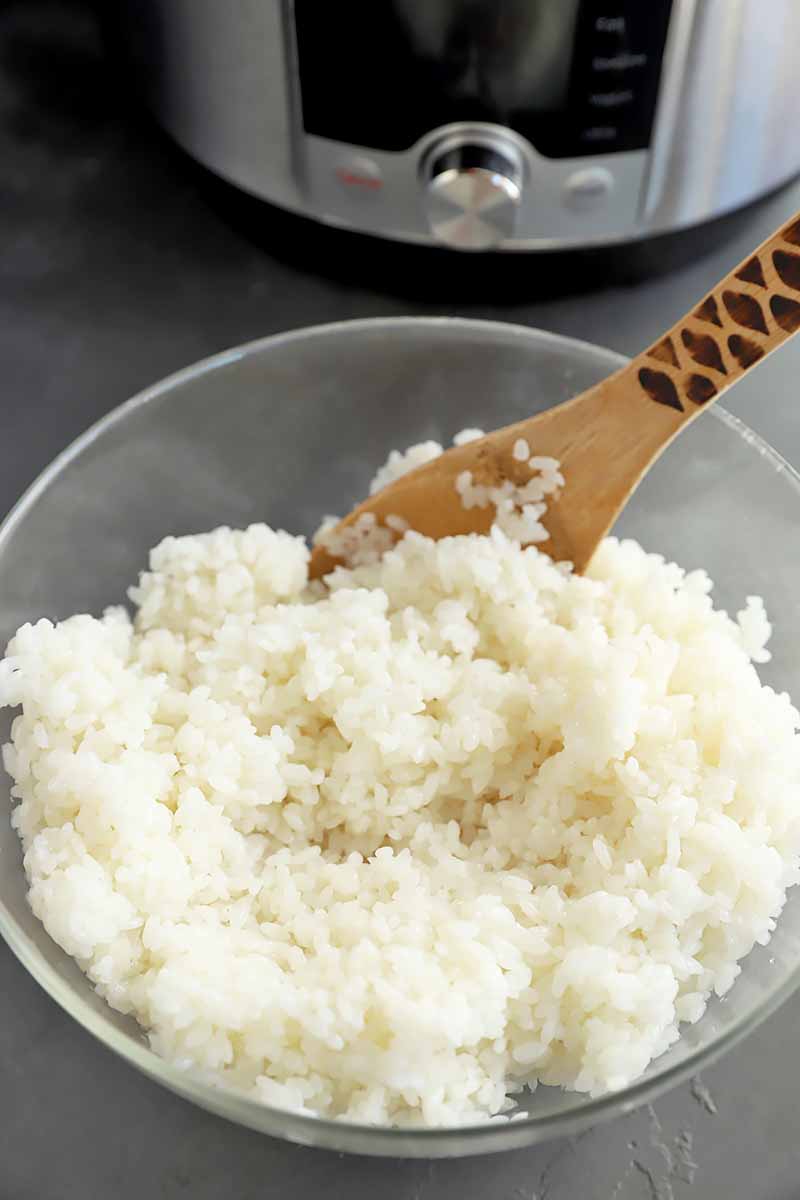
Add the grains to a large bowl and stir in the vinegar mixture until well combined.
Let the mixture cool on the countertop and then refrigerate for at least 1 hour before serving.
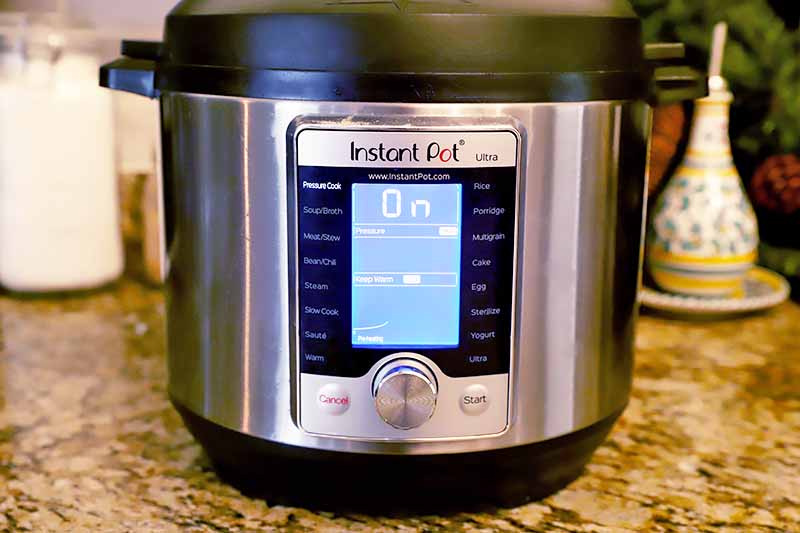
Can I Use the Rice Setting on My Instant Pot?
To make this particular variety, the short answer is no. The rice setting on your Instant Pot is strictly for preparing long or medium white grains.
Since this is short grain, you need to follow the instructions provided here to cook it on manual set to High pressure, in order to get the best results.
This way, you can ensure that the grain comes out just right, every time. You won’t lose the sticky texture by cooking it this way, and all of the grains will be cooked all the way through.
Want to learn even more ways to cook your favorite side dish in an electric pressure cooker? Visit these guides next:
Will you make sushi at home, or use this grain for a different recipe? Tell us in the comments below!
Photos by Meghan Yager, © Ask the Experts, LLC. ALL RIGHTS RESERVED. See our TOS for more details.
About Meghan Yager
Meghan Yager is a food addict turned food and travel writer with a love for creating uncomplicated, gourmet recipes and devouring anything the world serves up. As the author of the food and travel blog Cake 'n Knife, Meghan focuses on unique foodie experiences from around the world to right at home in your own kitchen.