I freaking love rice.

And if I had to choose just one side dish to embrace and enjoy for the rest of my life, it would be jasmine rice.
This is probably going to sound gross, but in my youth, one of my go-to dishes when I wasn’t feeling super awesome was those fluffy white grains topped with American cheese. Of course, I microwaved it all together so the cheese would get all gooey…
I know, it is not the most tasty sounding dish, but as a kid I thought it was pure heaven.
(Don’t judge me, I was a picky eater.)
Ever since then, my love affair with the grain has continued on. I enjoy everything from eating it with Asian dishes and making fried arancini at home after learning how to make them in Italy, to rolling it up in burritos with plenty of hot sauce.
It is such a versatile grain that I am sure you can think of 10 different ways you’ve eaten it, probably in the past couple of months.
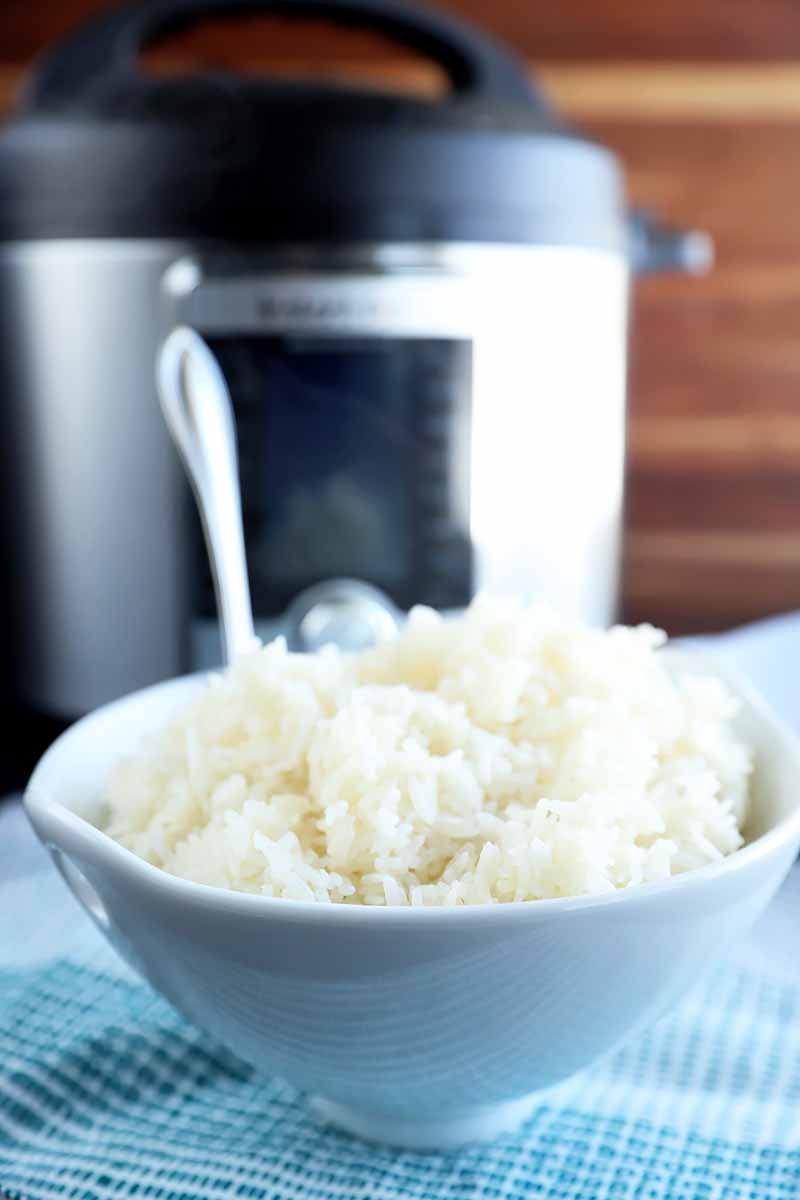
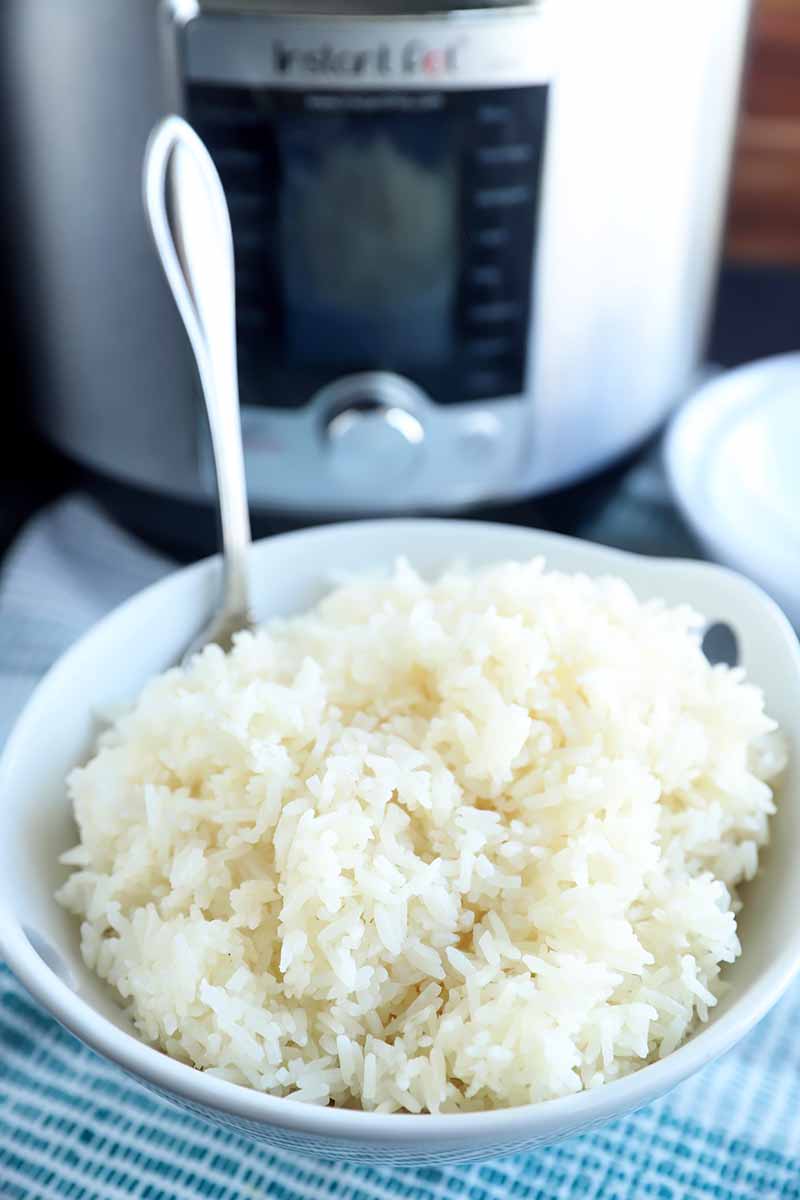
For me, having a rice cooker of my very own was the first big game changer in my kitchen, because I would always ruin it prepared on the stovetop.
And then, when the Instant Pot came into my life with its multiple settings, including a rice setting… Oh boy, that’s when all the cooking goals were achieved.
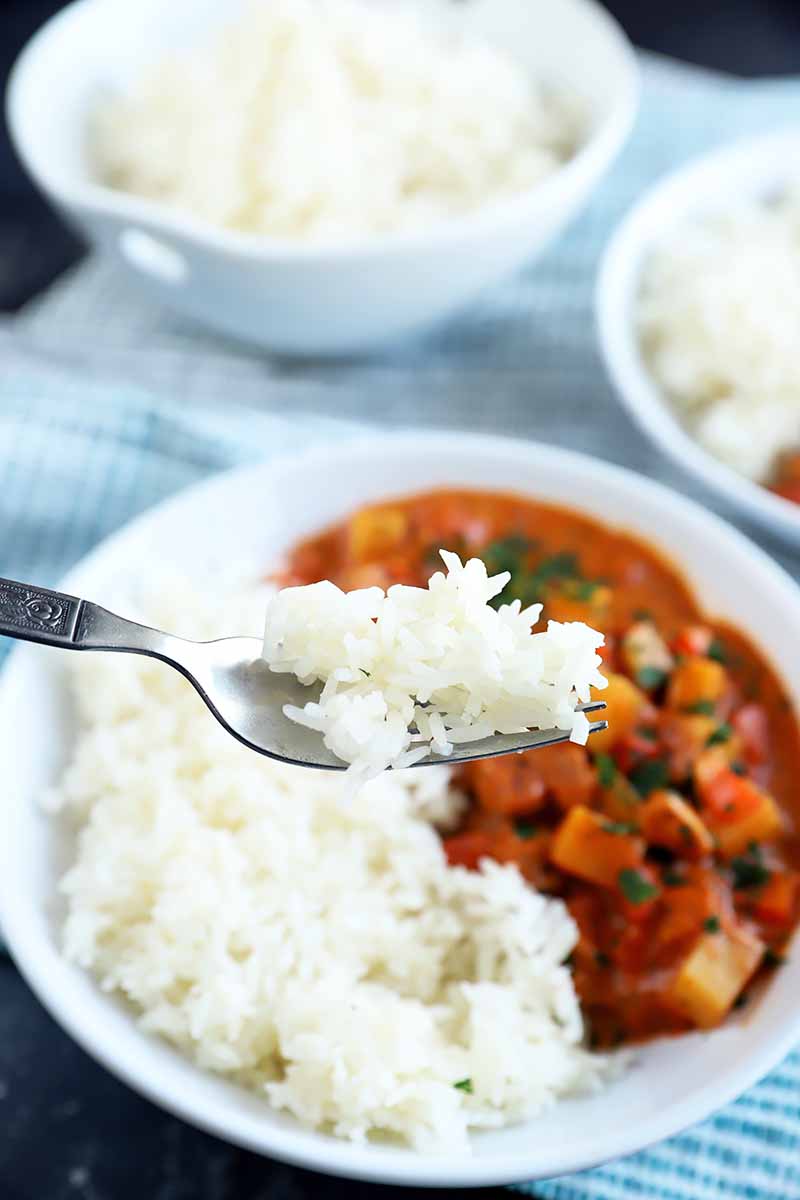
The jasmine variety is made in less than 20 minutes in the electric pressure cooker, so you don’t have to worry about it. Instead, you can tend to whatever you want to go along with the grain. Dinner will be ready before you know it!
So, today I’m going to teach you how simple it truly is. Here’s what’s to come in this article:
What You’ll Learn
What Is the Best Ratio of Ingredients?
How Do I Rinse Rice? Why Should I Do It?
How to Cook Jasmine Rice in an Electric Pressure Cooker
What’s The Difference Between Using the Manual Setting and the Rice Setting?
What Is the Best Ratio of Ingredients?
This is the best part. The ratio is super easy because it is 1:1.
That means 1 cup of water for 1 cup of uncooked rice, 2 cups of water for 2 cups of grains, and so on.
Depending on the size of your electric pressure cooker, you can make just a couple of servings at a time, or a big, big batch that’s perfect for meal prep.
And if you want to use a different type of liquid, the measurement’s the same for that too. Just keep the same ratio of 1:1.
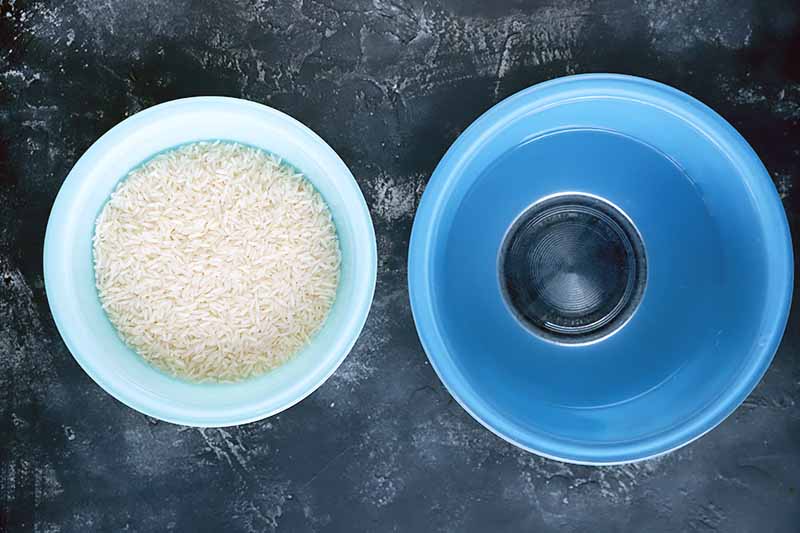
How Do I Rinse The Grains? Why Should I Do It?
To rinse the grain, you want to use a fine mesh strainer. Don’t use a colander, because you will end up with the grains slipping through the openings.
Rinsing the grain gets rid of the excess starch on the surface. This actually prevents the it from becoming gluey. Instead, you end up with a perfectly fluffy result.
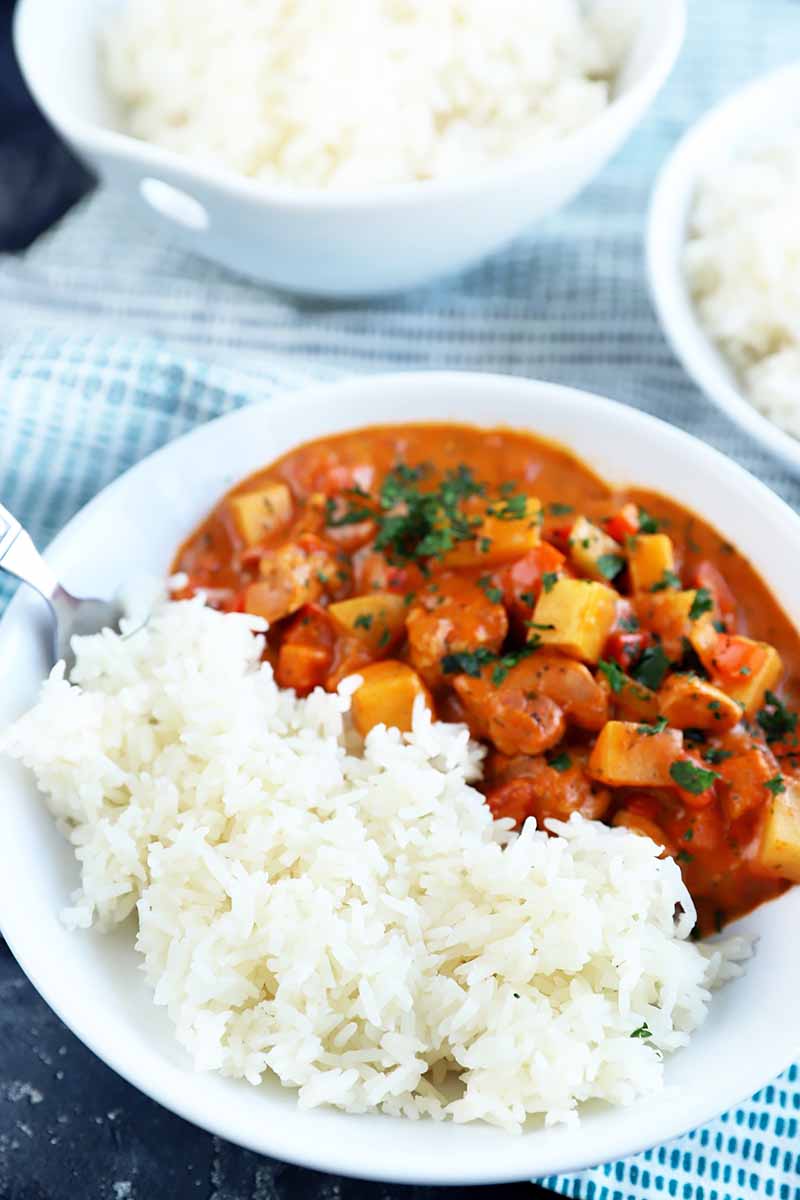
Serving/Seasoning Suggestions
Obviously, the serving options for this particular variety are pretty endless. This simple grain goes with practically everything.
But sometimes, you need a little inspiration.
Here are some of my favorite ways to serve this:
- Chicken Divan
- Any type of curry
- Pudding
- With red beans
- Burrito bowls
- Fried
- Cilantro lime
It doesn’t matter if you serve it alongside a main dish, serve it up with beans, or roll it up into a burrito.
No matter what, making this recipe is going to be the least of your worries with this oh-so-simple way to prepare it. Trust me, this method is basically foolproof.
How To Cook Jasmine Rice In an Electric Pressure Cooker
Time for the moment that you’ve all been waiting for. Let’s start right now!
Step 1 – Measure Ingredients and Rinse Grains
- 2 cups jasmine rice
- 2 cups water (or chicken/vegetable broth)
- 1/2 teaspoon salt (optional)
Measure out all of the ingredients above as listed. Rinse the rice well in cold water.
Note that you can double or triple the amount that you make while keeping the cooking time the same.
Step 2 – Pressure Cook
Add the rinsed rice, water, and salt (if using) to the insert of your appliance. Push down any grains that are not submerged so they are covered in liquid, and give it a little stir.
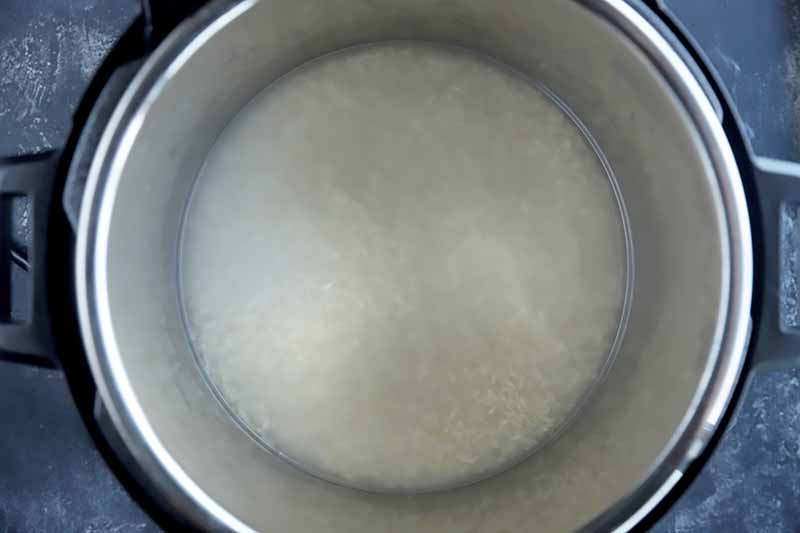
Secure the cover.
Manual: Set to High pressure for 5 minutes. Let the steam release naturally for 10 minutes before quick-releasing the rest of the pressure manually.
Rice Setting: Set to this particular setting. When it’s finished, quick-release the pressure.
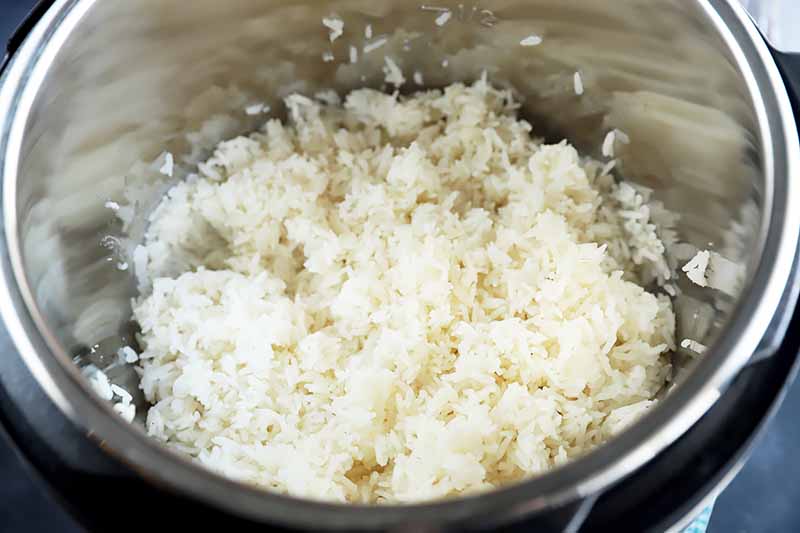
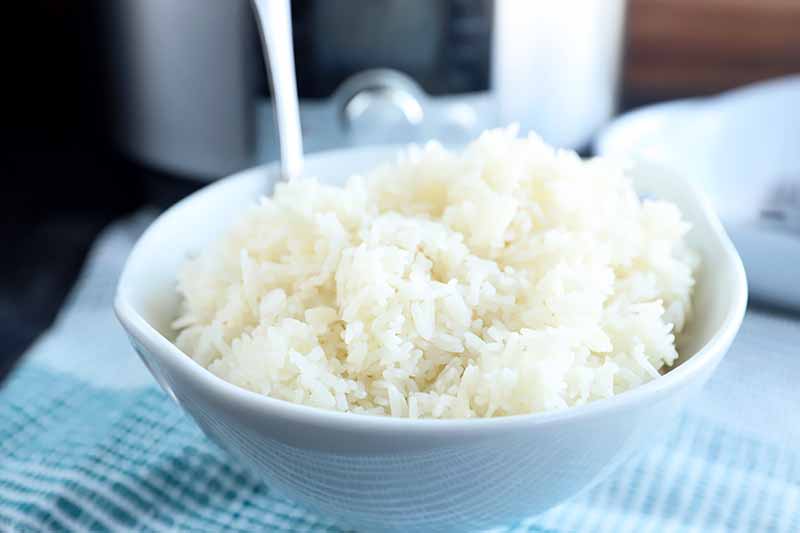
Turn off the Keep Warm setting so the bottom doesn’t stick or burn. Fluff with a fork and serve.
That’s it!
What’s the Difference Between Using the Manual Setting and the Rice Setting?
The difference in cooking is… well, there is none when you’re making the jasmine variety. You can actually make it either way, manually or with the rice setting, and achieve the same results.
Not all electric pressure cookers include a special rice setting, so here’s the deal: this setting is actually meant for preparing medium or long grain white grains. However, if you are making other types, you will want to avoid this setting altogether and use the manual setting instead.
Want to learn how to make other grain varieities in an electric pressure cooker? Take a look at these how-to guides from Foodal:
What will you serve with your perfectly fluffy and delicious side dish? Tell us in the comments below!
Photos by Meghan Yager, © Ask the Experts, LLC. ALL RIGHTS RESERVED. See our TOS for more details.
About Meghan Yager
Meghan Yager is a food addict turned food and travel writer with a love for creating uncomplicated, gourmet recipes and devouring anything the world serves up. As the author of the food and travel blog Cake 'n Knife, Meghan focuses on unique foodie experiences from around the world to right at home in your own kitchen.