We occasionally link to goods offered by vendors to help the reader find relevant products. Some of these may be affiliate based, meaning we earn small commissions (at no additional cost to you) if items are purchased. Here is more about what we do.
Did you know you can actually get that sushi fix and enjoy the seafood you’ve been craving at home, without the mess and the intricate craftsmanship required to make your own rolls?

Well, you can!
Let me begin by explaining that when I say sushi bowls, another way to describe these is by calling them poke bowls.
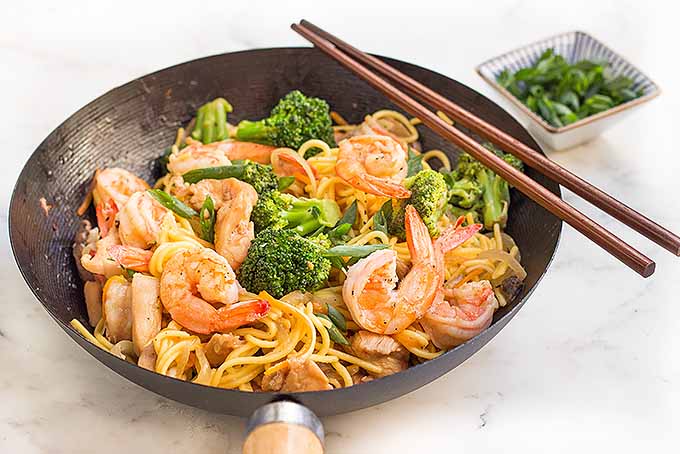
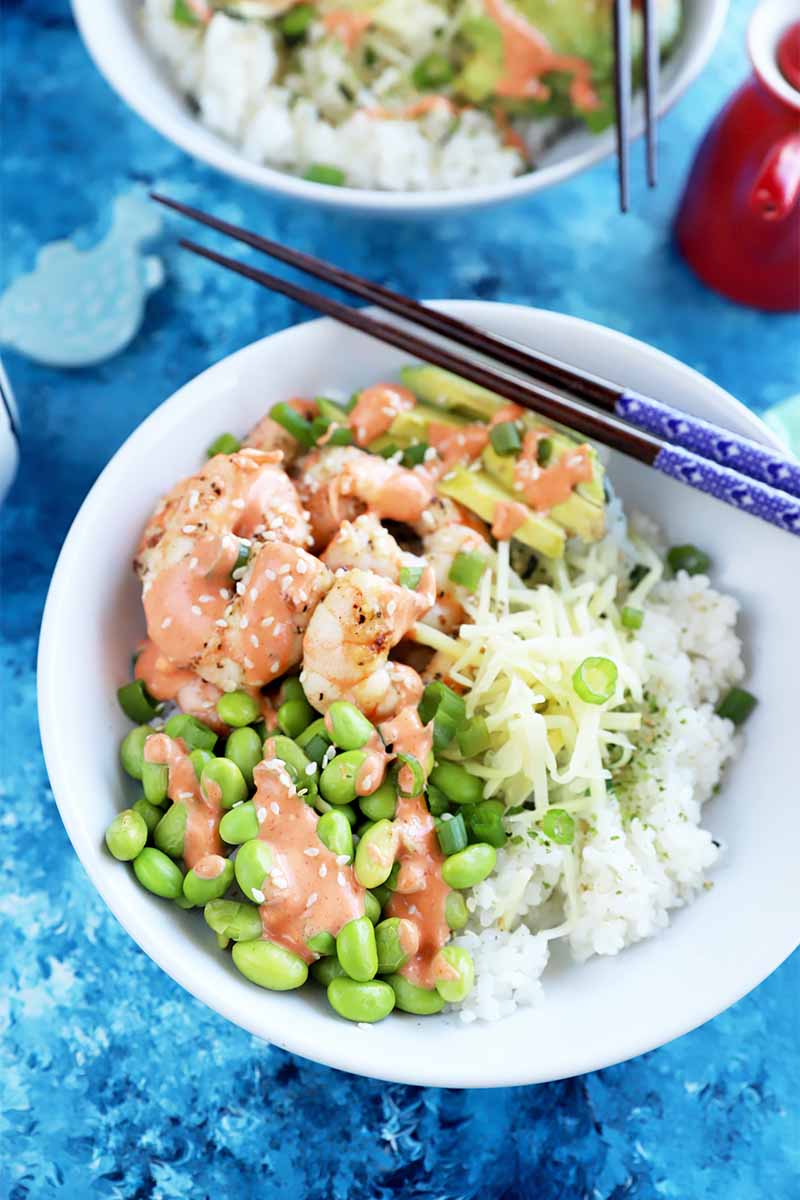
Now, poke bowls usually use only raw fish, and I am aware of this. But you can also use cooked shrimp like you see pictured here.
Honestly, it doesn’t matter what kind of seafood you use for my version of this recipe. The palette of flavors will lend themselves so well to just about any type you wish to choose.
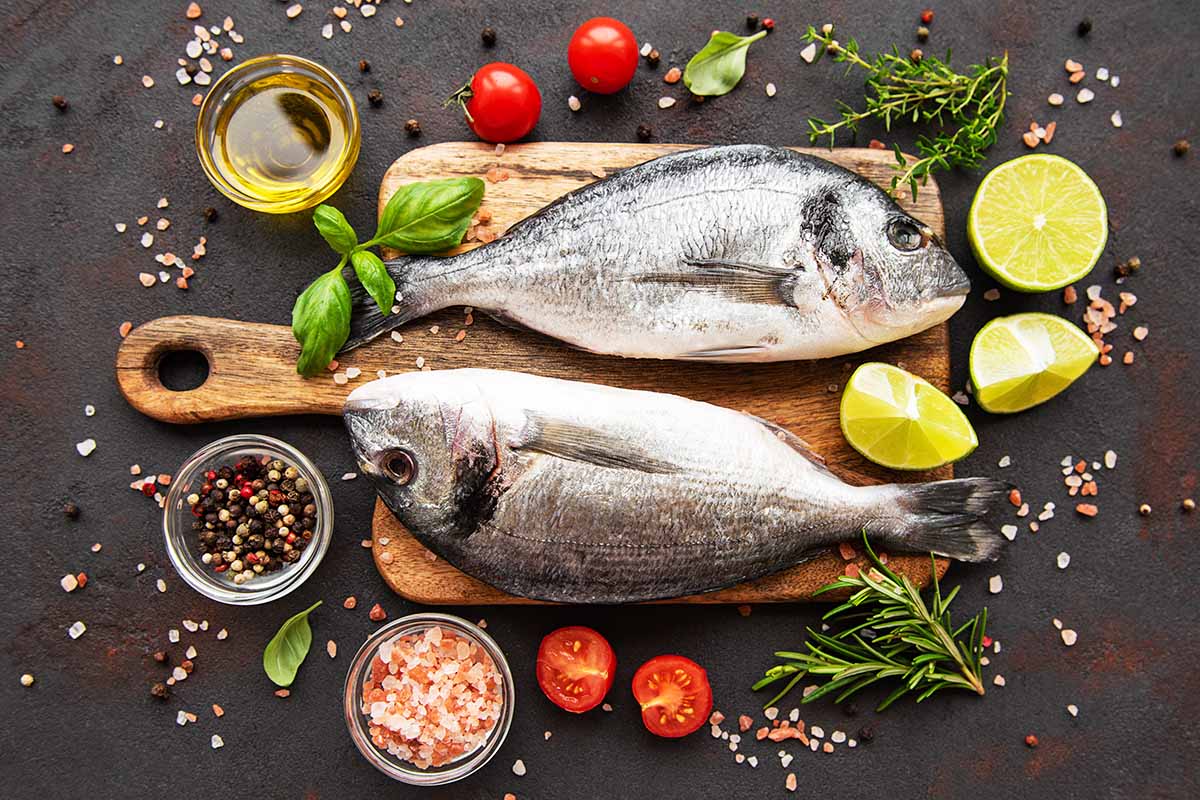
So, what type of fish is the best for making a unique recipe like this? There are several options that you can pick from.
Here’s my list of some of the most popular options:
- Salmon
- Sea bass
- Snapper
- Tuna – bigeye, bluefin, skipjack, or yellowtail
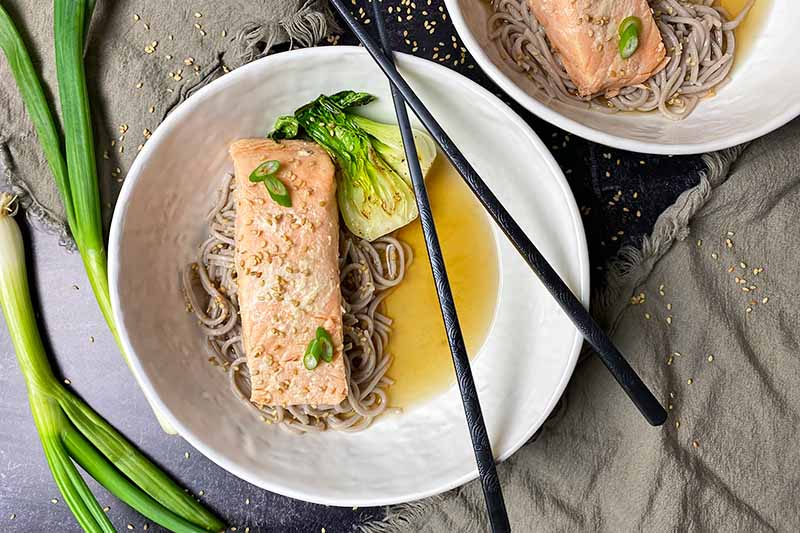
Both salmon and tuna can be seared before serving, if desired. Or you could pressure cook the salmon for a soft, tender, and fully cooked final fish.
A Note of Caution:
Most of the raw fish served as sushi in US restaurants has been frozen prior to serving. Raw wild salmon in particular must be frozen before consuming, as it may contain harmful parasites. Freezing at 4˚F or less for 7 days is recommended to kill parasites, or fish may be flash-frozen in a commercial setting before purchase at -35˚F for 15 hours. According to the FDA, cooking is the safest option for serving all types of seafood.
When selecting your fish, be on the lookout for the following:
- Fish should have a mild scent; it should not have a stinky, fishy, or sour odor.
- Eyes should be clear, not cloudy.
- Avoid any fish that are discolored or dry around the edges.
If you are selecting previously frozen whole fish, they may not have bright eyes, but they should still smell fresh with a mild aroma.
Of course, buying fish like this is an indulgence that can be a bit expensive. Though I love yellowtail, it isn’t exactly easy on my wallet. That’s why I like having the option to use cooked shrimp instead.
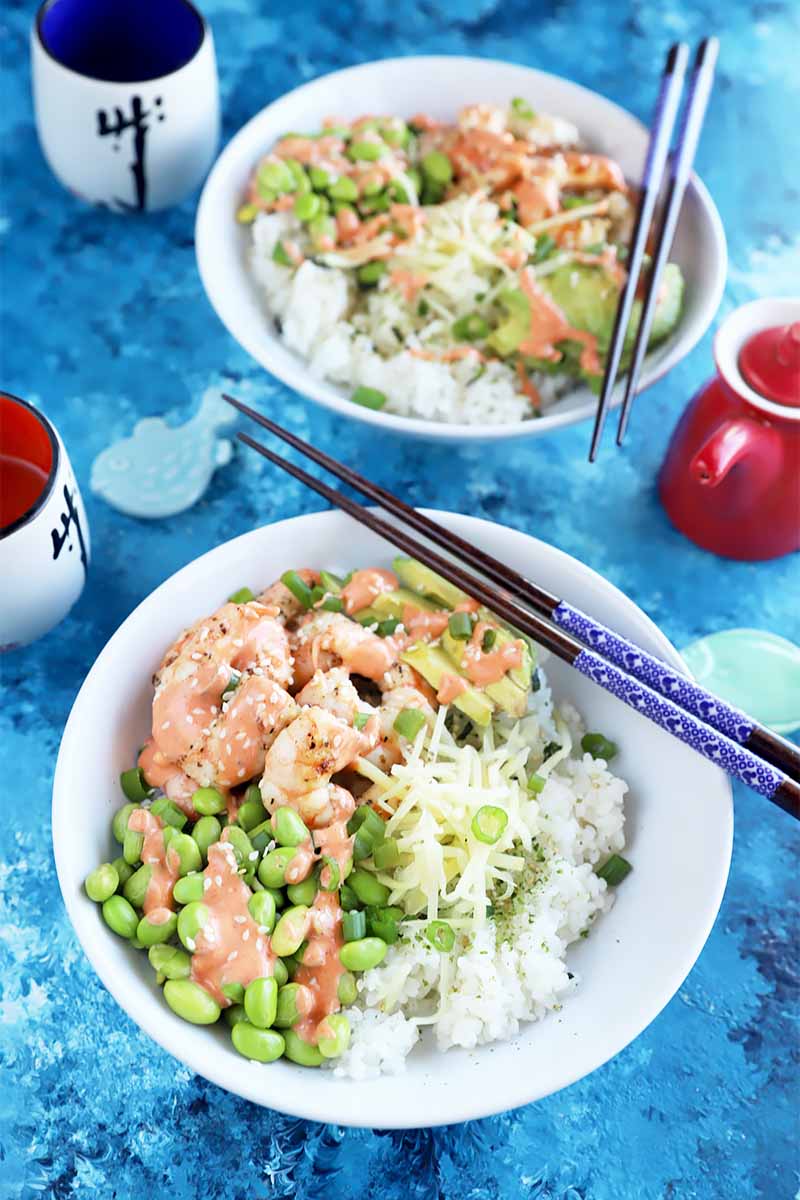
They also cook up very quickly in just a couple of minutes, and taste absolutely epic in this recipe.
When it comes to making sushi rolls from scratch, I tend to avoid it. It can be really messy, and I’m honestly pretty intimidated by the whole process. Making sushi is an art, after all, and the skill required to form uniform rolls that slice easily and stay together takes years of practice to master.
To save a little money while satisfying that craving for the flavors of sushi at home, skip the tough stuff for now and try this recipe instead. There’s no rolling involved, you can get creative with the toppings, and the hearty meal provided by these cool creations can keep you going for hours – these customized dishes have become one of my favorite lunch options!
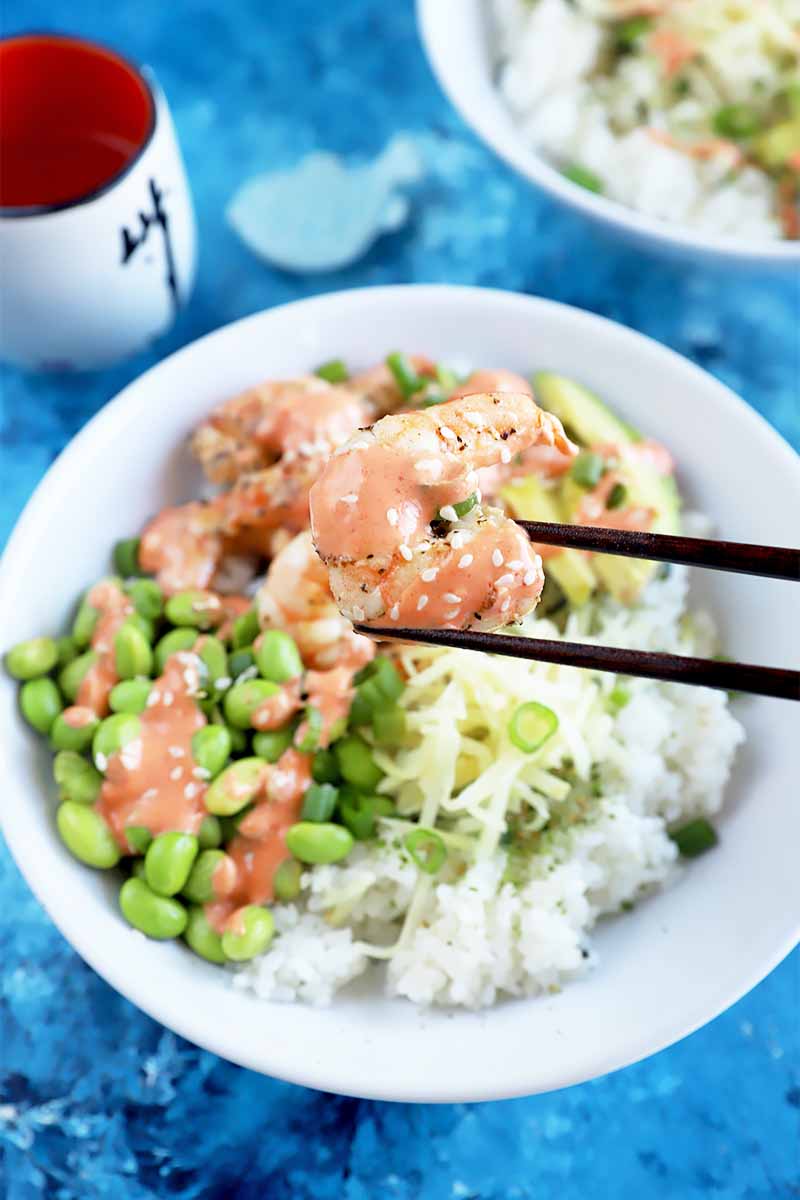
The well-seasoned sushi rice provides a tasty base for the dish. Then it’s topped with so many of my favorite things, like edamame, avocado, pickled ginger, and furikake – a yummy Japanese rice seasoning made with sesame seeds, dried seaweed, and other tasty ingredients.
Furikake can sometimes be hard to find, but you shouldn’t have any trouble if you visit your local Japanese grocery store. Nuri Komi Furikake is also available via Amazon. As an alternative, try a sprinkle of coarse salt, toasted sesame seeds, and shredded dried nori if you still want that seaweed taste but can’t find this spice combo premade.
Nori Komi Furikake, 1.7-Ounce Jar (Pack of 2), available on Amazon
These delicious bowls work so well for lunch or dinner, and my cooked shrimp version is perfect for meal prep to portion out and enjoy throughout the week. These will actually stay fresh in the refrigerator for about 3 to 4 days if you are using cooked shrimp. If you are using raw fish, this meal should be consumed right away.
Feel free to get creative with the toppings as well, to suit your liking. Consider the flavor profiles of your top restaurant creations, and add your favorite ingredients to your bowls at home. I’ve outlined some ideas at the end of this article for inspiration, so be sure to keep reading through to the end.
Print
Sushi Bowls with Sriracha Mayonnaise
- Total Time: 10 minutes
- Yield: 4 servings 1x
Description
Make your next seafood meal a homemade affair with these easy sushi bowls, featuring DIY sriracha mayonnaise. The recipe is also fantastic for meal prep.
Ingredients
For the Seasoned Rice:
- 3 cups cooked sushi rice
- 1/4 cup rice vinegar
- 1/2 teaspoon granulated sugar
- 1/2 teaspoon salt
For the Spicy Mayonnaise:
- 1/2 cup mayonnaise
- 1/3 cup sriracha, plus more to taste
For the Bowls:
- 1 pound cooked shrimp or raw fish, cut into bite-sized cubes
- 2 teaspoons extra-virgin olive oil
- 1/4 teaspoon salt
- 1/4 teaspoon ground black pepper
- 1 ripe avocado, thinly sliced
- 1/3 cup sliced pickled ginger
- 1 cup steamed edamame, removed from pods
- 1/4 cup thinly sliced green onion, green parts only
- Furikake, for serving (or coarse salt, toasted sesame seeds, and shredded dried nori)
- Soy sauce, for serving
Instructions
- Cook the sushi rice, either on the stove, in the electric pressure cooker, or in a rice cooker.
- Warm up the vinegar and stir in the salt and sugar until they dissolve. Toss rice with the seasoned vinegar in a medium-sized bowl, while it is still warm. Allow to cool completely, then divide evenly between 4 bowls.
- In a small bowl, whisk together the ingredients for the sriracha mayonnaise. Taste and add more sriracha if you want it to be spicier.
- Add cooked shrimp or raw fish to a bowl and toss with olive oil, salt, and pepper. Place on top of the rice, distributing it evenly between the bowls.
- Arrange avocado, pickled ginger, and edamame on top of the rice, next to the shrimp or fish.
- Sprinkle the bowls with sliced green onion. Garnish with furikake or your choice of coarse salt, sesame seeds, and seaweed according to taste. Drizzle with spicy mayonnaise and serve with soy sauce to taste.
Notes
Serve immediately and always follow food safety guidelines if preparing raw fish.
- Prep Time: 10 minutes
- Category: Sushi
- Method: No-Cook
- Cuisine: Seafood
Keywords: sushi, bowl, rice, shrimp, fish, avocado, seafood
Cooking By the Numbers…
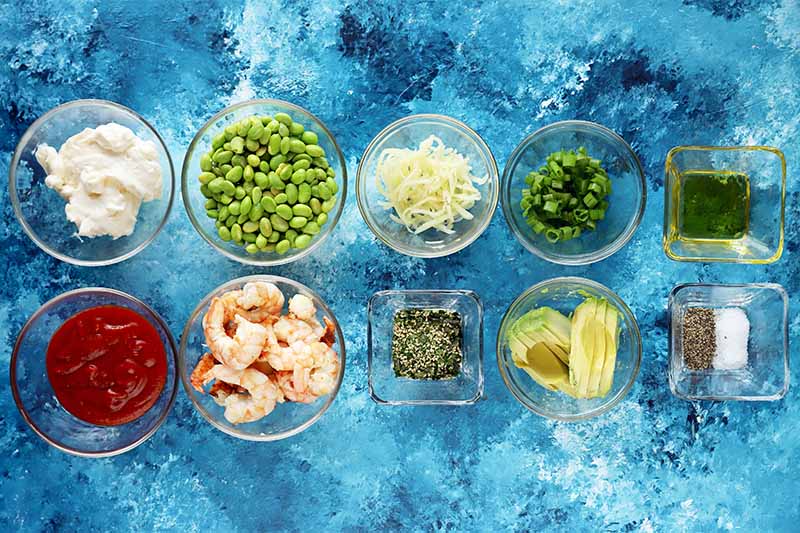
Step 1 – Prepare and Measure Ingredients
If you haven’t already, cook the grain that will be the base of your bowls. One of my favorite ways to make sushi rice is in the Instant Pot.
Remove the shells from raw whole shrimp, and be sure to devein the raw shrimp if that’s what you’re using, then cook it as desired.
I like to simply saute them for a couple of minutes in a small skillet with some olive oil, and give them a light seasoning of salt and pepper. Allow the shrimp to cool completely before serving. Note that you can also use frozen precooked shrimp that’s been defrosted.
If you are using fish, you can save yourself some time by purchasing boneless and skinless fillets. Otherwise, you can debone and skin it yourself at home. If it’s a fish that’s known for having pin bones (like salmon), be sure to pull any of those out as well.
Raw wild salmon should be frozen before serving as sushi, for food safety. You also have the option to lightly sear your choice of seafood before serving it in these bowls.
Thinly slice a ripe avocado. Set it aside.
Thinly slice enough green onion until you have 1/4 cup total.
Measure out all of the remaining ingredients as listed on the ingredients list.
Step 2 – Season Rice
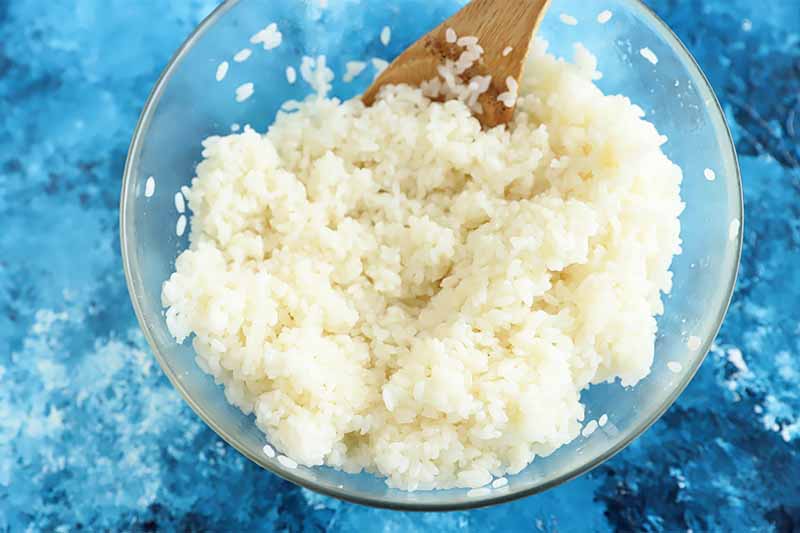
Prepare the sushi rice. Seasoning should be done while the rice is still hot, and then you should let it cool completely before assembling the bowls.
Step 3 – Make Sriracha Mayonnaise
Add the sriracha and the mayonnaise to a small bowl. You could use store bought mayo, or make it at home from scratch if you like. Whisk together until combined.

Taste the sauce and add more sriracha as desired, if you’d like it to be spicier.
Step 4 – Prepare Shrimp or Fish
In a small bowl, gently toss together the cooked shrimp, seared fish, or raw fish with the oil, salt, and pepper until the seafood is coated evenly.
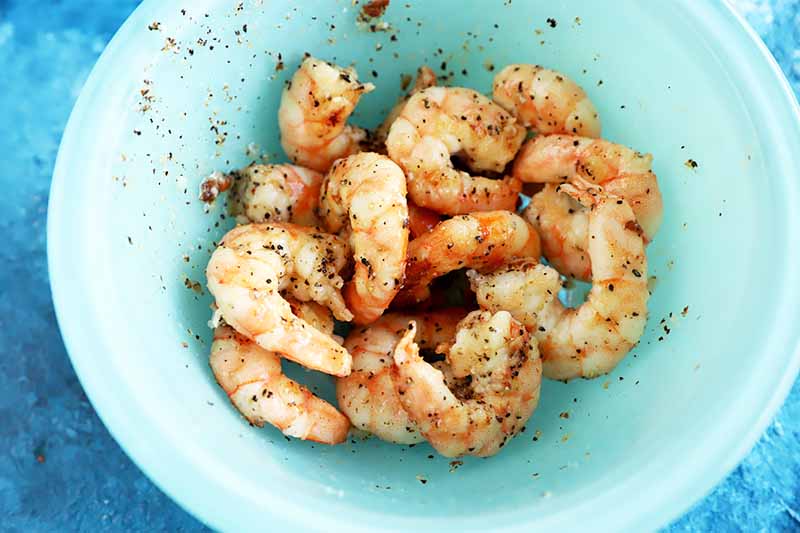
Distribute it evenly between the bowls, on top of the rice.
Step 5 – Assemble
Finish assembling the bowls by distributing the avocado, pickled ginger, and edamame on top of the rice. Sprinkle the bowls with green onion and furikake, or add your choice of toppings, garnishes, and seasonings.
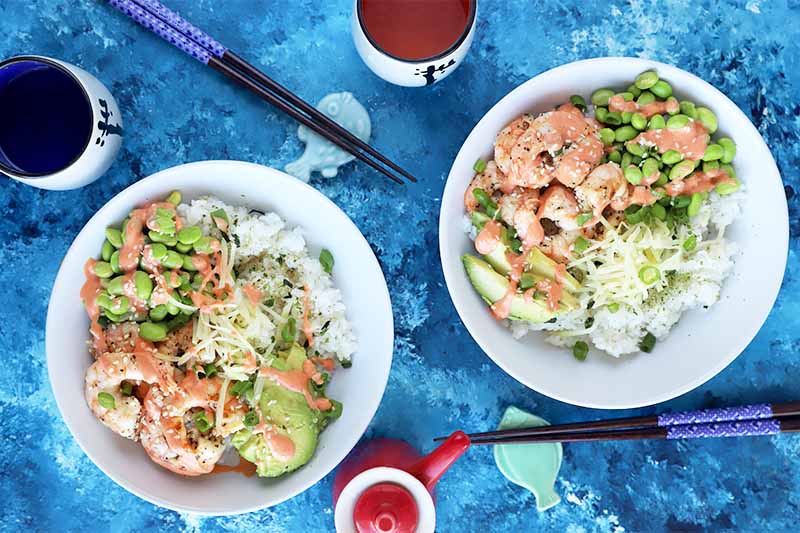
Drizzle spicy mayonnaise and soy sauce over the top, or serve these on the side to be added as desired.
Make Them Your Own
When it comes to sushi, one of my favorite things about it is the variety that’s on offer. You can totally add that same sense of novelty to these bowls when you enjoy them in your own home by bringing some of your favorite ingredients to the party.
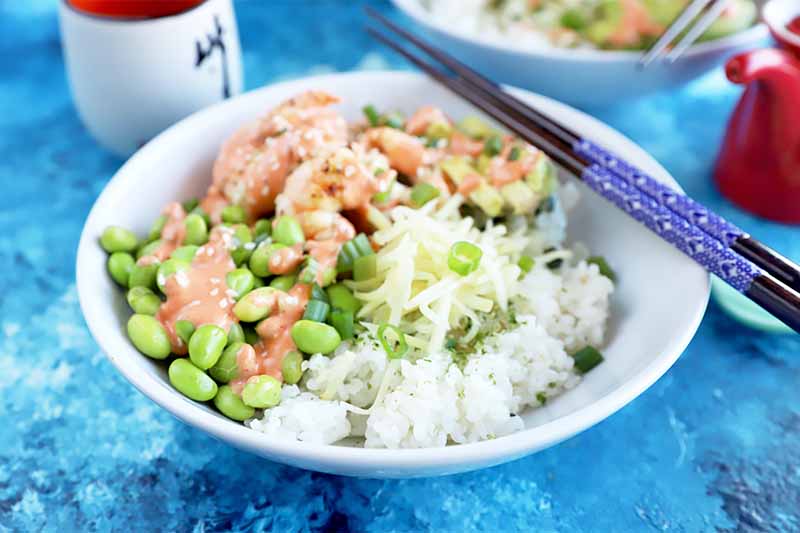
Not sure where to begin, beyond my suggestions above? Here are some more of my favorite ideas, for additional inspiration:
- Add chopped ripe mango to a shrimp version of this recipe for a homemade take on your favorite mango roll.
- Want more heat? Add sliced or chopped jalapeno.
- Eel sauce is fantastic to drizzle on top, like what you’ll find on a dragon roll.
- Top with homemade shrimp or vegetable tempura.
For those of you who love seafood, try these recipes next if you just can’t get enough:
What toppings will you add to your version of this recipe, and what type of seafood will you choose? Tell us in the comments below. And once you try the recipe, be sure to come back to rate it!
Photos by Meghan Yager, © Ask the Experts, LLC. ALL RIGHTS RESERVED. See our TOS for more details.
Nutritional information derived from a database of known generic and branded foods and ingredients and was not compiled by a registered dietitian or submitted for lab testing. It should be viewed as an approximation.
About Meghan Yager
Meghan Yager is a food addict turned food and travel writer with a love for creating uncomplicated, gourmet recipes and devouring anything the world serves up. As the author of the food and travel blog Cake 'n Knife, Meghan focuses on unique foodie experiences from around the world to right at home in your own kitchen.

