Do you love rice?
This particular grain is one that I think we are all familiar with, probably because it can be used in so many different ways.
As a side dish, it goes with just about everything. You can prepare it simply, or season it to fit whatever type of cuisine you’re making for your meal.
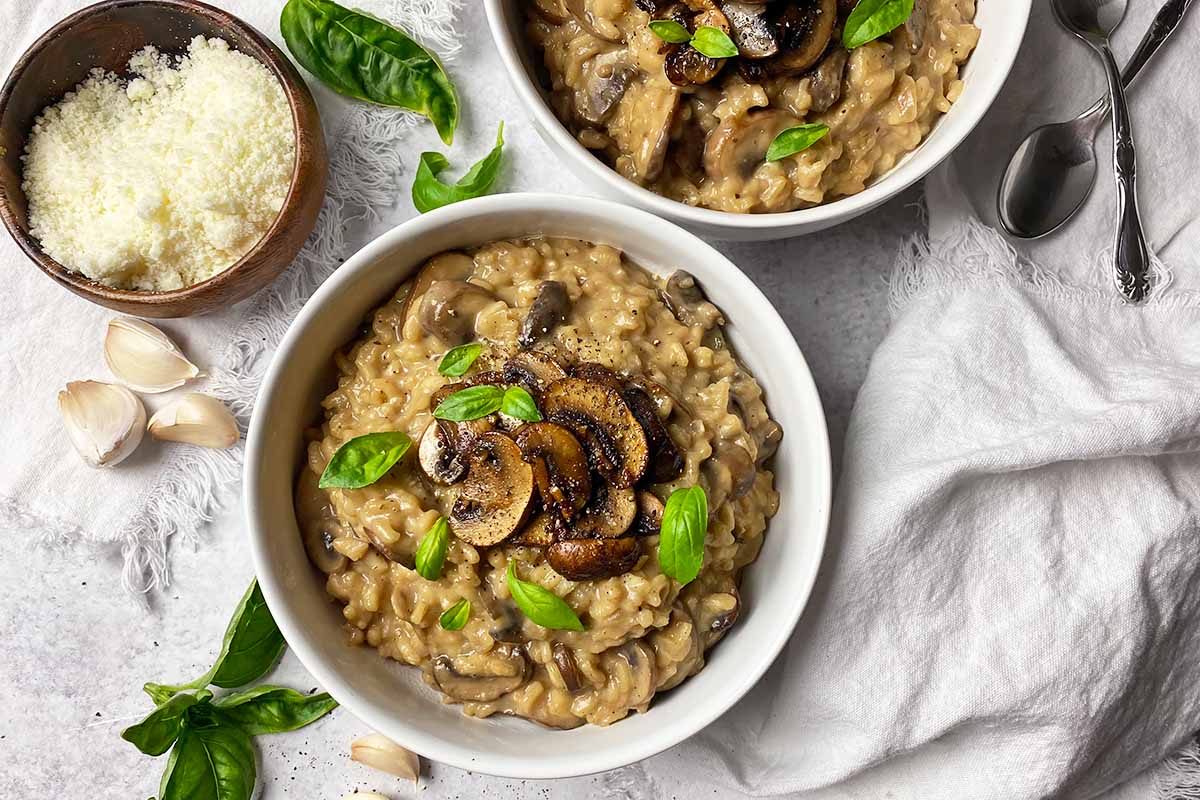
Add it to casseroles, serve it with protein, stir it into a soup, and it’s sure to satisfy. You can even sweeten it and combine it with milk to make a delicious coconut mango pudding for dessert.
It’s gluten free, and available in so many different varieties, from white to brown to black, short grain to long.
When I was a child, I loved all things white rice. As a picky eater, there were many times when I would eat it on its own, or topped with melted cheese.
Thankfully, my tastes have matured a bit since then. But knowing how to cook these particular grains in the electric pressure cooker is a must in my book.
I’ve found this is the easiest way to cook it, and it comes out perfectly every single time. There’s no need to hover over the stove anymore, making sure you don’t overcook or burn it.
If this sounds like a solid plan to you, let’s get started! Here’s what’s ahead in this article:
What You’ll Learn
Seasoning Suggestions
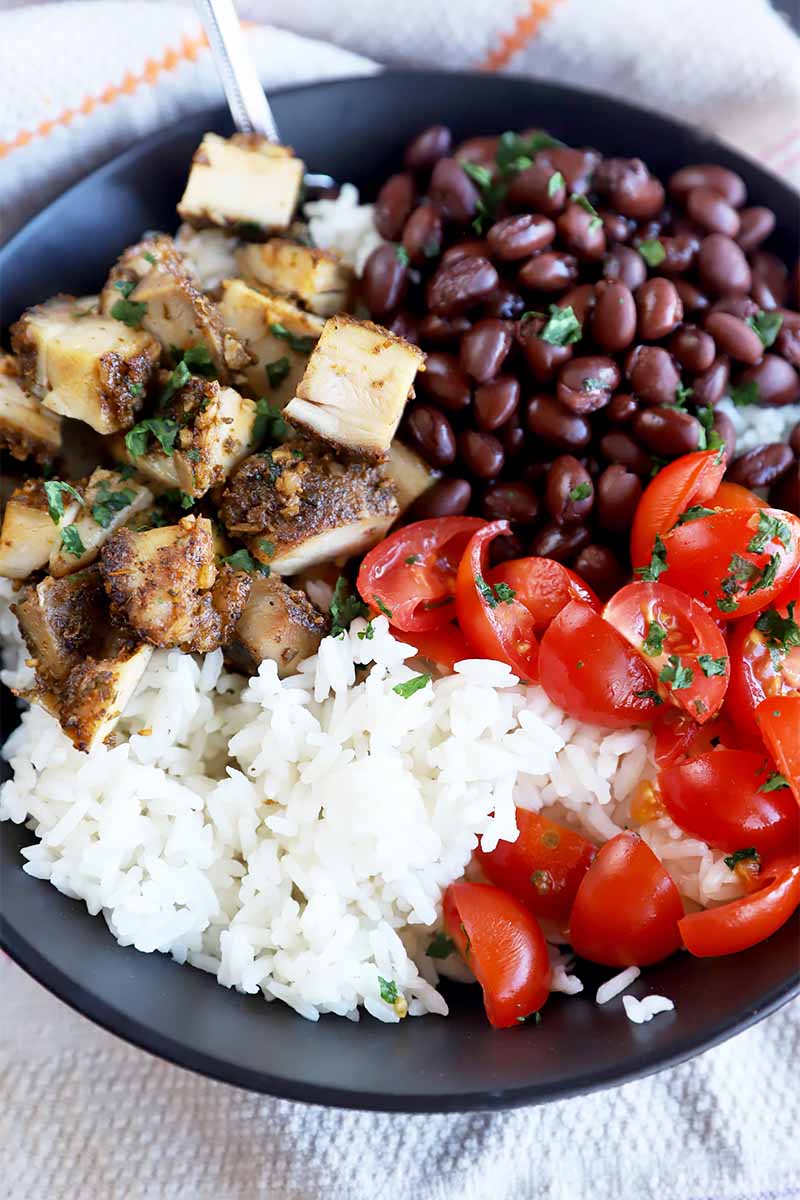
There are obviously many ways to serve this kind of variety, whether you plate it up as a side with a main dish, or include it as an ingredient in a soup, casserole, burritos, or a salad.
For me, if it’s a straight up side dish that we’re talking about, nothing could be better than salt and butter. I love the way the butter makes it just a little bit creamy, and you can use salted or unsalted butter for this.
Another surefire way to season this grain is to make cilantro lime rice. All you’ll need is chopped fresh cilantro, fresh lime juice, and salt, a few simple ingredients with results that are guaranteed to be delicious.
If you love garlic, consider adding salt, garlic powder or roasted garlic, and butter or a little bit of olive oil. I like to use this combination when I’m serving it alongside richer types of meat like beef, lamb, or pork.
Does Cooking Time Vary for Long vs. Short Grain?
Yes, there is a difference between the two kinds in terms of how long they will take to cook. This is important!
If you are cooking a long grain type like basmati or jasmine, you will need to cook it for 3 minutes on high pressure. Then you let the steam release naturally for 10 minutes before quick-releasing the rest of the pressure manually.
For short grain types like arborio, you will need to change your method slightly. Cook it for 5 minutes on high pressure, then quick-release the steam immediately instead of letting it release naturally.
What Do I Do if It Sticks?
While I have not personally run into this issue, I know that it can happen.
If you run into this problem with your electric pressure cooker, add 1/2 teaspoon of olive or avocado oil to the grain next time to prevent it from sticking. Just toss the grains and oil together before cooking.
Do I Have to Use Water?
One of the best ways to infuse extra flavor into this recipe is to use chicken or vegetable stock instead of water.
If you choose to do this, skip the salt. Even with low-sodium versions, you’ll probably get enough sodium from the stock itself.
Can I Use the “Rice” Setting on My Instant Pot?
The rice setting on the Instant Pot is specifically designed to be used with white rice only. So in this case, yes, you certainly can!
Proceed with caution, however, if you are preparing black, brown, or wild varieties.
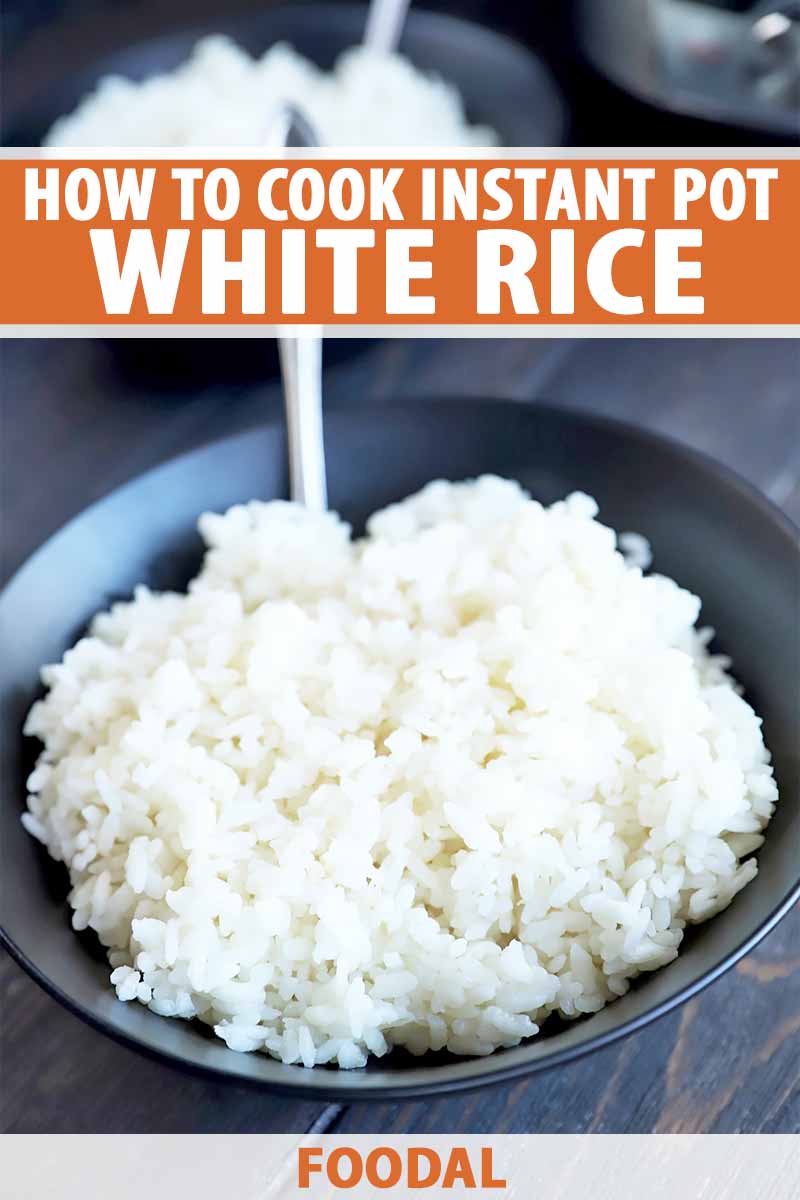
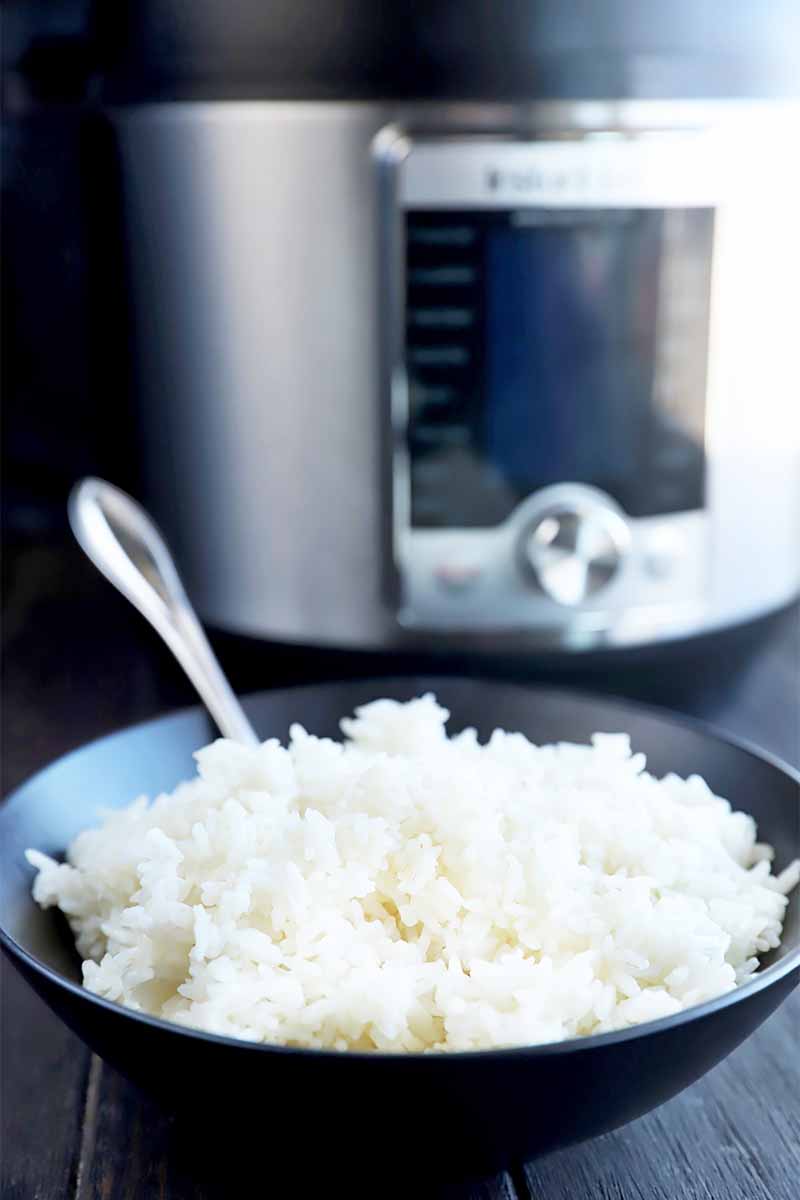
How To Cook White Rice In Electric Pressure Cooker
And now, what you’ve all been waiting for – the simple method! It really is the best way to make a perfect bowl of cooked grains, if you ask me.
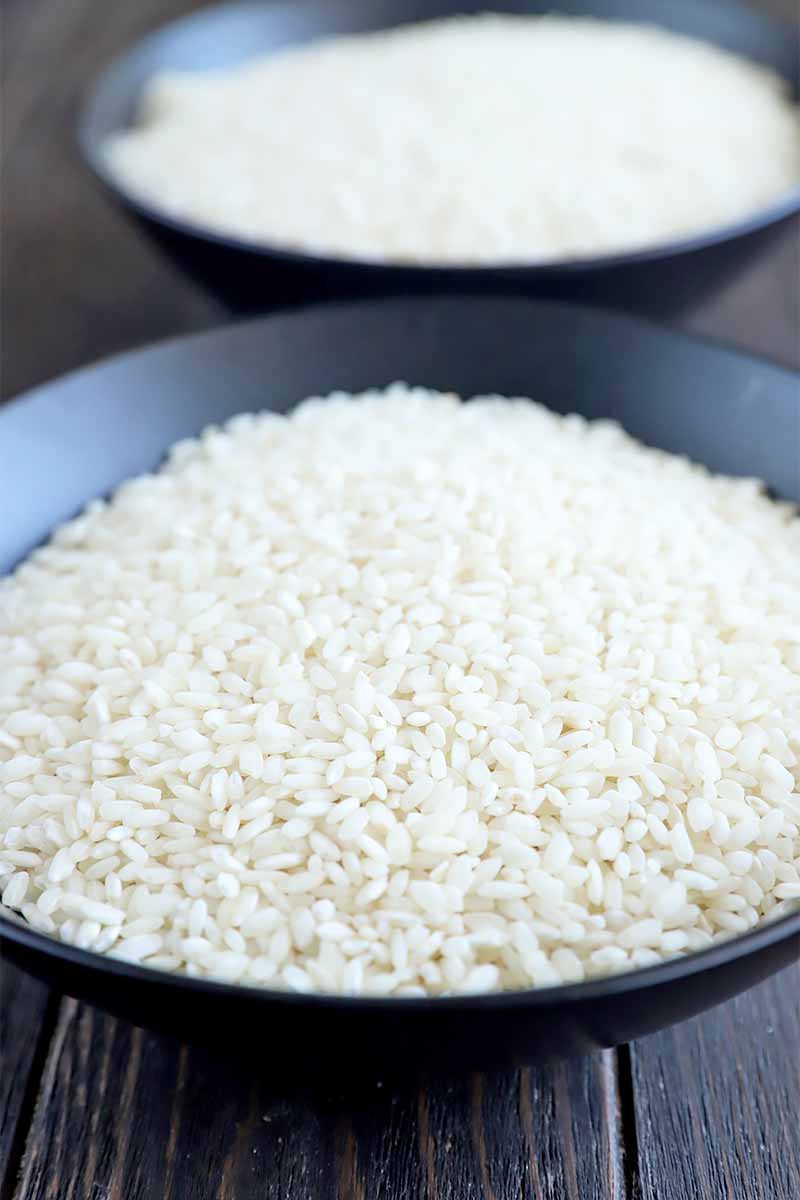
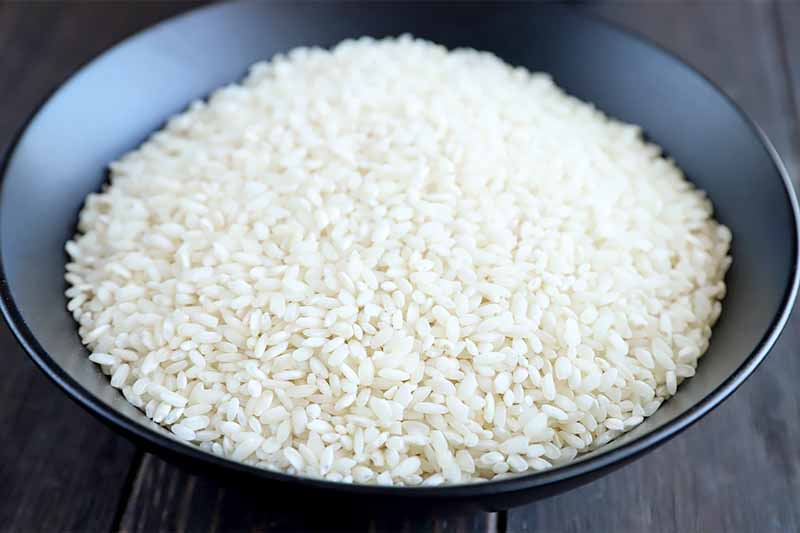
Step 1 – Measure Ingredients and Rinse Rice
In addition to your appliance, here is everything else you will need:
- 1 cup white rice
- 1 1/4 cups water (or stock)
Rinse the grains in cold water before cooking. Drain well in a colander or fine mesh strainer.
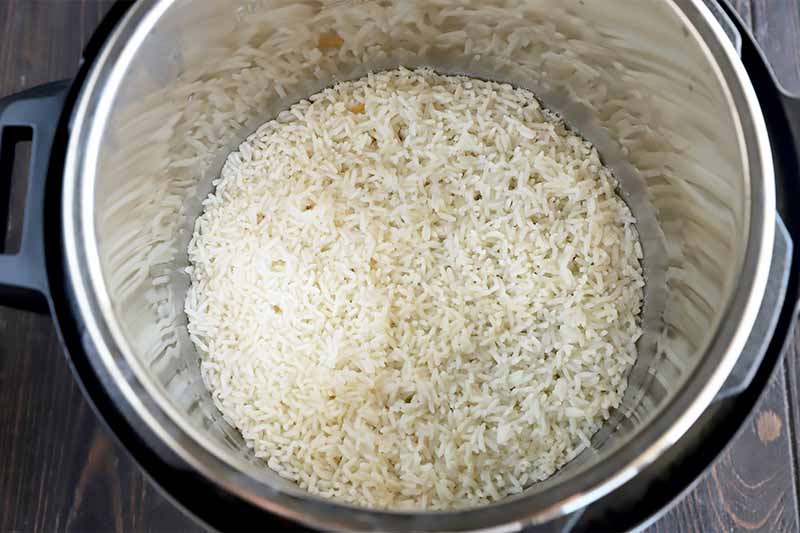
Step 2 – Pressure Cook
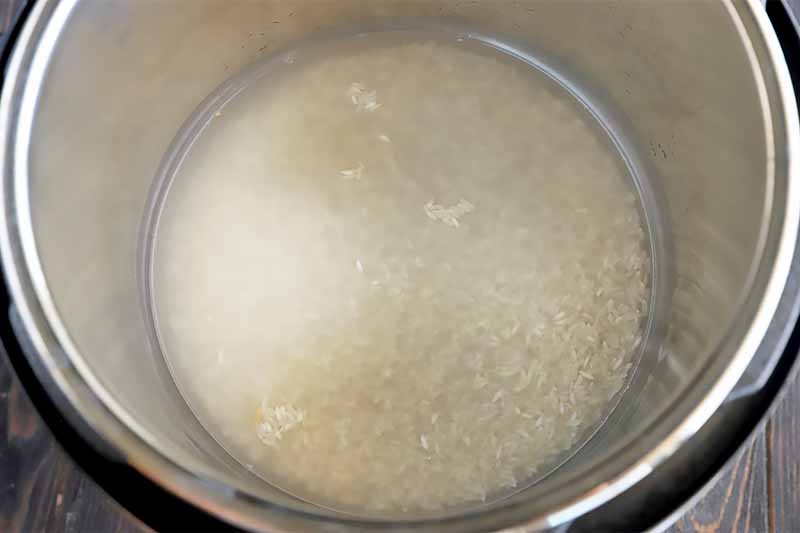
Add the grains and water or other liquid to the insert of the pressure cooker.
For long grain, set the pressure cooker to Manual and cook on High pressure for 3 minutes. Let the steam release naturally for 10 minutes, then release any remaining pressure.
For short grain, set the pressure cooker to Manual and cook on High pressure for 5 minutes. Quick-release the steam.
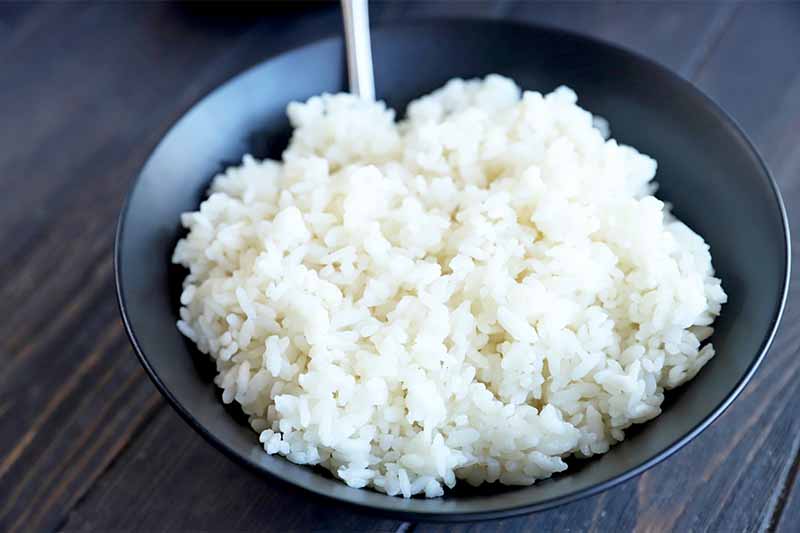
Step 3 – Fluff and Serve
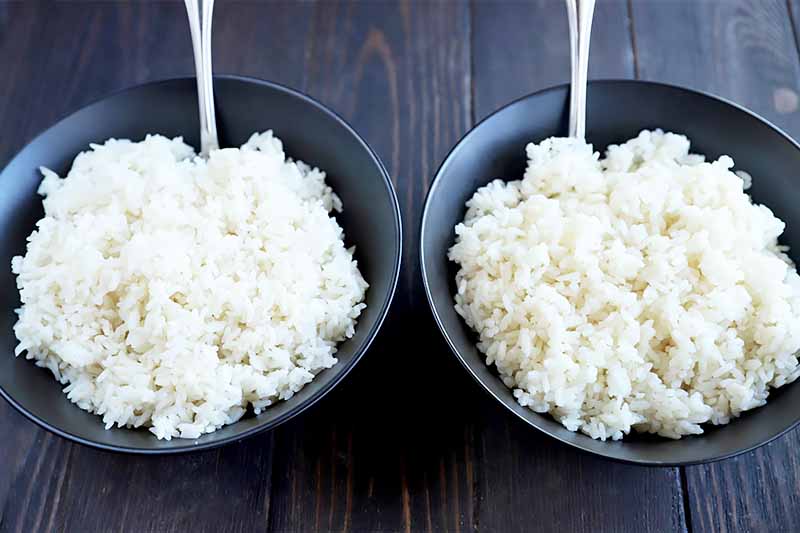
Remove the lid, and fluff with a fork. Season as desired and serve immediately, or cool completely and use for meal prep.
How Do I Store Cooked Rice?
One of my favorite things to do on Sundays is to prep meals for the week. It makes life so much easier when you already have pre-portioned meals ready to go for lunch and breakfast each day, especially during a busy work week.To store once it has cooked, cool it down first by spreading it out on a baking sheet and letting it cool to room temperature. Once it’s cool, you can store it in airtight containers in the refrigerator.
When you are ready to reheat, simply sprinkle a teaspoon or so of water over the top before reheating in the microwave. This will keep it from drying out.
For even more guidance to cook different types of rice in the electric pressure cooker, check out the following how-to guides next:
How will you serve up this tasty gluten-free grain this week? Tell us in the comments below!
Photos by Meghan Yager, © Ask the Experts, LLC. ALL RIGHTS RESERVED. See our TOS for more details.
About Meghan Yager
Meghan Yager is a food addict turned food and travel writer with a love for creating uncomplicated, gourmet recipes and devouring anything the world serves up. As the author of the food and travel blog Cake 'n Knife, Meghan focuses on unique foodie experiences from around the world to right at home in your own kitchen.