
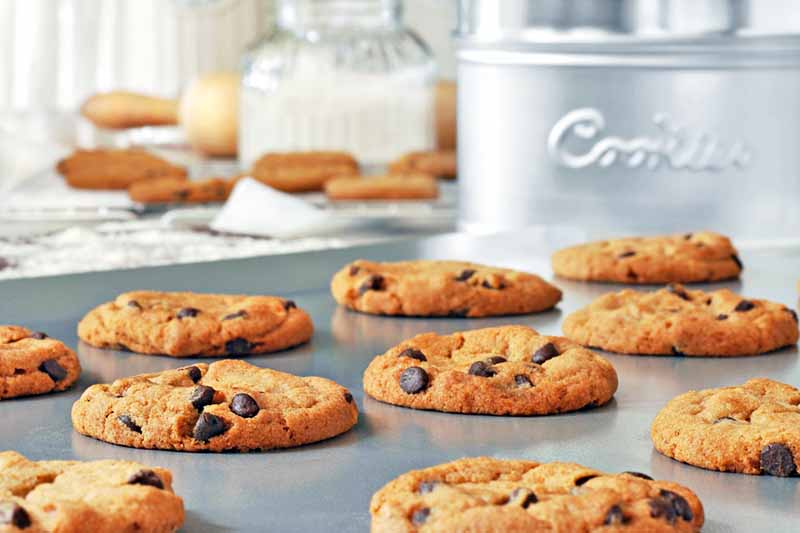
There’s nothing like a batch of warm, homemade cookies, straight out of the oven.
But sometimes, despite our best efforts, they don’t come out quite right.
Cookies were probably one of the first things that I ever baked, starting at a young age when my mom needed to pull a kitchen chair up to the counter for me so I could reach above the rim of the mixing bowl.
And through years of trial and error – in my own kitchen at home, during Christmas every year for epic cookie baking marathons at my aunt’s house, and working in cafe kitchens – I learned some tips that will help you to make the perfect sweet treats every time.
You may have heard some of this information before, but maybe some of my advice will surprise you. If you use these tips, I promise your results will be delicious.
Here’s a quick rundown of my top 10 tips to bake the best cookies you’ve ever tasted:
You’ll Learn To…
Ready to dive into the details? Let’s begin!
1. Read the Recipe
This may seem obvious, but if you don’t read the recipe all the way through before getting started, you might miss the step that says to refrigerate the dough overnight, or let the ingredients sit at room temperature before mixing.
It’s important to know what to expect before getting started, so you can plan accordingly.
I’ll admit it – this is not something that I’m particularly good at. Somehow, especially when I’m trying a new recipe for the first time, I’m notoriously bad at planning ahead where timing is involved.
I skim through quickly, make sure I have all the ingredients on hand, and get started. And then, I’m shocked when I read the step that says to refrigerate overnight before baking. I wanted those cookies now, not tomorrow!
My mom agrees that this is something I must have inherited from her.
I’m also a notorious recipe re-reader, but I’m here to tell you that this is nothing to be ashamed of. Even if you’ve made the same recipe year after year, and you swear there must be something wrong with you if you don’t know Grandma’s classic cherry chocolate chunk recipe by heart by now, it’s okay.
Re-reading the recipe, even if you have to do it over and over and over again while you bake, means you’re a good baker. You just want to make sure you get it right, without any surprises or forgotten steps.
2. Measure Carefully
Attention to detail is also very important. Baking is a lot more precise than other types of cooking, so the ingredients need to be measured exactly. And it’s best to do this before you start stirring, so all of the ingredients will be ready to go when you need them.
Be sure to measure wet ingredients using a liquid measure, such as a measuring pitcher. Level off your dry measuring implements with an offset spatula or knife, or better yet, use a kitchen scale. Many recipes for baked goods will offer measurements in grams or ounces alongside the standard US measures in teaspoons, tablespoons, or cups.
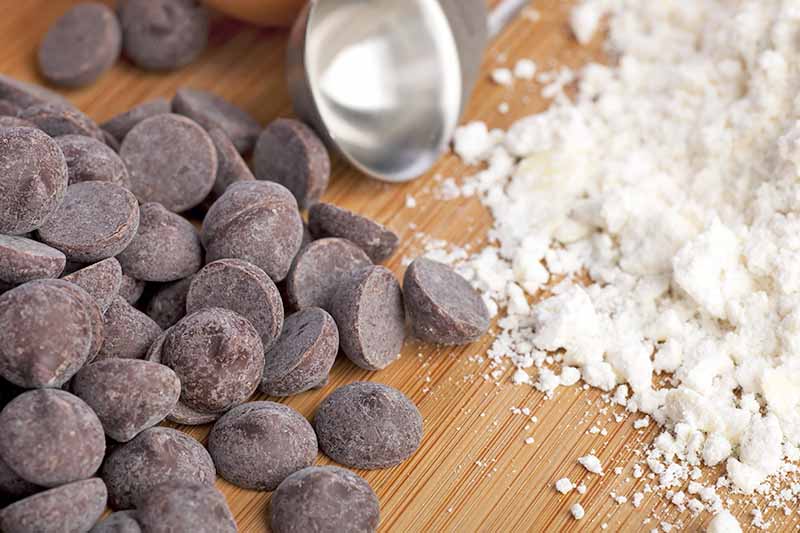
Conversely, keep in mind that a cup of chocolate chips is not the same weight as a cup of flour. If your recipe does not offer weight measures, you’ll need to convert carefully.
For the most exact measurements and to follow your recipe as closely as possible, measure by weight for the best results.
3. Preheat
Don’t put your carefully measured, mixed, and portioned dough in the oven and then turn it on! You need to wait for your oven to come up to temp before baking can begin.
Some ovens will beep to let you know that they’ve had enough time to preheat. If yours is less high tech, wait at least 15 minutes before you start baking. Keep in mind that older appliances may take more time to heat up, and it may take a few more minutes to get up to higher temps in the 400+ range as well.

Exactness is also important when it comes to the temperature of the oven – don’t take any shortcuts here. Become as familiar as you can with your oven, learn where its hot spots are, and use a thermometer to gauge the temperature for accuracy.
Just because you turn the dial to 350°F, or plug in 4-2-5 on the digital display and then press start, doesn’t necessarily mean it’s actually 350 or 425 degrees in there.
If your oven runs a little hot or cold, rely on your oven thermometer rather than the built-in gauge, and adjust accordingly.
4. Make Substitutions Wisely
Again, baking is a bit finicky. If you choose to make any changes to a recipe, only substitute one or two items, and be wise about it.
If you’re not familiar with making substitutions in baking, try to find a recipe that’s already gluten free, lactose free, soy free, nut free, egg free, or whatever else it is that you’re looking for, and start there before venturing out into the wild unknown.
I’m definitely no stranger to the occasional disappointments of baking with substitutions.
My mom has celiac disease, which means she eats a gluten-free diet. In an attempt to recreate some of the foods that she knew and loved before she discovered that she had a gluten intolerance, sometimes we’d get out the cookbooks and make a few swaps.
Fortunately, my grandma, my mom, and I all have a good sense of humor (something else that I inherited).
It’s a good thing cookie crumbs and shattered pieces still taste good, at least when they’re not burned. I remember so many batches of an overly crisp, pancake-thin something that you absolutely could not define as a cookie that were reluctantly scraped from the pan as the result of more than one of these experiments…
Perhaps the most important factor here is that it’s important to do your research.
If you’re changing the type of sugar that you use, make sure you’re exchanging a dry variety for a dry variety, or wet for wet. If your chosen swap is a different texture, adjust the liquid ingredients in the recipe accordingly to accommodate the increase or decrease in liquid.
When swapping out different types of flour, keep in mind that whole grains behave a bit differently than refined all-purpose flour in baking, and they tend to absorb more liquid. Substituting no more than half of the all-purpose flour called for in a recipe will result in a texture more similar to the intended outcome of the original recipe that was made entirely with refined flour than it will if you dump in 100% of the whole grain stuff.
Out of oil? There’s a solution for that as well. And many options offer nutrients and a bit of fiber that the oil wouldn’t provide, as an added bonus.
5. Refrigerate When in Doubt
If your dough doesn’t seem to be holding together and you’re having a hard time handling it, place it in the refrigerator for 30 minutes.
Many recipes call for softened or melted butter, which will get even warmer as you mix and stir if you’re working in a hot kitchen. Or sometimes the dough will be nice and firm, and then you shape it with your hot little hands and it starts to melt and fall apart.
After a quick visit to the fridge, it will be easier to shape, and the chilled dough will spread less during baking as well.
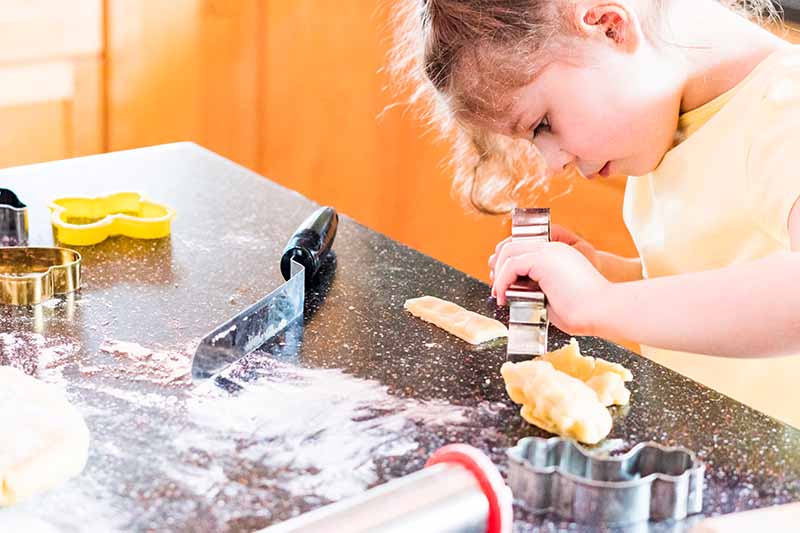
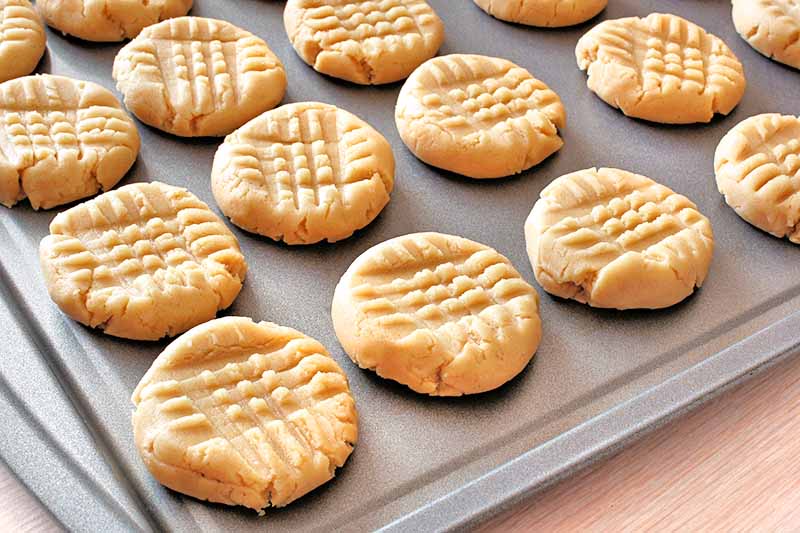
6. Portion Exactly
Do you know what the secret is to those perfectly uniform snickerdoodles and royal icing glazed sugar cookies that you see at the bakery, or on your Martha Stewart-like friend’s holiday buffet table?
To be completely honest, there’s probably a bit of fairy dust or some other sort of magic involved. Perfectly shaped carbon-copy rounds that are decorated to perfection aren’t really my thing.
Mr. Rogers taught us all as children that it’s alright to take our time since we just might make mistakes if we should have to hurry up (sing it with me, now!) but I’m not the most patient baker out there – hence my tendency to produce gingerbread elephants or monsters rather than neat little gentlemen and ladies, and a few candy cane butter cookies or flourless thumbprints that are just a bit on the large-and-doughy or small-and-crunchy side out of every batch…
But I digress! There’s at least one thing that those of us without a degree in pastry arts (or the Dark Arts) can do to make those cookies all come out looking like they belong together, not just in a “yes, I can see how the two of you might be cousins” kind of way, but in more of a cool, futuristic clone type of way:
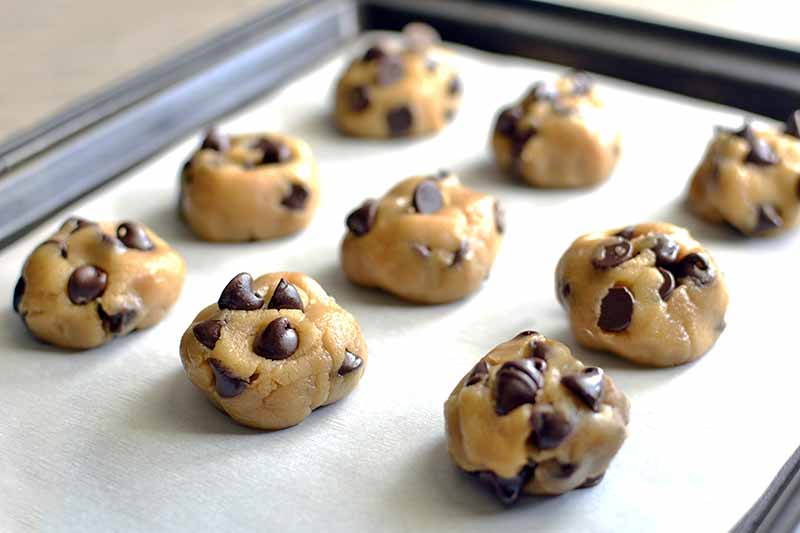
Equal and exact portioning.
Get out your tablespoon or your teaspoon or your cookie scoop measure, whatever the recipe calls for, and get to divvying up that dough.
If you’re rolling it into balls, portion them out first before the rolling begins so it will be easier to adjust accordingly. When you get to the bottom of the bowl and you realize (re-reading the recipe, of course) that you were supposed to yield two dozen treats but you’ve only got seventeen dough blobs sitting on your cutting board, you’ll thank me.
If you want to get really exact, get your kitchen scale out of the drawer again, divide, and conquer.
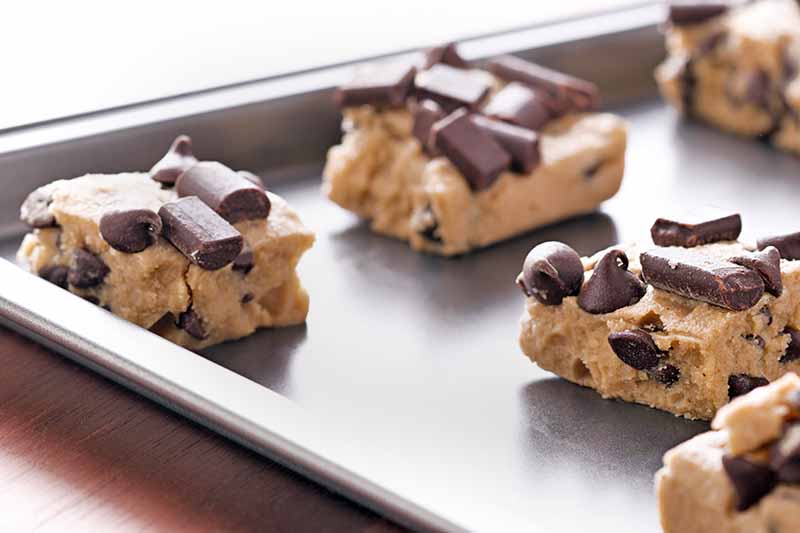
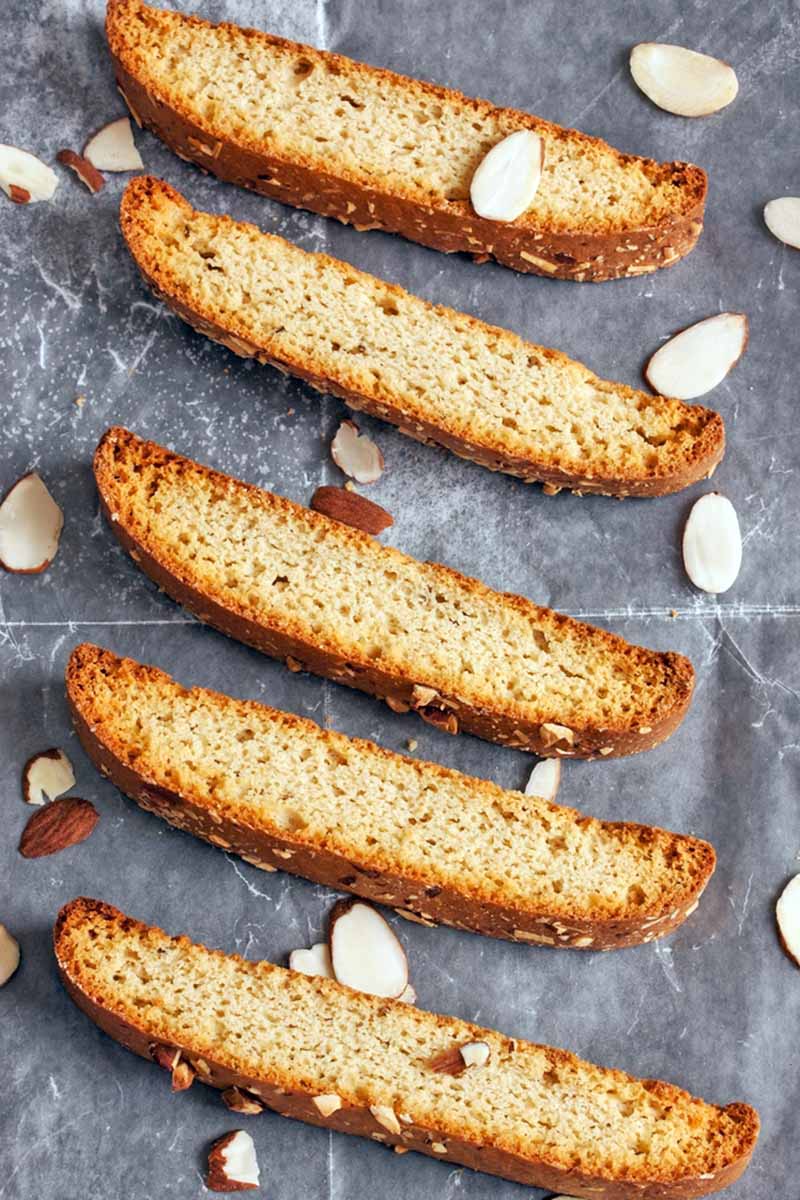
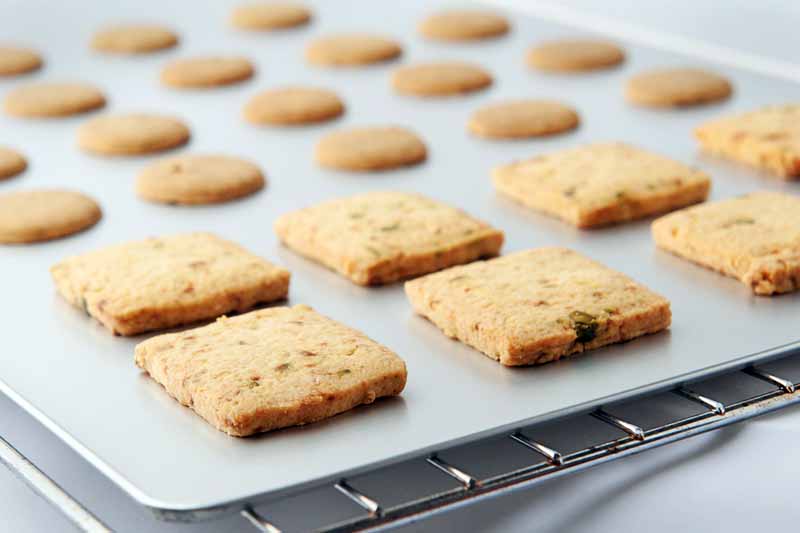
Baking bars, slice-and-bakes, or biscotti? Use a ruler to cut evenly when you’re slicing the dough, and your treats will come out evenly baked and with a uniform size, picture perfect every time.
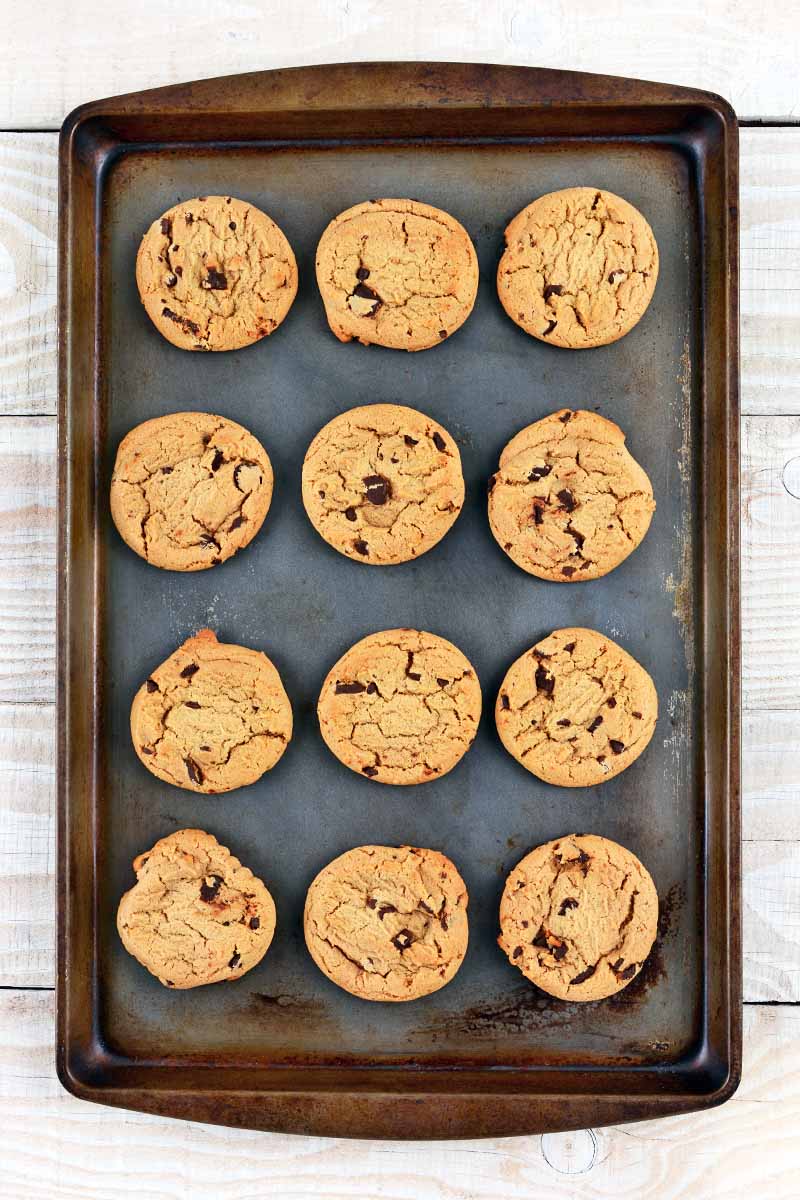
7. Give Them Space
Many varieties of cookie dough will spread out a bit while they’re baking, and this is usually a good thing! But you don’t want those cookies to expand beyond their bounds, sticking to their neighboring brothers and sisters in the process.
A good rule of thumb is to space any baked goodies that will spread during baking about two inches apart, unless the recipe states otherwise.
Give them a little breathing room, and use multiple cookie sheets if necessary. It’s better to bake in batches if you need to and give your dough the room it needs than it is to shove everything all together on one pan and hope for the best.
8. Make Sure They’re Done, But Not Overdone
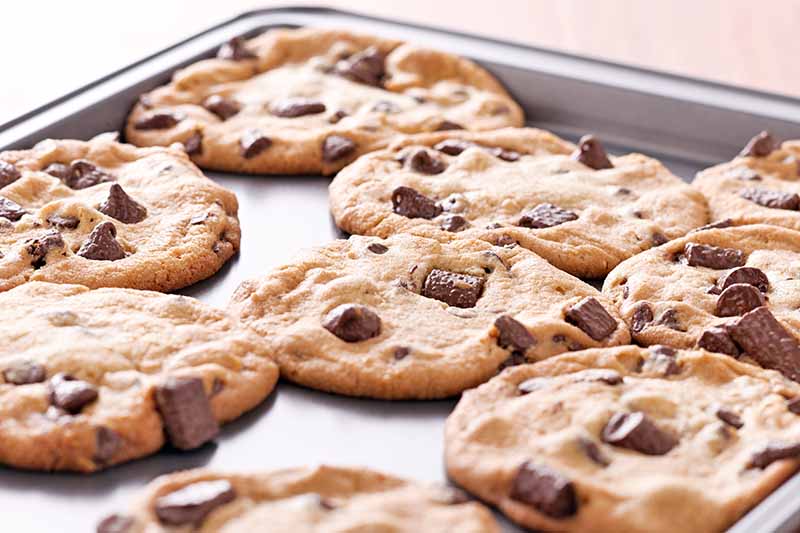
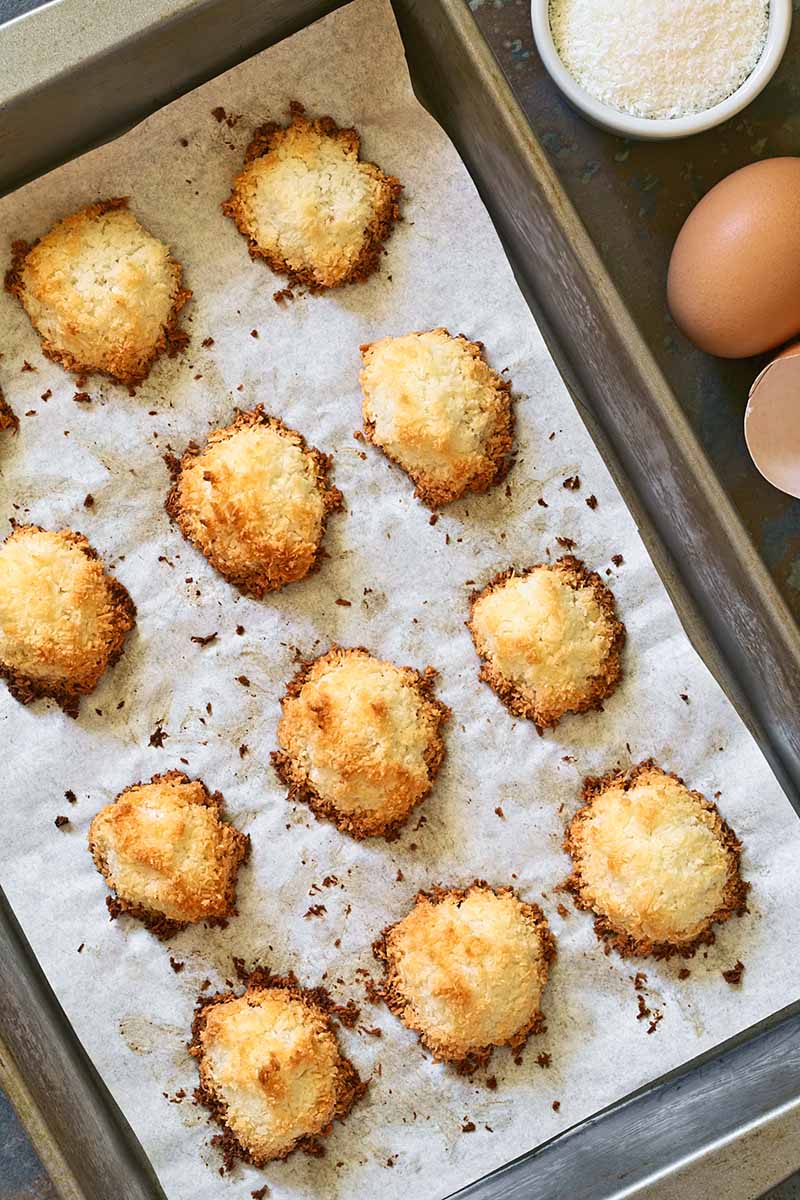
All the of classic drop cookie varieties – like chocolate chip, peanut butter, and coconut macaroons – will be done when they start to puff or firm up and the edges are golden brown. Other recipes require less time to bake, and you’ll need to pay attention to other signs to determine when they’re done.
Follow your recipe closely, and keep an eye on your treats to avoid overbaking. Be sure to set a timer, and don’t wander too far from the kitchen.
Yes, you can watch a few minutes of “The Great British Baking Show” for inspiration in the next room while this batch is in the oven. No, you cannot go walk the dog. Sorry, but it’s gonna have to wait.
In fact, “The Great British Baking Show” is a great example of the diligence required here. You know how those bakers crouch before their ovens, checking timers, counting minutes, and watching for signs of doneness? That should be you. And luckily for you, we’re talking about baking cookies here, not sourdough bread. Your average batch should take 20 minutes, tops.
You can handle that. Hopefully the dog can too.
If this is your first batch and the recipe offers a range of bake times, start low and take a peek. Not ready yet? Continue baking in two- to three-minute increments until they’re done.
Does the timer still say you have three minutes to go, but your eyes and nose are telling you otherwise? Pull those babies out right now!
Also, to briefly return to Tip #3, keep in mind that ovens usually apply heat in cycles, and opening the oven door will release a lot of that heat in a short amount of time.
If you’re doing a marathon baking session with multiple sheet pans going in and out of the oven every ten minutes or so, or if your appliance doesn’t have a convenient viewing window and a light inside, opening the door will cause the temperature to fluctuate. Adjust your bake time as needed, and try to give your oven a few minutes to return to temp between batches. Don’t hover with the door open.
Visual cues, an oven thermometer that you can hang from one of the racks inside, and a reliable timer will come in handy here.
9. Give Them Some Cool-Down Time
Your cookies are baked! But don’t congratulate yourself just yet.
When you remove your delectable delights from the oven, do not remove them from the pan right away, unless the recipe specifies that this is what you should do.
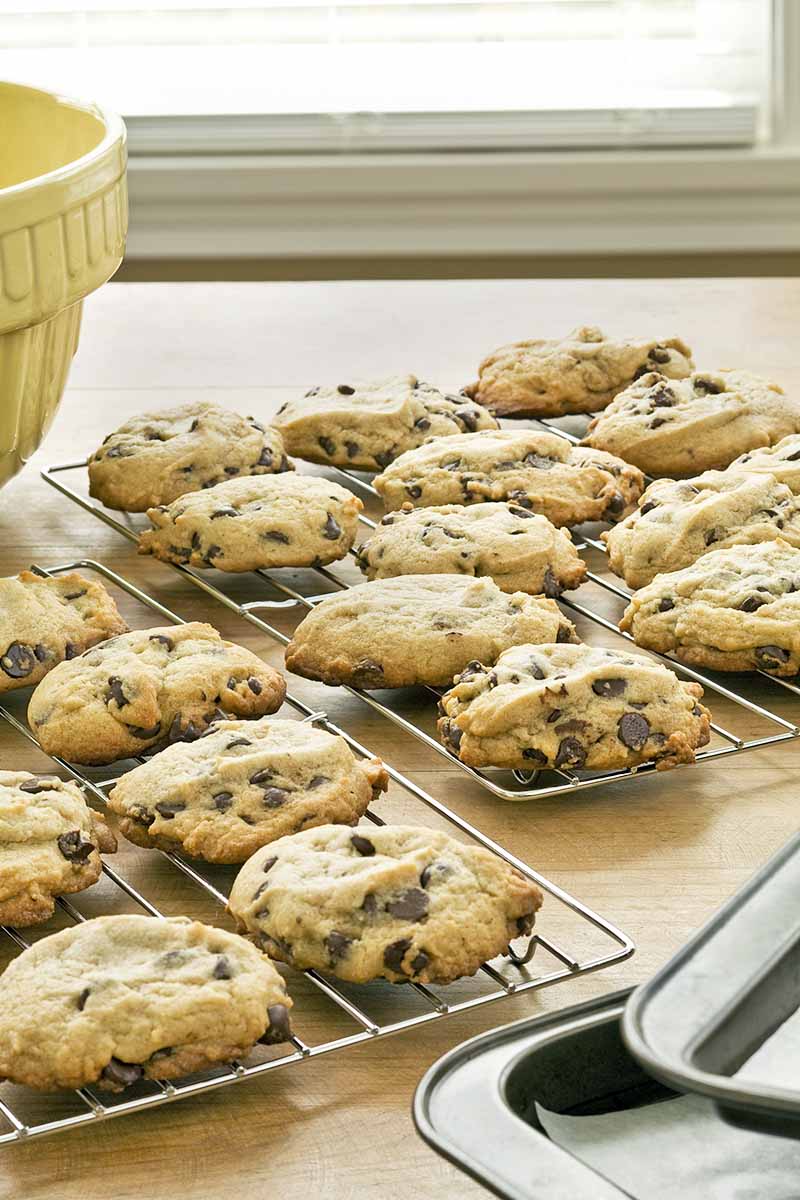
Instead, let them stay on the sheet for two or three minutes before touching them, then transport them carefully with a spatula to a wire rack to finish cooling.
If you jump the gun on this, many varieties will break or crumble, ruining all of your hard work. And you don’t want that!
This is another crucial point where it’s key to re-check that recipe. Some will call for actually keeping your treats on the baking sheets to cool completely, as the residual heat from the pan will help them to finish baking. Others will require just a quick couple of minutes outside the oven before rolling around in a bowlful of granulated sugar while they’re still warm, to create a shimmery and sweet coating.
As an Added Bonus Tip: perhaps this goes without saying, but if you’re baking on a traditional rimless cookie sheet, use an oven mitt, and remove it from the oven with care.
I once watched in horror while my step-dad removed a tray from the oven just a bit too enthusiastically, and those slippery just-baked delights tumbled right off the edge of the pan and onto the bottom of the oven, the door, and the floor. We saved what we could.
This can also happen with certain types of dough when you’re putting the pan into the oven, and an accidental slip-up at this crucial point in your cookies’ lives tends to create even more of a mess. You’ve been warned.
10. Store Appropriately
You might be able to eat all of your cookies right away, straight from the oven. And that’s okay with us! But if you have any leftovers, you need to know how to store them to preserve all that goodness until you’re ready for another snack.
Place leftovers in tins or airtight containers, and use waxed paper in between layers to prevent sticking and breakage. Most cookies can be stored for up to a week at room temperature, but they can also be refrigerated or frozen. Pop them in the microwave for a few seconds before enjoying to relive that fresh-baked experience.
Time to Bake Like a Pro!
With these tips in mind, you’re ready to bake your next batch of cookies like a pro. Remember to pass these lessons along if you’re baking with the kids, and you’ll have a team of experts at the ready who know exactly what to do each time holiday baking season rolls around.
If you want to make my mom happy (and maybe yours as well), be sure to wear shoes and an apron too, so you won’t drop something sharp or hard on your naked toes, or spill something all over your nice holiday outfit.
For even more helpful advice to improve your skills as a baker, check out our full list of helpful articles in the Baking Knowledge category.
Do you have a favorite tip that we missed? Or an epic fail that could have been avoided, had you just known one key piece of advice? Share it with us in the comments! We love hearing from you.
If you’re eager to mix up some dough and get started, our favorite cookie recipes are ready and waiting for you. Try these first:
- Big and Soft Ginger Cookies
- Chewy Flourless Monster Cookies (Gluten Free)
- Chocolate-Dipped Peanut Butter Cookies
© Ask the Experts, LLC. ALL RIGHTS RESERVED. See our TOS for more details. Uncredited photos: Shutterstock. From an article originally published on February 11, 2016. Last updated: December 13, 2022 at 13:13 pm. With additional writing by Sarah Hagstrom.
About Allison Sidhu
Allison M. Sidhu is a culinary enthusiast from southeastern Pennsylvania who has returned to Philly after a seven-year sojourn to sunny LA. She loves exploring the local restaurant and bar scene with her best buds. She holds a BA in English literature from Swarthmore College and an MA in gastronomy from Boston University. When she’s not in the kitchen whipping up something tasty (or listening to the latest food podcasts while she does the dishes!) you’ll probably find Allison tapping away at her keyboard, chilling in the garden, curled up with a good book (or ready to dominate with controller in hand in front of the latest video game) on the couch, or devouring a dollar dog and crab fries at the Phillies game.


