We occasionally link to goods offered by vendors to help the reader find relevant products. Some of these may be affiliate based, meaning we earn small commissions (at no additional cost to you) if items are purchased. Here is more about what we do.
Go check your freezer. You probably have at least a couple of chicken breasts in there, right?

Boneless, skinless chicken breast is one of those staples that my husband and I like to stock up on, because you can use it to make so many different things. And even though it appears often in our regular rotation of meals, I want it to be cooked well every single time.
Bonus points if I can get it done quickly.
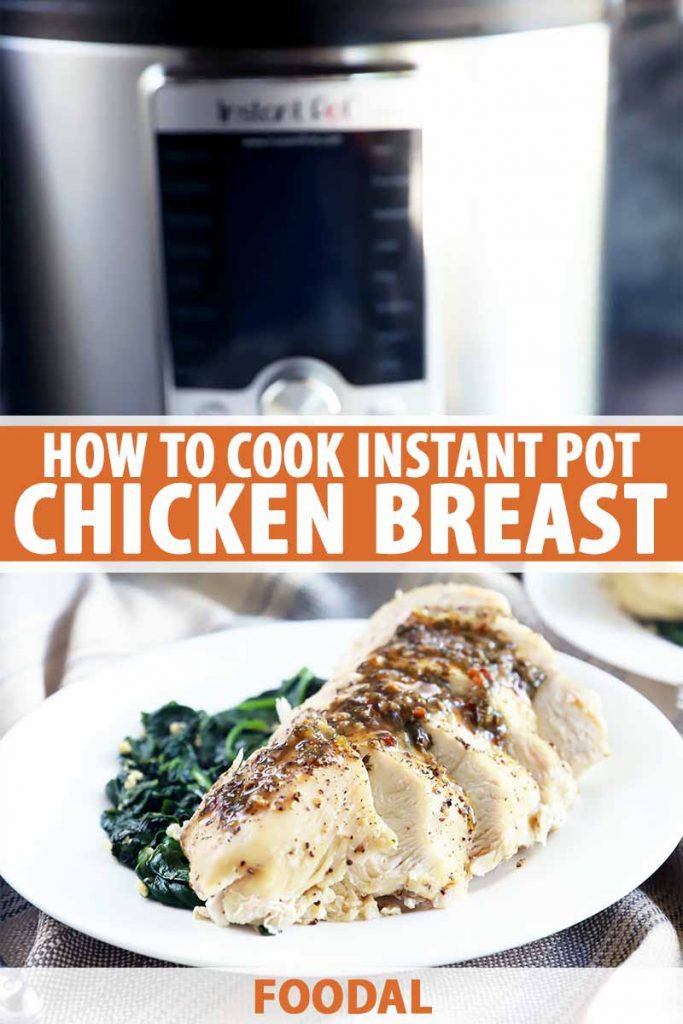
Boneless, skinless chicken breast can be tough to cook since it has a tendency to come out dry. Instead of fretting over how to cook the juiciest poultry on the stovetop or in the oven, bust out your electric pressure cooker instead.
Do you know what the best part is? Using this appliance, you can prepare fresh or frozen poultry, so you don’t even have to worry about taking the time to thaw it first if you need dinner in a hurry.
It’s funny how the simplest things can evoke the most questions… Whenever I cook chicken breast in the pressure cooker, a go-to method for me now, my family and friends are always asking how I get it to come out so juicy.
That’s the magic of pressure cooking. There’s no searing involved or extra tending involved in order to prevent overcooking. It’s the best one-and-done method that doesn’t require your active attention, while yielding excellent results.
You can also use any size electric pressure cooker to cook your poultry, whether you have a 3-quart, 5-quart, 6-quart, or 8-quart appliance. The only difference is that larger sizes can take a little longer to come to pressure.
All you need to do is ensure that the pieces of poultry are arranged in a single layer. Piling up the breasts will lead to undercooked meat, and you don’t want that.
If you are cooking a large amount (hello, party prep), simply break it up into smaller batches as needed.
Here’s everything we’ll cover in this article:
What You’ll Learn
Why Do I Have to Use a Trivet or Steamer Basket?
Well, the reason is simple. We are not boiling these breasts. Instead, we are pressure steaming them so that they are nice and juicy.
This means that you want the breasts to be sitting above the cooking liquid.
I usually use the trivet that came with my Instant Pot, but you can also purchase a steamer basket and use it to get the same results.
House Again Original Sturdy Steamer Basket, available on Amazon
I like this stainless steel insert from House Again, available from Amazon. It has a silicone-coated handle for easy removal and it’s available in three different sizes as well, so you can pick the best one for whatever size appliance you own.
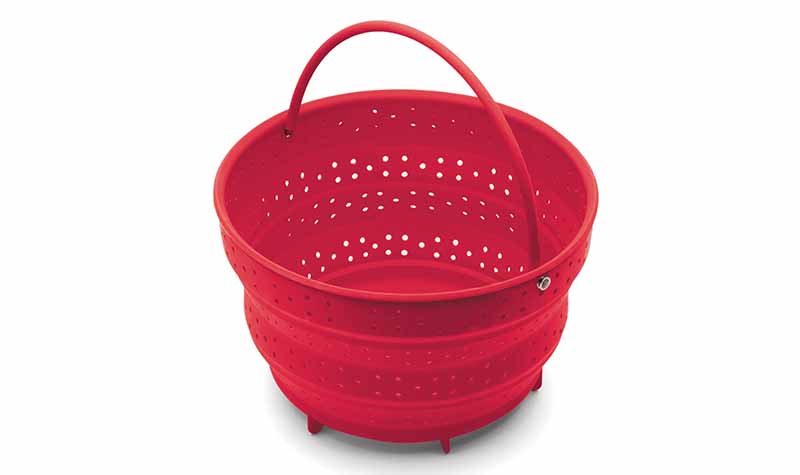
Fox Run 5” Silicone Steamer Basket, available on Wayfair
Or, if you’re short on cabinet space and you’d prefer a folding option, try this collapsible silicone steamer from Fox Run. The five-inch size works perfectly with a six-quart Instant Pot. You can find it on Wayfair.
How Should I Store Cooked Chicken Breasts?
Storing this poultry after it’s been cooked couldn’t be simpler.
First, allow the meat to cool completely. Place it in an airtight container.
Pressure cooked chicken breast can be stored in the refrigerator for up to four days, so it’s ideal for meal prep.
Can I Freeze Cooked Chicken Breasts?
If we aren’t going to use it right away, my husband and I typically freeze raw poultry as soon as we bring it home from the store. But freezing leftovers after they’ve been cooked can be a real lifesaver when you need a quick protein option on a weeknight. Frozen cooked poultry can be stored for up to two months.
To store the poultry properly, cool the breasts completely and wrap each one in plastic wrap, then wrap them again in aluminum foil to prevent ice crystals from forming. Place the wrapped poultry in a freezer bag and remove as much air as possible.
If you are freezing shredded chicken, let it cool completely and add it to an airtight container or resealable bag before putting it in the freezer.
When you are ready to thaw the meat, remove what you need from the freezer and allow it to thaw in the refrigerator overnight.
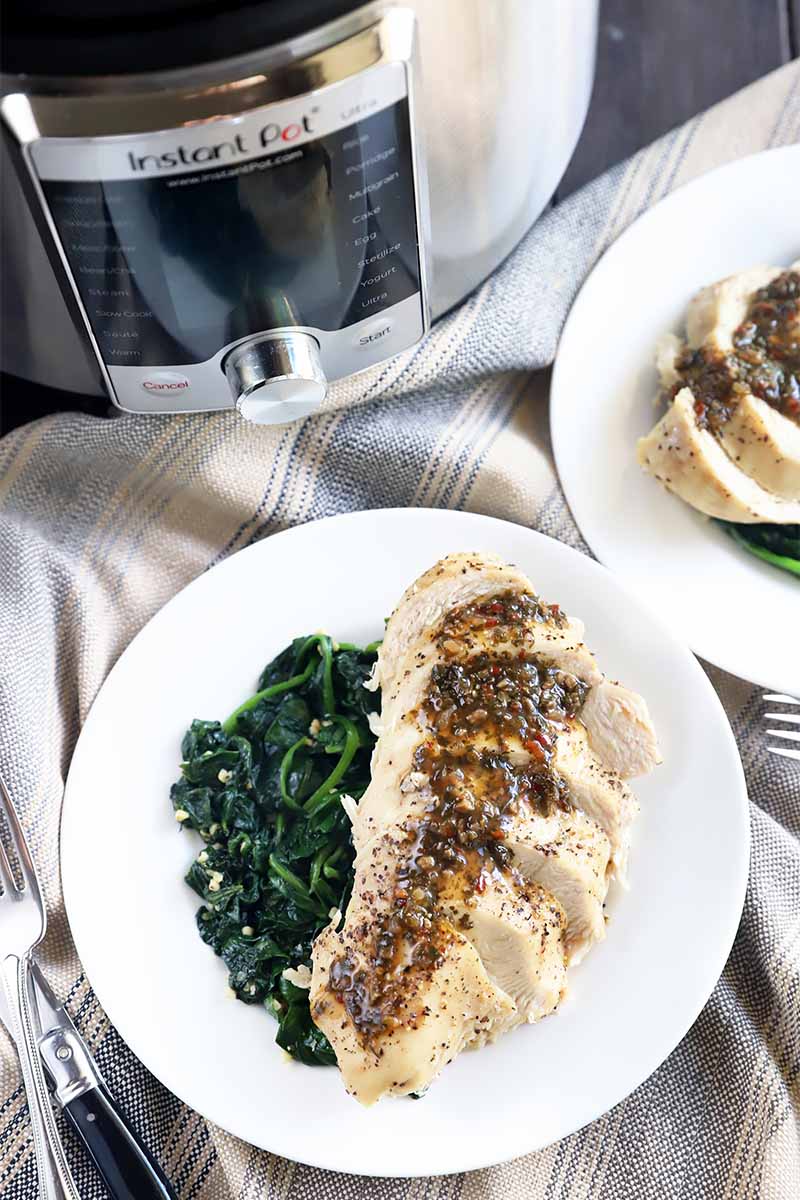
Seasoning and Serving Suggestions
Poultry is something that can easily take on so many different flavor profiles to be used in a huge variety of dishes.
It’s fine on its own, maybe with a few basic seasonings and served with a couple of sides. But you can do so much more!
Here are a few of my favorite suggestions to change things up when pressure cooked chicken breast is on the menu:
- Instead of simply seasoning it with salt and pepper, grab your favorite spice blend to season the poultry before you put it in the pressure cooker.
- While store-bought stock works just fine, try using homemade chicken stock or bone broth for added flavor when you cook the poultry.
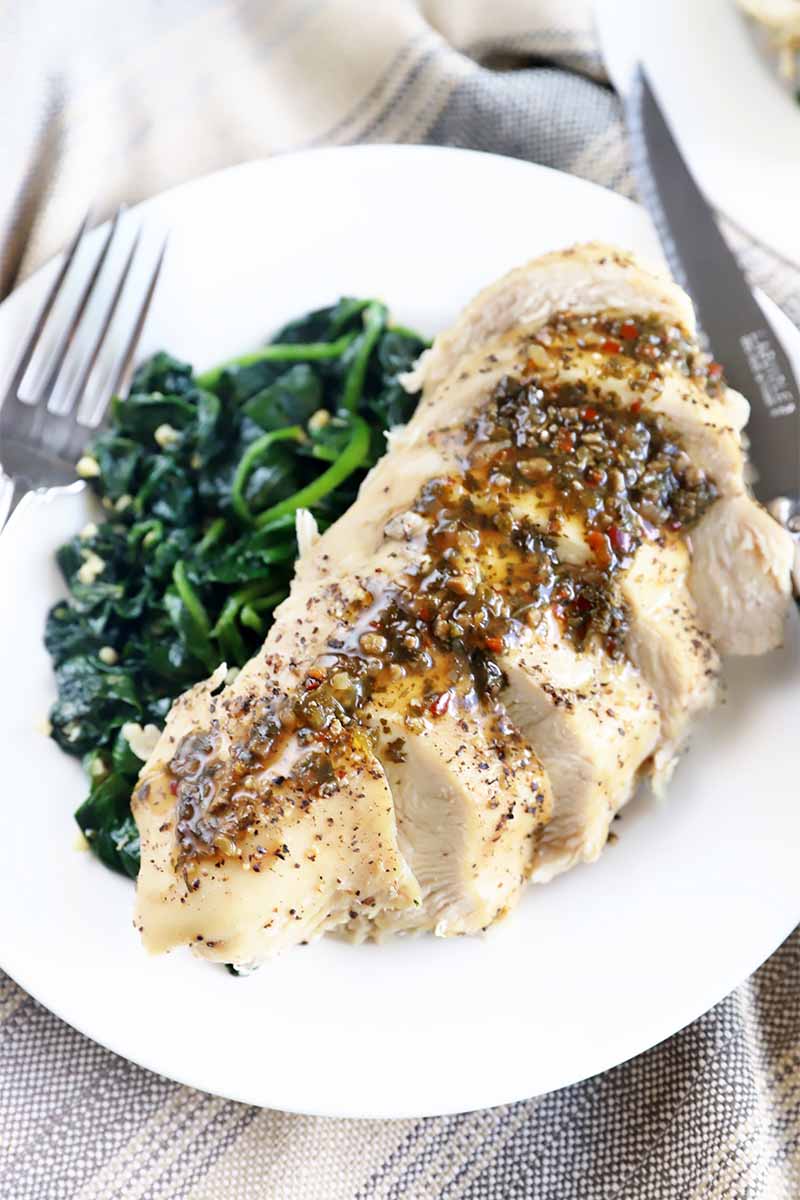
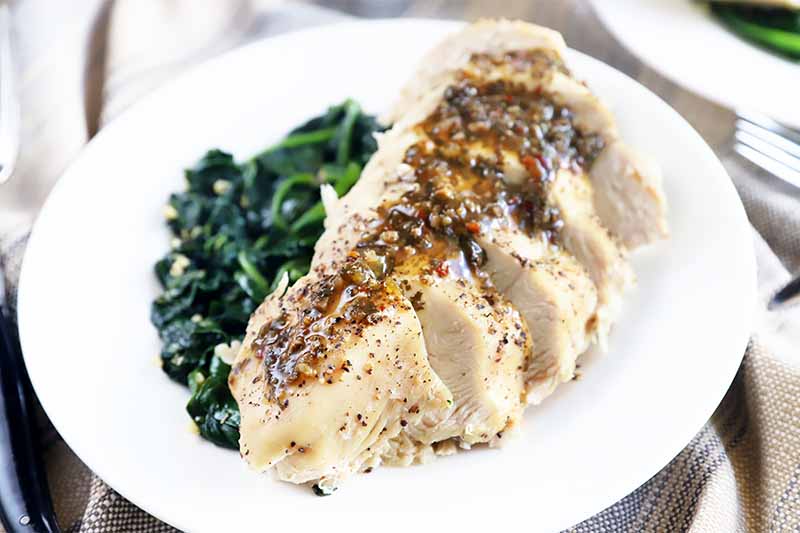
- Top sliced poultry with a drizzle of gravy or your favorite salad dressing.
- Cube it up and add it to your favorite salads.
- Shred it with two forks and add it to wraps, enchiladas, burritos, and tacos.
- Chop it up to add to pasta dishes.
Such a huge variety of options for serving can be prepared using this fabulous shortcut. I love the way my Instant Pot allows me to spend less time in the kitchen.
How to Cook Boneless, Skinless Chicken Breasts in the Electric Pressure Cooker
In my opinion, preparing simple entrees like poultry in less time is what using this appliance is all about. Not only does it cut down on the investment of time required for big batch meal prep, it can be used for quick weeknight entrees as well.
Prep of everyday items like this is where I think the electric pressure cooker really shines, and that’s why I use it all the time in my home. Let’s get started!
Step 1 – Season Chicken and Measure Remaining Ingredients
First, you will need to gather and measure your ingredients:
- 3 pounds fresh or frozen boneless, skinless chicken breasts (about 4 large)
- 1 teaspoon salt
- 1/2 teaspoon ground black pepper
- 1 cup water, or homemade or low-sodium chicken stock
Note that this quantity of meat is recommended for 6-quart or larger models. If you are using a 3-quart appliance, 3 pounds of meat will not fit in the insert all at once, and you will need to cook in batches.
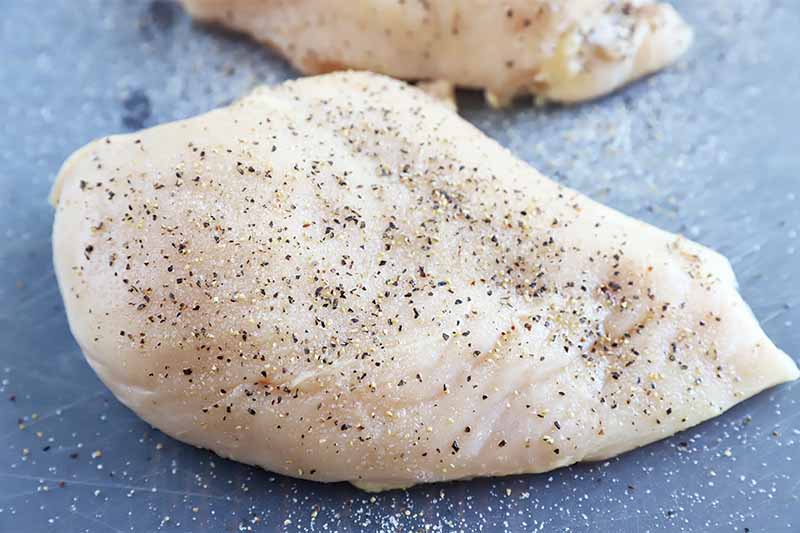
Season the chicken all over with salt and freshly ground black pepper. You can also use other types of spices to season the meat if you prefer, or a blended mix like Cajun or Italian seasoning.
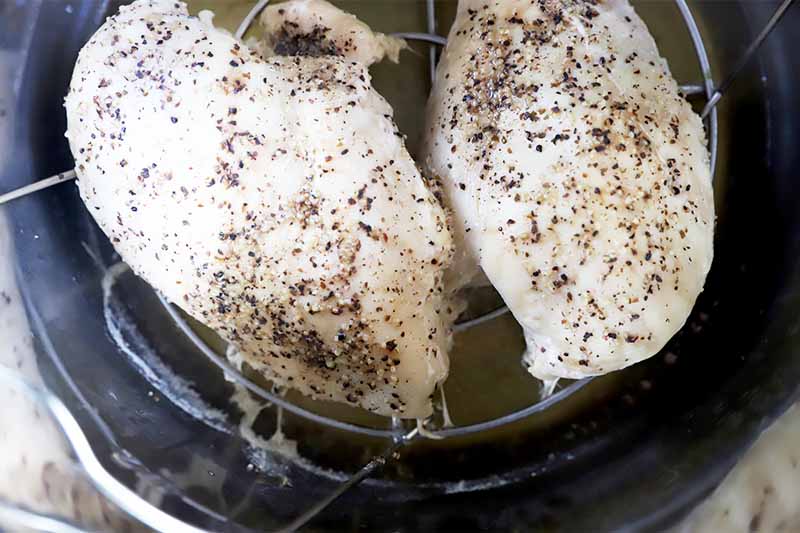
Add your trivet or steamer basket to the base of the insert of the electric pressure cooker.
Place the chicken on top and pour in the water or stock, making sure not to pour it directly over meat so the spices won’t be washed off.
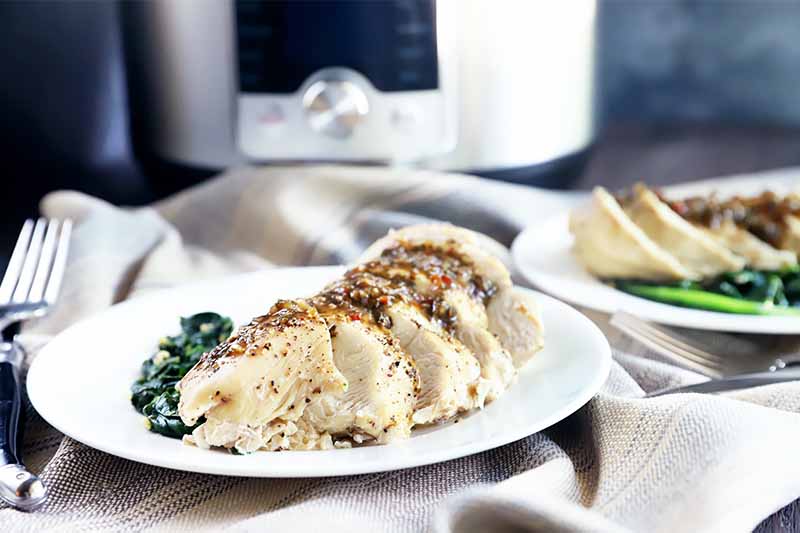
Step 2 – Pressure Cook
The cooking method will vary slightly depending on the finished product that you are aiming for, but you will set your appliance for the same cook time whether you start with fresh or frozen meat. Note that frozen chicken will simply take longer to come to pressure.
For fresh or frozen chicken breasts that will be served whole, sliced, or chopped, pressure cook on high for 10 minutes. If the breasts are over 2 inches thick, increase the cook time to 15 minutes total. Manually release the pressure immediately after cooking.
For shredded chicken, whether you start with fresh or frozen, pressure cook on high for 15 minutes (20 minutes for breasts over 2 inches thick). Allow the pressure to release naturally for 5 minutes. Manually release any remaining pressure.
For more information, we also have a separate tutorial for preparing shredded chicken in the pressure cooker!
How Do I Incorporate This Method Into My Weekly Lunch Prep?
Weekly meal prep has become a way of life for me, so this basic prep method is something I refer to weekly.
To make poultry in your Instant Pot for meal prep, simply gather a few of your favorite recipes that feature chicken as the main protein and will store well as lunches. I like to get the chicken going, cook some sort of rice or grain on the stove, and cook up any vegetables I want in the oven.
Everything can be cooking at the same time, streamlining your process and cutting down your meal prep time significantly. All that’s left to do is let everything cool, assemble your meals, and store in the refrigerator or freezer.
Looking for even more dinner recipes to inspire you to use your electric pressure cooker? Give these Foodal favorites a try next:
- Instant Pot White Wine Braised Chicken
- How to Cook Basmati Rice in the Electric Pressure Cooker
- Instant Pot Chicken and Rice
How do you plan to serve your poultry that you prepared in the electric pressure cooker? Tell us in the comments below.
Photos by Meghan Yager, © Ask the Experts, LLC. ALL RIGHTS RESERVED. See our TOS for more details. With additional writing and editing by Allison Sidhu.
About Meghan Yager
Meghan Yager is a food addict turned food and travel writer with a love for creating uncomplicated, gourmet recipes and devouring anything the world serves up. As the author of the food and travel blog Cake 'n Knife, Meghan focuses on unique foodie experiences from around the world to right at home in your own kitchen.
Chicken with mustard sauce sounds amazing!