Ice cream made with dairy doesn’t agree with everyone. Personal experience has shed light on that statement.
I’m one of the many unfortunate souls who shouldn’t be eating a big portion of dairy products in one sitting. I love them, but they don’t love me.
Let’s not sugarcoat it. You know what I mean…
Unless I can scout the nearest public restroom beforehand, or I know with 100% certainty that I’ll be going back to the comfort of my own home immediately after a fun trip to the ice cream shop, chances are I’m going to avoid any sort of creamy delights.
Don’t be embarrassed, fellow readers with sensitive tummies. I know you often think about Plans A, B, and C for these potentially awful situations.
You’re out there, dealing with the same issues, the same pain, the same impending gut gurgles that foreshadow the worst that is yet to come.
No worries, I got your back stomach.
While you can cruise on over to the frozen aisle in your local grocery store to find rows upon rows of dairy-free frozen desserts, learning how to make it from scratch is a fun creative outlet.
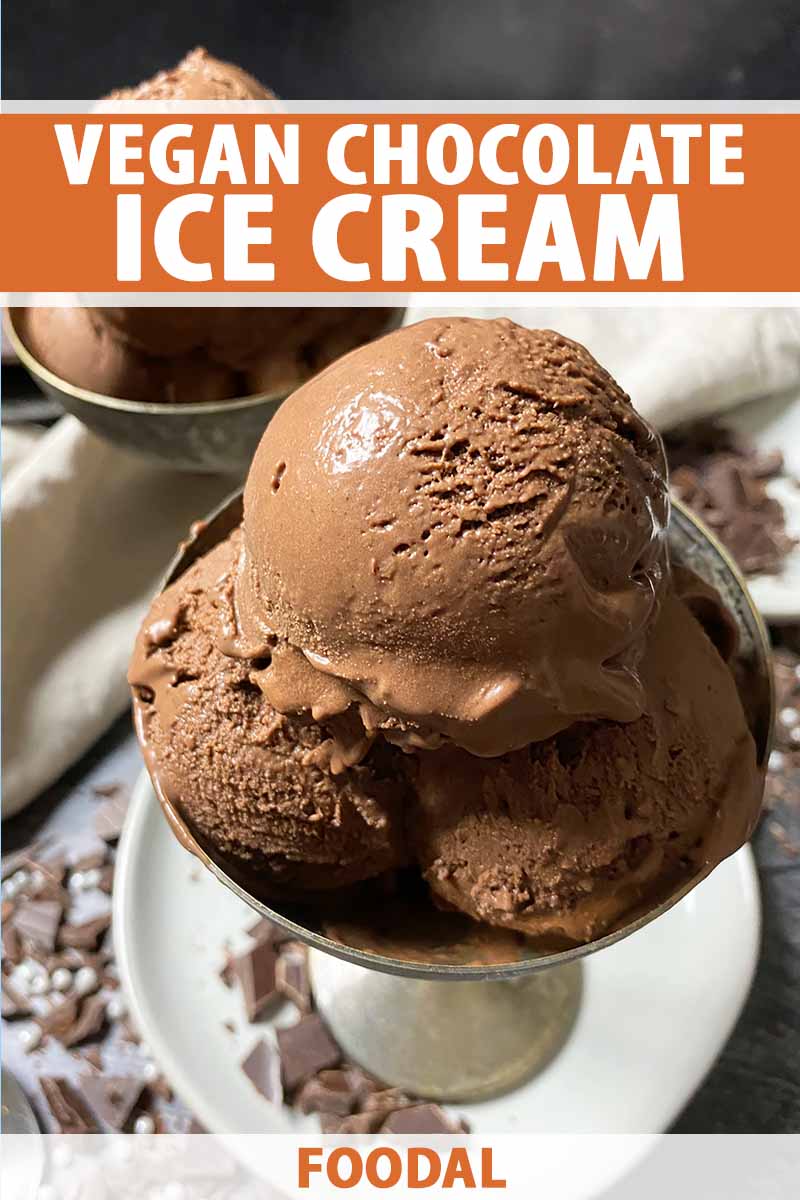
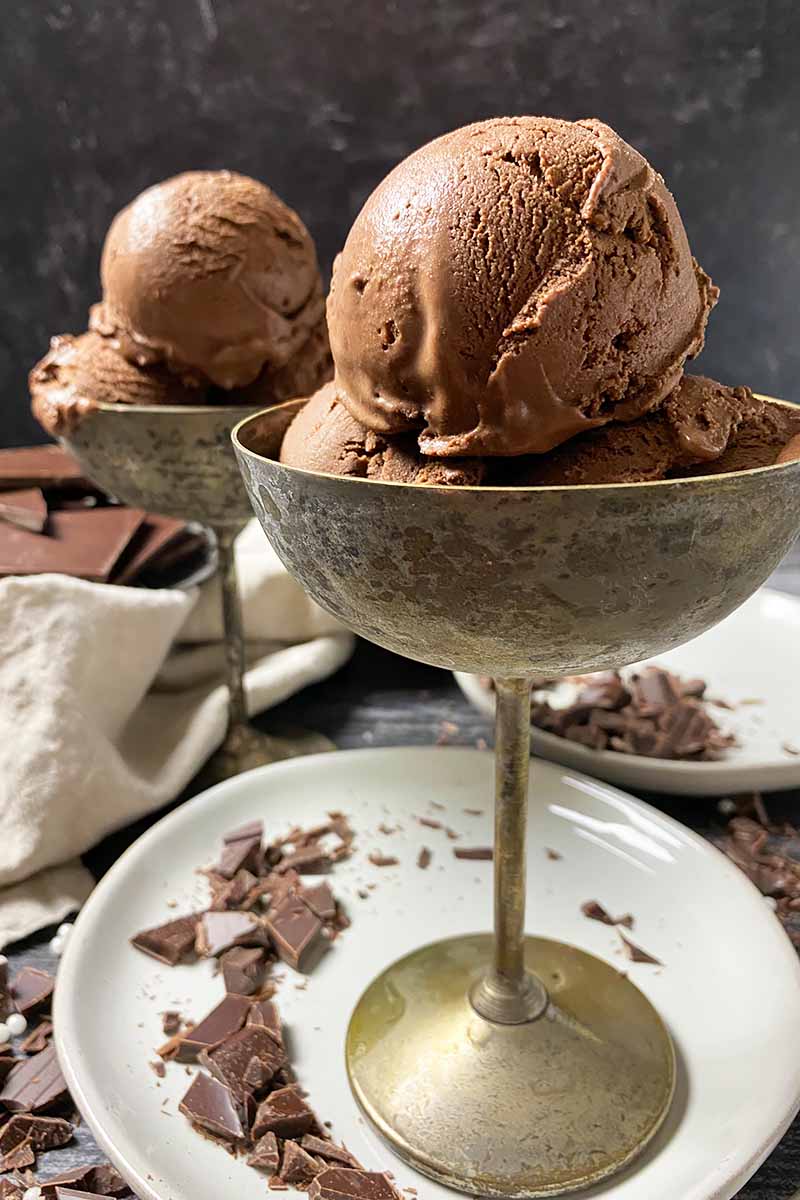
You’ll be very pleased with this easy recipe for vegan chocolate ice cream!
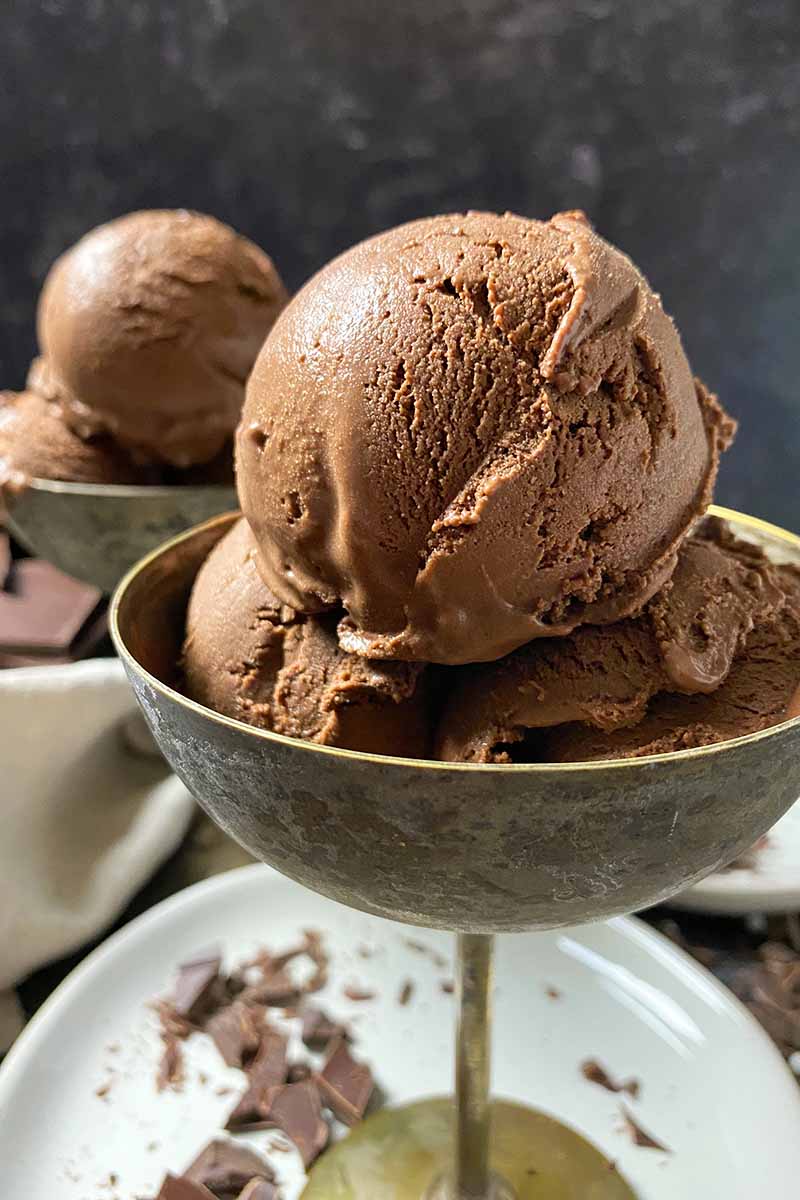
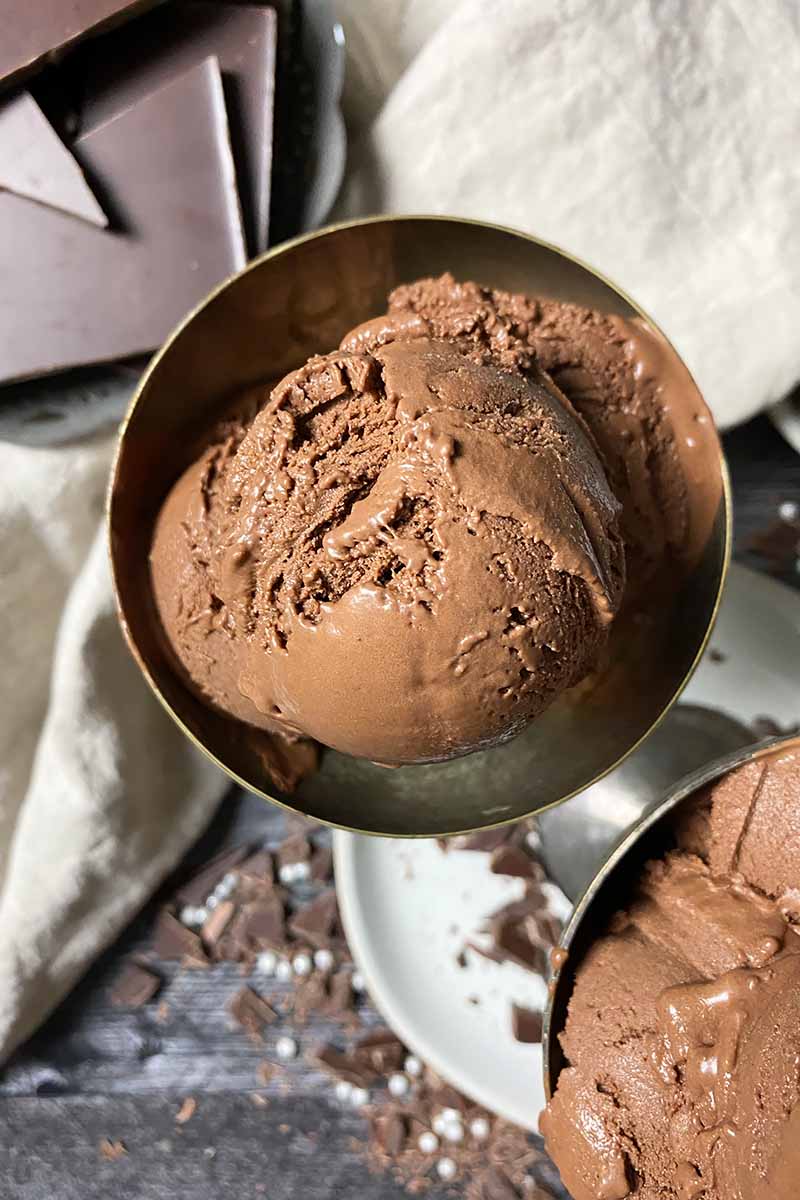
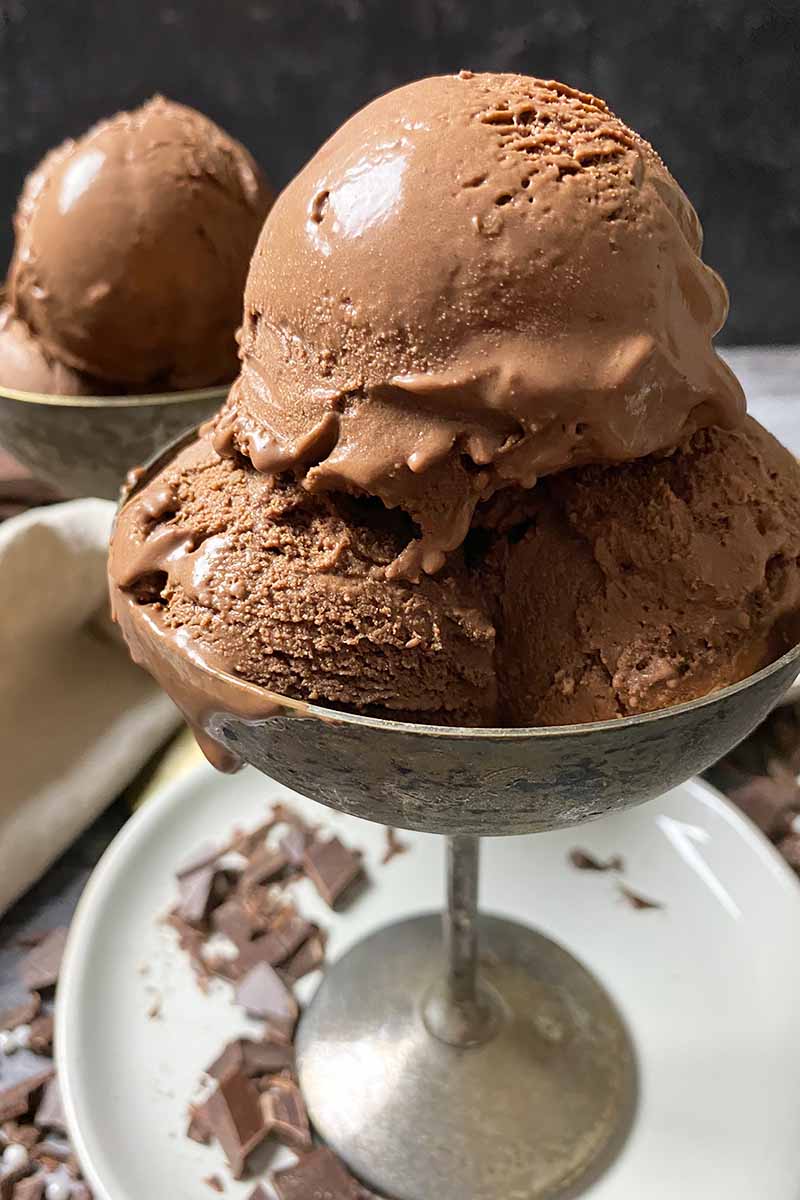
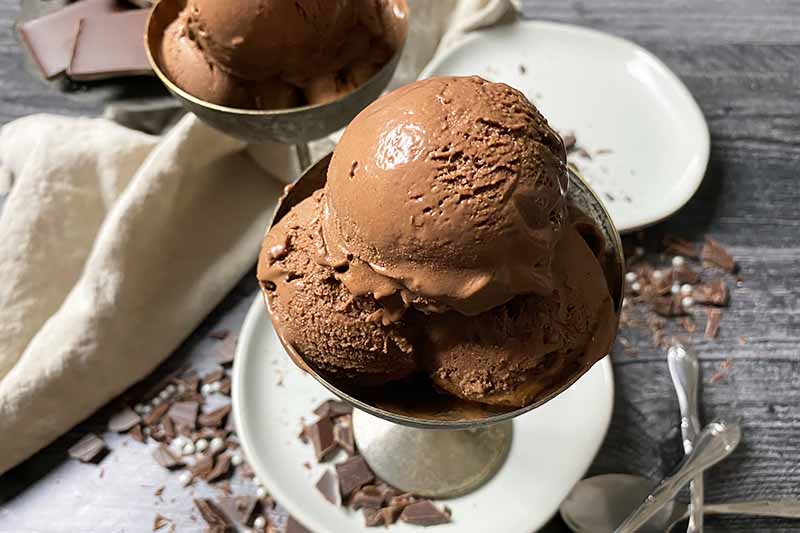
The ice cream is thick, rich, and dense – all of the usual qualities that typically made you instinctively wince in pain (when dairy’s involved) just by reading that sentence!
But don’t let the sinfully creamy base fool you into thinking you can’t have even one little lick of it. There is absolutely zero dairy in this recipe.
This recipe is the ideal vegan chocolate ice cream base, following right in line with our dairy-free mint chocolate chip base and our vegan vanilla base.
It just takes a handful of simple and natural ingredients to get an amazing texture and robust flavors.
Canned coconut milk and canned coconut cream create the rich base, while a mix of cocoa powder and vegan dark chocolate team up to provide the best chocolate flavors.
Some vegan granulated sugar and agave nectar help to sweeten the recipe, so you are not completely overpowered by the bitterness.
Haven’t we been bitter for long enough?
We have constantly turned down so many opportunities to sip on a milkshake, dive into a sundae, and savor soft serve or gelato for years.
But let’s celebrate the open access we currently have to a variety of affordable non-dairy ingredients that help us make delicious alternative recipes!
Puddings, candies, cakes… they can all vegan! But start with my easy homemade recipe for ice cream, and you’ll soon be making all different kinds of vegan frozen desserts from scratch.
Print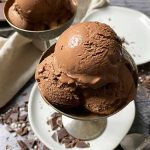
Vegan Chocolate Ice Cream
- Total Time: 7 hours
- Yield: 1 quart (8 servings) 1x
Description
Give all the vegan store-bought ice cream options a run for their money with our homemade vegan chocolate ice cream recipe.
Ingredients
- 1 can (about 14 ounces) unsweetened full-fat coconut milk
- 1 can (about 14 ounces) unsweetened coconut cream
- 2/3 cup vegan granulated sugar
- 1/3 cup unsweetened cocoa powder
- 1/4 cup agave nectar
- 1/4 teaspoon kosher salt
- 4 ounces vegan 60-85% dark chocolate, finely chopped
- 1 teaspoon vanilla extract
Instructions
- Freeze the bowl of your ice cream machine for at least 24 hours before making the recipe.
- Whisk together the coconut milk, coconut cream, sugar, cocoa powder, agave nectar, and salt in a large saucepan.
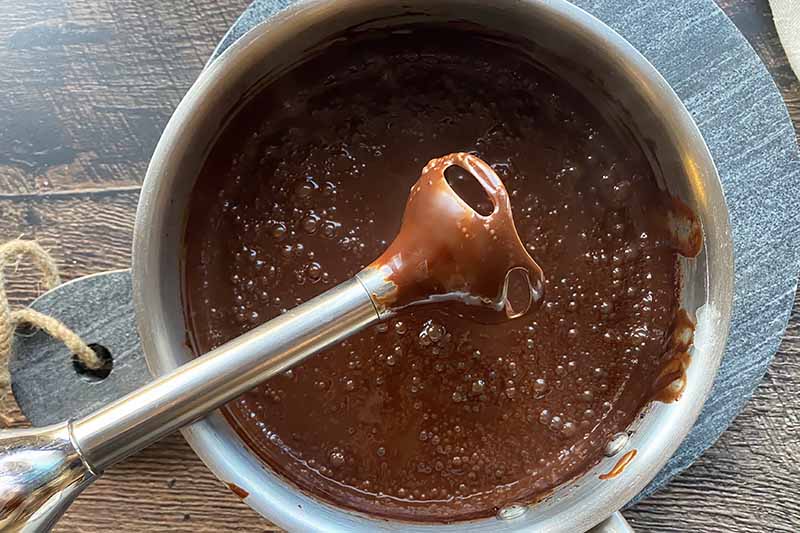
- Bring the mixture to a boil, whisking constantly. Once it’s boiling, cook for an additional minute on high heat while continuously whisking.
- Remove from the heat and stir in the chopped chocolate and vanilla. Whisk until the chocolate pieces have melted completely.
- Use an immersion blender to blend the mixture in the pot for 30 seconds. Alternatively, add the mixture to a blender and blend for 30 seconds on high.
- Let the mixture sit at room temperature for about 30 minutes to cool, stirring occasionally, before transferring the mixture to a large airtight container. Cover and place in the refrigerator to chill for at least 2 hours, or until the mixture is completely cold and has thickened.
- When ready to churn, stir the base and add it to the ice cream maker. Churn according to the manufacturer’s instructions.
- Transfer to a clean airtight container or a loaf pan. Cover and freeze for 4-6 hours, until firm.
- Before serving, leave the ice cream out at room temperature for 5-10 minutes to soften slightly for scooping.
- Prep Time: 10 minutes
- Cook Time: 10 minutes
- Category: Ice Cream
- Method: Ice Cream Maker, Freezing
- Cuisine: Vegan
Cooking by the Numbers…
Step 1 – Freeze Ice Cream Bowl and Prep Ingredients
Be sure to remember to freeze the bowl of your ice cream machine for at least 24 hours before you start the recipe!

Finely chop the candy bar using a sharp knife and sturdy cutting board.
Measure out the remaining ingredients.
Step 2 – Make the Base
Add the coconut milk, coconut cream, sugar, cocoa powder, agave nectar, and salt to a large saucepan and place it over medium-high heat. Whisk to combine the ingredients, and bring the mixture to a boil while whisking constantly.

The continual whisking will help to evenly heat the mixture, and prevent it from scorching at the bottom.
Once the mixture is boiling, cook for an additional minute while whisking.
Remove the pot from the heat and stir in the chopped chocolate and vanilla. Whisk until all of the chunks have melted completely.
In order to prevent the chocolate from burning or seizing, it is best to add it after you remove the pot from the stove, so it isn’t on a direct heat source.
Step 3 – Blend
Use an immersion blender to blend the mixture in the pot for 30 seconds. Alternatively, you can pour the mixture to a blender and blend for 30 seconds on high.
Blending helps to create an incredibly smooth base, cohesively mixing any remaining remnants or chunks of any of the ingredients.
Be careful when you’re blending, or transferring the liquid from the pot to the blender. The mixture will be hot! Be sure to vent the lid.
Step 4 – Chill
Let the mixture sit at room temperature for about 30 minutes to cool before transferring the base to a large airtight container. Chill in the refrigerator for at least 2 hours.
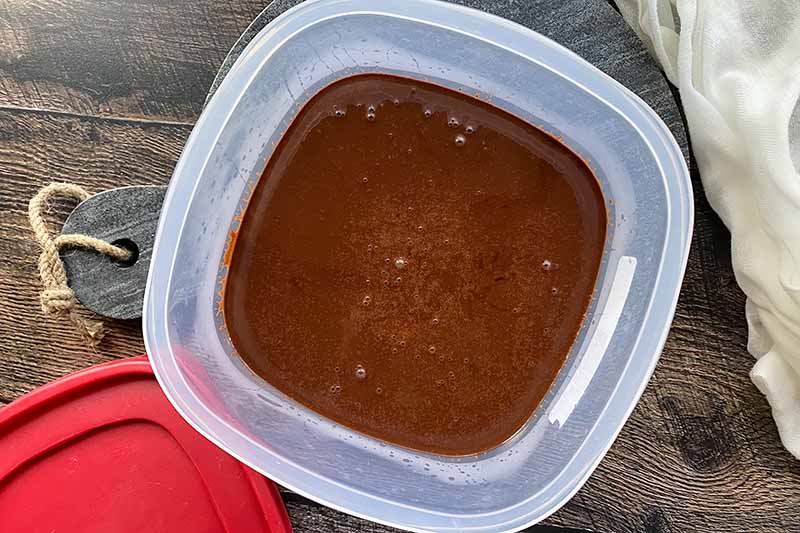
Once chilled, the mixture will become quite thick, like a very runny pudding.
The mixture needs to be completely chilled before churning! This keeps the base nice and smooth as it freezes, so it will not form larger ice crystals.
Step 5 – Churn
Once the base has sufficiently chilled, you can now churn it. Churn the base according to the manufacturer’s instructions on your machine. To reach the right consistency, it may take between 15 and 25 minutes of churning time.
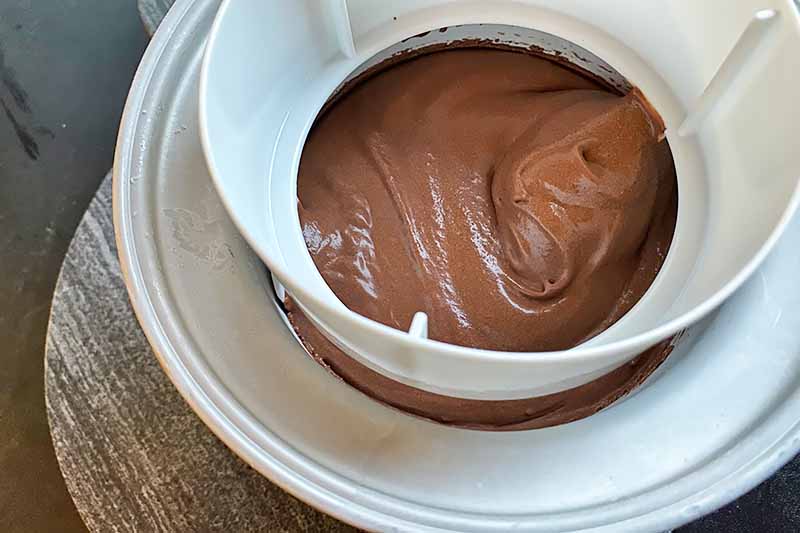
Every machine will have different instructions. Be sure to review your own appliance before churning.
Just a little planning ahead will yield the best and creamiest results!
Step 6 – Chill Churned Base
Immediately transfer the freshly churned base into an airtight container or a loaf pan. Cover and freeze until firm, for about 4 to 6 hours. If you’re using a loaf pan, tightly cover the top with plastic wrap.

This vegan recipe tends to freeze a little harder than store-bought varieties. Before serving, let the ice cream sit out at room temperature for about 5 to 10 minutes to make scooping easier for you.
Get out your ice cream scoop, serve, and enjoy!
It Only Gets Better from Here
My greatest wish is for you to take this recipe and run with it. This is just the start to your many adventures in vegan ice cream land!
Here are some tasty ideas to mix into the base before sending the freshly churned base off to the freezer:
- Fruit: Mix in some of your favorite fresh fruits that naturally have a love connection with deep cocoa flavors like berries, bananas, or cherries.
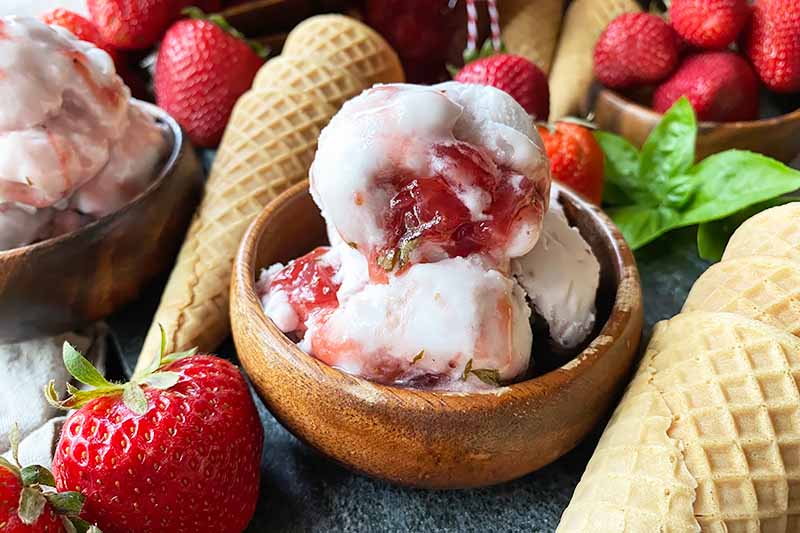
- Sauces: Swirl in a few spoonfuls of nut butter, jam, or jelly. It works in our strawberry basil jam ice cream, and it most certainly will work here!
- Dessert Pieces: Tag along with Ben and Jerry and go to the extreme by mixing together multiple desserts in one. Toss in some chocolate chips, or chunks of brownie, cake, or cookie! All vegan, of course!
Your toppings can be fun, as well! I’m on board with whipped coconut cream and a handful of homemade mochi pieces.
Am I getting too carried away? Stop me while I’m ahead. Even without all the bells and whistles of add-ins and garnishes, a simple bowlful of unadorned ice cream will be plain perfection.
Confession time! What have been your personal struggles with dairy desserts? Have you tried making homemade alternative frozen treats? Let’s commiserate together in the comment section below!
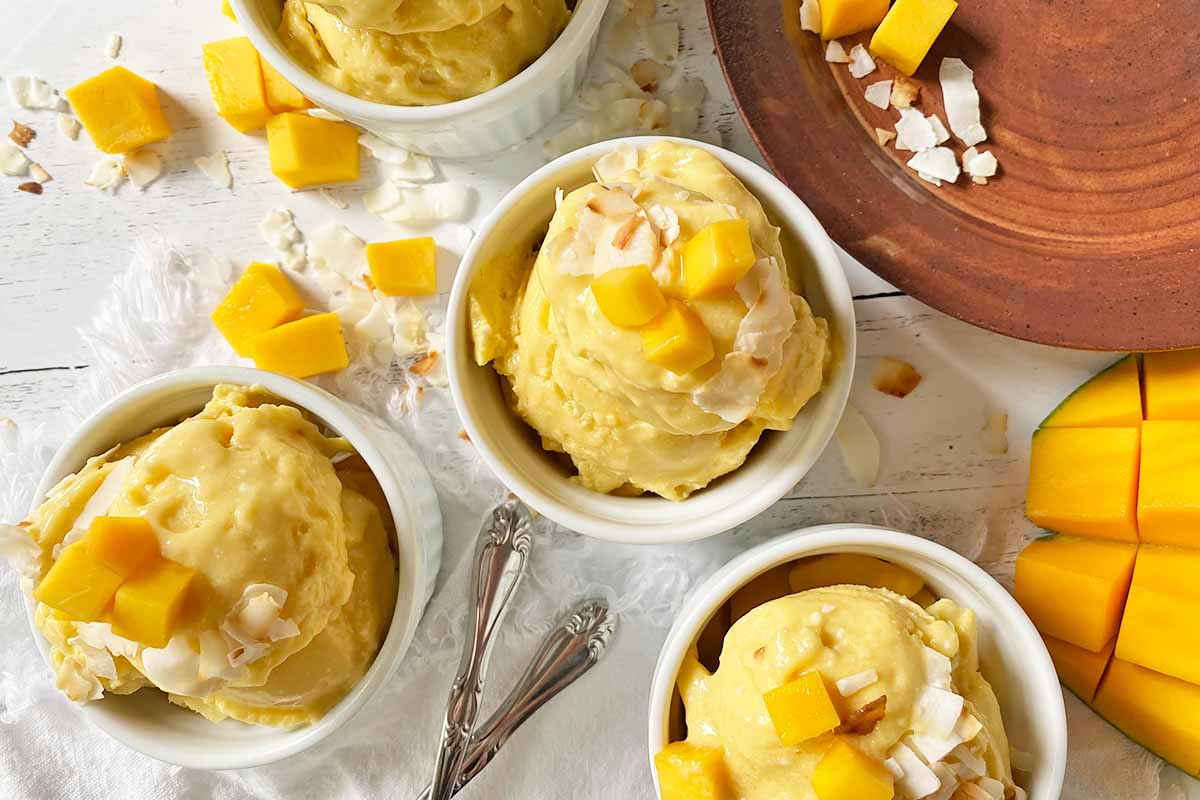
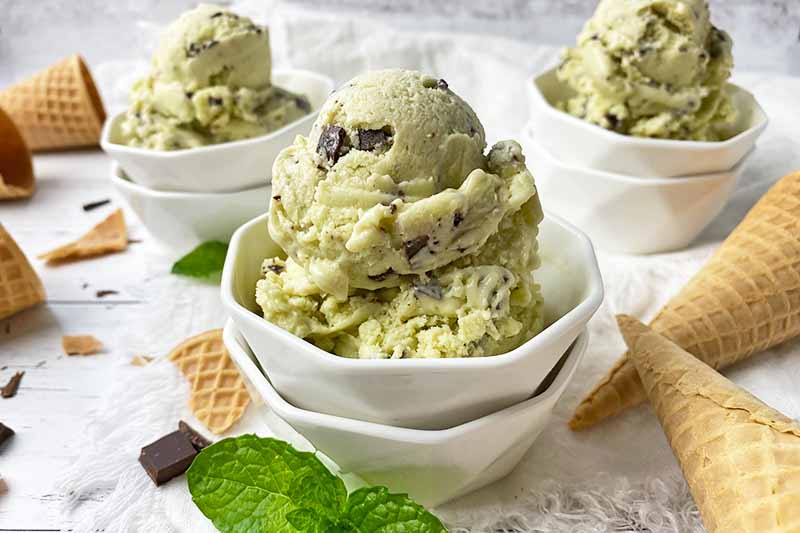
Oh, coming back for more? Take a look at more of our vegan desserts that have been kissed by the frost of the freezer:
Photos by Nikki Cervone, © Ask the Experts, LLC. ALL RIGHTS RESERVED. See our TOS for more details. Originally published by Shanna Mallon on August 14, 2012. Last updated on March 2, 2022.
Nutritional information derived from a database of known generic and branded foods and ingredients and was not compiled by a registered dietitian or submitted for lab testing. It should be viewed as an approximation.
About Nikki Cervone
Nikki Cervone is an ACS Certified Cheese Professional and cheesemonger living in Pittsburgh. Nikki holds an AAS in baking/pastry from Westmoreland County Community College, a BA in Communications from Duquesne University, and an MLA in Gastronomy from Boston University. When she's not nibbling on her favorite cheeses or testing a batch of cupcakes, Nikki enjoys a healthy dose of yoga, wine, hiking, singing in the shower, and chocolate. Lots of chocolate.