Are you on the mochi train?
If not, you should be! This soft and chewy Japanese confection is addictively fun to eat, with a unique texture that delights with every bite.
And you can make it at home with my lazy cook’s version. Made in the microwave. Don’t judge me.
I’m too impatient to wait for dessert! A delicious sweet treat is just minutes away!
But before diving into the recipe, learn a little more about it:
What Exactly Is it?
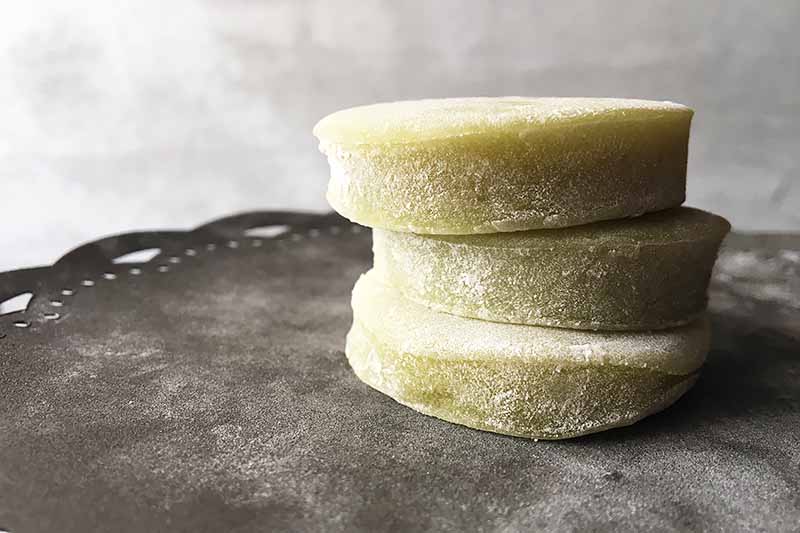
Pronounced “MOH-chee,” mochi is a super soft, sweet rice dough confection popular in Japanese cuisine.
It is made out of glutinous sweet rice flour mixed together with sugar, water, and other optional flavorings.
Similar to wheat gluten, the proteins in glutinous sweet rice flour develop elasticity when heated and manipulated. The initially sticky mixture dries and hardens just slightly as it cools, creating a soft, stretchy dough.
The mochi can then be eaten on its own, or used as a wrap for other ingredients like ice cream or sweet pastes.
What Does It Taste Like?
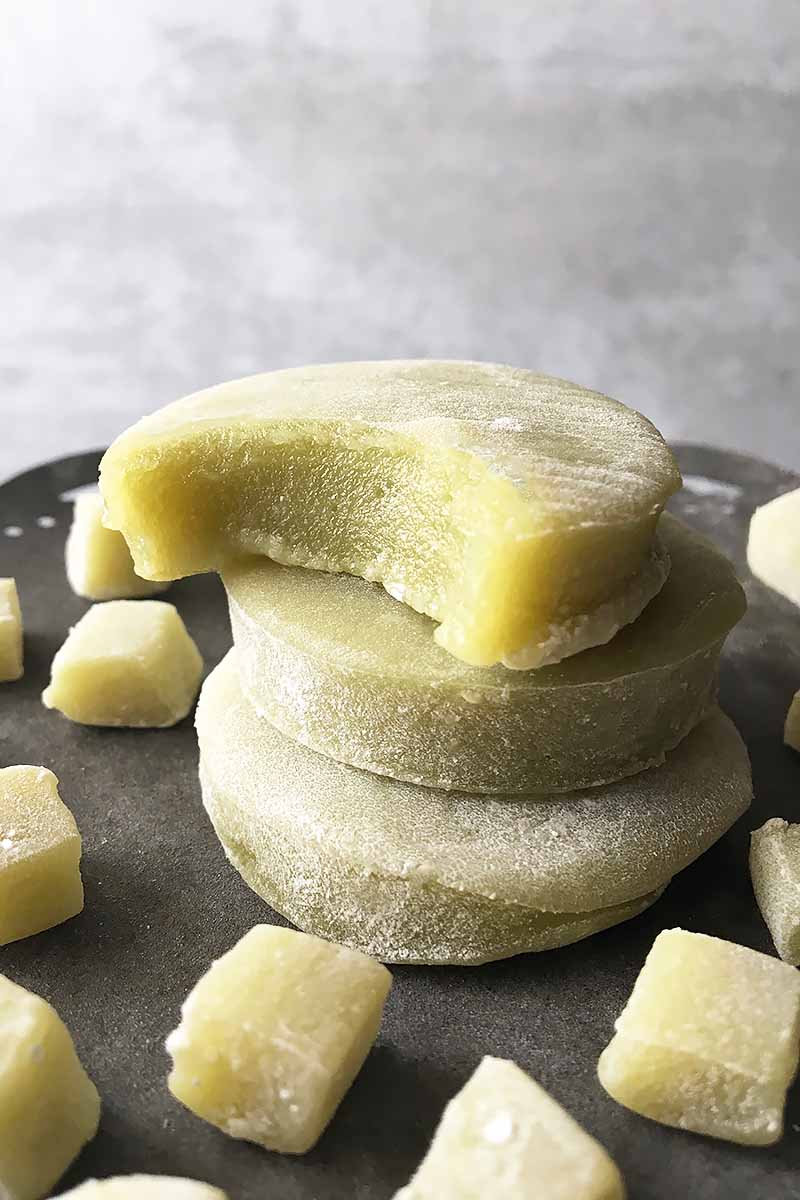
Mochi is all about the texture! Tender, chewy, elastic – it will remind you of a very soft, almost melt-in-your-mouth gummy candy.
It doesn’t really have its own defined taste, unless the dough is flavored.
And believe me, there are tons of flavors to try!

Walk into any Asian grocery store, and you’ll see shelves of a variety of flavors.
On its own, it can range in flavor from taro, sesame seed, vanilla, and green tea to red bean or assorted fruits.
Stuffed mochi desserts are also available, virtually in the same range of flavors with sweet, chewy fillings.
I’ve even seen mochi wrapped around bits of cookie dough. Crazy delicious idea.
But the real star of the show is the mochi ball ice cream. I’m sure you’ve seen these!
Small balls of ice cream or sherbet are wrapped inside a small piece of the dough. It’s a frozen delight that has been popularized by many large grocery store chains, with some featuring a mochi ball ice cream bar where you can choose your own flavors.
Strawberry, red velvet cake, coconut chocolate, orange cream – I’ve tried them all, and I love every single one.
And we’ll provide you with our own homemade mochi ball ice cream recipe, coming soon on Foodal!
Can I Make It At Home?
Absolutely! It’s easy!
There are a few different styles of making mochi (no worries, we’ll do the easy one!).
One traditional method, considered a ceremony in Japan, is called mochitsuki. While a popular ritual to celebrate the New Year, it can be prepared this way year round.
With this style, the dough is made by repeatedly pounding steamed sticky rice, called mochigome, with other ingredients. The continual pounding helps develop a perfectly smooth, soft, elastic, and chewy texture.
But with my lazy cook’s version, this vegan and gluten-free treat is actually very simple to make!
Rather than steaming and pounding rice, you can use a glutinous sweet rice flour (available at most Asian grocery markets) to quicken the process.
After mixing all of the ingredients together, you simply microwave the wet mixture for a few minutes until it thickens, roll it out, cut it, and eat it!
Print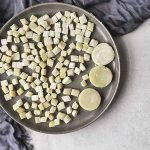
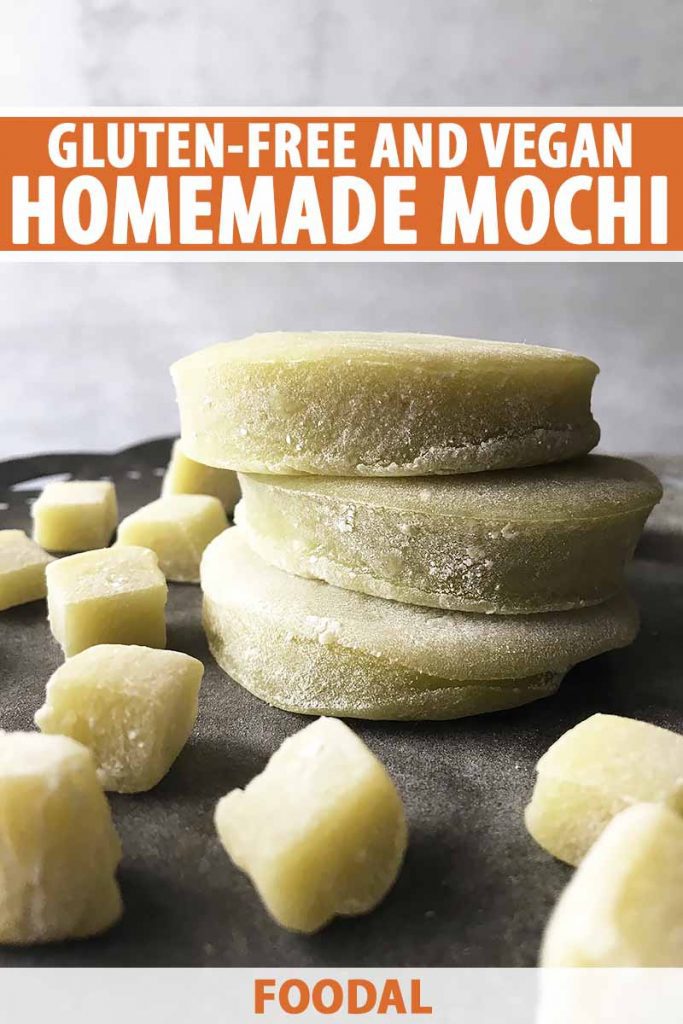
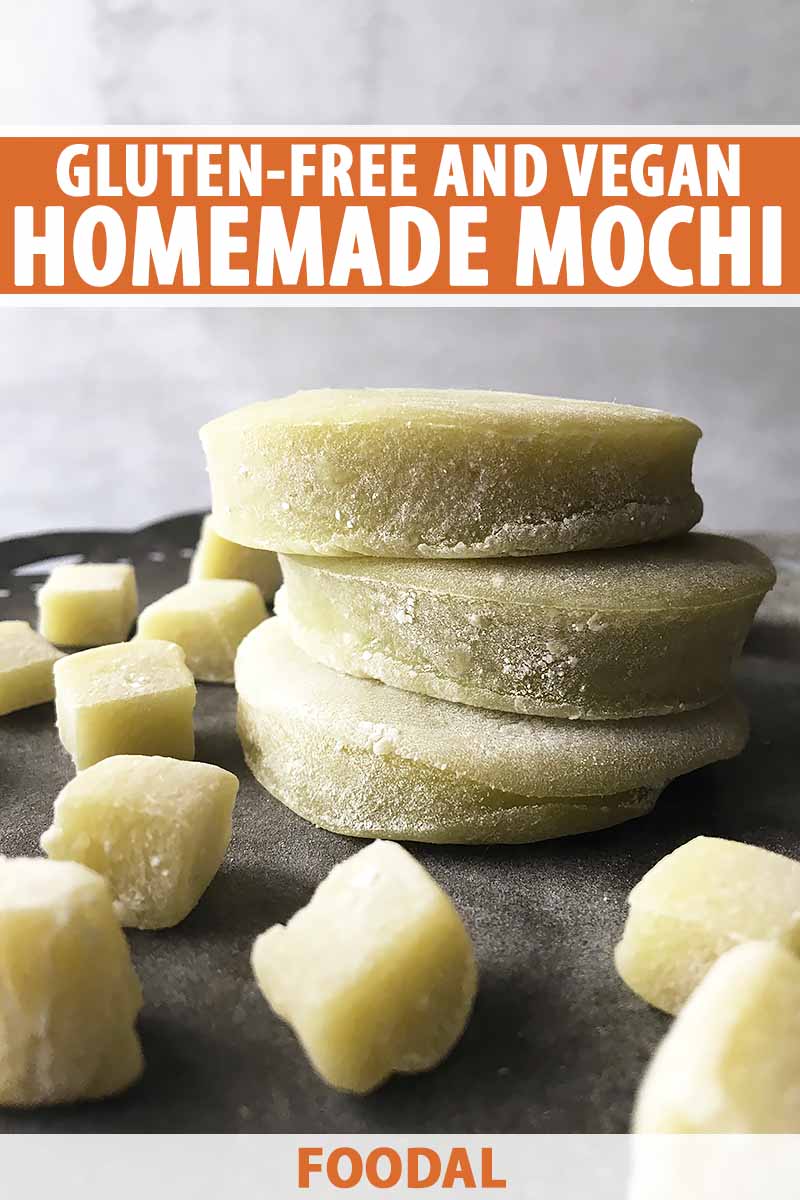
Gluten-Free and Vegan Homemade Mochi
- Total Time: 24 minutes
- Yield: about 2 cups of small mochi pieces 1x
Description
Mochi is a soft and chewy Japanese confection with a fun, unique texture that delights with every bite.
Ingredients
- 1 cup sweet glutinous rice flour
- 1/4 cup vegan granulated sugar
- 1/4 teaspoon salt
- 1/2 teaspoon matcha powder (optional)
- 1 cup water
- 1/2 cup cornstarch
Instructions
- Whisk together the rice flour, granulated sugar, salt, and optional matcha powder in a large, microwave-safe bowl. Slowly whisk in the water until completely incorporated and a thick, runny batter forms.
- Tightly cover the top of the bowl with plastic wrap. Microwave on high for about 3 – 3 1/2 minutes, carefully removing from the microwave every thirty seconds to thoroughly stir and re-distribute the dough. The dough will be very hot as you stir, and will thicken significantly.
- Spread half of the cornstarch on a clean work surface. Working quickly and carefully, use a sturdy spoon or spatula to carefully remove the dough from the bowl and place on the prepared work surface. The dough will still be a little warm. Cover your hands in cornstarch and lightly stretch out the mochi to the desired thickness, applying more cornstarch if it gets too sticky. Let sit to cool completely at room temperature.
- With a knife or cookie cutter dusted with cornstarch, cut the mochi into your desired shapes, applying more cornstarch to the exposed sides.
- After creating the shapes, place the mochi in a strainer and shake to remove all of the excess cornstarch.
- The mochi is ready to serve immediately. It is best eaten the day of making. For short-term storage, store the mochi in a single layer in an airtight container at room temperature for one day.
- Prep Time: 20 minutes
- Cook Time: 4 minutes
- Category: Dessert
- Method: Microwave
- Cuisine: Japanese
Cooking by the Numbers…
Step 1 – Whisk Together Dry Ingredients
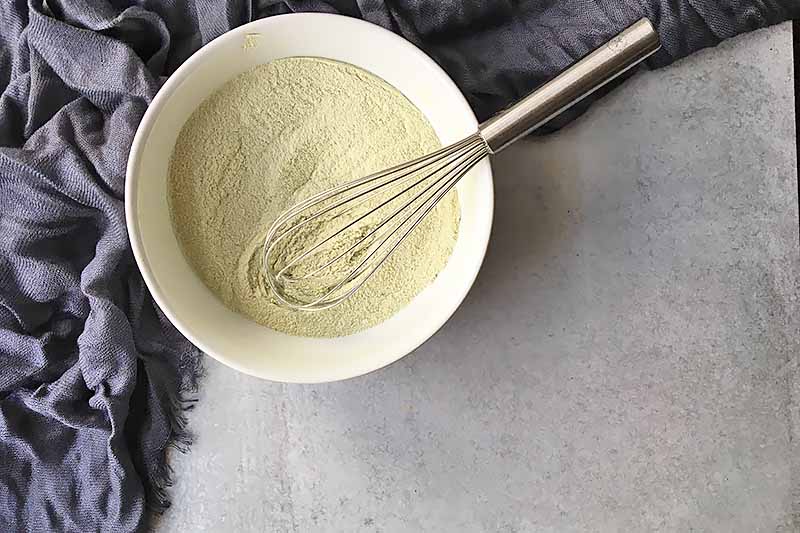
Whisk together the flour, granulated sugar, salt, and matcha powder in a large microwave-safe bowl.
The matcha powder provides a subtle taste, and light green color. It is totally optional – you can prepare this dough without any flavorings.
Step 2 – Add the Water
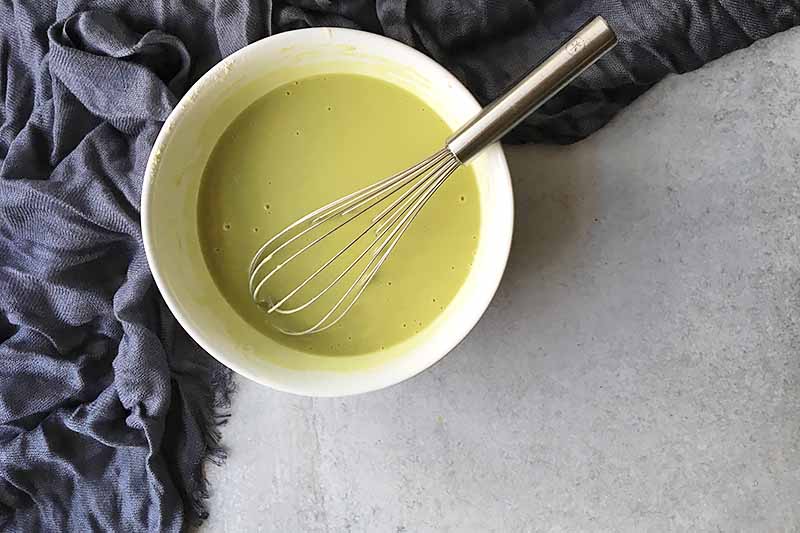
Slowly pour the water into the dry ingredient mixture, whisking constantly until it is completely incorporated. The mixture will look like a slightly thick, runny batter.
Step 3 – Cover and Microwave
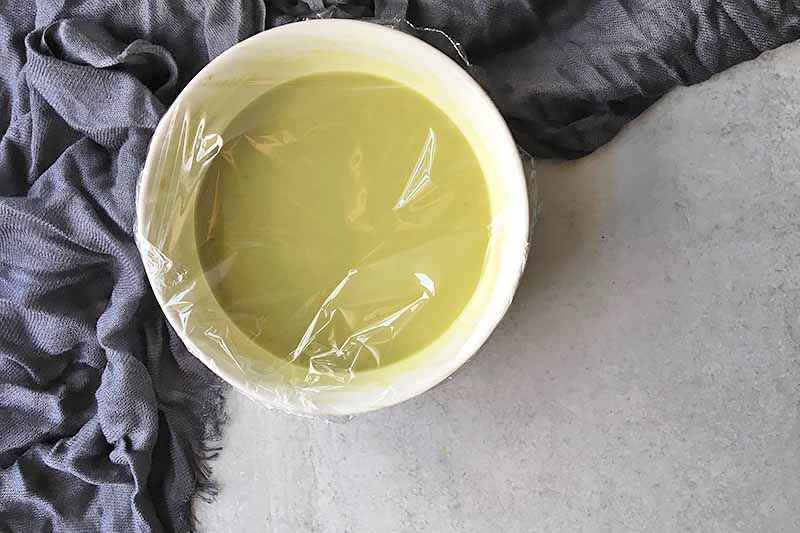
Careful with this step! The dough will be very hot once it’s heated.
Tightly cover the bowl with a layer of plastic wrap. This will help to steam the dough as it is cooking, keeping it moist and preventing it from drying out.
Microwave on high for 3 – 3 1/2 minutes, depending on the strength of your microwave. Remove the bowl very carefully from the microwave every 30 seconds to thoroughly stir the mixture, putting the plastic wrap back on the bowl every time. Again, the dough will be hot!
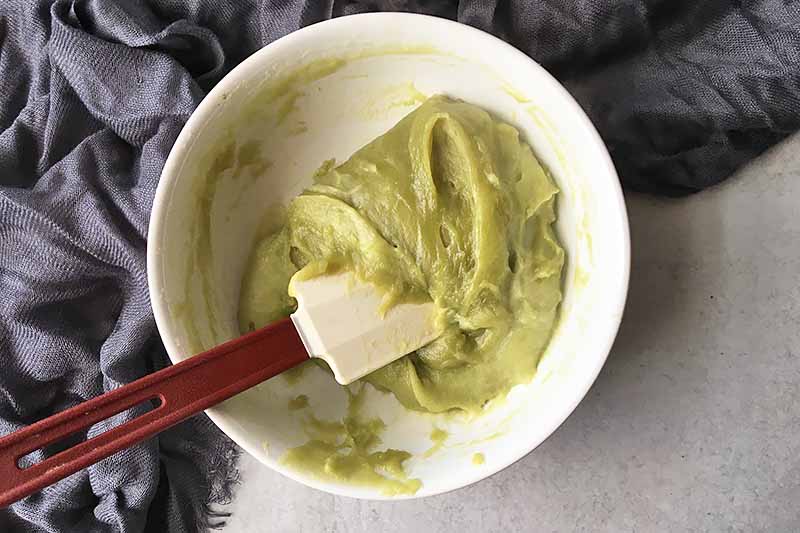
The batter will thicken significantly, turning into a thick, sticky dough once it has been heated.
Stirring so often will help to re-distribute the dough, and will help to develop the gluten structure to get the best elasticity and chew.
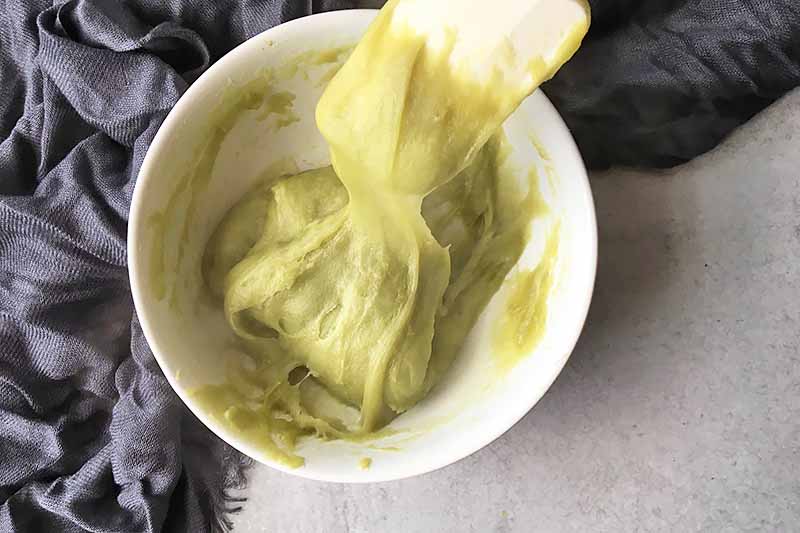
Step 4 – Press Out
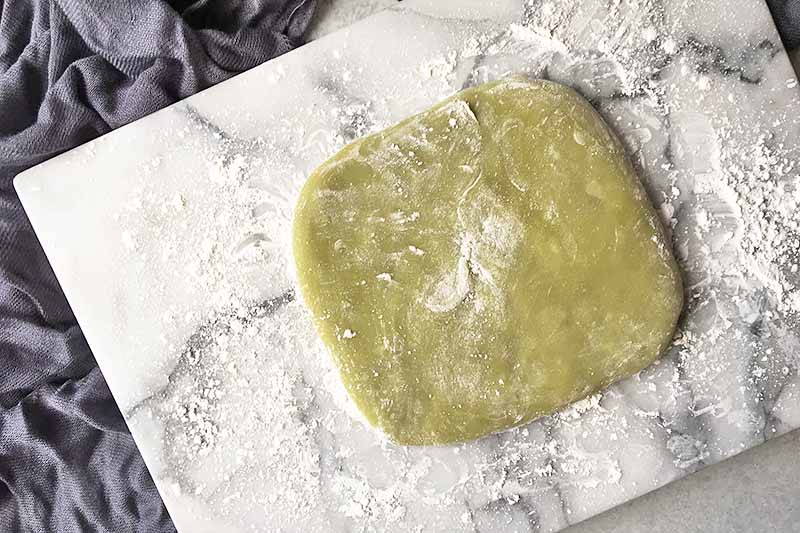
You want to work quickly while the dough is still warm and still very pliable to roll – once it begins cooling down, it will be more difficult to shape.
Spread half of the cornstarch on a clean work surface. Using a spatula, remove the dough from the bowl and place on the prepared work surface.
Cover your hands in cornstarch and lightly stretch out the dough to the desired thickness (I’ve done about 1/4 inch thick here), applying more cornstarch if it gets too sticky.
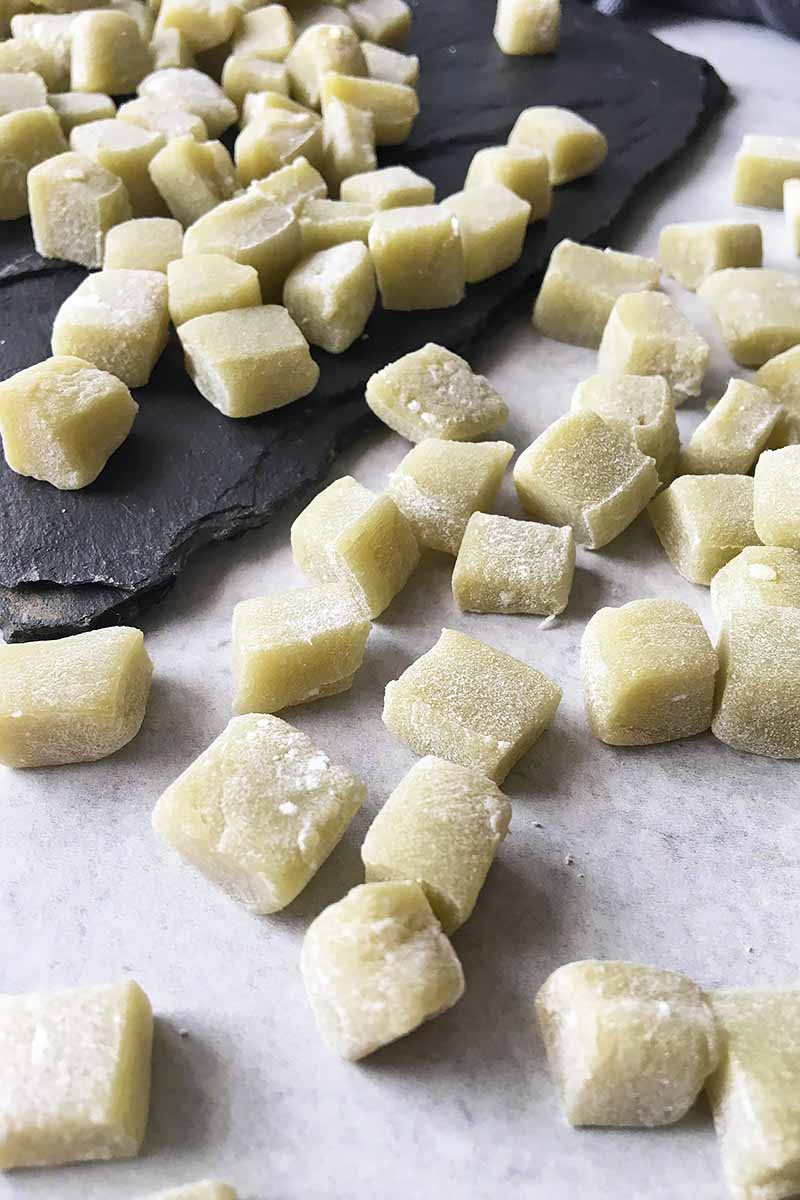
Step 5 – Cut
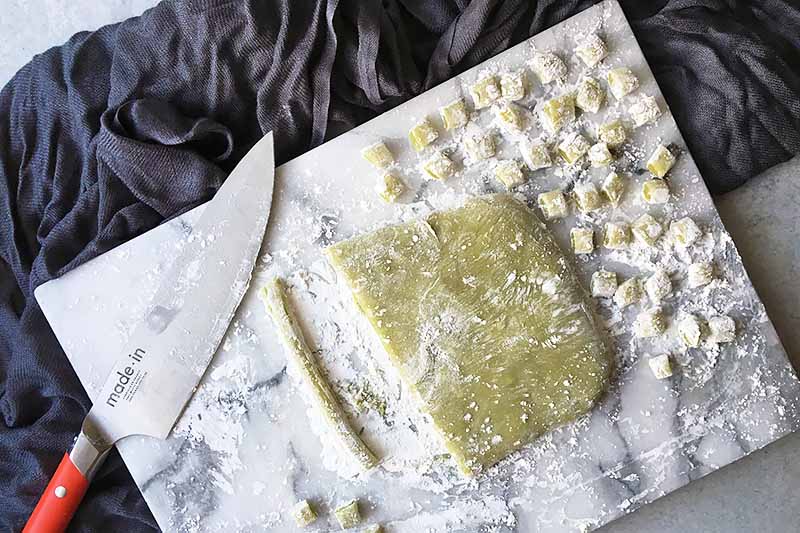
How do you want to shape your dough? This is the step where you decide what to do!
With a knife or cookie cutter dusted with cornstarch, cut into your desired shapes, applying more cornstarch to the exposed sides.
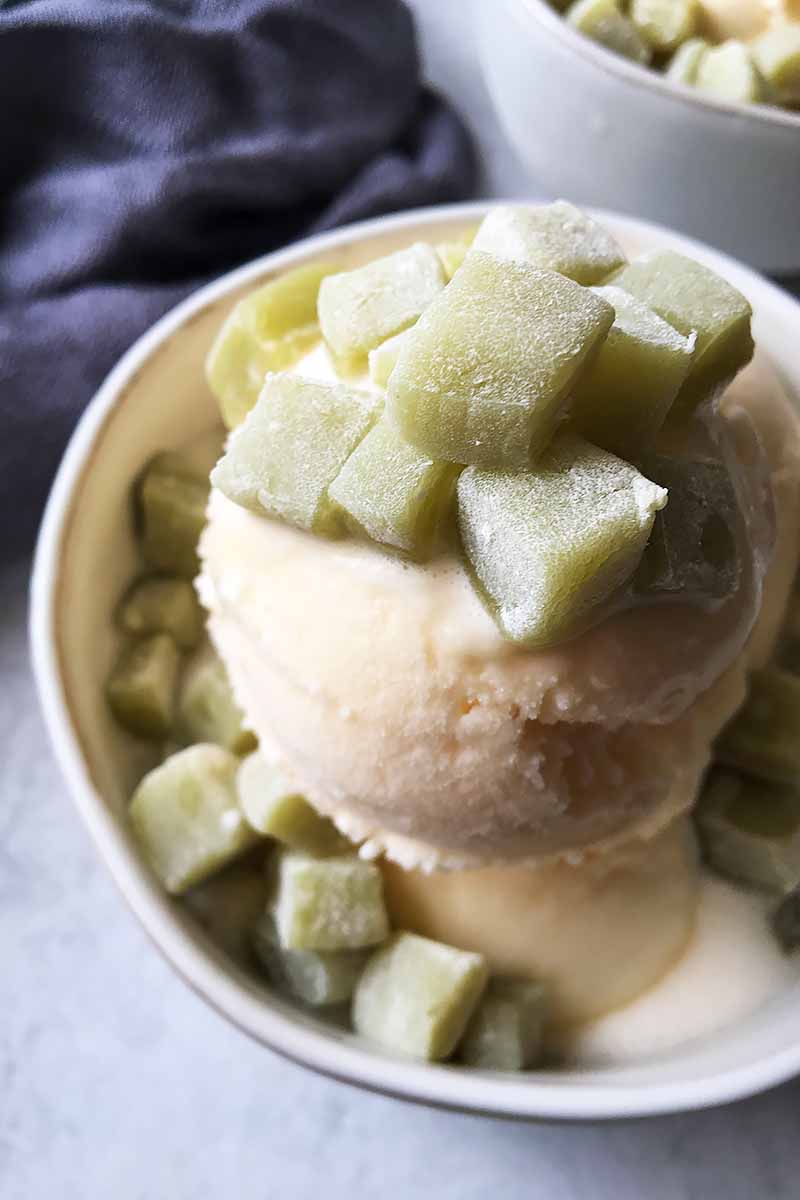
For a garnish on ice cream, cut them in very small cubes. For a standalone dessert, use a small cookie cutter.
Just be sure to keep your cutting utensil dusted with cornstarch to prevent sticking!
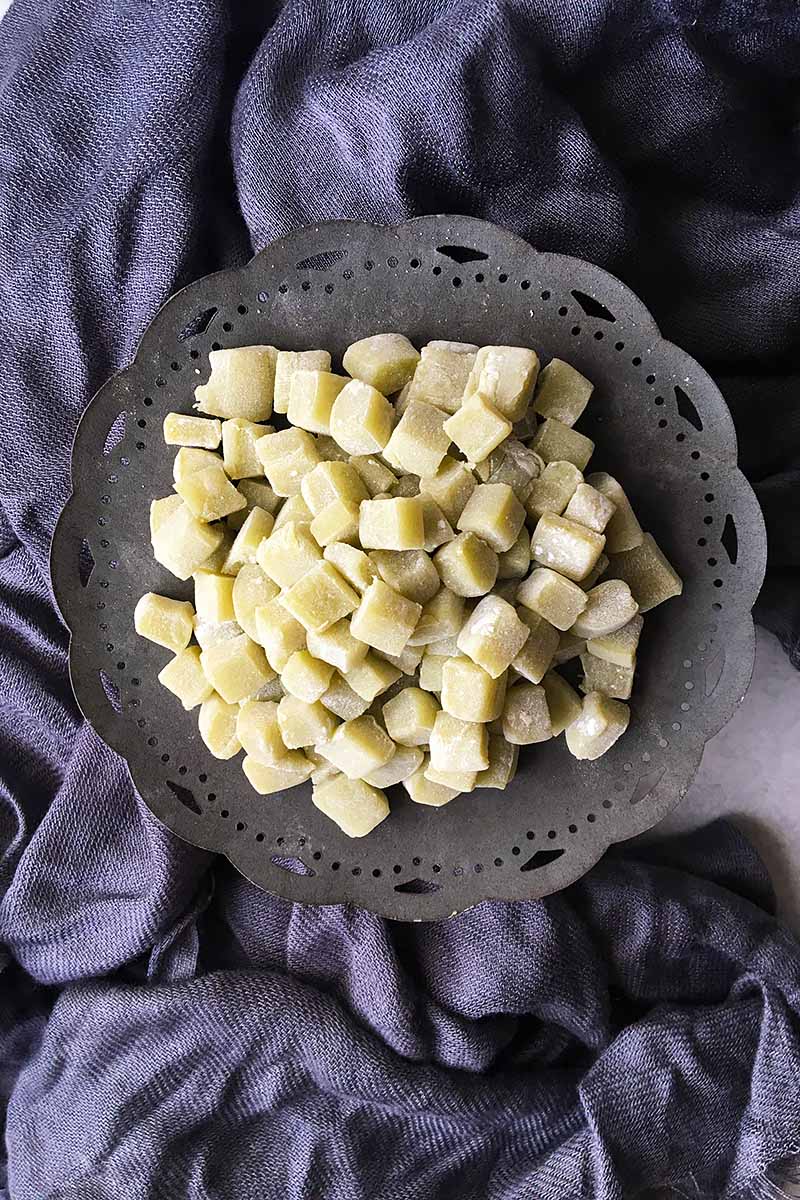
Step 6 – Remove Excess Cornstarch
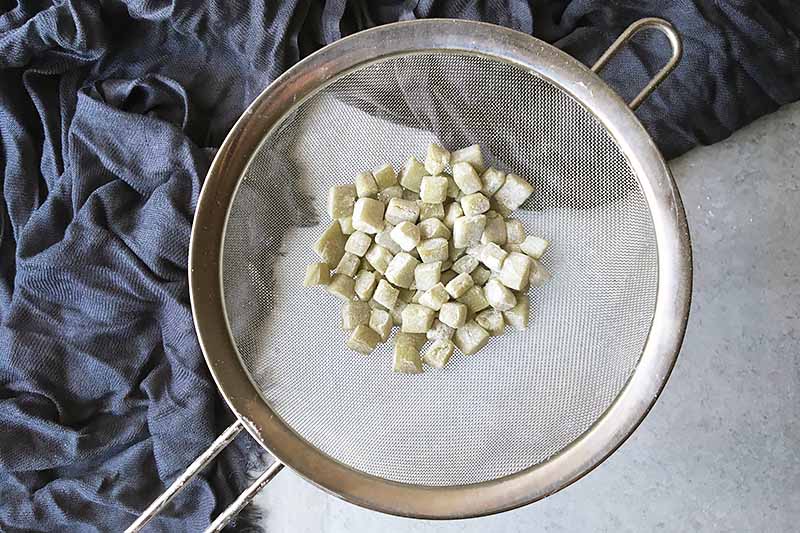
Place all the mochi in a sifter. Shake the sifter generously to remove any excess cornstarch.
Step 7 – Serve
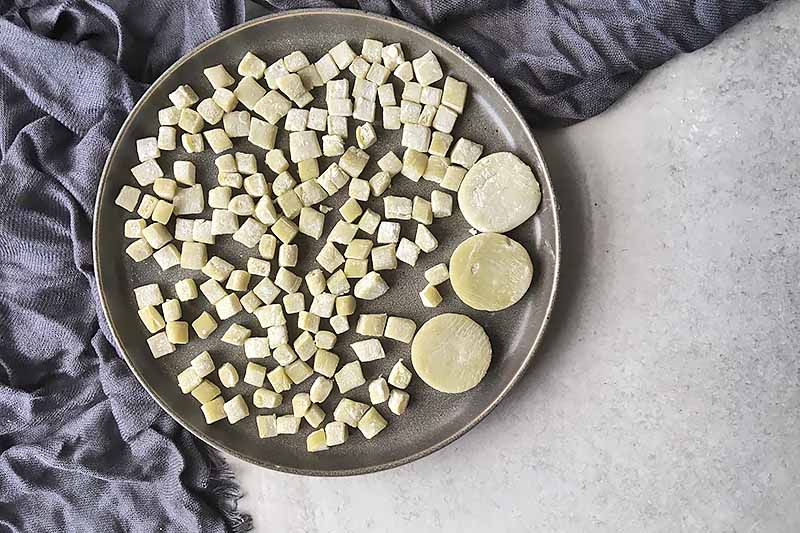
You can serve the mochi immediately. It will cool and set quickly!
It is best eaten the day of making. For short-term storage purposes, place them in an airtight container in a single layer, and store at room temperature for one day.
Endless Applications
There really are so many ways to use mochi as a delectable dessert!
Serve on its own, as a garnish over ice cream and sherbet, or wrapped around ice cream – all applications will be sweet, tasty, and deliciously unique.
I’m looking forward to the opportunity for all of you to try this fun confection in your own kitchens! How do you think you’ll flavor it, and use it for the first time? Send your ideas my way by leaving a message in the comments below!
Looking for more bite-sized treats and confections? Try these recipes:
- Sugared Flowers
- Caramel Candy
- Sugared Ginger Candy
- Jelly Squares
- Blueberry Cookie Dough Almond Flour Truffles
Photos by Nikki Cervone, © Ask the Experts, LLC. ALL RIGHTS RESERVED. See our TOS for more details.
Nutritional information derived from a database of known generic and branded foods and ingredients and was not compiled by a registered dietitian or submitted for lab testing. It should be viewed as an approximation.
About Nikki Cervone
Nikki Cervone is an ACS Certified Cheese Professional and cheesemonger living in Pittsburgh. Nikki holds an AAS in baking/pastry from Westmoreland County Community College, a BA in Communications from Duquesne University, and an MLA in Gastronomy from Boston University. When she's not nibbling on her favorite cheeses or testing a batch of cupcakes, Nikki enjoys a healthy dose of yoga, wine, hiking, singing in the shower, and chocolate. Lots of chocolate.

I’ve tried several methods to make mochi and this one turned out the best by far. Thank you!
Glutinous rice is not gluten-free…This is misleading.
Believe it or not, all pure rice products are in fact gluten free! It’s the name “glutinous” that’s actually misleading- and therefore, many people prefer to call this sticky rice instead. Gluten is only found in certain grains – wheat, barley, and rye – and individuals with a gluten intolerance are able to consume “glutinous” sticky rice.
Mmm – – – – Yes it is!
Rice flour does NOT contain gluten
Hi! Have you tried freezing these to lengthen the shelf life?
Hey Allison, I made some mochi and my mum tried it (she’s gluten intolerant) and she said she had a stomachache after eating. Would making mochi out of gluten free Rice flour work? (I saw it in the store).
PS. Your recipe was so good (from me)
Hello, Phoenix!
Glad you enjoyed the recipe, but I’m sorry that your mom had digestive issues after consuming the mochi. All pure rice flour is actually gluten-free! The term “glutinous” refers to the sweet rice flour’s sticky texture when cooked. It’s used interchangeably with “sticky rice flour.”
So as long as you are checking the label on the sweet rice flour to make sure that brand is certified gluten-free, you can use that with no issues.
This is exactly how we make nuomichi(lol mai chi) in China. This dessert actually originated from Guangdong, which eventually grew popular in Japan and is now known as mochi. The recipe is identical except we use 2 drops of distilled vinegar mixed in to help with the process!
We also use red bean paste, black sesame, or chopped peanuts with shredded coconut as fillings inside.
So I’m terrible at getting warm mochi the correct thickness and not too much cornstarch so that it can stick together to wrap around a ball of red bean paste or ice cream. So I used your microwave technique with MOCHIKO Sweet Rice Flour. When it cooled a bit, I added a huge dollop of red bean paste and gently swirled it so that the mochi and bean paste were still distinct. Then I dusted with corn starch and cut into pieces. They were a hit! It’s not as elegant, ..but they were still the same chewy texture! I’m so excited to find this Lazy Mochi recipe. Thank you!