
We occasionally link to goods offered by vendors to help the reader find relevant products. Some of these may be affiliate based, meaning we earn small commissions (at no additional cost to you) if items are purchased. Here is more about what we do.
I used to buy so many infused oils. My pantry shelves would be loaded up with them. You’d be able to find just about any infusion you could possibly think of, from herbs to chilies, and even chocolate.
These fancy ingredients were so much fun to play with, but they started to make a dent in my wallet…
That is, until I learned to make them at home.
That’s right. You can totally make a replica of those expensive bottled versions that you see in the store right in your own home, for just the cost of buying the ingredients.
It might be easier to plop down your credit card, but you’ll be surprised at just how easy it is to make these. They’re great for spicing up your meals with a little added flavor, and they make excellent gifts as well.
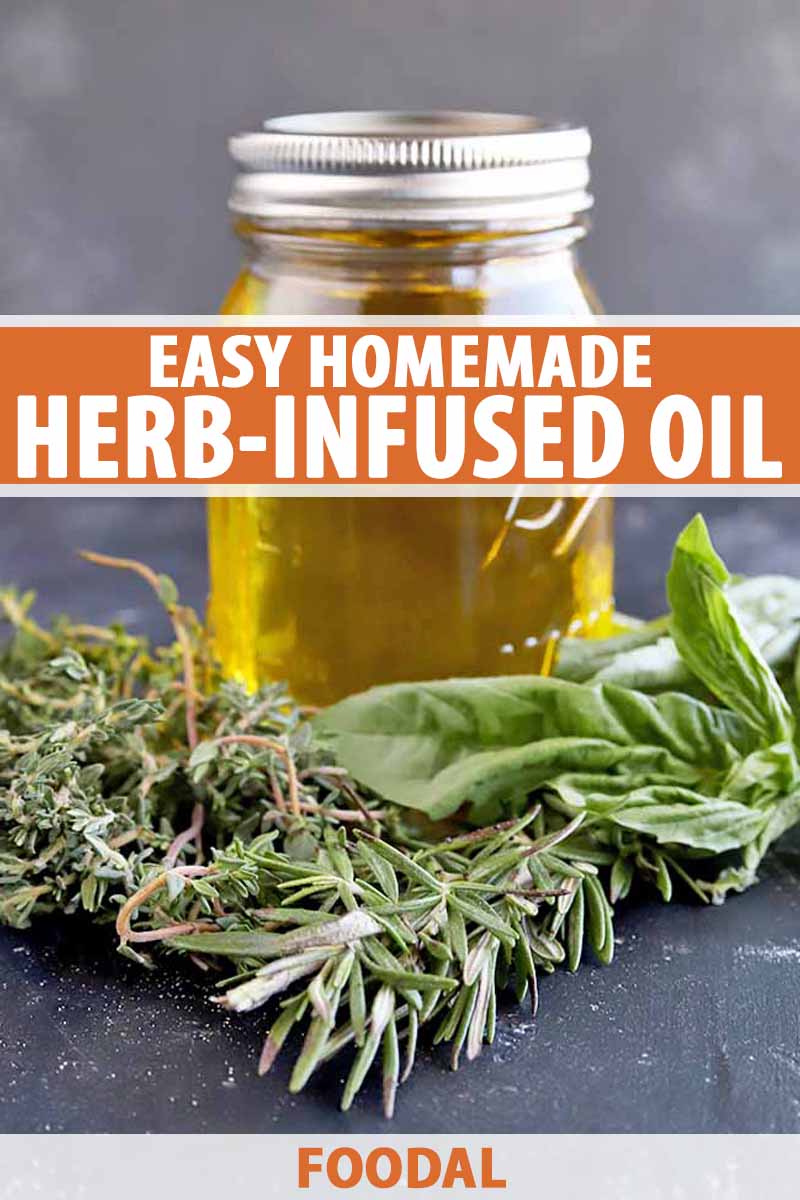
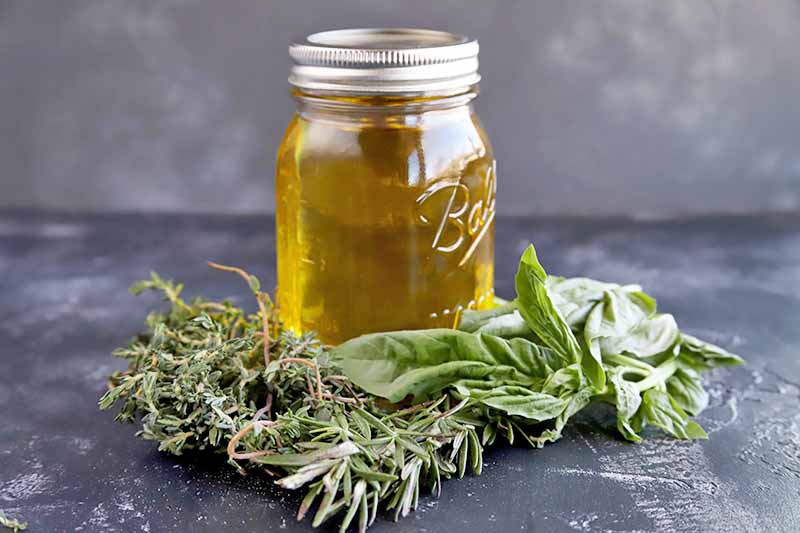
Herb-infused olive oil is ideal for using in salad dressings, adding to pasta, drizzling on pizza, or for mixing with vinegar and cheese as a seasoned dip to serve with delicious artisan bread. You can make it for yourself, but you can also make a big batch for easy homemade gifts for your friends and family.
Even if you are the laziest cook, you can totally make these at home.
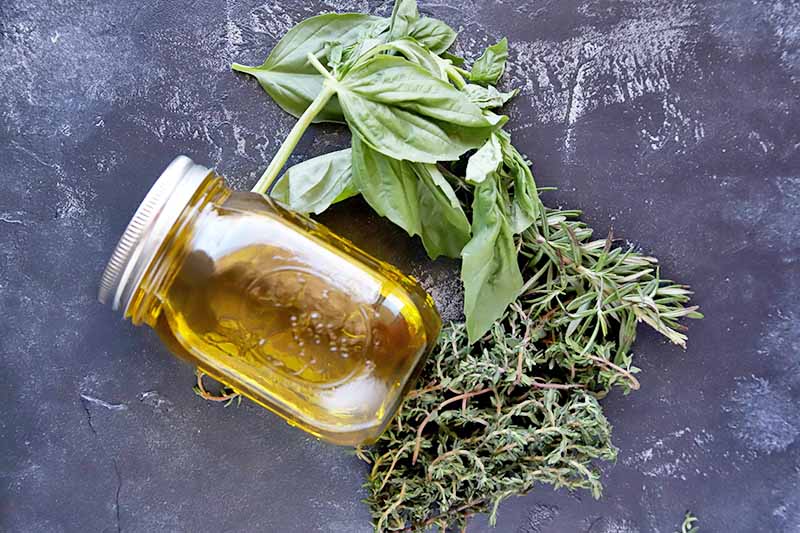
All you need is a good amount of fresh herbs and oil. The instructions are easy – blend, cook, strain, strain again, and let rest.
That’s all it takes.
It does take some time for the infusion to rest in the final step, but you’re only looking at about 15 minutes of active time total. You can even double or triple the recipe to make a large batch for gifts.
I have a few tips for you, to make the best infused oil you possibly can:
- Make sure you are buying the best ingredients possible. You want to use the freshest herbs and the right kind of olive oil. Growing fresh herbs in your own garden? Even better!
- The olive oil you use should be pure and light in flavor. Extra virgin has a stronger flavor, so a lighter one is generally better for this purpose. If you like, you can even use canola, or another type of vegetable oil altogether.
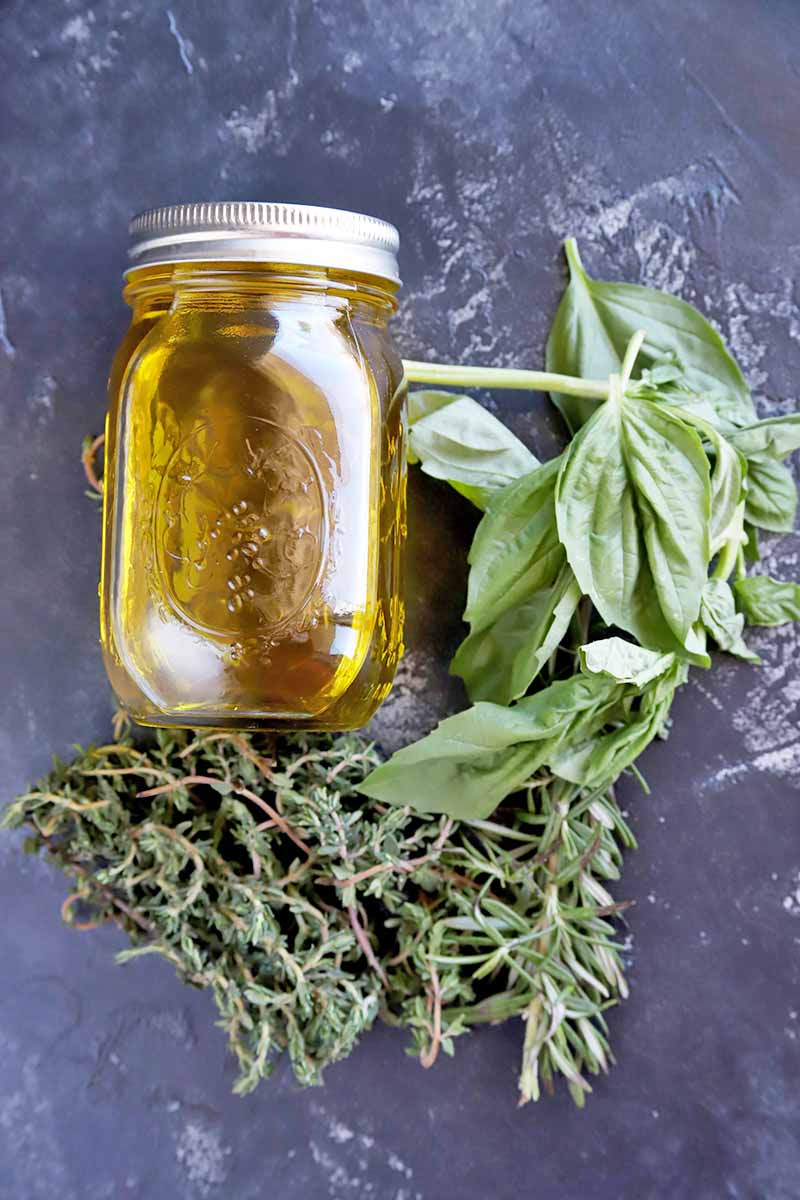
- You can experiment with the flavors as you get more experienced with the recipe. Try combining basil and oregano leaves for an Italian spin, or rosemary and thyme for a wintery combo.
This is a particularly good recipe to hang onto for when your backyard garden is thriving and jam-packed with aromatic ingredients. It’s a great way to preserve your harvest, and use up your favorites if you have a bumper crop. Maybe it’ll even inspire you to plant some different types next year, to use specifically to make this recipe.

Whether you want to drizzle a little extra herbaceous flavor over salads, baked potatoes, or scrambled eggs, this homemade ingredient flavored with fresh herbs picked at the peak of freshness is what you want to have on hand.
You can use it with roasted vegetables, or on grilled chicken. It can easily be incorporated into a marinade, or a variety of sauces.
Giving mini bottles (or full-sized bottles) of your handcrafted infusions as holiday gifts? Write out some serving suggestions and make tags to tie onto the neck of each bottle with ribbon, so the happy recipient can get started with a little inspiration straight from the chef.
For packaging ideas, check out my words of advice towards the end of this article.
Print
Easy Herb-Infused Olive Oil
- Total Time: 3 hours, 18 minutes
- Yield: 2 cups 1x
Description
Want to take your favorite fresh herbs and create something with truly spectacular flavor? Make easy herb-infused olive oil at home with these easy to follow instructions.
Ingredients
For Soft Herbs like Basil, Cilantro, and Parsley:
- 2 cups pure olive oil
- 1 cup fresh herb leaves, stems removed
For Woody Herbs like Rosemary, Winter Savory, and Thyme:
- 2 cups pure olive oil
- 4 cups fresh herb leaves, stems removed
Instructions
- Add herb leaves and oil to a blender and blend until completely smooth.
- Add mixture to a medium saucepan and bring to a simmer over medium heat. Simmer for 45 seconds.
- Strain into a bowl through a fine mesh strainer or chinois without pushing down on the mixture.
- Strain again through a paper coffee filter into a medium-sized bowl. Let the filtered oil settle for a few hours, then pour it off the dark liquid in the bottom of the bowl, if there is any.
- Store in an airtight container in the refrigerator, and use within 1 week.
- Prep Time: 15 minutes
- Cook Time: 3 minutes
- Category: Flavored Oil
- Method: Stovetop
- Cuisine: Condiments
Cooking By the Numbers…
Step 1 – Measure Ingredients
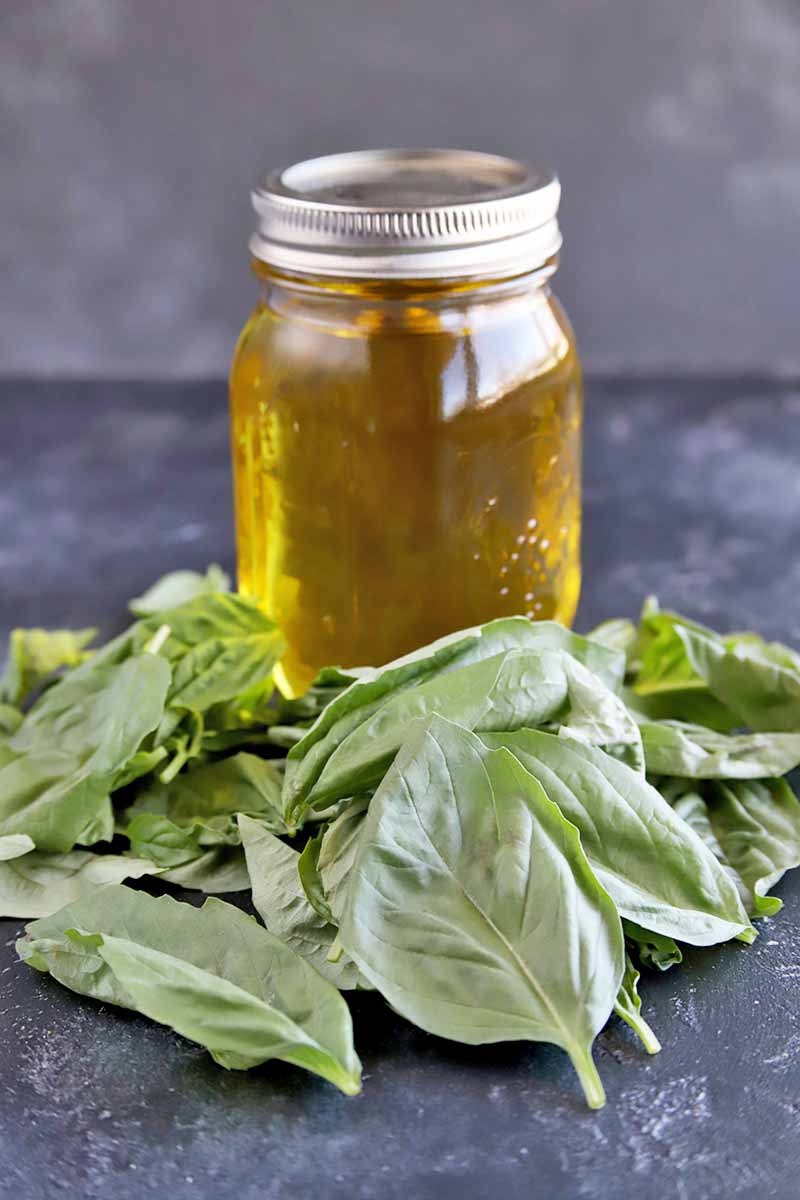
If you are using soft herbs like basil or parsley, remove the stems and measure out 1 cup fresh herb leaves.
If you are using woody herbs like rosemary or thyme, measure out 4 cups of fresh herb leaves.
You can get creative with your combinations of herbs, just note that you will need to use less of the soft herbs versus the woody herbs because the soft herbs will overpower the resulting flavor.
If you will be mixing soft and woody herbs, the ratio I recommend is 1/2 cup soft herb leaves like basil, and 2 cups woody herb leaves like rosemary.
Organic herbs grown without pesticides are always my preferred choice. Choose healthy, “perfect” specimens that are free of broken, bruised, or damaged portions. Be sure to clean them well. I rinse them in a colander so I don’t lose any down the drain, and then dry them well in a salad spinner.
A Note on Food Safety
Keep in mind that infused oils made with fresh herbs are highly perishable, and should ideally be used within about a week, though versions made with dried ingredients will last longer.
According to Jason Bolton, Assistant Extension Professor and Food Safety Specialist at the University of Maine Cooperative Extension, infused or flavored cooking oils can pose potential food safety risks since they are typically made with low-acid ingredients. Fresh herbs (and fruits, and vegetables) may be contaminated with Clostridium botulinum (C. bot) spores, which can cause botulism. And the water found in fresh produce can help this bacteria to grow.
This is one advantage that commercially made products have over the homemade variety. Since they are made with acidified ingredients, they have a better shelf life and can be stored at room temperature without worry.
To cut out the potential for allowing C. bot to thrive entirely, make your flavored oils only with dried herbs. Otherwise, be sure to store your DIY creations in the refrigerator, and use them up quickly.
Vinegar can also be added to lower the pH of blends made with fresh ingredients, but that method is beyond the scope of this article.
Measure out 2 cups of pure olive oil. You can also use a different type of lighter oil like canola, if you prefer.
Step 2 – Blend
Place the herbs and oil in a blender. Blend until completely smooth.
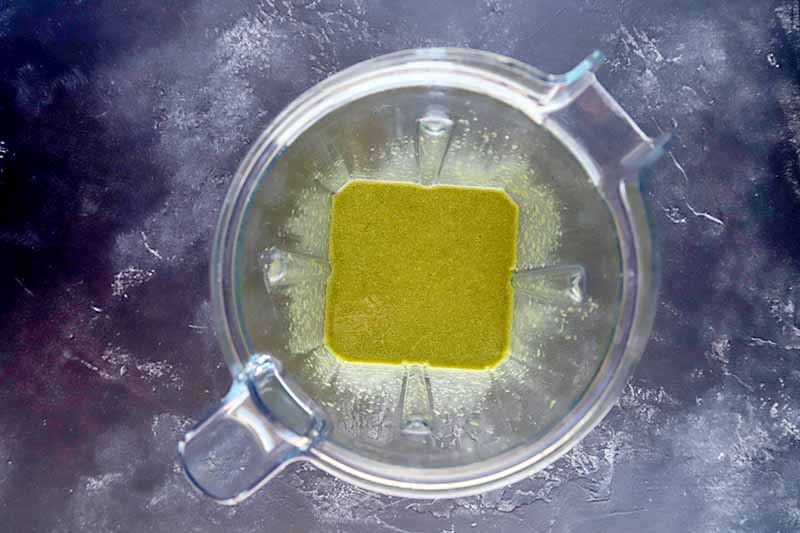
Pour mixture into a medium saucepan and place over medium heat. Bring to a simmer and simmer for 45 seconds.
Step 3 – Strain
Strain the mixture through a fine mesh strainer or chinois. Make sure not to push down the mixture or it will become bitter, because the forced oils from the leaves will alter the flavor.
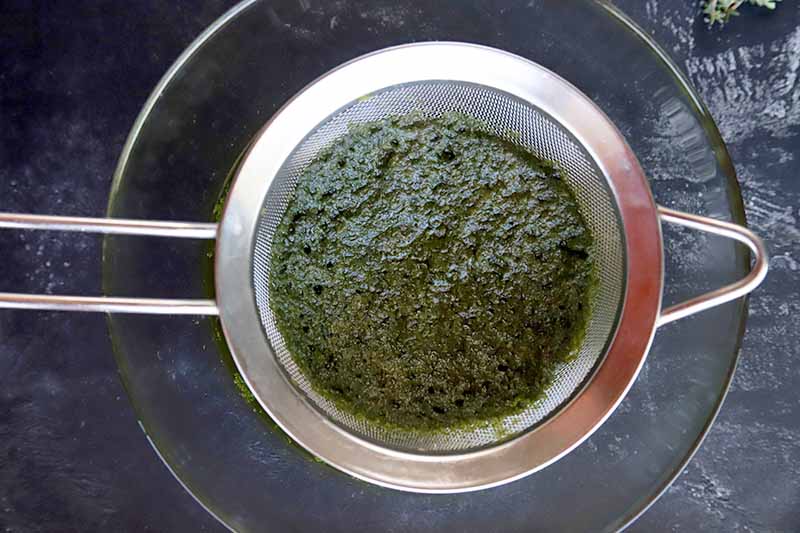
Let the liquid naturally drip through the strainer or chinois, lightly tapping it against the sides of the bowl if necessary.
Strain again through a paper coffee filter into a medium bowl. Setting the filter into a jar or a funnel will help to stabilize it, or you could use a flat-bottomed filter set over a strainer with a bowl beneath it.
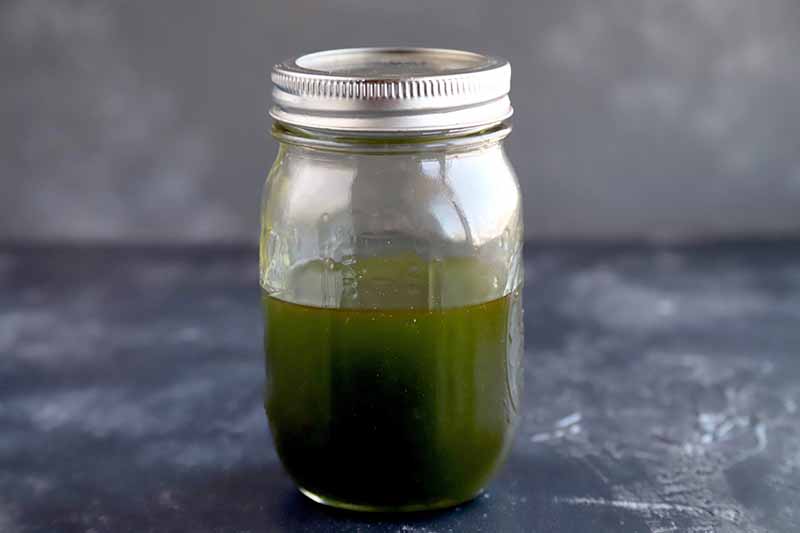
Step 4 – Let Rest
Let the filtered oil settle for a few hours.
Pour oil off the top into an airtight glass container such as a mason jar, without pouring in the dark liquid at the bottom of the bowl.
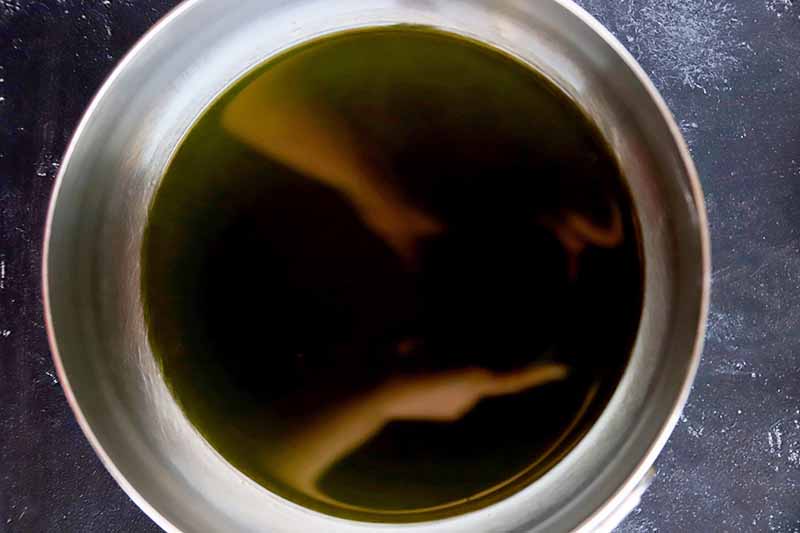
These are the little bits that might have gotten through the filter and you don’t want to store these in your flavored oil, but you might not run into this. If yours is clear without any dark sediment that settled at the bottom, you’re good to go!
Store in the refrigerator for up to one week if you are using fresh ingredients. Flavored oil made with dried ingredients may be stored in a cool, dark place for up to 3 months.
As an alternative method using dried ingredients, you may elect to keep the herbs whole and infuse them that way, for a pretty presentation. Here’s how:
Skip the blending, straining, and resting steps. Heat your oil to 180°F, as indicated on a cooking thermometer. Gently stuff the stems and sprigs into your chosen glass vessels, then pour oil over the top through a funnel, and fill to the top. Allow to cool completely before replacing the lids and storing in a cool, dry place. Oils flavored this way will require about 1 month to steep before using, to get the best flavor.
Homemade Flavored Oil for Cooking and Gifting
For storing your infusions, you want to use a glass container that has an airtight seal. I usually use mason jars for this, but when I am gifting these, I like to get a little more fancy with swing-top glass bottles with rubber gasket seals. These are available on Amazon.
8.5-Ounce Bormioli Rocco Swing Top Glass Bottles, Set of 4
Get creative and make a fun label for your jars as well. You can even hand draw the labels if you choose, or write with a permanent marker directly on the glass container.
Looking for even more inspiration for homemade gift ideas to surprise the foodie in your life? Here are some of our favorites:
- Mulled Wine Mulling Spice Mix
- Easy Chocolate Candy Bark
- How To Make Your Own Baking Mix
- Caramel Candies
- Hot Chocolate Mix
What kind of will you make first? Tell us in the comments below, and come back to rate the recipe after you try it.
Photos by Meghan Yager, © Ask the Experts, LLC. ALL RIGHTS RESERVED. See our TOS for more details. Product photo via Bormioli Rocco. Originally published on November 15, 2014. With additional writing and editing by Allison Sidhu.
Nutritional information derived from a database of known generic and branded foods and ingredients and was not compiled by a registered dietitian or submitted for lab testing. It should be viewed as an approximation.
About Meghan Yager
Meghan Yager is a food addict turned food and travel writer with a love for creating uncomplicated, gourmet recipes and devouring anything the world serves up. As the author of the food and travel blog Cake 'n Knife, Meghan focuses on unique foodie experiences from around the world to right at home in your own kitchen.


Is there still the risk of botulism for making herb infused oils like in making garlic oil? I am always scared of making infused oils because of all the things I’ve read about people getting food poisoning from infused oils.
You can get food poisoning from infused oils, specifically botulism. It is extremely important to store them in the fridge, and use them within the week. This being the case, you would only want to make as much as you plan to use in a week so that you don’t waste oil and herbs.
Well that is scary! While this was certainly an inspiring post, maybe I’ll hold off doing this for when I can get the right equipment/time… I tend to rush things and think ‘that’ll do’ but I certainly don’t want to be giving myself botulism!
I had thought about making my own chilli and garlic oil, but wasn’t sure whether it was worth it. A Basil oil would be really useful to add to pasta and rice dishes and to add flavor without adding salt.
I also love flavored oils with focaccia, so will experiment, though as it takes a month to seep I will have to be patient.
If i really concentrate hard enough and be serious as well, i could just follow the said steps above, not only make my own homemade oils but i could make for my friends and before i know it, i have a business gaining momentum towards prosperity!
Uh?
I don’t get it. How is it that herbs need to be dried and garlic should not be used fresh, but that is how pesto is made, with fresh basil and fresh garlic?
Nonetheless it does make for a beautiful gift. On many wedding websites, it is suggested to make mini bottles of infused olive oil to give as party favors. Nobody needs to be an herb enthusiast to enjoy some gorgeous bottle containing a delicious oil!
I know this comment is years old but as the recipe is still the first google result and other folks like me may happen upon it and be wondering the same- The reason botulism can grow in an infused oil but is not a concern in pesto is because botulinum is an “obligate anaerobe.” This essentially means the bacteria is only able to thrive and produce toxin when in an environment free of oxygen. So when herbs are completely surrounded by oil any botulinum can begin producing toxin. But in recipes like pesto, there isn’t a thick enough layer of oil between the herbs/garlic and the air to allow the bacteria to thrive.
Thanks for this
These oils look great and it is certainly cheaper to make your own. They cost a fortune at the deli. Having said that, I had no idea that there was a risk of botulism associated with them. Is it connected with using unsterilized bottles by any chance?
I’ve been looking for an article like this! My mom is an avid cook, so for her birthday I wanted to make her some infused oils. I was considering just dropping some fresh herbs in oil, but that’s not going to work! The information on botulism was really important to include; I think I may have just saved a couple lives!
Recently, I read a few things that mentioned the dangers of putting garlic in homemade oils. I was wondering if anyone has any suggestions as to how one can incorporate garlic without the added dangers? I love the flavour & I’ve heard there’s a short time between using a garlic oil & that oil being dangerous.
Not only is this a great idea for personal use I can’t help but think this would make a really sweet gift. I have a lot of women in my life who are hard to buy gifts for and I can think of a few that would really appreciate the thought and work put into this. I am wondering if a roasted garlic oil if used quick enough would pose less dangers then mentioned above? Maybe in a small enough quantity?
Oooh, I love this! These always look so pretty. I’d like to have a few bottles in my own kitchen. Yeah, they’d also make really nice gifts. I’m thinking housewarming, hostess gift, or even Christmas would be nice. Maybe small bottles, so they get used up before they have a chance to go rancid?
I really want to make these now.
I love the look of these, and pre-made bottles are usually out of my budget, so I might consider doing this. I think if I do, I will look into the miniature bottles, or at least small ones, because I would want to use them fairly quickly. I am not able to eat garlic, so that wouldn’t be a consideration, but I like the idea of using the purple basil, or maybe using colored bottles.
I was really excited about this idea until I read the comments. The fact that you have to use it within a week or risk food poisoning is really making me not love this idea. If this was a project that I could do once a month and use them for a few weeks, I would be all in, but it seems like a lot of work to make these on a weekly basis.
I was hoping to make some herbed oils as Christmas presents this year. But learning how much care you have to take in making them and the rish of food poisoning (from the comments) is a little scary. I might pick up another DIY project for gift giving. This seems a bit too risky for beginners to try out.
I have a small herb garden going right now and I have no idea what to do with them! Reading this article made me really excited because I finally thought I found a solution but now I’m worried about food poisoning. Has anyone tried this and got food poisoning? Or know a way to do this without the risk of food poisoning? I love using oils like this but can never afford them. Thanks for the tips anyways, Lynne!
I always see herb infused oil in home and cooking stores. I don’t actually use them but I’d imagine they would taste similar to using oil and fresh herbs. I also see a lot of gift sets with herb infused oils. I fee like these would make great gifts for the holidays or as shower favors.
I had no idea that using fresh herbs and garlic in infused oils could allow botulism to grow. I though oil was one way to preserve them but I guess not that reliably. I’ll have to remember to use dried varieties for infused oils I won’t use within a few days. Adding food grade essential oils may be another option to add in their place. They won’t look pretty but it would be safe to store and use indefinitely. Using an EO would probably be something you would want to add at the end for a finishing touch, though, so as not to diminish the flavor.
These oils are wonderful and easy to make. In a nice bottle with a pretty label they will make a great gift too 🙂
I have never tried to make herb infused oils, but feel inspired to try now. Thanks for the tip on drying the herbs first to prevent botulism, I did not know this.
Wow, I never thought about making my own herbed oil. I definitely need to do this. I can think of so many ones I would love to make. And they would look beautiful all lined up next to each other in bottles of varying sizes. It doesn’t get any better than edibility and aesthetics in one. Can we add a couple of drops of essential oil to the olive oil as well? I think certain herbs won’t impart as much flavor as others. Perhaps I should just let them steep longer. Does the flavor seep out more the longer it’s been imparted? Can I add mustard seeds to the oil as well? I need to look up some pretty designs and yummy combinations. I think this would make a wonderful gift for people who love to cook.
I haven’t seen people use herbed oils before, but the other day looking through my friend’s amazon wishlist I saw them and I wondered why this person would want them, but since they live alone and they’re a big fan of natural things (especially when it comes to food) it all makes sense now, and as you’ve said, they are kind of expensive, but I can see why, it seems to be a tricky and long process.
But I think that I didn’t really get the point of them, do you use them as salad dressings, or just a substitute of regular oil?
You know this is one of those areas of cooking where I cannot help but appreciate and factor in the artistic side, and here particularly it manifests itself in the shape of the bottle. I am not sure what it is, but the whole herb oil just lends itself to noticing the appearance more, and when you got the fancy looking bottle I think that it adds a certain something. It also helps because these can make great gifts, and so you want those to look nice. Thanks for sharing.
This is something that I never even imagined was possible to do at home. This is going to change the way I cook forever. I’m so excited about creating my own herbed oils and possibly saving a lot of money in the process. This is a really great and informative article. And thanks for the idea of using them as gifts.
This was a quick and easy win for some added on-tap flavor. Thanks for this!
Oil is not a preservative so yeah the risk of botulism is real. But just adding salt or vinegar to the oil infusion will eliminate the threat of getting sick unless you’re allergic to the ingredients.
Your recipes are spot on. I’m a chef and was looking for some fresh new ideas and found your blog. However, I would add salt and/or vinegar to prolong the shelf life and stave off bacteria as oil itself cannot.
you can store the infusion in the fridge. **first step when making would be to sterilize your bottles as if you were doing canning/ preserves also the lids.** Make sure hands are spotless also!!