
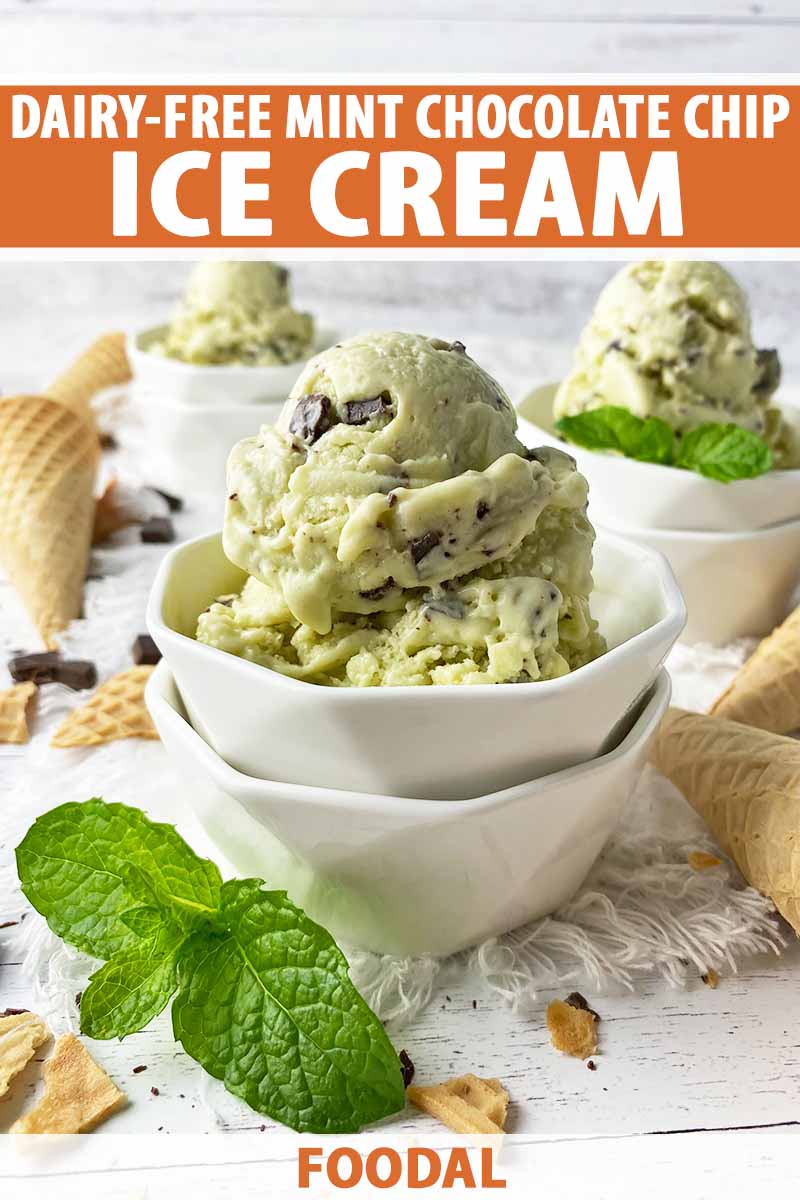
Mint chocolate chip:
You can say it’s gross. You can say it tastes like toothpaste. Or you can say it’s your least favorite flavor of all time.
But here’s the thing…
Sticks and stones may break this ice cream flavor’s imaginary bones, but words will never hurt it.
For those of you who hate it, there is no convincing any of you to rethink your absurd opinion. I won’t even bother.
If that’s the case, this recipe isn’t for you.
I kindly suggest you immediately close out your screen, and move right along to your preferred favorites – have your way with rum raisin chocolate, simple vanilla bean, or pumpkin cinnamon.
Your negative energy isn’t needed here! But while you might not enjoy its strong and zippy flavors, mint chocolate chip ice cream will always remain steadfast in many other frozen dessert lovers’ hearts.
And now that I have made this dairy-free version, it certainly has stolen mine!
A creamy, custardy base of coconut milk, egg yolks, and sugar is a simple start to achieve dairy-free, melt-in-your-mouth results.

Pure peppermint extract provides the defining flavor component, with just a hint of texture and depth from chopped dark chocolate.
But, if you so choose, you can take it just one step further into a gorgeously green nirvana.
To achieve a subtle green hue – without going anywhere near the realm of questionably sourced food colorings – you have the option of blending the base together with half of an avocado.
The avocado has dual power here, offering both its light green color and supplementary luscious texture.
The ice cream will still be able to properly set with or without the avocado, so this addition is optional. While it’s not a step I recommend skipping, I won’t throw a fit if you decide to leave it out of the recipe.
Because as any true mint chocolate chip ice cream enthusiast knows, myself included, we already deal with a world of criticism regarding our food choices.
You don’t need another enemy here!
Print
Mint Chocolate Chip Coconut Milk Ice Cream (Dairy-Free)
- Total Time: 8 hours
- Yield: About 2 pints 1x
Description
Creamy and refreshing, learn how to make this dairy-free mint chocolate chip ice cream with a luscious coconut milk custard base.
Ingredients
- 2 13.5-ounce cans full-fat coconut milk
- 3 large egg yolks
- 1/2 cup granulated sugar
- 1 teaspoon peppermint extract
- 1/4 teaspoon coarse kosher salt
- 1/2 medium ripe avocado, peeled and chilled (optional)
- 2 ounces dark chocolate, finely chopped
Instructions
- Freeze the bowl of your ice cream maker for at least 24 hours before making the recipe.
- Fill a medium pot halfway with water and bring to a gentle simmer over medium-high heat on the stovetop. In a heatproof medium bowl that fits on top of the pot without touching the water, whisk together the contents from the cans of coconut milk.
- Place the bowl on top of the pot and heat the coconut milk until it just begins to steam, whisking occasionally, 8-10 minutes. Remove from the heat, but keep the water in the pot at a gentle simmer.
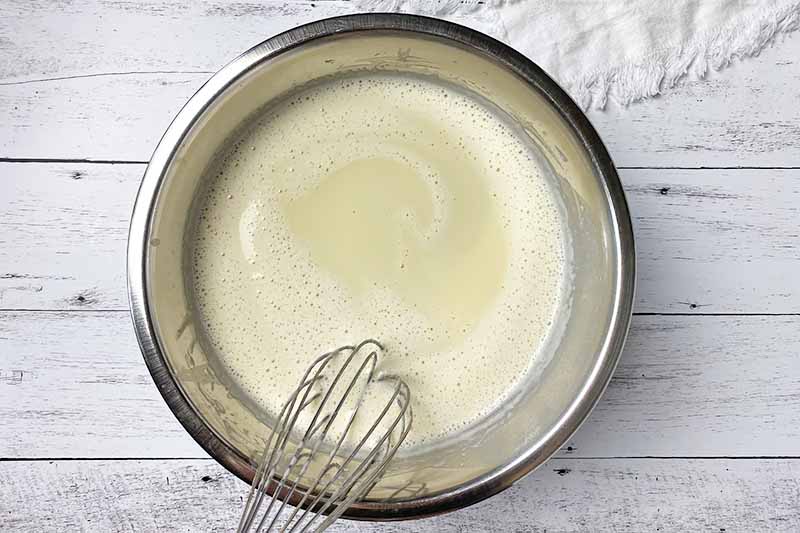
- In a separate medium heatproof bowl, vigorously whisk together the egg yolks as you gradually add the granulated sugar. Whisk together until a thick and light mixture forms, 1-2 minutes.
- While whisking constantly, pour about 1/3 of the hot milk mixture into the bowl with the egg yolks. Whisk just until combined and repeat with another 1/3 cup. While whisking constantly, pour the egg yolk mixture into the bowl with the remaining coconut milk. Return to the pot with the simmering water.
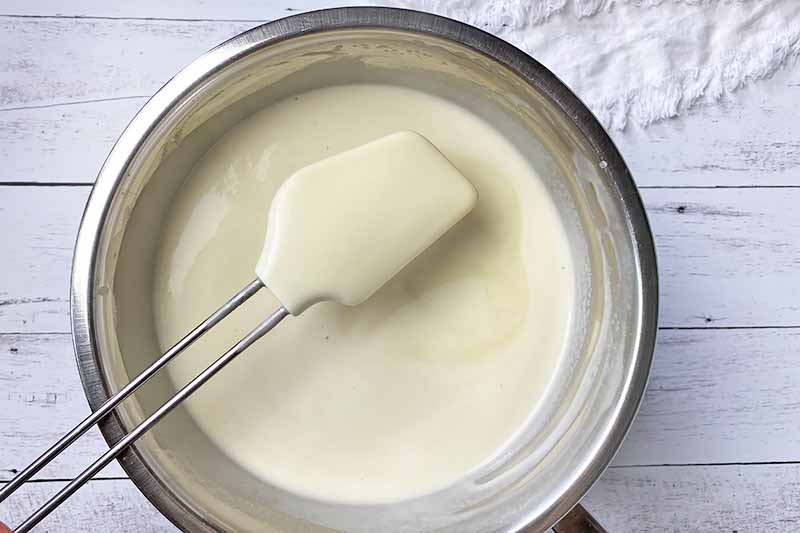
- Stirring gently yet constantly, cook the custard until the mixture thickens enough to coat the back of a spoon, another 8-10 minutes. It should reach a temperature between 175 and 185°F.
- Immediately remove from the heat and pour through a fine mesh strainer into a clean bowl. Whisk in the peppermint extract and salt.
- Allow the mixture to cool at room temperature for about 1 hour, stirring occasionally, before transferring to an airtight container to chill completely, at least 8 hours or up to 24 hours.
- Optional: For a light green color, process the chilled base with the avocado in a blender just until completely combined, about 30 seconds, immediately before churning.
- When ready to churn, add the base to the chilled bowl of your ice cream maker. Churn according to the manufacturer’s directions, or until it reaches a slightly thick, yet still soft, consistency. This may take 15-20 minutes.
- In the last few minutes of churning, while the ice cream is still very soft, add the chopped chocolate.
- Transfer the ice cream to an airtight freezer-safe container, and place a piece of parchment paper or plastic wrap directly on the surface of the ice cream before securing with the lid. Store in the freezer until firm, 6-8 hours.
- When ready to serve, allow the ice cream to sit at room temperature for about 10-15 minutes to soften slightly.
- Prep Time: 30 minutes
- Cook Time: 20 minutes
- Category: Ice Cream
- Method: Stovetop/Ice Cream Maker
- Cuisine: Frozen Dessert
Cooking by the Numbers…
Step 1 – Prep
Remember: the very first step is to freeze the bowl of your ice cream machine for at least 24 hours before you start the recipe! A properly frozen bowl is one of the key requirements to prepare a successfully churned ice cream.
When you are ready to make the base, fill a medium-size pot halfway with water and bring to a gentle simmer on the stovetop over medium-high heat. You will be assembling a double boiler in order to gently heat the ice cream base while avoiding the extreme, direct heat from the stovetop.
Place a medium-size heatproof bowl on top of the pot of water – it should be large enough for mixing most of the ingredients together, and should not actually touch the water below.
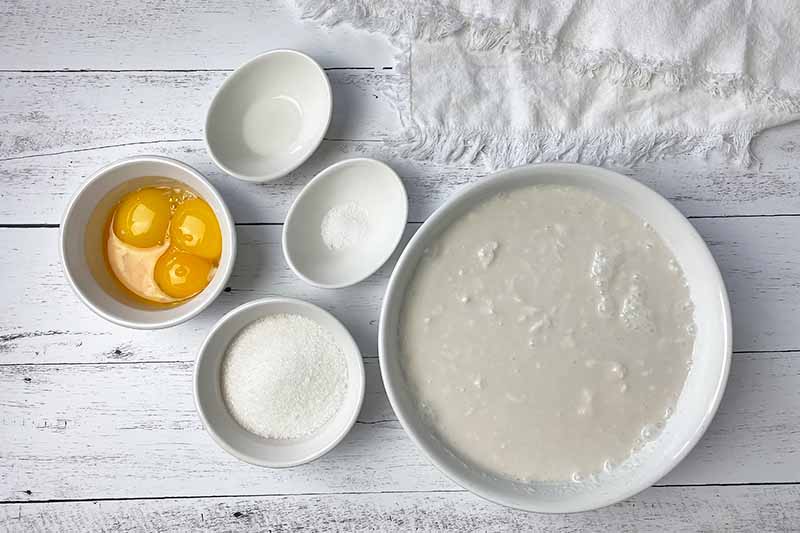
Open two cans of full-fat coconut milk and pour the contents into the heatproof bowl. If the fat has separated from the liquid in the cans, use a spatula to help you scrape out any remaining contents. Whisk the coconut milk to combine the fat and liquid.
Measure out the granulated sugar, salt, and peppermint extract.
Break and separate three egg yolks from the whites, transferring the yolks to a separate medium-size heatproof bowl. Save the whites for another purpose, like making an omelet or macaroons.
Wait to prep the avocado and dark chocolate until later in the recipe – we’ll let you know when!
Step 2 – Heat the Coconut Milk
Place the bowl with the coconut milk over the pot of simmering water.
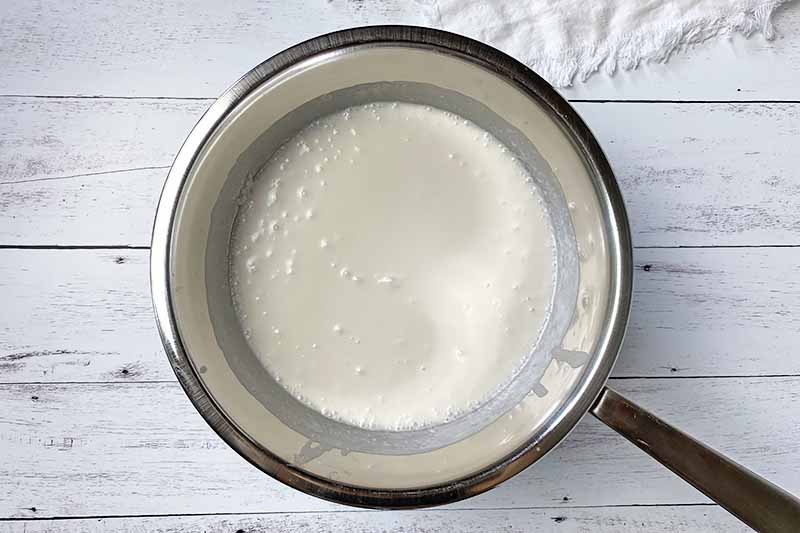
Whisking occasionally, heat the coconut milk until you start to see it steam. This will take about eight to 10 minutes.
Step 3 – Whisk Together Eggs and Sugar
While the coconut milk is heating, in between your occasional whisking, you can combine the yolks and sugar together.
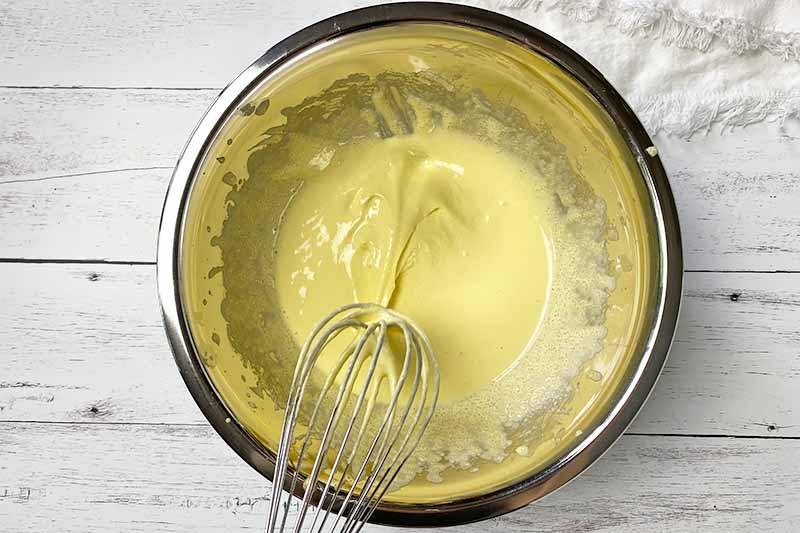
Using a clean whisk, whisk the yolks vigorously as you gradually add the granulated sugar. Continue whisking until a thickened and light yellow mixture forms, about another minute or two.
While you could add all the sugar at once, I wouldn’t recommend this! Adding the sugar all at once will create a super thick paste at first that may be a little difficult to mix. You’ll need some extra muscle power, but it will eventually lighten.
Step 4 – Combine the Custard Ingredients
When the coconut milk is steaming, remove the bowl from the pot, but keep the water in the pot at a gentle simmer – you’ll need this in just a few moments to heat the custard.
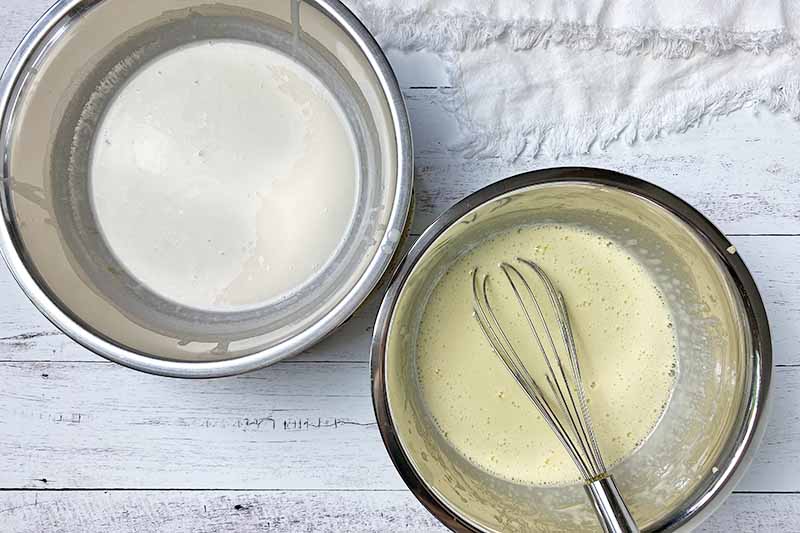
This step involves tempering the egg mixture, a gentle cooking technique in which the yolks are slowly warmed by mixing in a small portion of hot liquid. This process helps to prevent the yolks from prematurely coagulating and separating into curdy lumps.
Gradually pour about 1/3 cup of the warm milk into the yolk mixture while whisking constantly. Add another 1/3 cup of the warm milk and continue to whisk constantly.
While whisking constantly, you can now pour this heated yolk mixture into the bowl with the remaining warm coconut milk.
Step 5 – Gently Heat and Thicken Custard
Return the bowl back on top of the pot of simmering water. You are now going to gently warm the liquid to continue cooking the yolks and to thicken the custard.
Again, the double boiler method is the best cooking technique to reduce the risk of overcooking the custard, with its gentle heat created from the steaming water.
Especially now that the delicate egg yolks have been added to the mix, you don’t want to forcefully cook the custard at a high heat level!
While you can use a whisk here, I prefer to switch from a whisk to a heatproof sturdy spoon or spatula at this point – you don’t want to excessively agitate or aerate this mixture as it cooks. Avoiding this will help to maintain a rich, thick base.
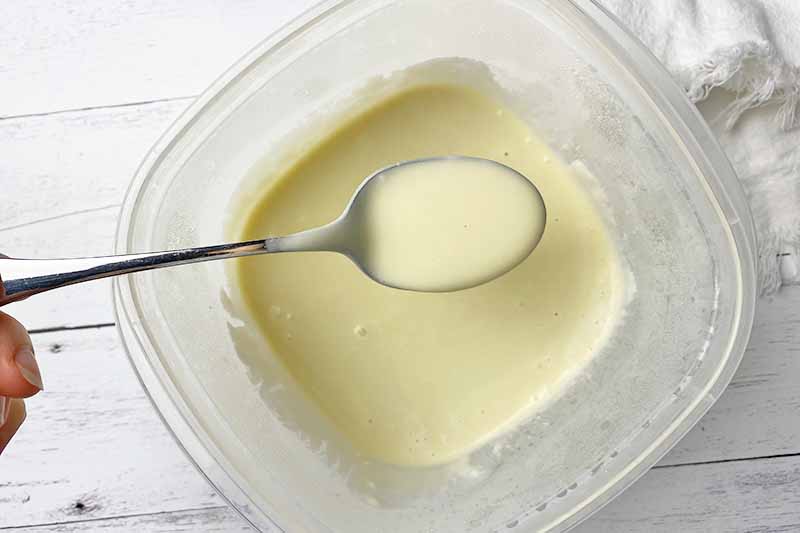
While stirring gently yet constantly, cook the custard until it reaches a temperature between 175 and 185°F as indicated on a thermometer. This is a safe range to ensure the yolks are fully cooked, and that the base reaches the best thickness level.
Within this temperature range, the liquid should be able to slightly cling and coat the back of a spoon without rapidly falling off. This should take about 8 to 10 minutes, but could take a little longer.
Immediately remove the bowl from the heat once it reaches anywhere within this temperature range and test to see if it coats a spoon.
If the liquid is still very runny, continue cooking for an additional 5 minutes.
Step 6 – Strain and Add Peppermint Extract and Salt
Even though you were very careful and gentle with the cooking technique, there may still be some coagulated yolks in the mixture.
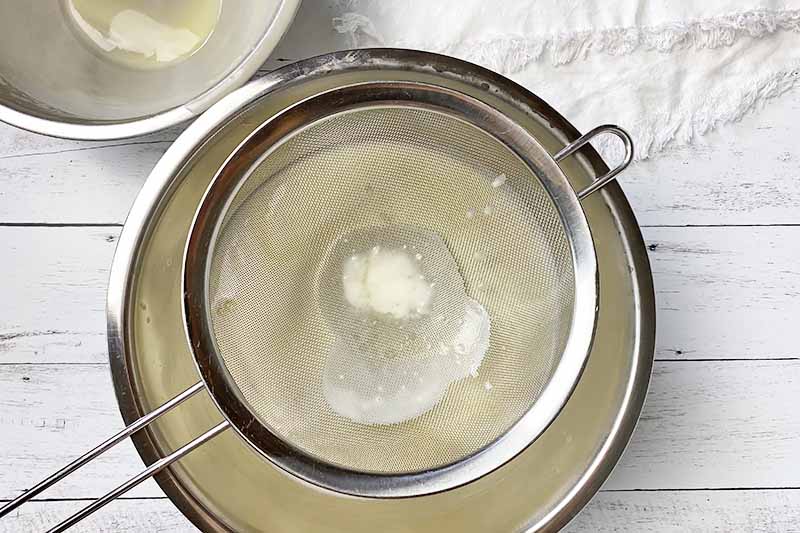
To remove any little bits from the ice cream base, simply pass it through a fine mesh strainer into a clean heatproof bowl.
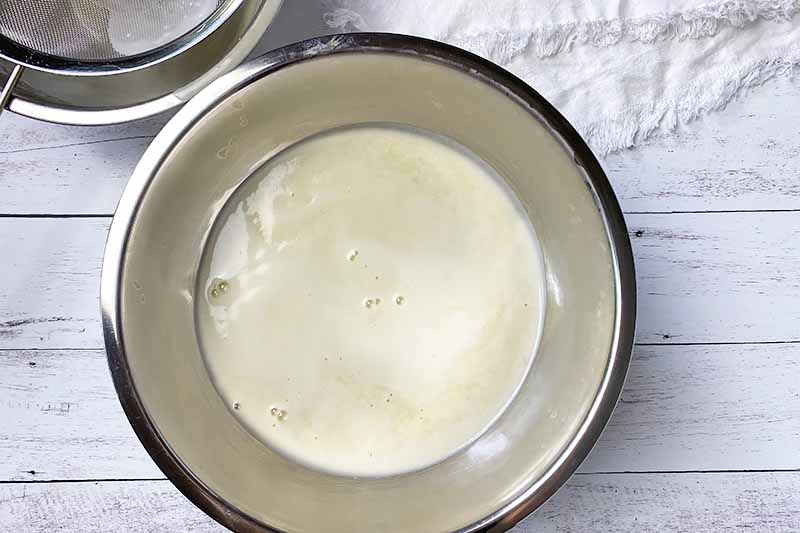
Whisk in the peppermint extract and salt.
Step 7 – Chill
Allow the base to slightly cool down at room temperature before chilling in the refrigerator, whisking occasionally to redistribute the heat. Let the base cool on the countertop for about one hour at room temperature.
If you were to immediately place this hot mixture in a cold fridge without any stirring, the base would cool down unevenly, potentially leading to food safety risks due to improper temperature control.
You can also hasten this cool-down process by placing the bowl over a larger bowl filled with ice.
After one hour has passed, pour the mixture into an airtight container and let it cool completely in the refrigerator. This will take at least eight hours, but the base can chill in the refrigerator for up to 24 hours before churning.
Step 8 – Blend with Avocado (Optional)
When the base has chilled completely, you could opt to skip this step and immediately begin to churn it – the base will be an off-white color.
However, if you love the pretty hue of a mint-green custard, stay right here!
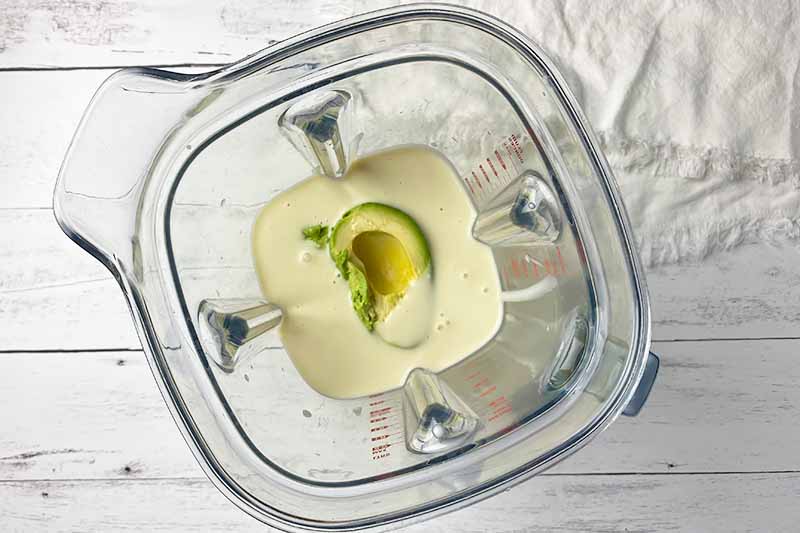
Using a sharp knife and sturdy cutting board, halve a chilled medium-size avocado. Peel one half, and reserve the remaining ripe avocado for another recipe – maybe our crab-stuffed avocado for a light dinner before dessert!
Transfer the chilled custard to a high-speed blender and add the avocado. Process the custard and avocado together at high speed for no more than 20 to 30 seconds, just until they are completely combined.
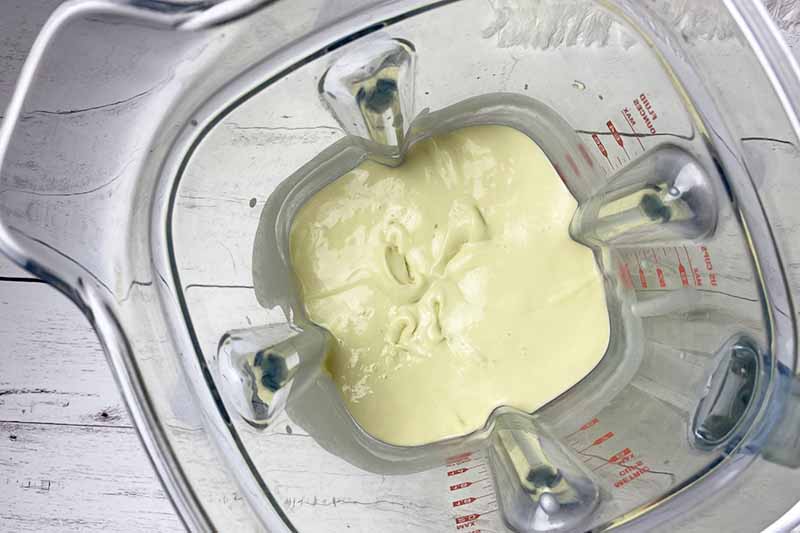
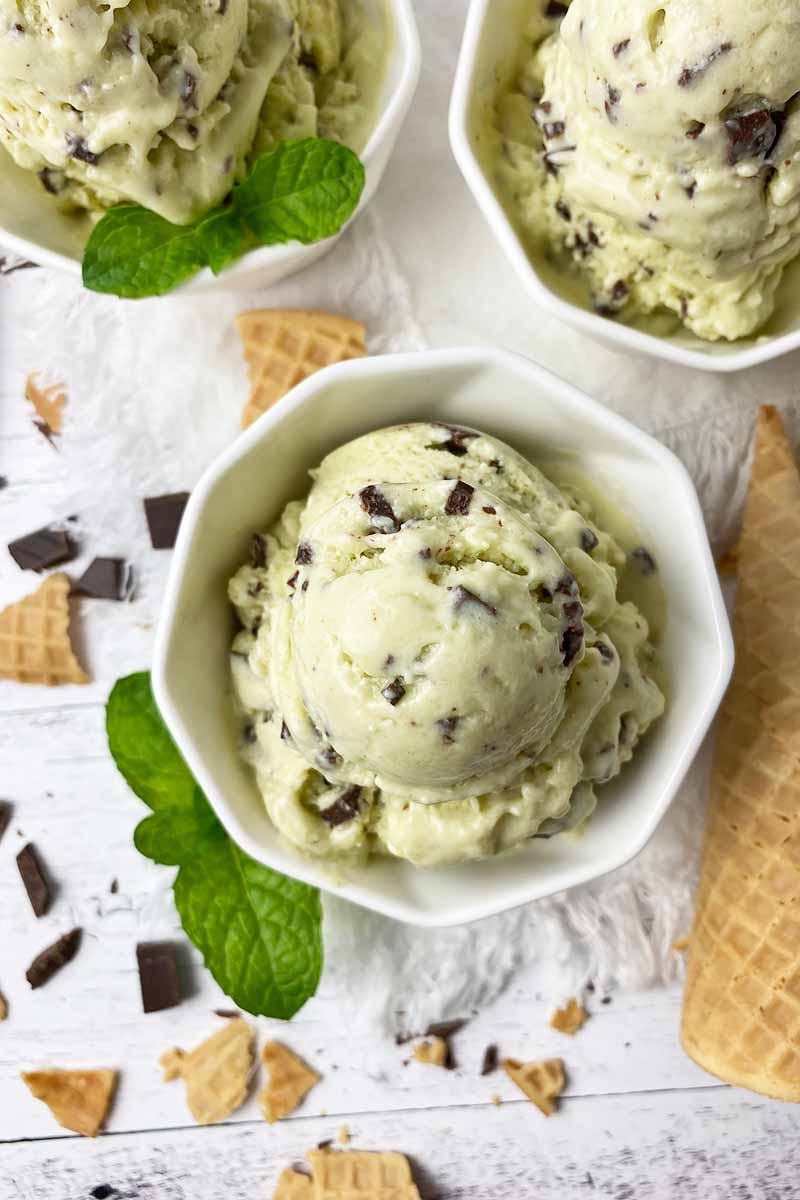
The mixture will thicken slightly, and will turn a light green color – how pretty!
The avocado is a neutrally-flavored component, providing subtle color with no strong flavors that would clash with this sweet dessert.
Step 9 – Churn and Add the Chocolate
Ready to churn? So are we!
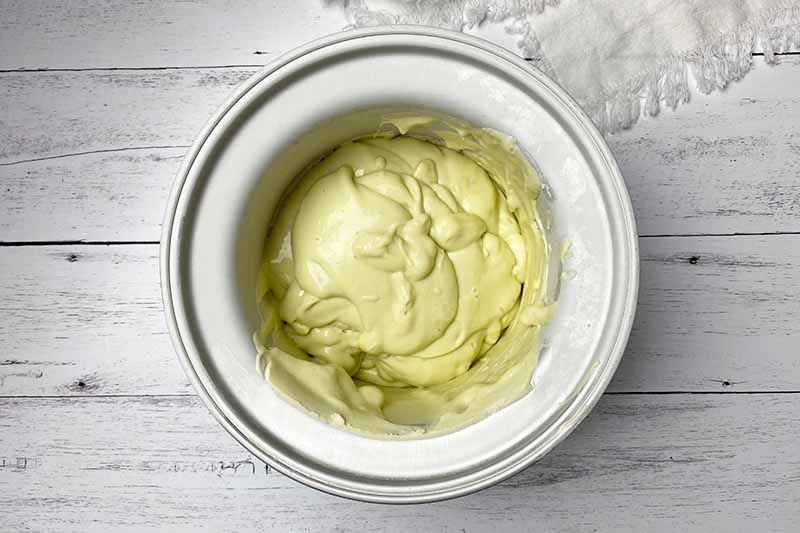
Pour the prepared base into the chilled bowl of your ice cream maker. Follow the directions provided by the manufacturer.
Ideally, the consistency should be thickened slightly, but it should still be very soft. Churning typically takes between 15 and 20 minutes.
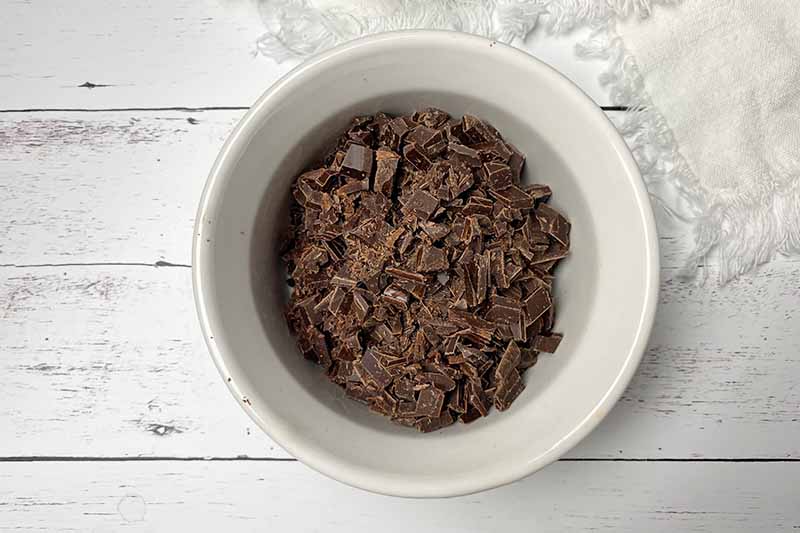
While the custard is churning, you can prepare the chocolate. Using a clean and sturdy cutting board and knife, finely chop the chocolate into small pieces.
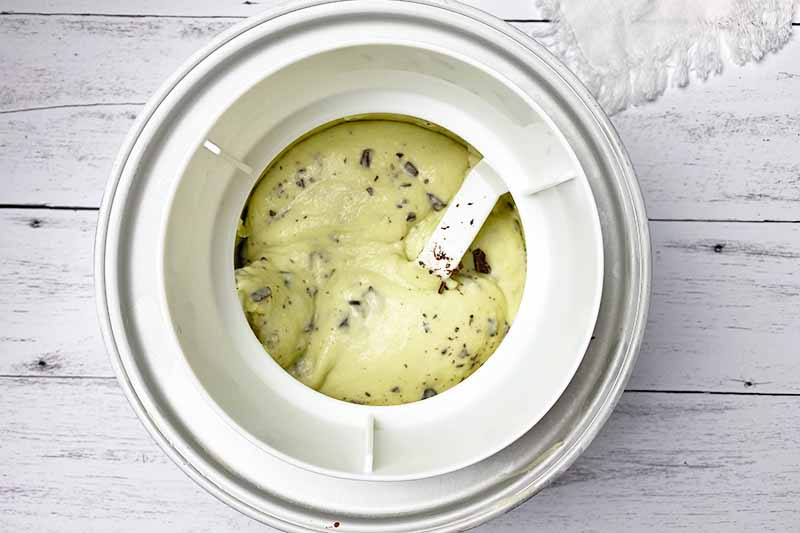
While the custard is on its last few minutes of churning and is still fairly soft, add the chocolate. The final few minutes of churning will help to distribute all of the pieces throughout the mix.
Step 10 – Chill to Firm
When the ice cream has reached the right consistency, turn off the appliance. Scoop the partially frozen ice cream into a freezer-friendly airtight container.
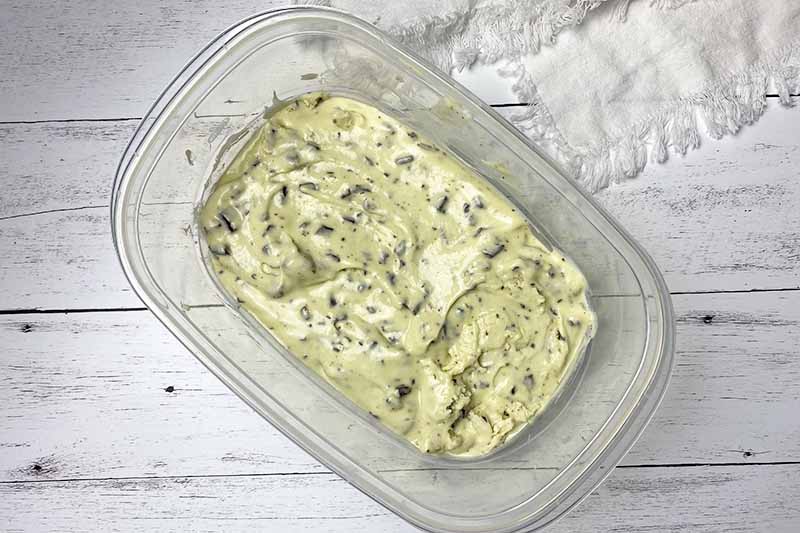
Place a piece of parchment paper or plastic wrap directly onto the surface of the ice cream – this is an extra measure to prevent any ice formation on the exposed surface of the ice cream.
Transfer the container to the freezer and freeze until it is completely firm before serving. This can take between six and eight hours, depending on the dimensions of the container and the temperature of your freezer.

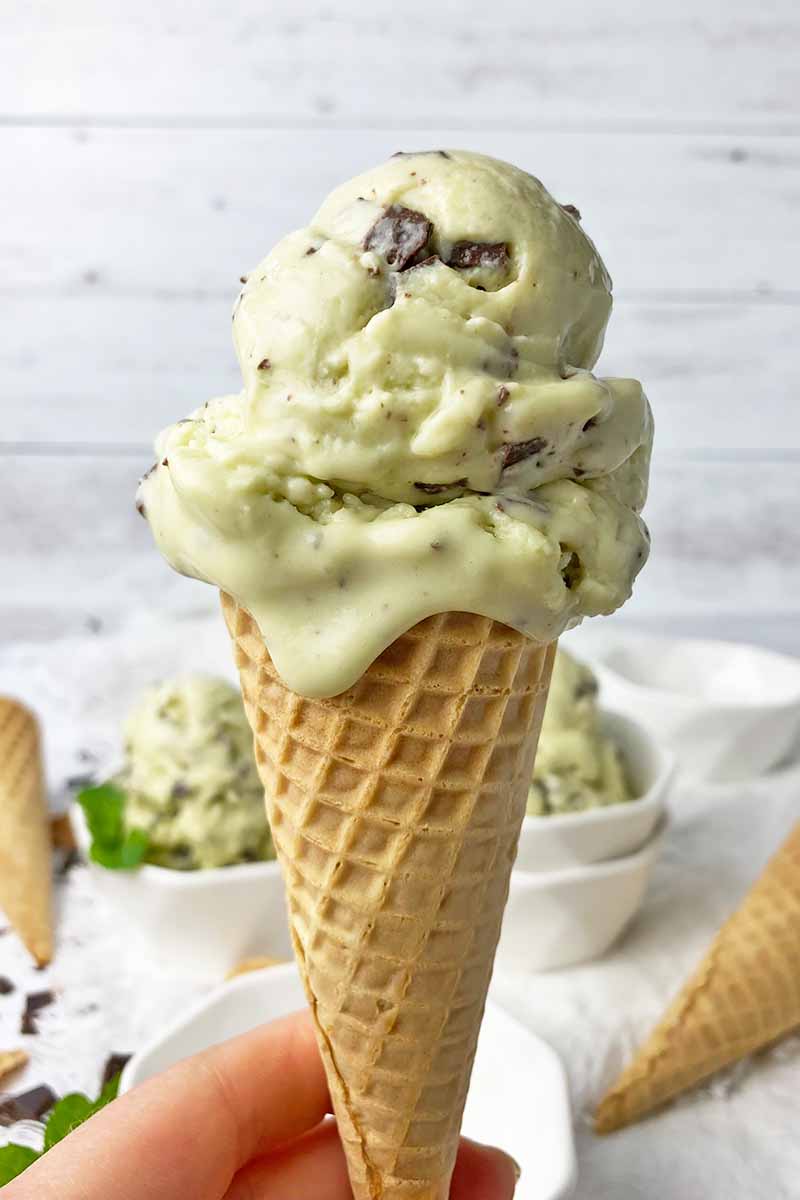
When ready to serve, allow the ice cream to sit at room temperature for about 10 to 15 minutes – this will help to soften the texture for scooping.
Eat and enjoy until the very last spoonful!
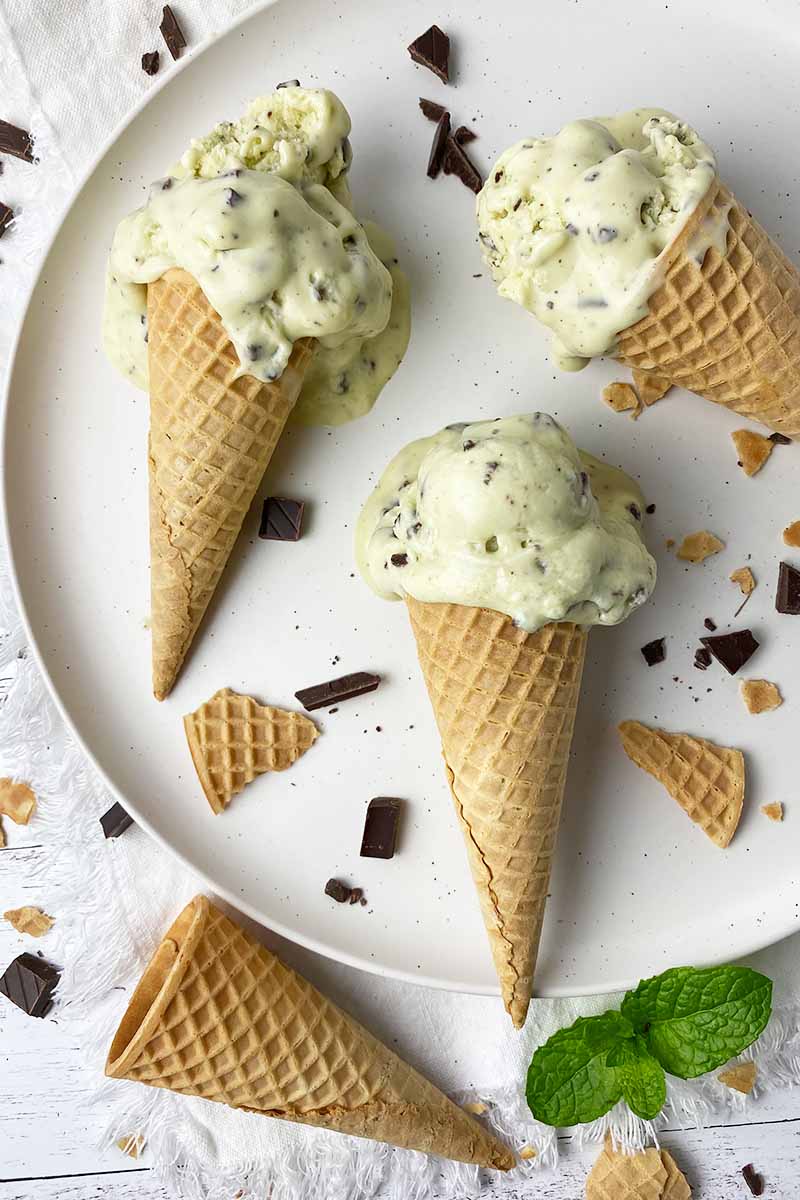
What Toppings Should I Use?
Mint chocolate chip ice cream can be a complicated flavor to pair with a garnish, but it’s not an impossible undertaking!
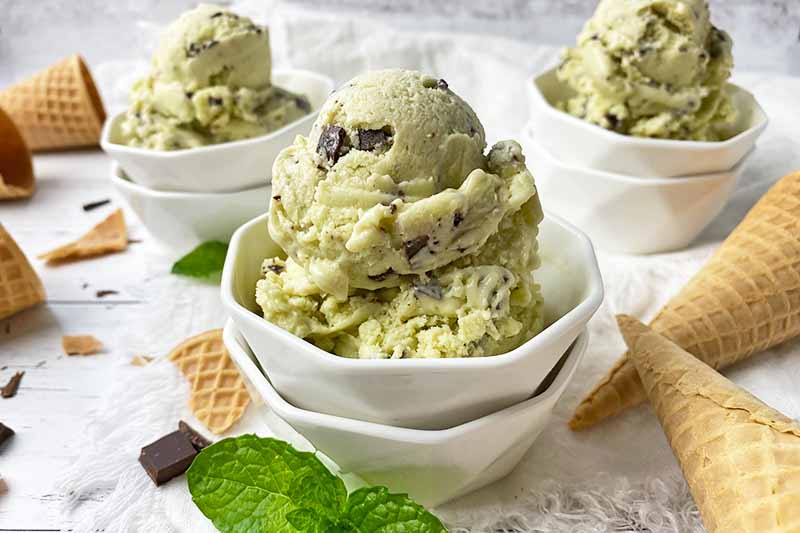
While serving this frozen dessert as is would be completely appropriate for the ice cream purists, or for anyone looking to eat just a quick and refreshing spoonful straight from the freezer before carrying on with the day, there are also some tasty toppings to invite into the bowl or on the cone!
Stay simple – you don’t want any toppings to clash with the powerfully minty taste. Choose garnishes that align with the ingredients already present in the ice cream.
Smart garnish ideas include a dollop of whipped coconut cream, a sprinkle of extra finely chopped dark chocolate, or a drizzle of a homemade vegan chocolate sauce, like the one you’ll find in our recipe for a raw chocolate cheesecake.
What do you think – garnish or no garnish? How will you top this dairy-free treat? Leave a comment below!
Refreshing and revitalizing, mint is a mighty herb you can apply across multiple recipe genres. If you love its bold flavor and invigorating aroma, the following recipes are ready for you to try next:
Photos by Nikki Cervone, © Ask the Experts, LLC. ALL RIGHTS RESERVED. See our TOS for more details. Originally published by Shanna Mallon on December 8, 2013. Last updated on June 25, 2023.
Nutritional information derived from a database of known generic and branded foods and ingredients and was not compiled by a registered dietitian or submitted for lab testing. It should be viewed as an approximation.
About Nikki Cervone
Nikki Cervone is an ACS Certified Cheese Professional and cheesemonger living in Pittsburgh. Nikki holds an AAS in baking/pastry from Westmoreland County Community College, a BA in Communications from Duquesne University, and an MLA in Gastronomy from Boston University. When she's not nibbling on her favorite cheeses or testing a batch of cupcakes, Nikki enjoys a healthy dose of yoga, wine, hiking, singing in the shower, and chocolate. Lots of chocolate.

WHOA. Must make this tonight – thank you!!
Yay! Hope you enjoy, Jessie!
I love that first photo! I think I’ll be making this very, very soon 🙂
Thanks, Lindsey!
Mmmm, the texture on that ice cream looks fantastic! We love our chilled treats around here. 😉
Heaven. I love the idea of coconut and mint together. And chocolate chunks is, of course, a lovely touch.
The chocolate chunks are my fav.
yes to this! we’ve been making coconut milk based ice cream for awhile and this flavor combo is dw’s fave. a trick i learned is adding about 1/2 TBL of potato starch to the mixture to not only thicken it a smidge more, but it helps to keep the concoction from getting too icy, and keeping its creamy consistency. i think i learned it from sprouted kitchen or oh lady cakes.
interesting! this version was super creamy to us, but then we are used to milk-only ice creams, so maybe that’s why. : ) good to know about the potato starch! thanks!
I’m always worried that if we buy an ice cream maker, our diets will be approximately 85% ice cream ; )
haha! I speak from experience: It’s entirely possible… : )
Oh my gosh. This looks delicious, I’m definitely pinning this!
Thanks for sharing this recipe!
Enjoy the ice cream.
My kids would definitely love this ice cream flavor. Looks so rich and creamy.
Great, Tammie! Hope you enjoy!
I was wondering if egg replacement would work for this….flax or something…..my kids are terribly allergic to eggs.
tia
Aliyanna
Hi Aliyanna,
I am not sure if the egg replacement would work for this as the yolks help to make the custard–but I have not tried it so you can give it a go if you like! If you want to do it egg free I would suggest using maple syrup or sorghum syrup as I have found that to be a better texture.
Wow. I have never had any mint chocolate chip coconut ice cream. This looks delicious! Thank you for the recipe.
I’ve become a total convert to using mint leaves instead of extract. The taste is quite different: softer and more complex, and definitely not like toothpaste.
In the (dairy) recipe I use, you bring cream and milk to a simmer and stir in 2 cups packed mint leaves, cover, and remove from heat. Let mint infuse for 2 hours at room temperature. I think that could be adapted to this.
Sounds great. Thanks for sharing, Scott!