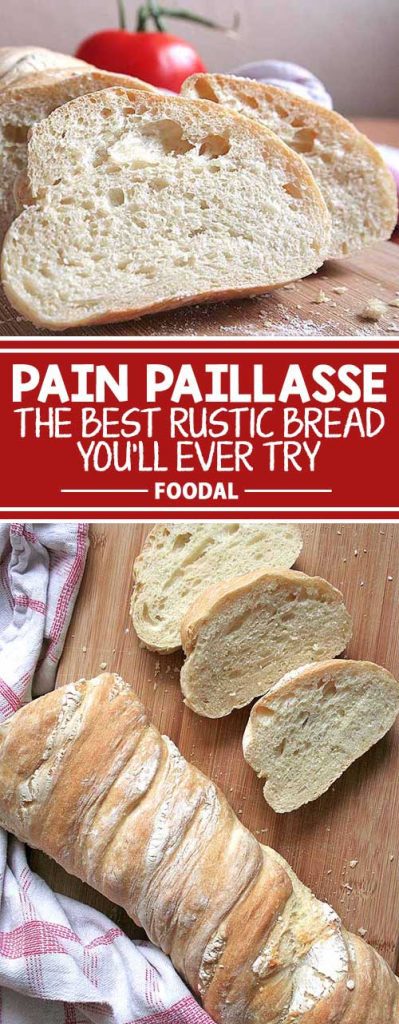
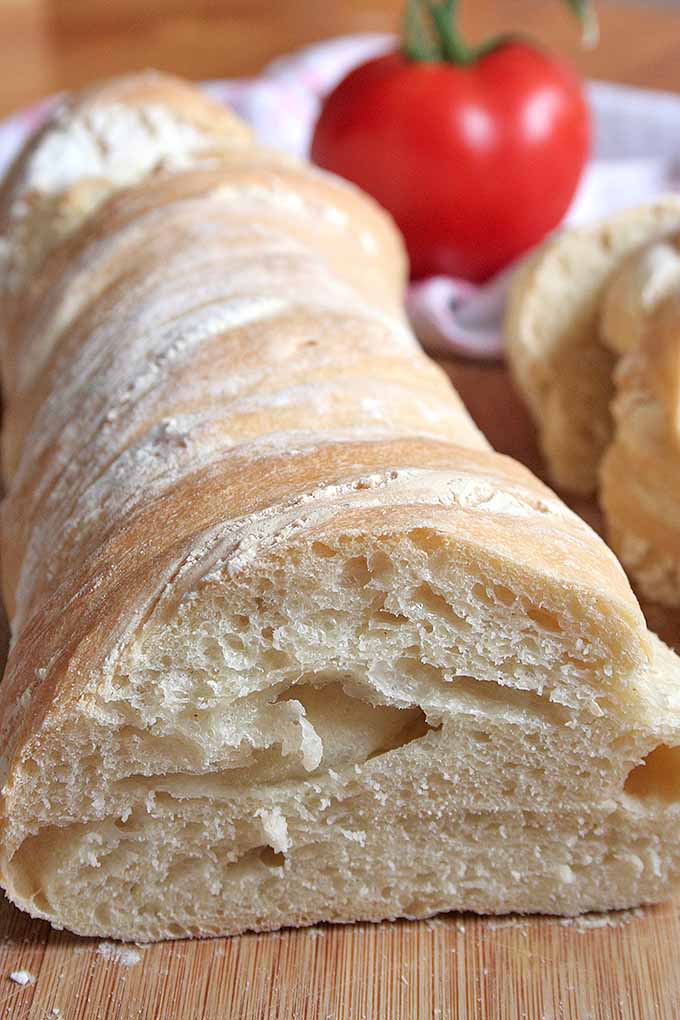
With the help of this incredibly simple recipe, you are able to bake a wonderful loaf of ciabatta-style bread without the huge effort ciabatta normally requires.
The only thing you’ll need is some patience for the dough to rest. The finished product works perfectly as a side for barbecues or other celebrations.
Pain paillasse was developed in the 1990s by the Genevan baker Aimé Pouly. He patented the recipe two years after developing it and started sharing licenses in Switzerland.
The ingredients and the exact method of preparation are still a well-kept secret, and bakeries that own the official license get specific mixtures of flour delivered to them. They also have a particular technique that must be followed to produce this authentic specialty.
However, it is hard to find places where the original version is sold, and it may not even be available outside of Western Europe. In order for this tasty treat to become more available, various recipes have been developed that closely mimic the original.
You might also enjoy the fact that it hardly needs any preparation or frequent checks!
Simply prepare the dough on the evening before you’re ready to bake and leave it in the fridge overnight. This is the easiest way to bridge the 14-16 hours that is required for resting.
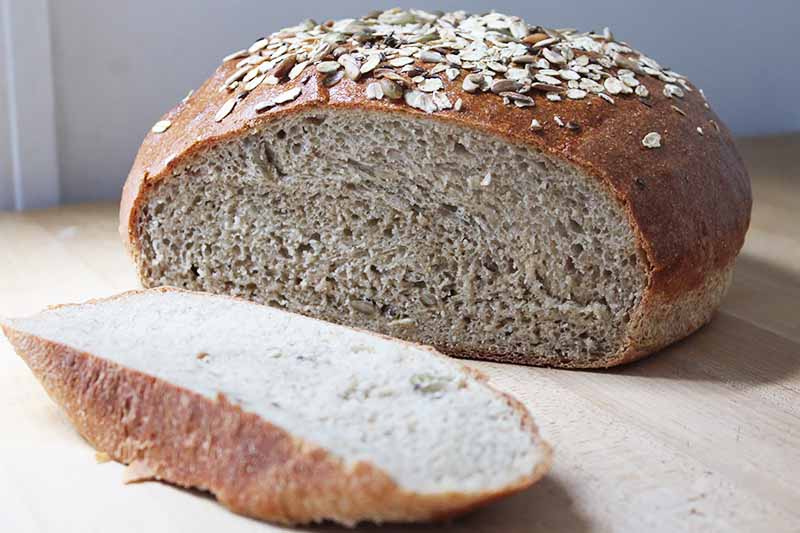
Due to the long resting period, the bread develops an intense flavor and a wonderful crust.
This long fermentation process has yet another advantage. During that time, the starch transforms into natural sugar, which makes the bread become more digestible than common varieties.
Similar to other sourdough breads that rely on a long fermentation period, this is a fluffy, delicious fermented food item that may help aid the maintenance of a healthy gut!
Also, this is the reason behind it’s wonderful sweet and aromatic taste.
My favorite version is made of spelt.
I often use this kind of flour because I cannot tolerate large amounts of wheat. If you like, add some herbs or nuts for a tasty twist.
If you don’t consume the whole loaf at once, it’s best to keep it in a cloth bag or wrapped in a kitchen towel, as plastic bags or synthetic material will induce mold.
Freezing is also an option. Slice a chunk or two off as you need it to keep the rest fresh.
Due to the high moisture content of this bread, it will retain its freshness the next day, or after warming it up in the oven or toaster.
Let’s head to the recipe now!
The Recipe
- 4 1/4 cups spelt flour*
- 1 1/2 teaspoons salt
- pinch of sugar
- 1 1/4 cups lukewarm water
- 10.5 g fresh yeast
- fresh or dried herbs, olives, or walnuts optional, to taste
- Sieve the flour in a bowl. Add salt and sugar.
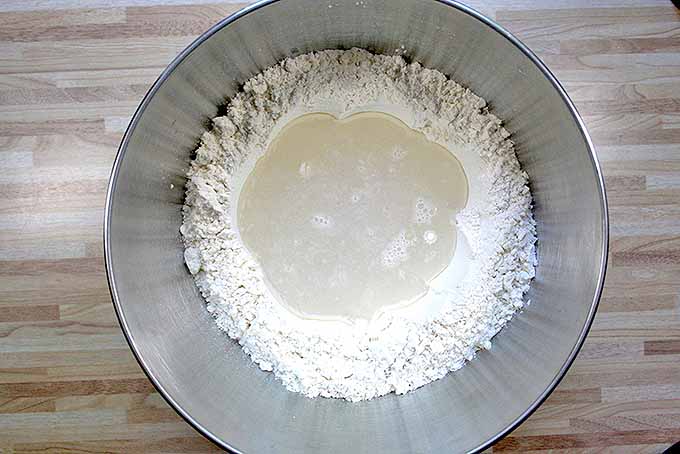
- Make a small hole in the middle of the flour; gently add the water and yeast.
- Mix the dough by hand, or in a stand mixer fitted with the dough attachment. Add optional ingredients.
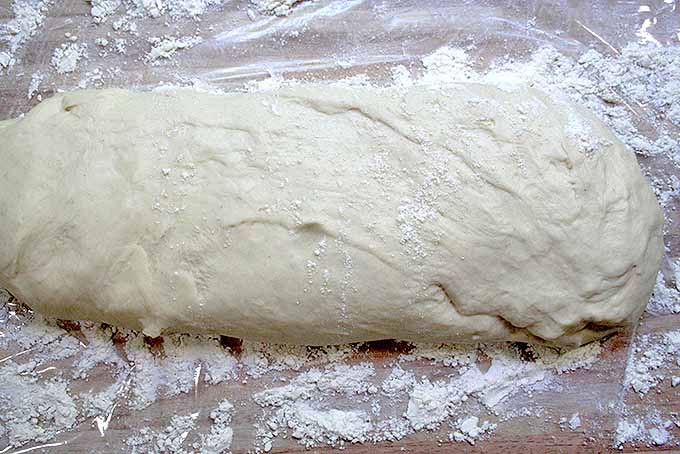
- When the mixture feels smooth, place it on a floured countertop and knead for another 5 minutes, until it does not stick to your hands anymore. Form into a loaf.
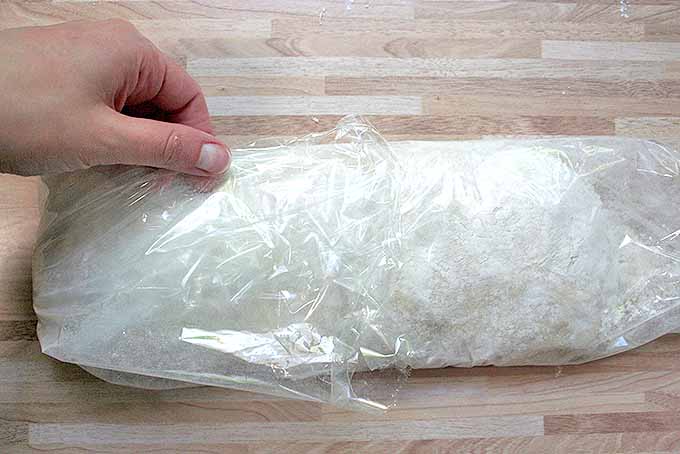
- Dust some plastic wrap with flour and wrap up the bread. Leave in the fridge for at least 14-16 hours.
- After 14-16 hours, preheat the oven to 400°F/200°C. Position a rack close to the bottom of the oven.
- Remove the wrap from the dough. Do not knead.
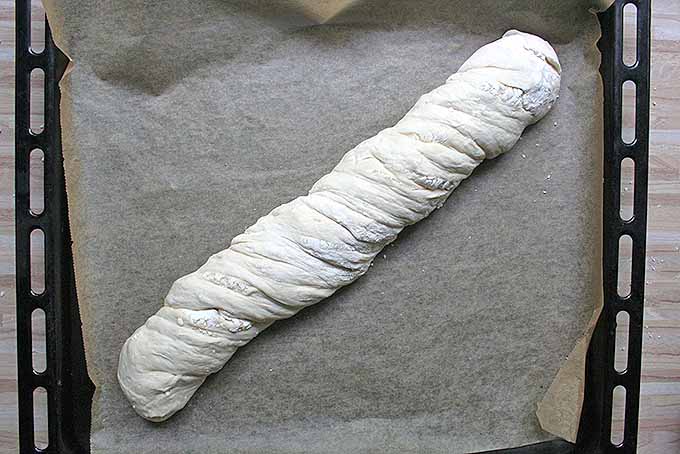
- Place the bread on a tray lined with parchment paper. Form it into a long loaf and twist it.
- Bake on the bottom rack for 30 minutes, until a golden-yellow crust forms.
Nutritional Information*
Cooking by the Numbers…
Step 1 – Measuring Ingredients & Dry Mixture
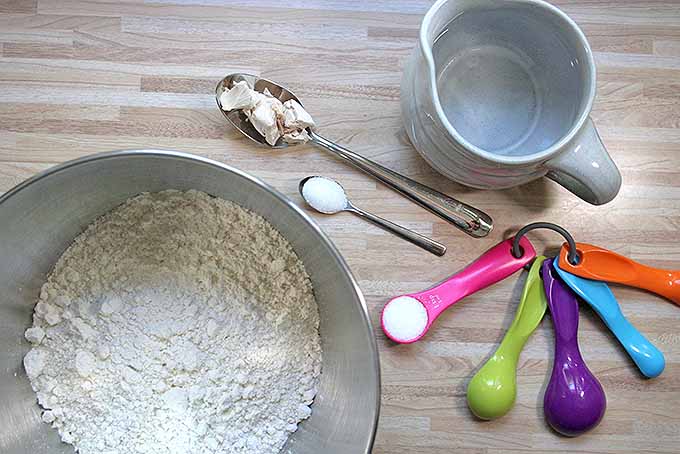
Prepare the ingredients you need, and measure the flour, salt, yeast, and water.
Sift the flour into a bowl, then add the salt and sugar.
Step 2 – Adding Yeast and Water
Make a small well in the middle of the flour mixture, and gently add the water and the fresh yeast.
Mix the dough by hand or in a stand mixer fitted with the dough hook attachment. Add optional ingredients like herbs, olives, or walnuts.
Knead until the dough feels smooth and is no longer sticky.
“Knead” some more kneading info? Read our post on kneading techniques to get the most beautiful breads!
Step 3 – Preparing the Dough for Resting
Lightly dust some plastic wrap (enough to wrap it completely around the dough) with flour.
Form a loaf, and put the dough onto the floured plastic wrap. Wrap the dough, and put it in the fridge for 14-16 hours.
Step 4 – Preparing the Bread for Baking
Preheat the oven to 400°F/200°C.
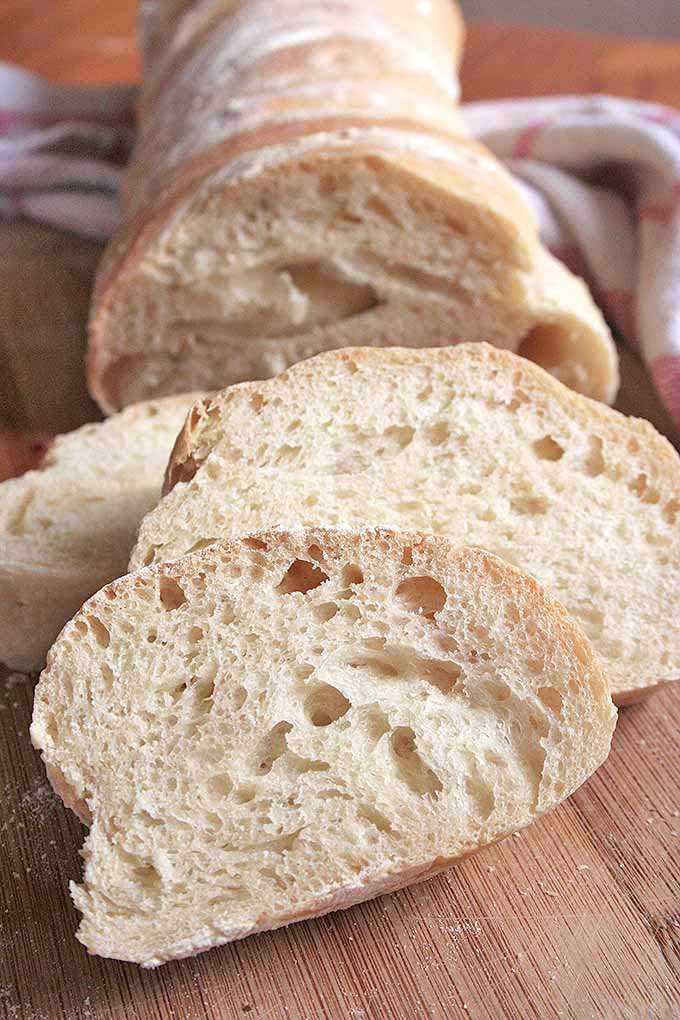
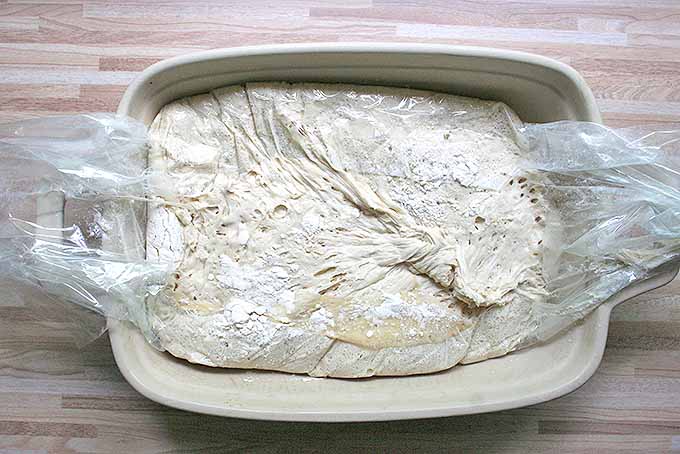
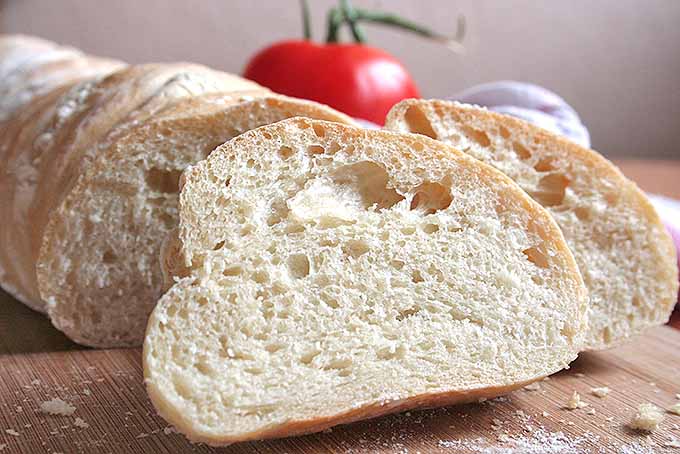
Remove the plastic wrap. Do not knead the dough anymore, because you don’t want to squeeze out the air pockets that have developed.
Step 5 – Baking the Bread
Line a baking sheet with parchment paper.
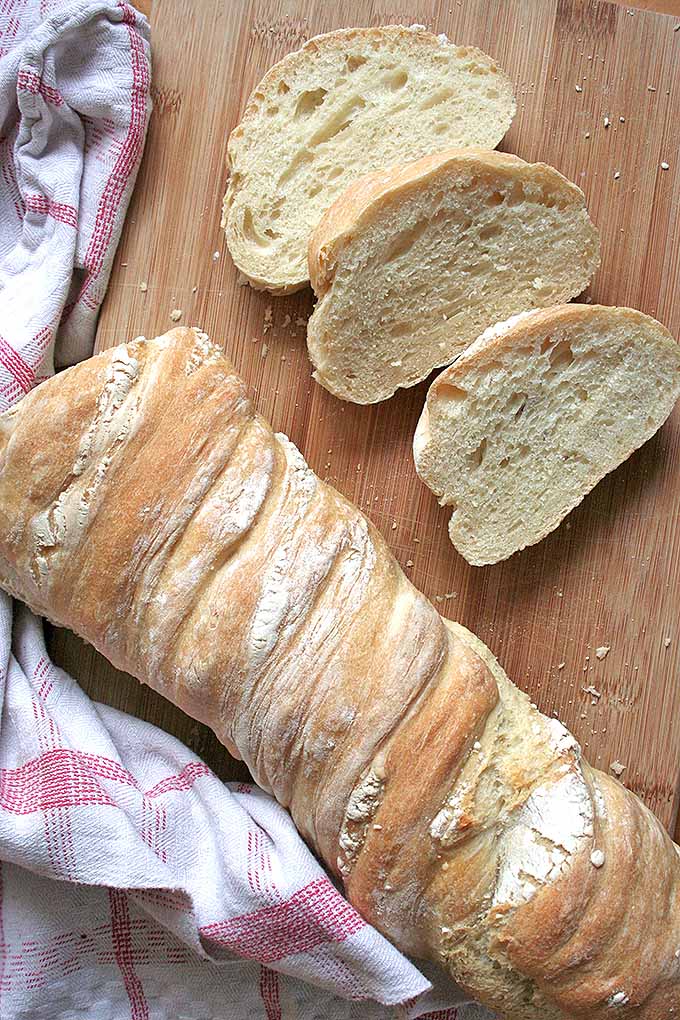
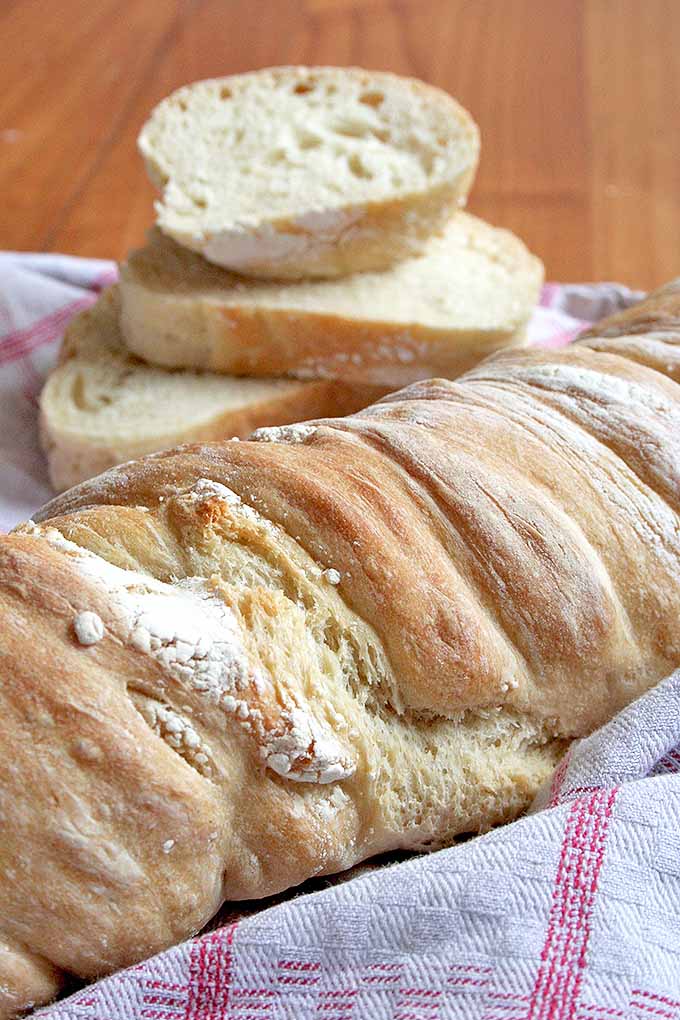
Form the dough into a long loaf and twist it, so that it looks a bit like a root. This will provide a nice look to the crust after baking.
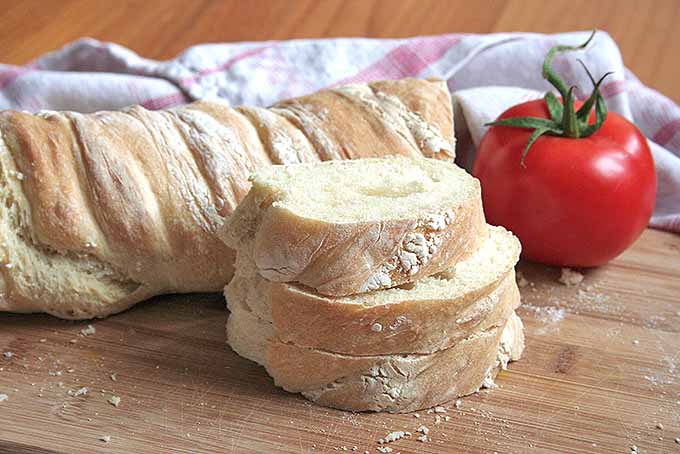
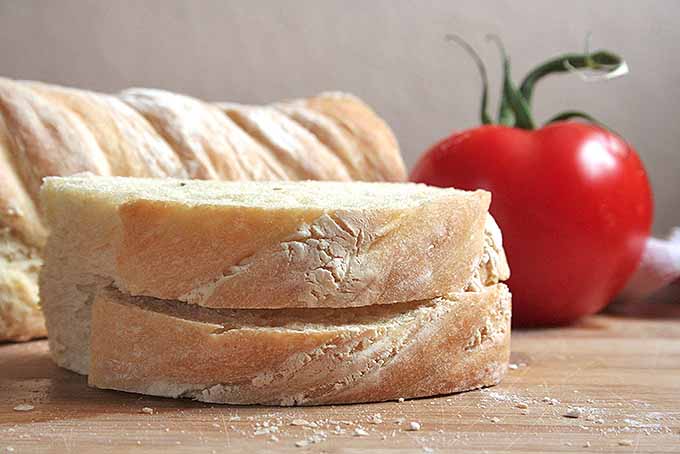
Bake for 30 minutes until the pain paillasse has a nice crust and a golden-yellow color.
One Recipe, Plenty of Options!
Do you need some ideas for what to do with the pain paillasse besides eating it right away? What about…
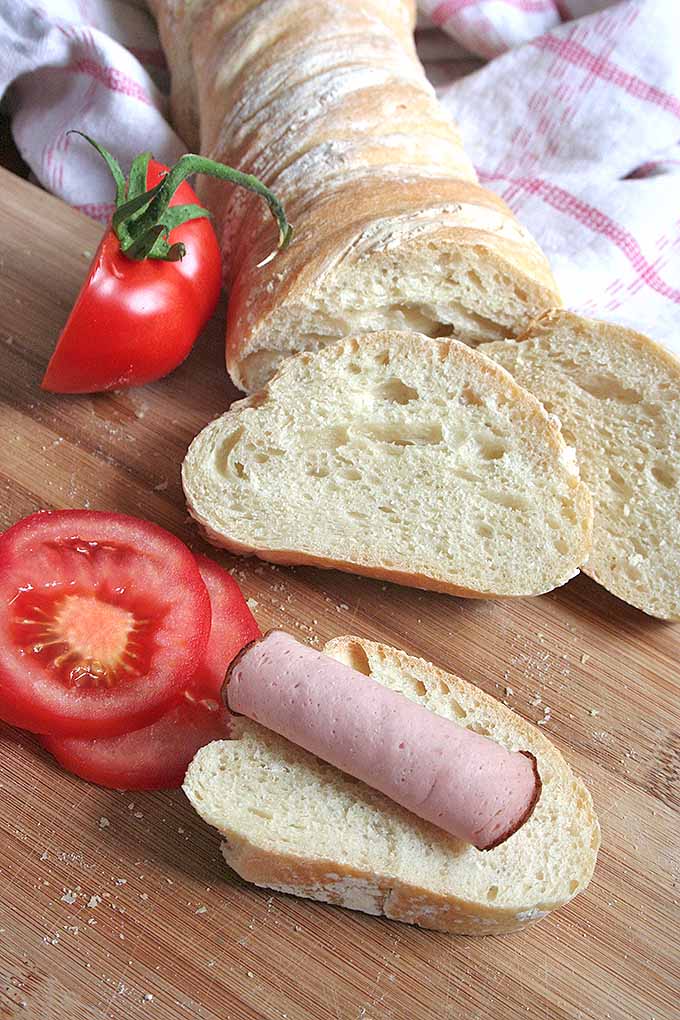
- Serving it fresh as a side dish with a drizzle of olive oil or herb butter?
- Use it for a layered muffuletta sandwich?
- Chopping it into cubes and roasting it in a pan with some olive oil to make croutons?
- Using it for your next cheese fondue during the colder months?
- Preparing a fabulous panini?
- Toasting a slice or two and preparing a fresh bruschetta?
Do you own a pizza stone for your oven? Use it for baking this recipe to create the most excellent crust.
For something with a shorter resting period that’s perfect for spring, try making our seasonal pull-apart bread, with ramson or wild garlic. You can find the recipe here. It’s also easily adaptable to your tastes, to be sweet or savory!
If you enjoyed making this bread, then you’ll also like some of these delish recipes:
How will you use this delicious bread recipe? What do you think of about long fermentation periods? Let us know what you think in the comment section below!
Don’t forget to Pin It!
Photos by Nina-Kristin Isensee, © Ask the Experts, LLC. ALL RIGHTS RESERVED. See our TOS for more details. Originally published July 20th, 2015 by Nina-Kristin Isensee. Revised and expanded on May 27th, 2017.
*Nutritional information derived from a database of known generic and branded foods and ingredients and was not compiled by a registered dietitian or submitted for lab testing. It should be viewed as an approximation.
About Nina-Kristin Isensee
Nina lives in Iserlohn, Germany and holds an MA in Art History (Medieval and Renaissance Studies). She is currently working as a freelance writer in various fields. She enjoys travel, photography, cooking, and baking. Nina tries to cook from scratch every day when she has the time and enjoys trying out new spices and ingredients, as well as surprising her family with new cake creations.



I’ve never made a bread with spelt flour but this one seems so easy that I definitely want to try it! For now, I’ll pin it to my breads board and hope I get around to trying it before too long. 😉
I’ve been looking for a new bread recipe and this looks delicious. I’ll try the spelt as I’ve been trying to avoid wheat lately (I’ve heard it’s hard on the digestive system).
Might use it to make some garlic bread.
Garlic bread sounds great, I think this recipe is a perfect choice to make it.
Concerning spelt, I have made positive experiences. I often replace common wheat flour with spelt and it always works out fine in cakes, bread etc. I also think it doesn’t make a real difference for the flavor, my family often wouldn’t taste what kind of flour I used!
I’ve also never used Spelt flour, and will need to check it’s availability here where I live, but this sounds like it’s very tasty. I actually love recipes that call for this type of resting period, because I also need a resting period, and sometimes have to stop and take breaks during regular cooking. The fact that it’s more easily digested appeals to me, because I have gastrointestinal issues, so this is one recipe I’d like to try for sure.
This is what I like about the bread too. You mix the dough, wrap the loaf and that’s it for the first day, really practical.
I hope you can find Spelt flour where you live, I really like using it for different baked goods. I often feel like my stomach is bloating when I have too much wheat, that’s why I switched to spelt.
I love bread of any kind. Depending on what type I also love eating it warmed with a small amount of butter spread on it as comfort food. I have never heard of recipes like this being so secret.
The name of the bread had me confused at first, but then I recognized it. I absolutely love eating this type of bread at fancy sit-in restaurants! I am planning on trying to replicate the recipe soon as I just recently bought zatar and olive oil; I feel as though these would go best with the bread. 🙂
This looks like it’ll pair well with so many things. Like a few others who posted previously, I’ve never used spelt flour before but I think it’s perfect for me. Too much wheat seems to make me feel a bit sluggish. And this seems so easy to make, I really have no excuses not to try it. Garlic bread, here I come!
I bet I’d be in heaven whilst indulging in this rustic loaf with some deeply salted broth or vegetable soup but I tend to prefer meat stew soup with some bread, so that will do…but as told in the article, preparing the dough is quite tasking…got to exercise those biceps before I start kneading 😉
This is really quite practical. It can be made a day before it is needed and simply taken from the fridge and popped in the oven whilst you get on with other dishes. Recipes which require a lot of resting time can actually turn out to be real timesavers if they are planned correctly.
Totally, especially when I expect more guests and there are lots of things to prepare anyway, I try to find possibilites to save at least some kitchen-time. This bread is a perfect idea and one can concentrate on other tasks.
This looks like a great recipe. I’m a huge ciabatta fan, but it really is labour intensive.
I’m thinking this recipe would be good with some garlic, oregano, and maybe rosemary. I’ve been meaning to try spelt flour for a while – I’ve never used it before.
This does look like it’ll make a great side dish, especially with a garlic butter spread. Yum.
Spelt is truly a great alternative to wheat. I usually replace it for almost all my cakes, bakes, breads etc. And they turn out great so that my family members can’t tell the difference. For me, it works great in all kinds of baked goods.
And your idea with garlic butter spread, thyme and rosemary (my favorites) sounds absolutely delicious!
Well I am not exactly sure what the reasoning is behind it, but it seems like everything that I try that has the word rustic in the name tends to be delicious. I have to say, too, that this one seems to fall right in line with those other ones too, and it looks like it would hit the spot. I love having bread on hand, for meals and just to snack on, so I will have to keep this one in my back pocket…thanks for sharing.
It is, right? 😉 I think so, too. I think most of the “rustic” recipe I’ve tried belong to the category of comfort food as well, and this is something that I really like, especially when they have a tradition in the familiy for example. This one is really great for snacking and its intense flavor is just intriguing.
I think that I have tried this one a couple of times without really knowing what it was all about, I even didn’t know its name, so this post really helps with those little details.
This is such a classical and somewhat easy to make bread, and also, I really like how versatile it can be, you can literally eat it every time of the year and it never really gets old. 🙂
That’s great, and I agree with you on its versatility. This known no season and works well with a summer salad, but also hearty and rich dishes during winter. I also like both sweet and savory spreads on top. It’s such an all-rounder, you’re right 🙂
Is that 4 grams of instant yeast?
Hi Bobby! To substitute instant yeast for fresh, you want to use 40% of what’s called for – or 4.2 grams instant for this recipe. Happy baking!