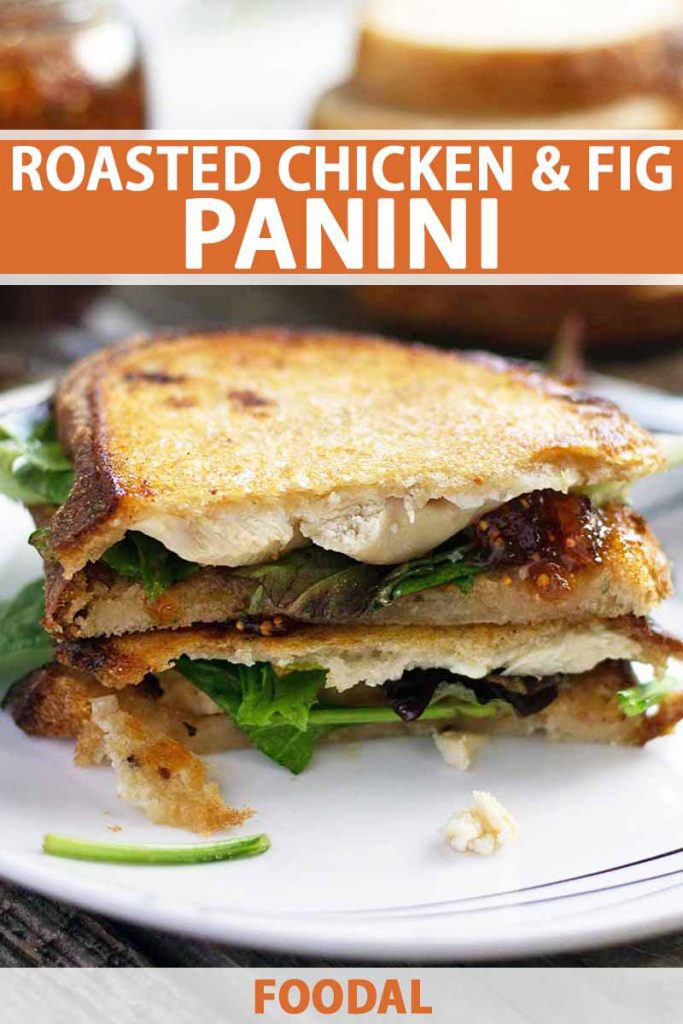
This panini is my jam right now.
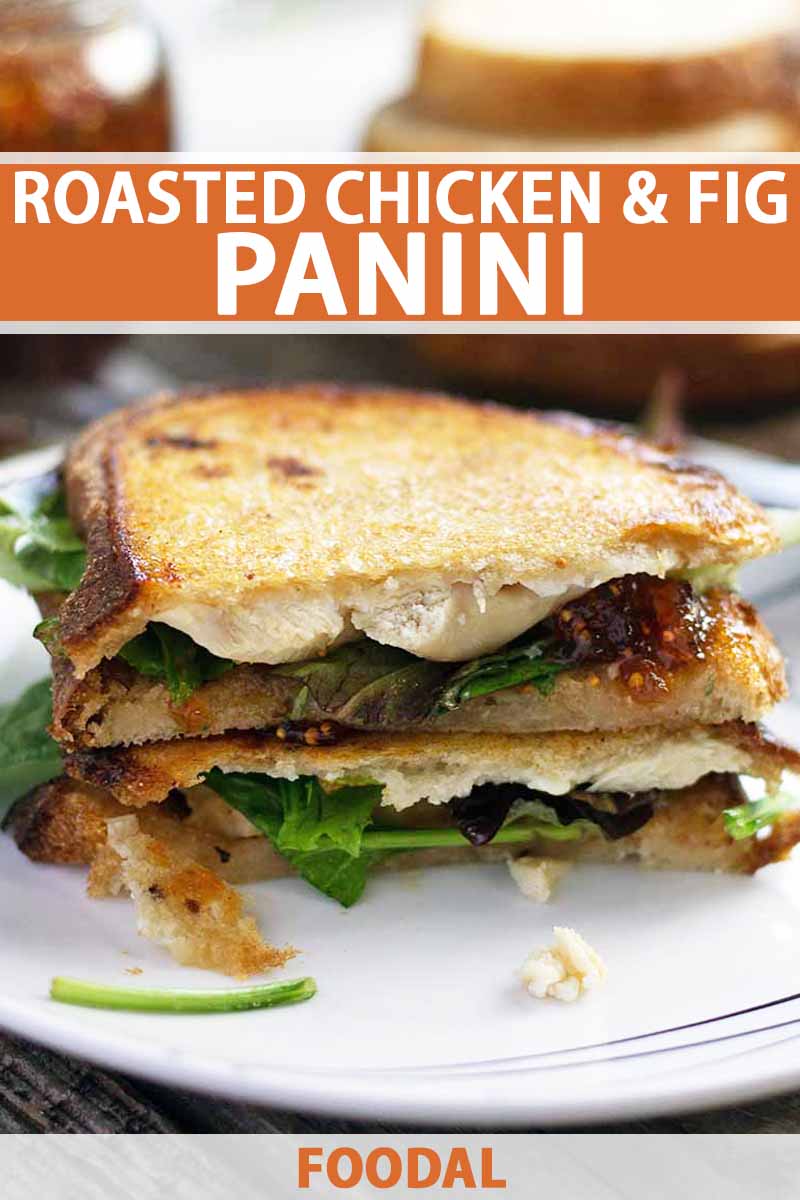
Fig jam, that is.
Confession time: growing up, I was one of those weird kids who ate straight-up peanut butter sandwiches – no jelly.
Peanut butter is perfection, and I couldn’t comprehend why anyone would want to take away from the nuttiness by adding sweet jelly.
But that doesn’t mean I gave the cold shoulder to jelly altogether.
Instead, I was all about toast topped with cream cheese and jam.
Another weird food preference? I believe pizza should almost always have fruit on it.
Sure, pineapple is good. But give me a white pizza with blackberries or figs on top, and I won’t be able to stop at just one or two slices.
But what does any of this have to do with a chicken panini?
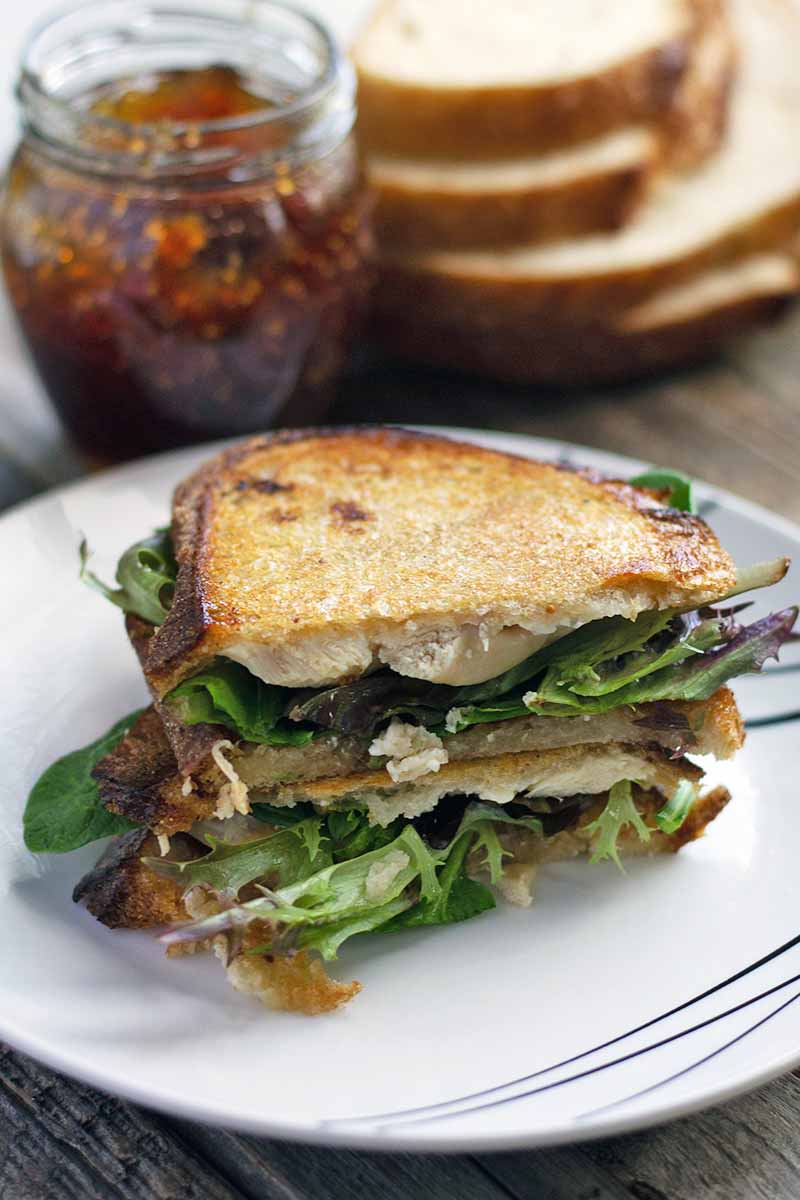
This recipe takes all those weird food preferences and puts them in a sandwich that could easily be served at a fancy lunch cafe.
If you haven’t jumped on the fruit, cheese, and chicken combo yet, now is the time.
Each bite is filled with savory, roasted chicken, tangy goat cheese, and sweet fig jam. Your taste buds won’t even know what hit them – but they’ll keep asking for more.
Let’s back up for a second and talk about figs.
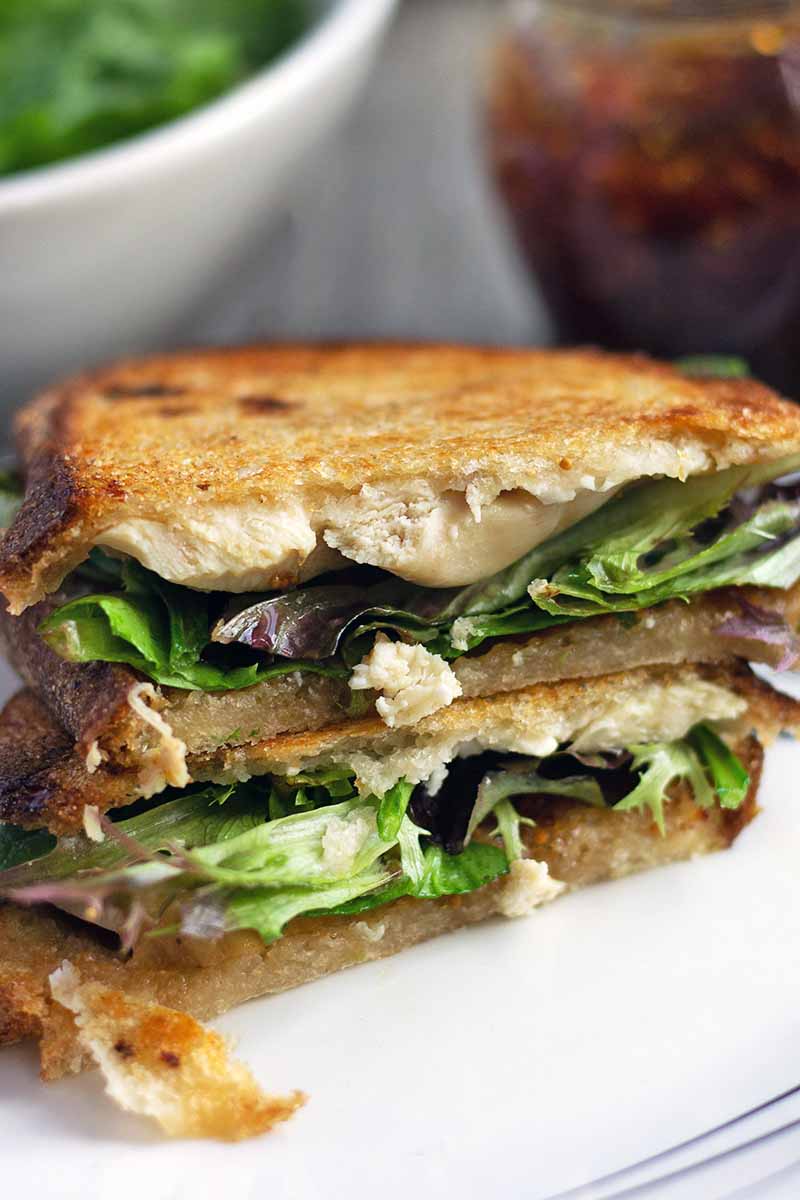
One of the oldest cultivated fruits, figs have a natural almost honey-like sweetness to them that makes them perfect for pairing with more savory foods, like cheese.
There are two growing seasons for fresh figs: early summer and early fall, with those in the fall being slightly sweeter.
While there are many varieties of figs, the most common is the black Mission fig. Usually a dark purple, almost black fruit, they are moist and have a concentrated sweetness.
If you’ve had dried figs before, chances are they were black Missions.
However, figs spoil quickly. If you don’t plan to use them fresh within the first couple of days after you harvest them or bring them home from the farmers market, then your best bet is to make them into jam.
Unlike jelly, which is made from fruit juice, sugar, and often pectin, jam also contains chopped, crushed or pureed fruit. As a result, jam is usually thicker and chunkier, making it perfect for standing up to the chicken and goat cheese in this panini.
Of course, if you have some fresh figs on hand, go ahead and throw those in instead of the jam. You’ll still get that honey sweetness, but with more fiber and texture.
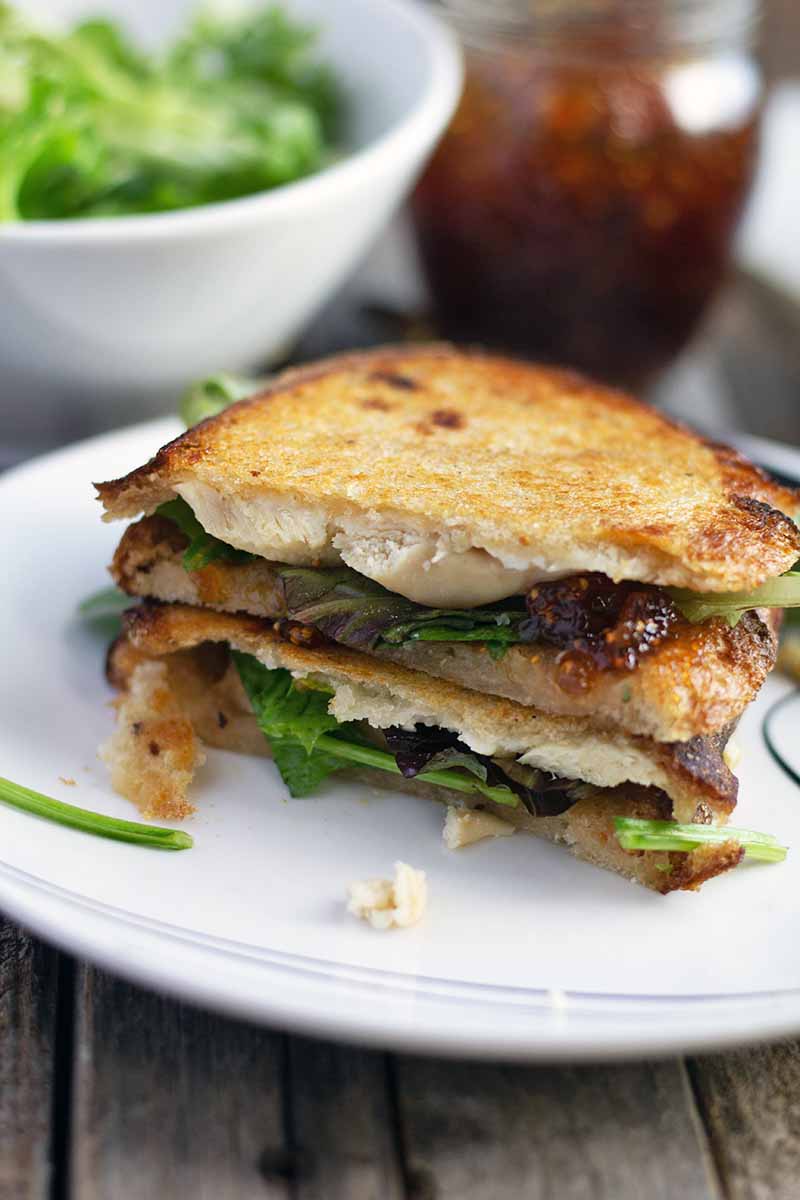
Next up: you can’t talk about a panini without mentioning cheese.
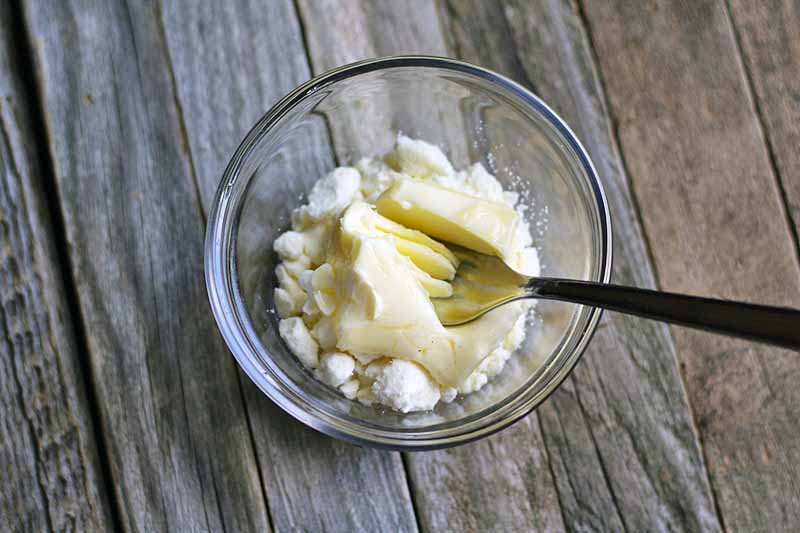
Crumbled goat cheese is mashed with butter to create an indulgent spread that’s not overwhelmingly tangy.
If you want to get even more indulgent, go ahead and swap out the goat cheese and butter mixture for creamy brie instead.
Finally, while a seemingly small part of this recipe, don’t skip out on adding some mixed greens tossed in lemon juice just before serving.
There are a lot of strong flavors in this sandwich, so having the earthy greens with a pop of lemon juice in there brings a much-needed lift to balance out those sweeter and more savory ingredients.
And don’t worry if you don’t have a panini maker – I’ll share my favorite way to make a crispy, pressed sandwich without it.
Keep reading for the directions!
Print
Roasted Chicken and Fig Panini
- Total Time: 21 minutes
- Yield: 4 sandwiches 1x
Description
Sweet, salty, and creamy, this roasted chicken and fig panini tastes like it came straight from a fancy cafe. No panini press required.
Ingredients
- 1/4 cup fig jam
- 8 slices sourdough bread, or bread of choice
- 1/4 cup crumbled goat cheese
- 2 Tablespoons unsalted butter, softened
- 8 ounces chopped roasted chicken
- Freshly ground black pepper
- Cooking oil spray
- 2 cups mixed greens
- 1 teaspoon fresh lemon juice
Instructions
- For each panini, spread fig jam on one side of the first slice of bread.
- In a small bowl, combine goat cheese and butter, stir until smooth, and spread over one side of the second bread slice.
- Arrange chicken evenly over cheese mixture; sprinkle with pepper. Place the first slice of bread over chicken, jam side down.
- Preheat two cast iron skillets over medium heat. Once hot, add assembled sandwich to one skillet.
- Lightly spray the bottom of the second skillet with nonstick cooking oil spray and set on top of sandwich. Place a full tea kettle or other heat-safe weight on top.
- Cook for 4 minutes, or until golden brown.
- Meanwhile, place greens in a bowl and drizzle lemon juice on top of them, tossing gently.
- Once the panini is browned, remove top piece of bread and add some greens to the sandwich before putting the bread back on top.
- Repeat with remaining paninis. Slice and serve.
- Prep Time: 5 minutes
- Cook Time: 16 minutes
- Category: Sandwiches
- Method: Stovetop
- Cuisine: Lunch
Keywords: chicken, rotisserie chicken, panini, fig jam, goat cheese
Cooking By the Numbers…
Step 1 – Rinse Greens, Measure Ingredients, and Make Butter-Cheese Spread
Rinse and pat the mixed greens dry if not already pre-washed.
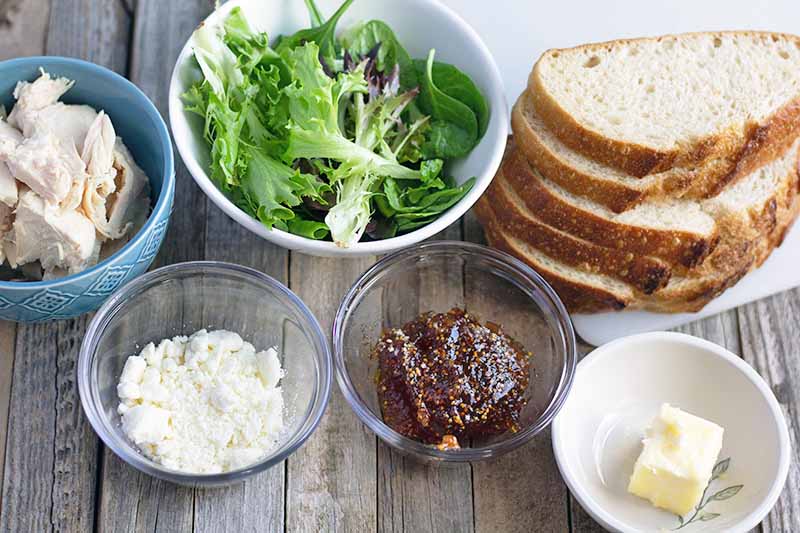
Measure out all of the remaining ingredients.
Note: instead of fig jam, you can use 4-5 fresh, sliced figs instead.
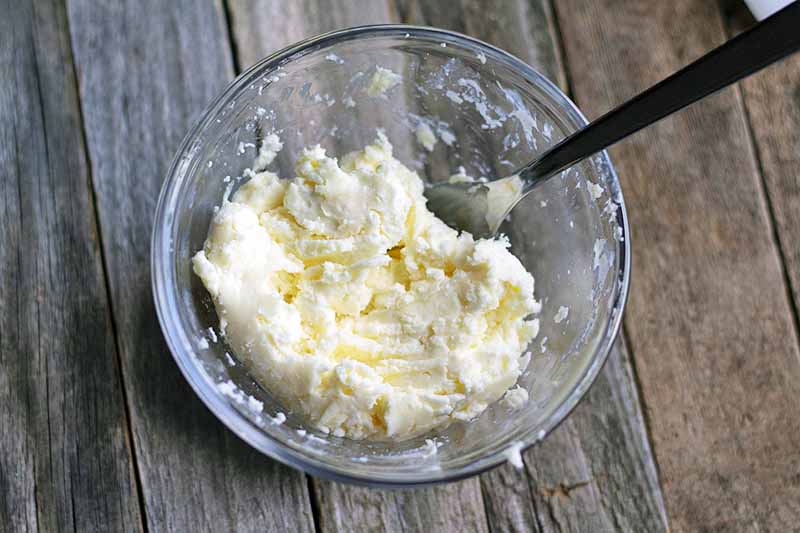
In a small bowl, mash together the softened butter and goat cheese.
You can use whatever simple roasted chicken leftovers you have in your refrigerator, or you could buy a rotisserie chicken at the store. If you made our Crock-Pot Whole Chicken for dinner the other night, that would be great!
Step 2 – Preheat Cast Iron Skillets and Assemble
Place two cast iron skillets on the stove and preheat them over medium-high heat.
If using a panini press: set it to medium-high (375°F) and allow it to heat up for 7 minutes.
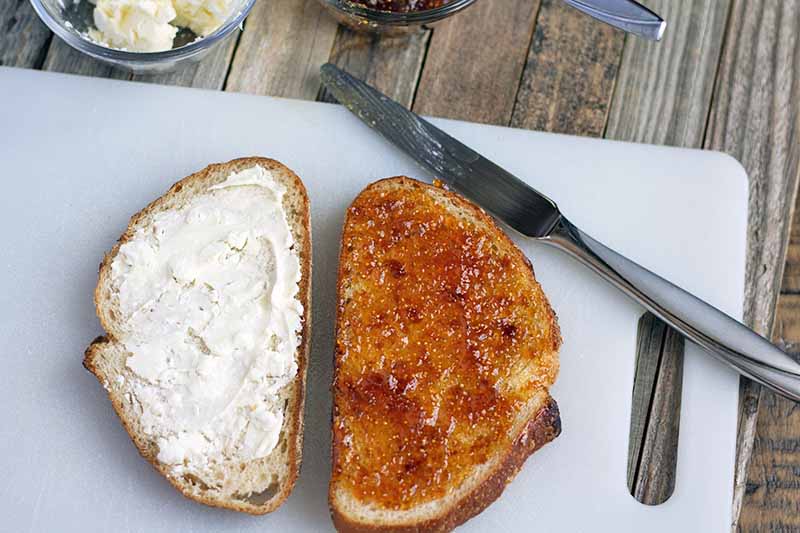
Meanwhile, assemble your sandwiches by spreading fig jam on one side of the first slice of bread for each.
Next, spread the butter-cheese mixture over one side of the second bread slice for each.
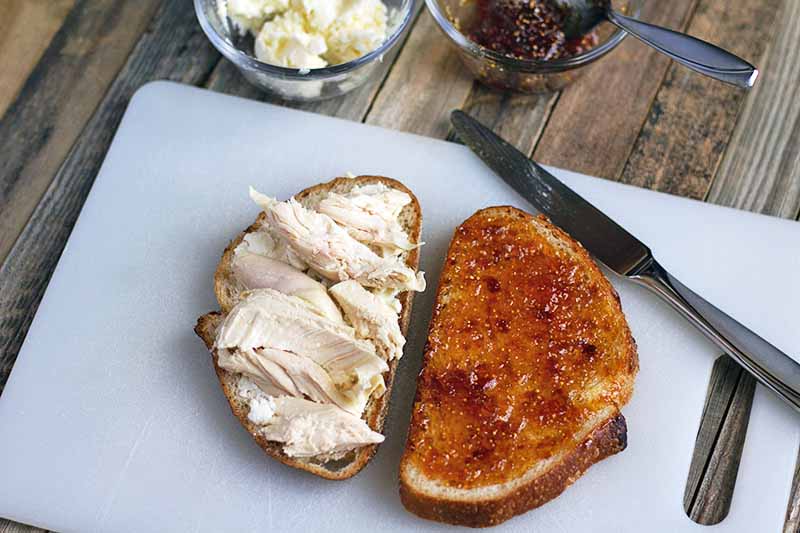
Arrange the chicken evenly over the cheese mixture, and sprinkle with freshly ground black pepper. Place the top slices of bread, jam side down, over the chicken.
Step 3 – Cook
Once the skillets are hot, add an assembled sandwich to one skillet.
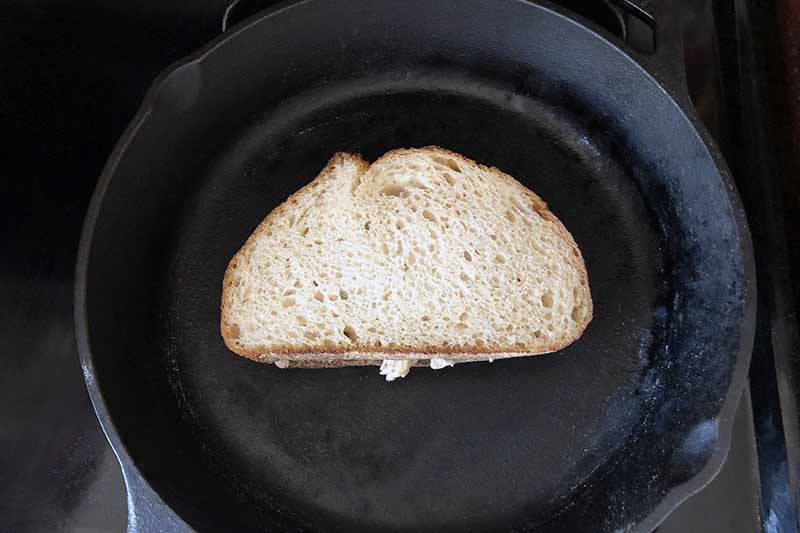
Lightly spray the bottom of the second skillet with cooking spray and set it on top of the sandwich. Make sure you’re using a pot holder for this, because those handles get hot!
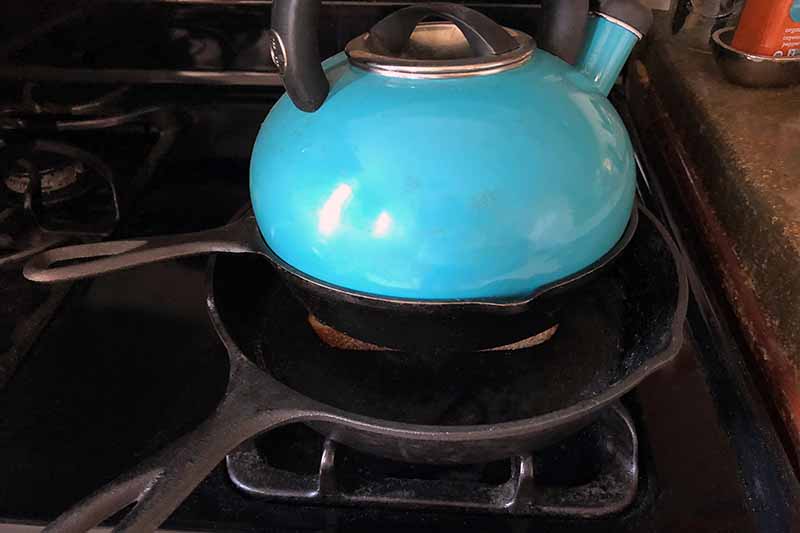
Place a full tea kettle or other heat-safe weight on top. Cook for 4 minutes, or until golden brown. Remove from the pan, set aside, and repeat with the remaining sandwiches.
Note: If your cast iron pans are different sizes, make sure to use the smaller skillet on top to press down on the panini!
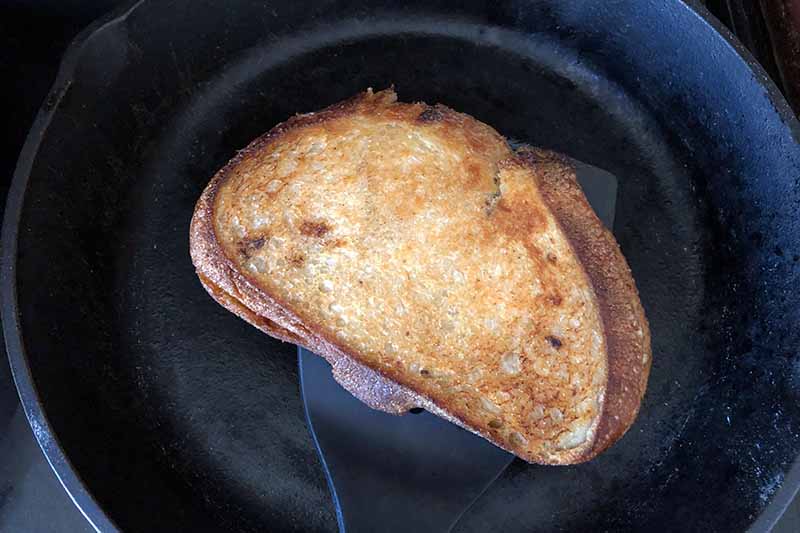
If using a panini press: add assembled sandwich (or sandwiches, depending on capacity) to the panini maker and gently press the lid down. Apply enough pressure so that the top slice of bread meets the bottom, but be careful not to press down too hard. Remove when golden brown on both sides. Repeat with remaining sandwiches.
Step 4 – Toss Greens in Lemon Juice
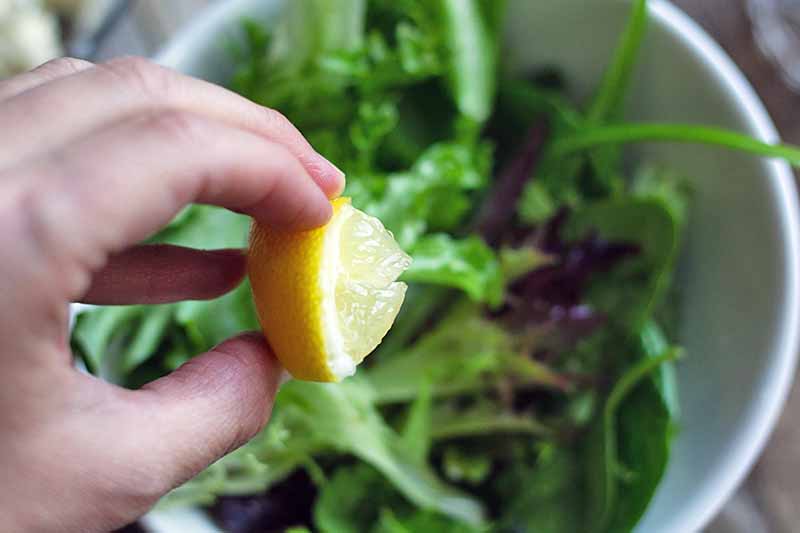
While your sandwiches are grilling, toss mixed greens in lemon juice. Set aside.
Step 5 – Add Greens and Serve
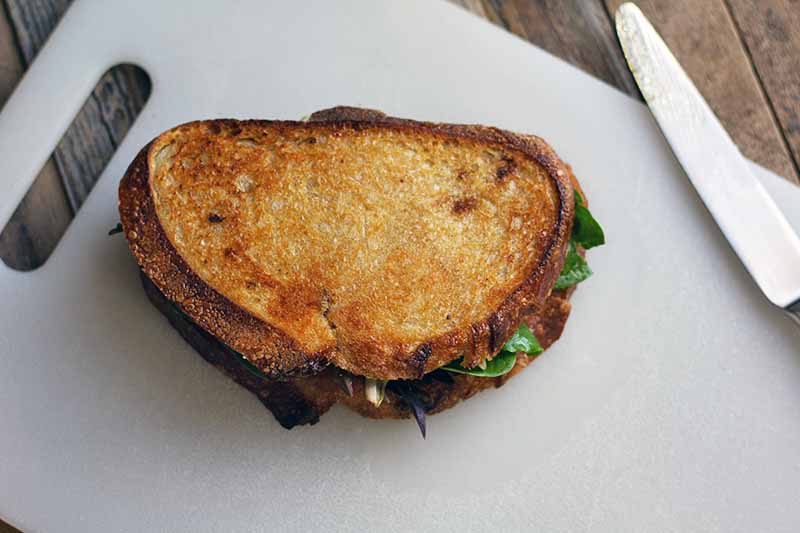
Add mixed greens to each sandwich, cut each in half, and serve immediately.
Investing in a Panini Press
While the cast iron method works well, if you plan to make panini often, I think it’s worth investing in an actual press.
Plus, panini presses can be used for so much more than just making hot sandwiches. Since they basically function the same way as a grill, you can make grilled chicken breast, crispy bacon, quesadillas, or even roasted peaches for a healthier spin on dessert.
Not sure where to start? We reviewed the top 6 presses to take the guesswork out of your purchasing process.
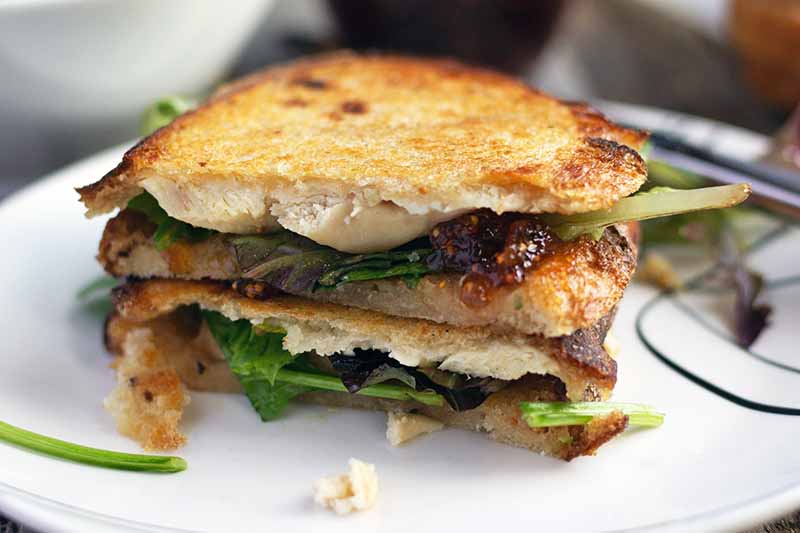
Our other favorite use for a panini press? Grilled cheese! Try these Foodal favorites:
- Peach Basil Grilled Cheese
- Grilled Cheese with Tomato Jam
- Caramelized Onion and Sun-Dried Tomato Grilled Cheese Pitas
What are your favorite ways to use a panini press? Let us know in the comments, and don’t forget to rate this recipe before you go!
Photos by Kelli McGrane, © Ask the Experts, LLC. ALL RIGHTS RESERVED. See our TOS for more details. Originally published on April 23, 2010. Last updated: October 18, 2022 at 9:19 am.
Nutritional information derived from a database of known generic and branded foods and ingredients and was not compiled by a registered dietitian or submitted for lab testing. It should be viewed as an approximation.
The written contents of this article have been reviewed and verified by a registered dietitian for informational purposes only. This article should not be construed as personalized or professional medical advice. Foodal and Ask the Experts, LLC assume no liability for the use or misuse of the material presented above. Always consult with a medical professional before changing your diet, or using supplements or manufactured or natural medications.
About Kelli McGrane, MS, RD
Kelli McGrane is a Denver-based registered dietitian with a lifelong love of food. She holds undergraduate and master’s degrees in nutrition science from Boston University. As a registered dietitian, she believes in the importance of food to nourish not only your body, but your soul as well. Nutrition is very personal, and you won’t find any food rules here, other than to simply enjoy what you eat.

