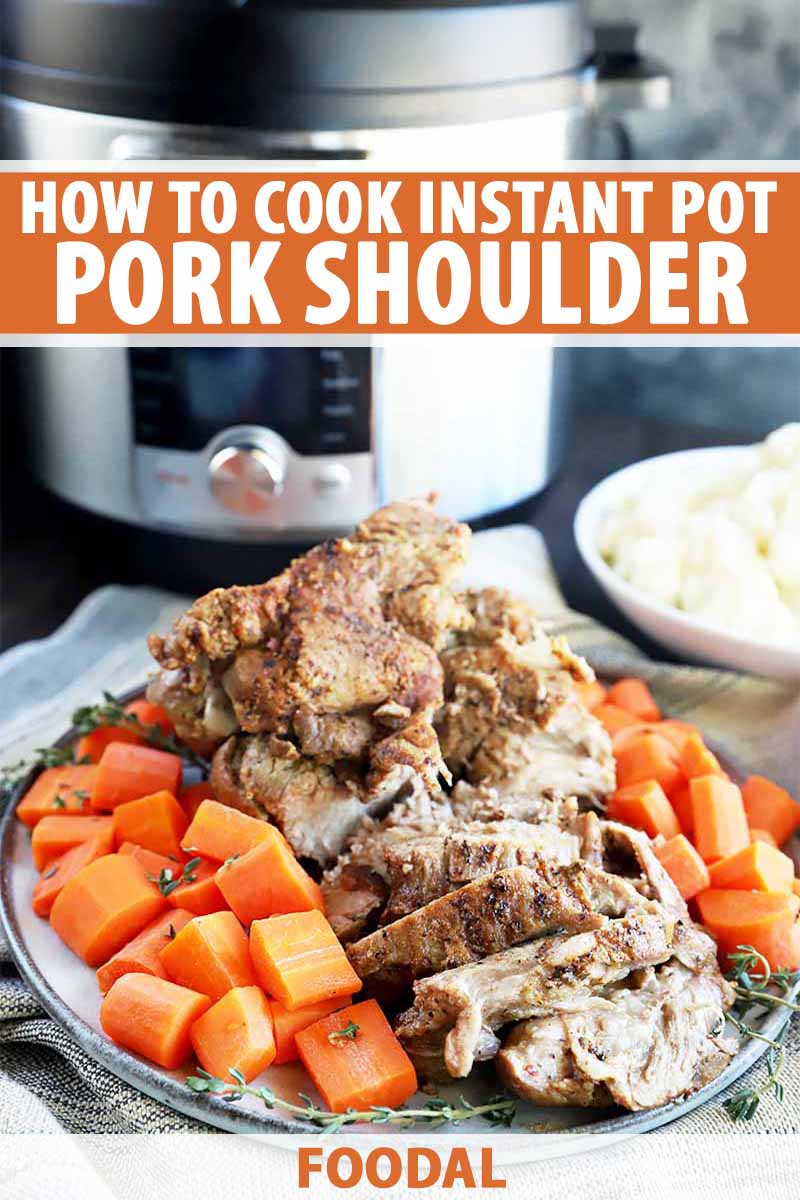
When it comes to cooking pork shoulder in the electric pressure cooker, the most common preparation for this cut of meat is pulled pork.
Now, there’s nothing wrong with this type of preparation. I am a HUGE fan (some might say obsessed) and I make it often to incorporate into tacos, enchiladas, burritos, soups, omelets, and more.
However, sometimes you want something a little more hearty, or a little different. And that’s where this method comes in.
Though this is not the traditional roast pork recipe, it’s totally easy, quick, and budget-friendly, with flavorful results. Thank goodness for the electric pressure cooker, am I right?
Pork shoulder or pork butt meat is fantastic when it’s prepared in the electric pressure cooker. The shoulder is fatty and full of connective tissue, which makes it perfect for this treatment. It can stand up to the high pressure steam, resulting in the ideal texture.
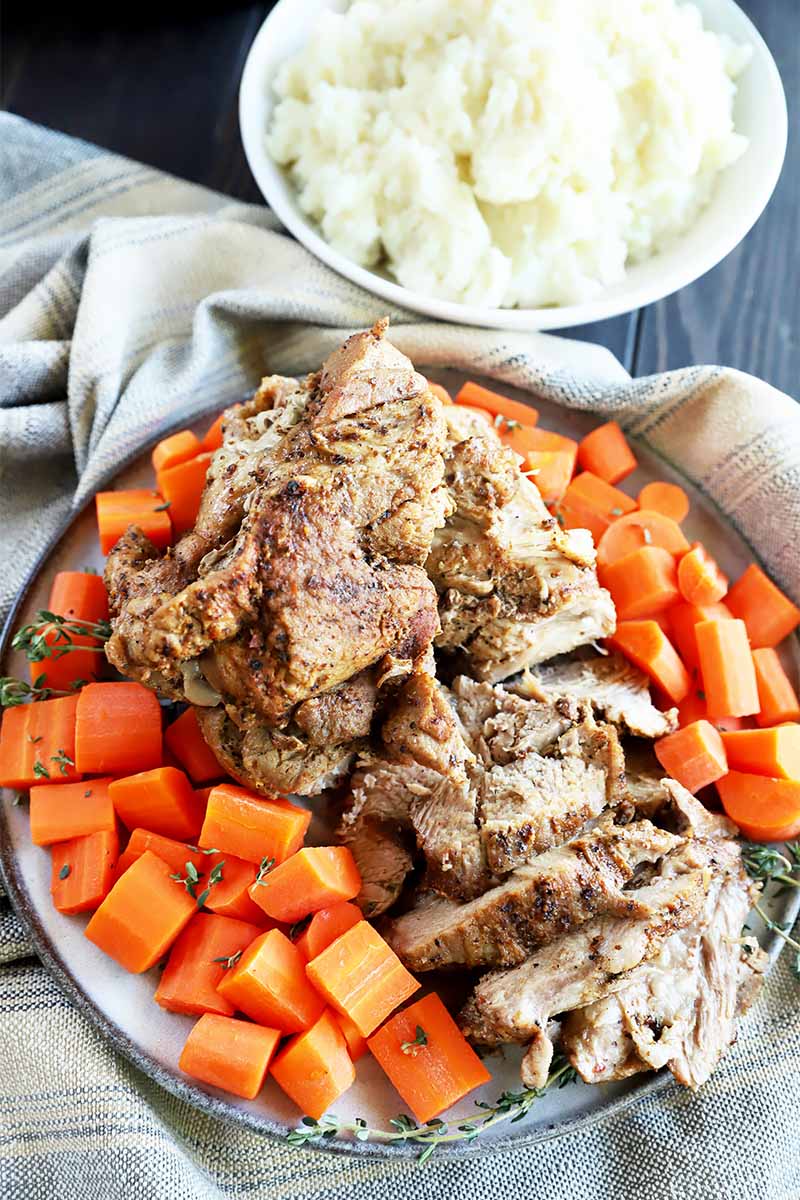
The end result? A super flavorful, juicy, and tender piece of meat that is ready to eat in less than an hour.
Is your mouth watering yet? Because mine is…
Ready to get started? Here’s what’s ahead in this article:
What You’ll Learn
What Is Pork Shoulder?
Let’s start with the obvious – this particular cut is from the front of the pig, at the shoulder. The butt, on the other hand, is a little higher on the foreleg.
Both are cuts that are generally affordable, but they are not always the most popular. This is because they generally take a long time to cook if you are aiming for a tender finished product, so neither is a weeknight option that many tend to gravitate towards.
However, with the electric pressure cooker, it’s a whole new ballgame!
Seasoning Mix Options
There are so many different ways to make a roast like this, but for me, it’s all about the seasoning mixes that you can use to change things up. This is a simple way to incorporate various herbs and spices, ingredients that are already in your spice rack, in new and unique ways (or tasty more traditional ways too!).
Here are some of my favorite seasoning mix suggestions that you can try out with this recipe:
- Classic American – 1/2 teaspoon garlic powder, 1/2 teaspoon packed light brown sugar, 1/4 teaspoon ground mustard, 1/4 teaspoon cayenne pepper
- Herby Italian – 1/2 teaspoon dried oregano, 1/4 teaspoon dried thyme, 1/2 teaspoon dried basil, 1/4 teaspoon dried rosemary
- Spicy Mexican – 1/2 teaspoon chili powder blend, 1/2 teaspoon smoked paprika, 1/4 teaspoon garlic powder, 1/4 teaspoon cayenne pepper
- Indian Masala – 1/2 teaspoon ground cumin, 1/2 teaspoon curry powder, 1/4 teaspoon garam masala, 1/4 teaspoon ground coriander
- Warm and Savory Chinese – 1/2 teaspoon Chinese five spice, 1/2 teaspoon ground ginger, 1/2 teaspoon garlic powder
Now, if you prefer, you can certainly shred all of the meat instead of serving it as a roast, and you can even use the seasoning suggestions described above to get creative with the flavor profile. All you have to do is separate the meat with two forks after cooking, and use it however you’d like.
What Should I Serve with This Entree?
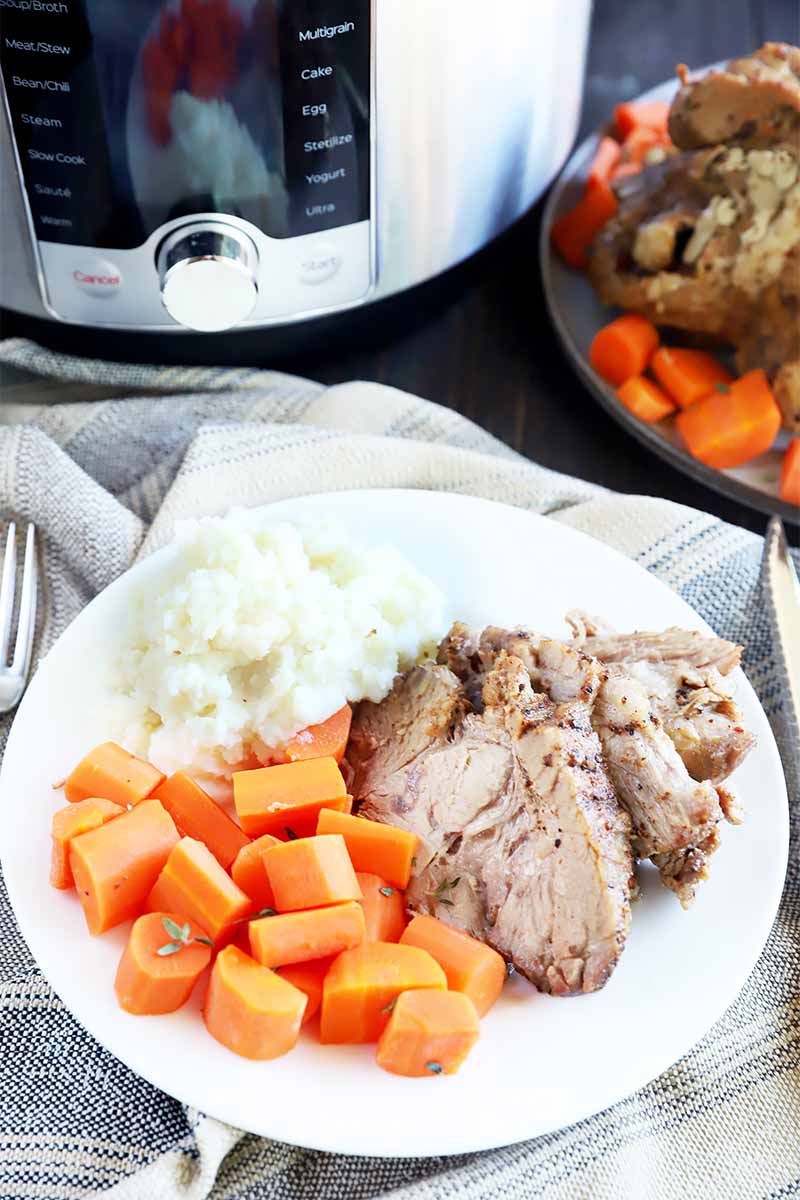
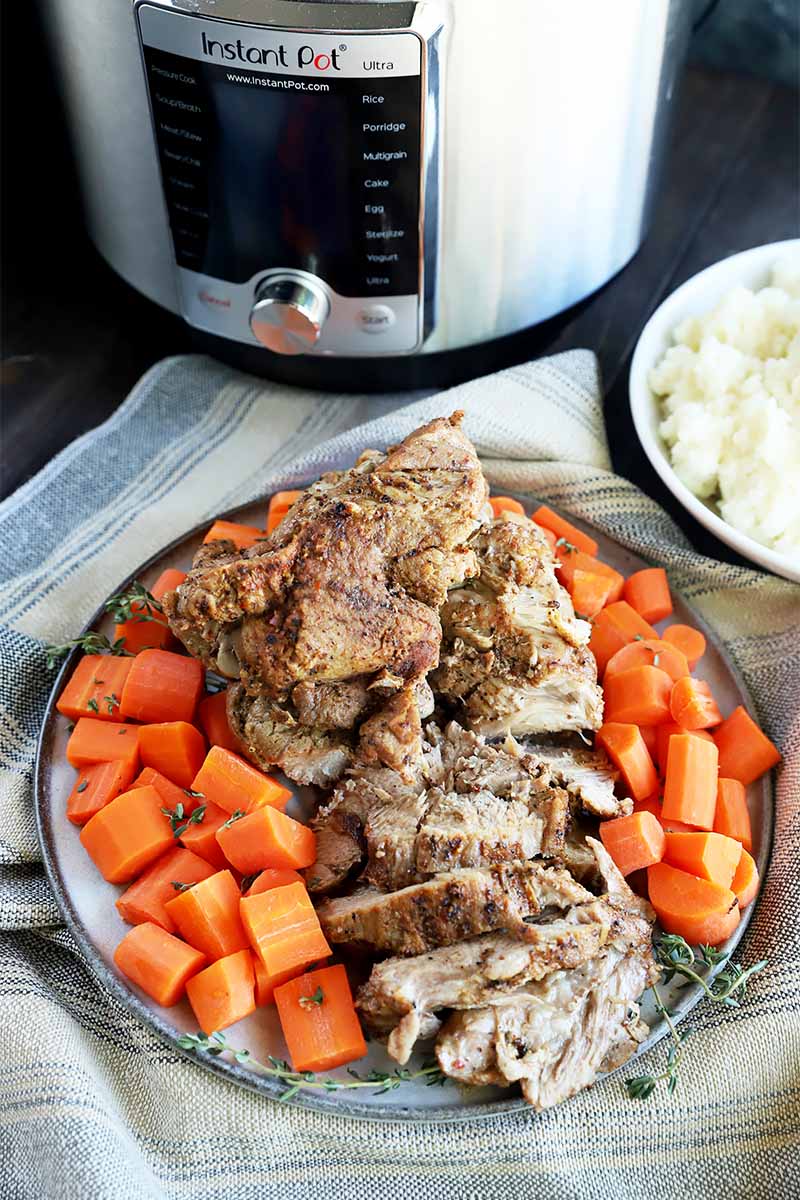
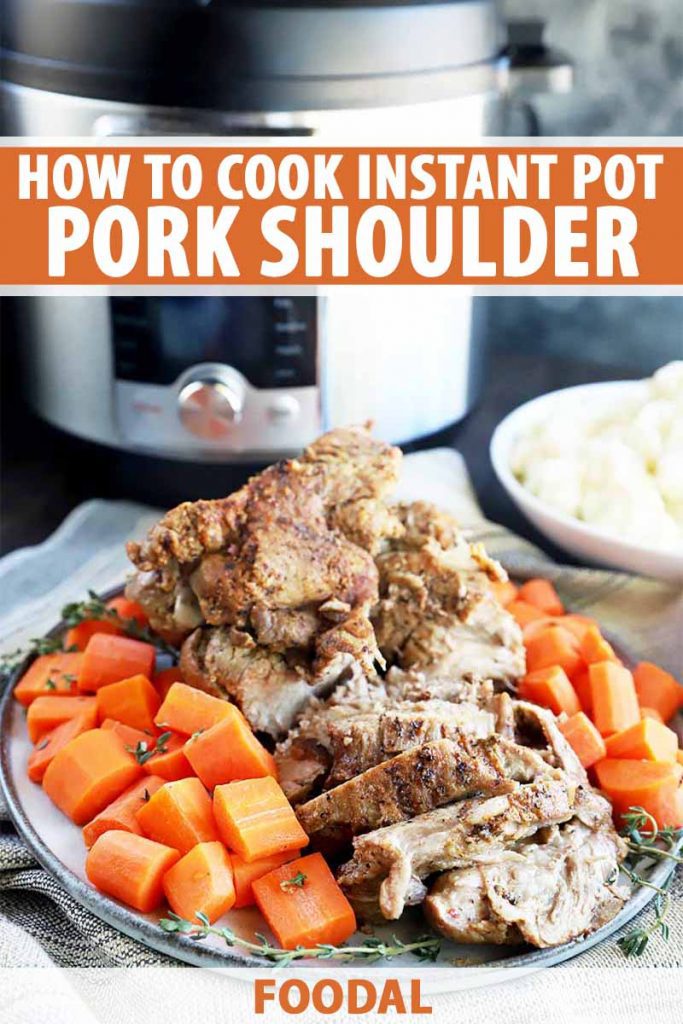
My favorite way to serve this cut of meat is with hearty vegetables. For me, that means mashed potatoes and roasted root vegetables like carrots or turnips.
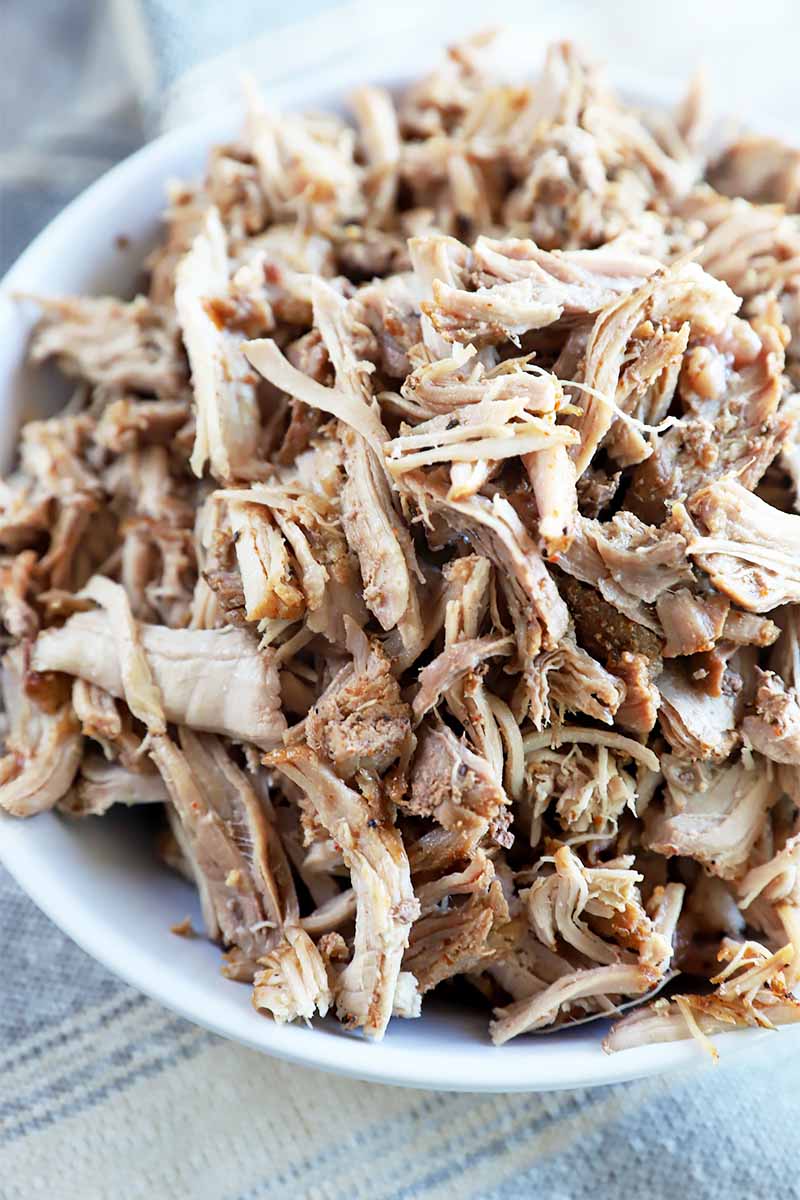
You can also pair it with lighter, less starchy vegetables like green beans and asparagus if you prefer. That’s the beauty of this entree – it goes with pretty much any side dish you can think of.
How to Cook Pork Shoulder in the Electric Pressure Cooker
Pork shoulder or butt no longer has to take hours to prepare in the oven. Instead, you can cook this larger cut of meat quickly – without paying any attention to it, just set and forget!
Step 1 – Measure Ingredients and Prepare Pork
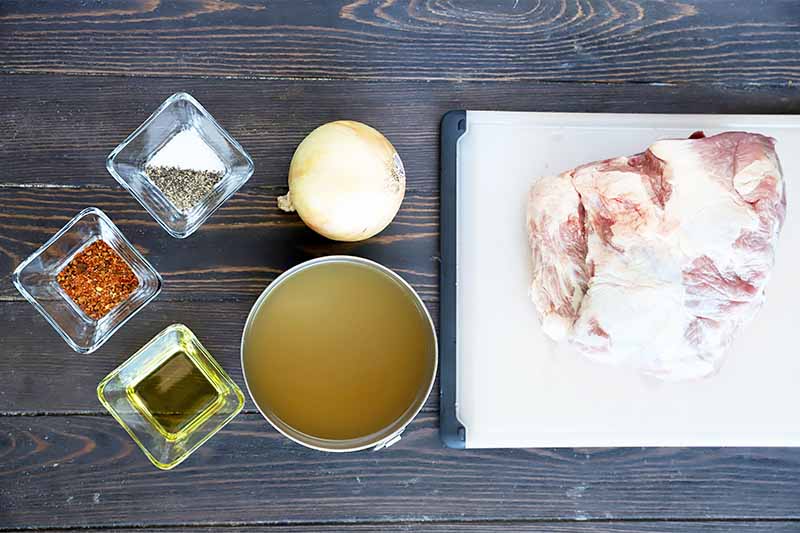
Measure the following ingredients:
- 1 teaspoon salt
- 1 teaspoon ground black pepper
- 1 1/2 teaspoons Seasoning Mix
- 2 tablespoons olive oil, divided
- 2 pound pork shoulder (or butt)
- 2 cups chicken or vegetable stock
- 1 medium yellow onion, peeled and quartered
Combine the salt, pepper, and your choice of seasoning mix in a small bowl.
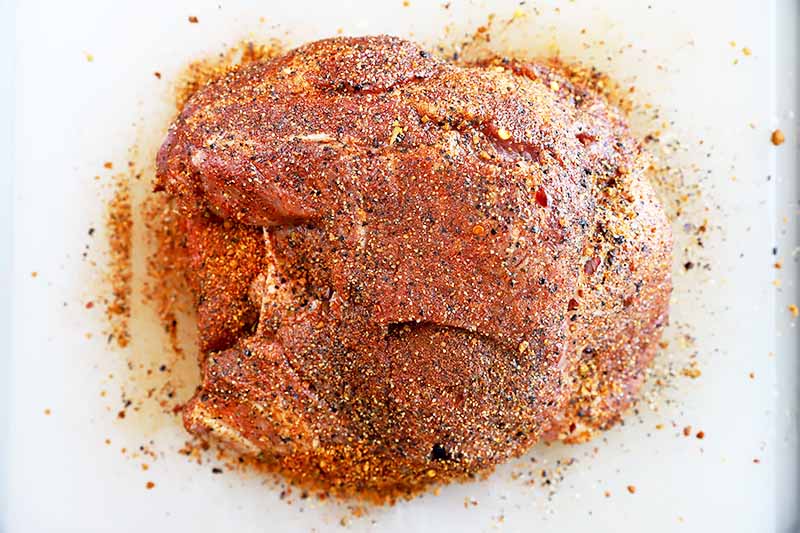
Rub the shoulder all over with 1 tablespoon of oil, then sprinkle evenly all over with the spice mixture and rub it in with your hands.
Step 2 – Sear Pork
Set the electric pressure cooker to Saute and add the remaining tablespoon of oil to the insert.
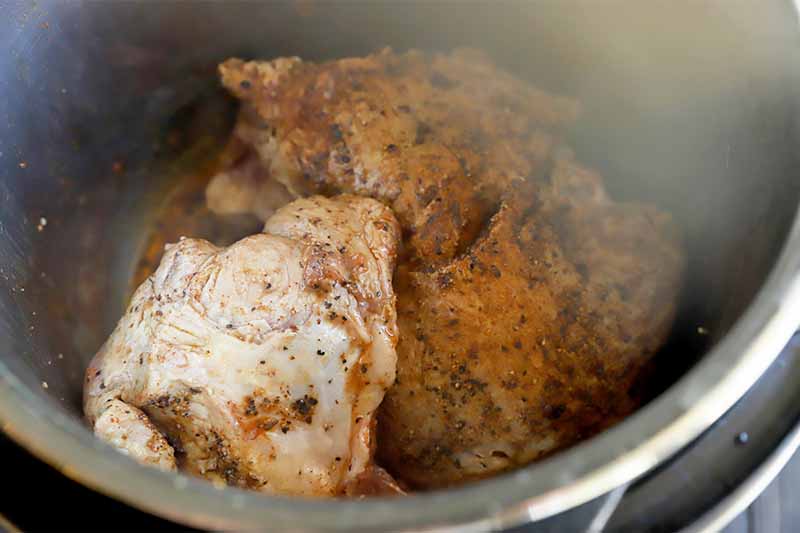
Once it’s hot, add the seasoned meat. Sear it on all sides, about 4 minutes per side, until browned.
Remove roast, transfer it to a plate, and turn off the pressure cooker.
Step 3 – Pressure Cook
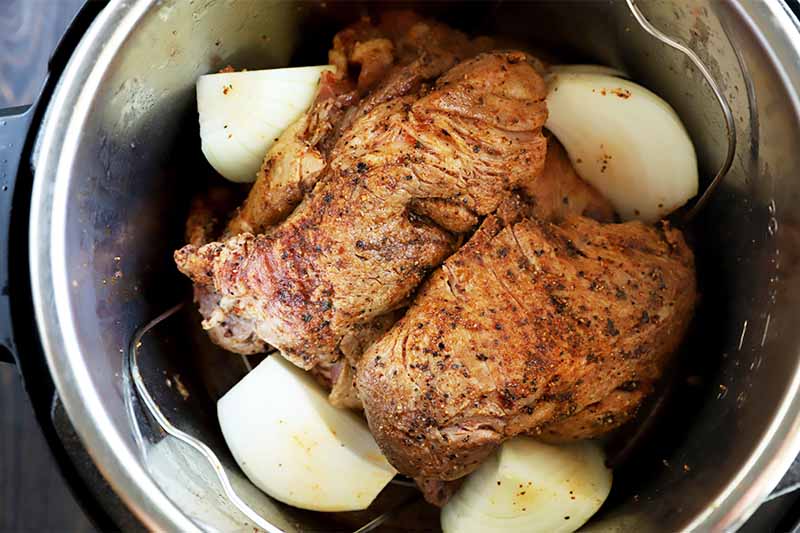
Add the stock to the pressure cooker insert. Use a wooden spoon to scrape up any browned bits that are stuck to the bottom.
If you have an Instant Pot or other type of appliance that has this warning option, adding liquid and scraping up the fond will help to prevent the electric pressure cooker from indicating that something is burning.
Place a trivet in the insert. Set the previously seared meat on top, and arrange the onion quarters around it. Cover and seal.
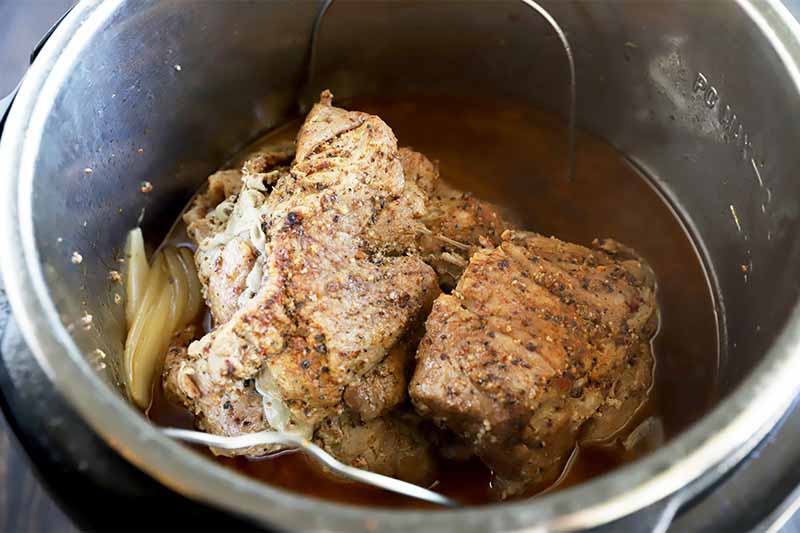
Set to Manual on High pressure, and cook for 30 minutes. Allow the pressure to naturally release for 10 minutes before manually releasing any remaining pressure.
Transfer the meat to a cutting board and discard the onions. These have already served their purpose, helping to flavor the meat.
Slice the meat and serve, or use two forks to shred the roast if you prefer pulled pork.
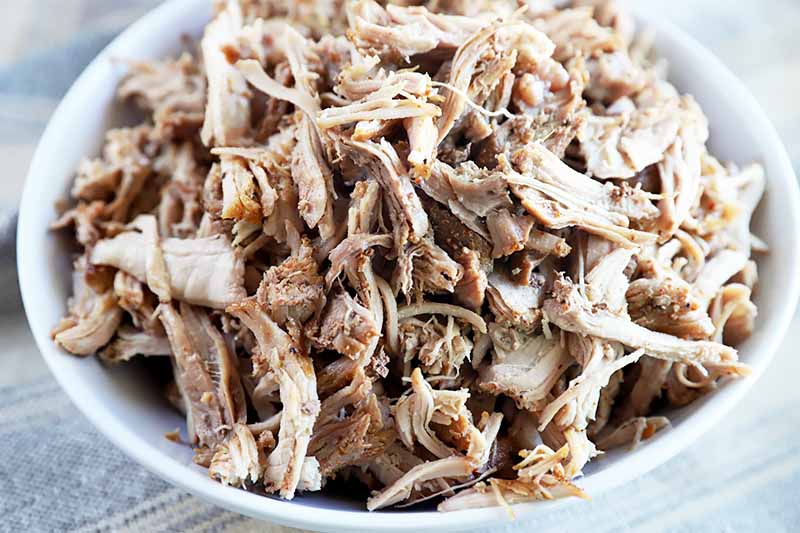
You could also reserve the onions to incorporate into your protein entree, or into other dishes if you like. I chop them up and mix them into the meat if I am shredding instead of slicing it. The onion can also be sliced and served with the roast and other sides.
Can I Crisp Up the Outside of the Pork Roast?
You certainly can! There’s an extra step that you can add on if you love the crispy exterior that you would normally get from roasting it in the oven for hours.
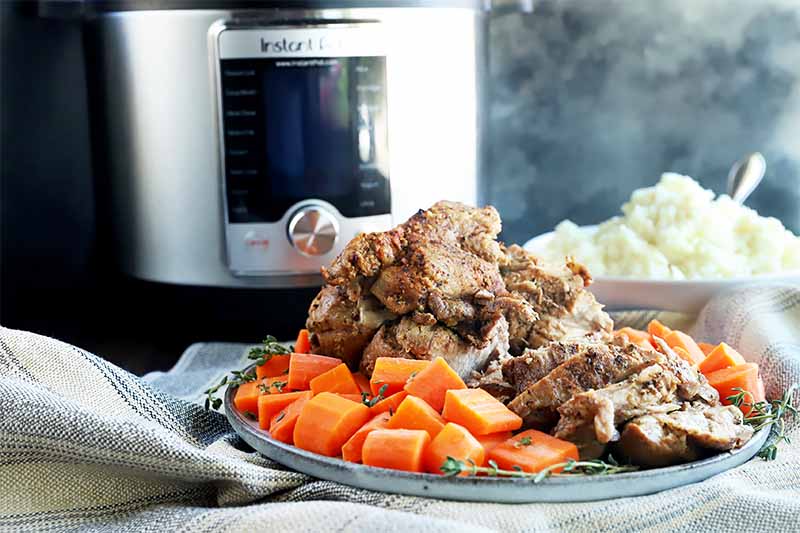
Let the meat rest for about 10 minutes after it’s been pressure cooked and transferred to a cutting board, then move it to a rimmed baking sheet. Place the pan in the oven for about 10 minutes at 400˚F, until the crust has darkened.
Looking for even more ways to cook meat in your electric pressure cooker? Try these ideas from Foodal next:
What side dishes will you serve with this tasty recipe? Tell us in the comments below!
Photos by Meghan Yager, © Ask the Experts, LLC. ALL RIGHTS RESERVED. See our TOS for more details.
About Meghan Yager
Meghan Yager is a food addict turned food and travel writer with a love for creating uncomplicated, gourmet recipes and devouring anything the world serves up. As the author of the food and travel blog Cake 'n Knife, Meghan focuses on unique foodie experiences from around the world to right at home in your own kitchen.




Thank you
very thorough and a lot of choices. great find!