We occasionally link to goods offered by vendors to help the reader find relevant products. Some of these may be affiliate based, meaning we earn small commissions (at no additional cost to you) if items are purchased. Here is more about what we do.
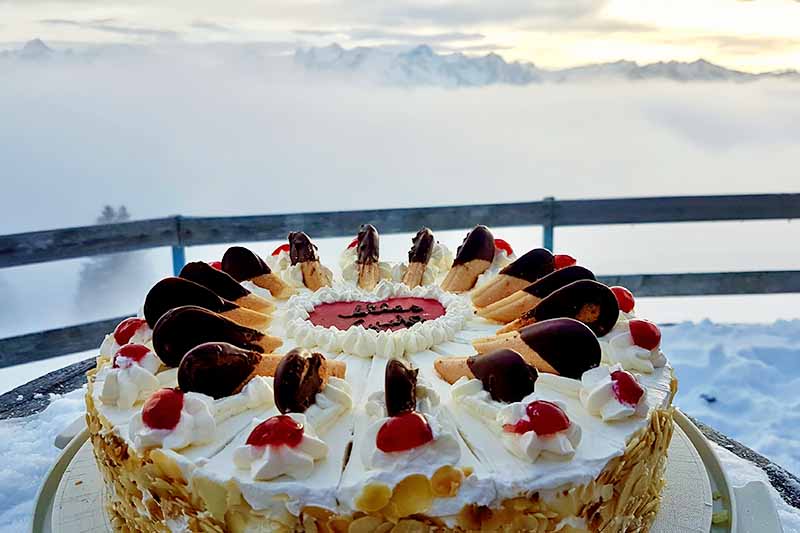
Sure, the hills are alive – but are your baked goods looking a little… sunken?
When baking at high elevations a significant distance above sea level, there are certain steps home bakers can take to make sure their tasty homemade desserts turn out as they should.
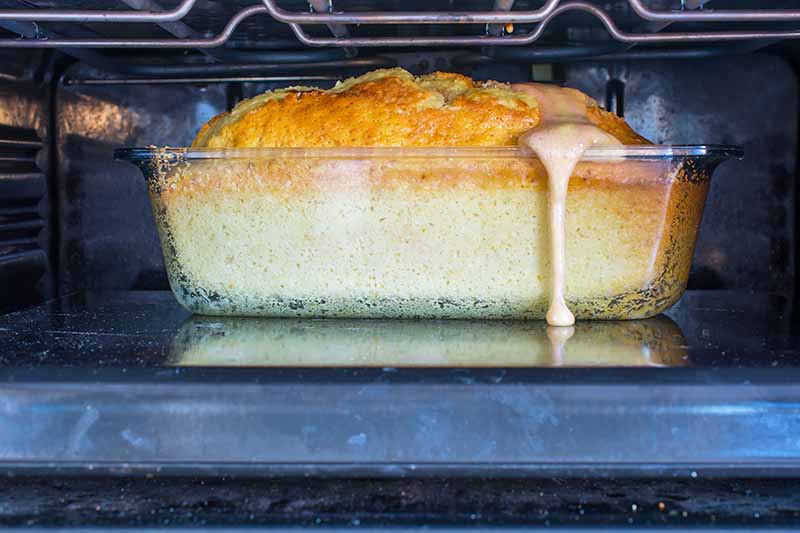
Cakes in particular can suffer the effects of “altitude sickness,” as evidenced by a coarse crumb, sunken centers, sticking to the pan, and other issues. So what is it about baking in mountainous regions that makes cakes fall flat? You’ve come to the right place!
Here’s what we’ll cover, up ahead:
What You’ll Learn
What’s Different About Baking at High Altitudes?
According to Harold McGee in his book “On Food and Cooking: The Science and Lore of the Kitchen,” “Cake recipes that work well at sea level can produce dry, dense disasters in the kitchen at high altitudes.” And nobody wants that.
On Food and Cooking, available via Amazon
Why is this the case? Well, clearly, you’re closer to the mountain gods up there, dragons are swooping around and fairies are fluttering about, and you’re dealing with some powerful magic… but wait, don’t dragons like delicious cake as much as the rest of us?
Let me stop you right there. Remain calm. This has nothing to do with the mystical realm, or upsetting the gods. It’s real science.
To start, in case you weren’t aware, water boils at a lower temperature at high elevations. The boiling point of water is 212°F at sea level, but not so the further you climb.
The air pressure is lower up there too, and not only does this cause your ears to pop and your bags of chips to inflate on that drive up the mountains, it causes cake batter to lose moisture at a lower temperature as well, since the liquid it contains comes to a boil more rapidly.
Air bubbles expand more quickly, and leaveners like baking soda expand faster, before the cake has a chance to set at the high temperature needed to achieve the perfect crumb. Thick batters remain wet for longer at the center of the pan, with a mushy internal structure, and surfaces dry too quickly. This results in cakes that are dry and flat, sinking in the center as they cool.
To account for these atmospheric changes, there are steps that home bakers can take to achieve the perfect cakes of their dreams – or at least cakes with qualities closer to what they’ve been able to achieve in the past, in kitchens closer to sea level.
Tips for Baking at High Elevations
Keep the following tips in mind, and plan to make adjustments as needed while preparing your homemade desserts.
1. Follow the Recipe Closely
First and foremost, following the recipe closely is very important in baking, even more so when you are adding the extra element of baking at high altitudes.
If you’re working from a local cookbook designed specifically for your high-elevation part of the world, you’re a step ahead of the game – the pros there are likely well-acquainted with adjusting recipes to suit their surroundings. And if you’re using a packaged mix, you’re probably well-versed already in looking for that little box that asks, “Baking at a high elevation?”
While you may be tempted to adjust a recipe designed for baking at sea level to suit your surroundings – and we’ll aim to help you towards that end with the tips provided in this article – this may only be achieved through trial and error.
Some cookbooks, like “Joy of Cooking,” have a whole section of multiple cake recipes to choose from specifically designed for high-altitude baking, marked with a triangle symbol in this particular resource.
And as the authors rightly proclaim in this cookbook classic, “Cakes baked at high altitudes are subject to pixielike variations that often defy general rules.”
Though the experienced baker with plenty of time on their hands may delight in weekend projects, tinkering with recipes until the results meet with their approval, this is not your best option when you’re trying a recipe for the first time, or preparing dessert for a big event that you haven’t tested previously. Seek out high-elevation recipes when you’re first getting started.
According to Irma S. Rombauer, Marion Rombauer Becker, and Ethan Becker of “Joy of Cooking” fame, recipes designed for a specific altitude will generally work 1,500 feet above or below that elevation. If you’re baking at 7,500 feet and the recipe you’ve chosen specifies that it’s best for bakers at 5,000 feet, adjustments will be required.
Choosing recipes wisely to begin with comes in handy, even those that were not designed specifically for high-altitude baking. See what Rose Levy Beranbaum, author of “The Cake Bible,” has to say, for example:
“Since my butter cake formulas have less sugar than most (equal weights of sugar and flour) and are more velvety than those made by the creaming method (where one creams the butter and sugar before adding the other ingredients), they will be less affected by high altitude.”
The Cake Bible, available from Amazon
Some recipes lead to better results at high altitudes than others – and some may respond better to attempts at home experimentation and adjustment as well. In the same way that you couldn’t possibly expect perfect results if you wanted to bake a cake in a small pan and simply halved the ingredients, the same is true here. Chemistry is involved. Baking is a finely-tuned experiment, and each element plays an important role.
Be sure to pay close attention to what’s called for, and prep everything in advance. Use pans that are the correct size and style, and grease or line these well, if that’s what’s called for.
Sticking becomes more of an issue the higher you go, particularly at elevations of 7,000 feet and above, so be sure to grease well, line with parchment, and do whatever’s required to ensure that those baked goods will come out of the pan in one piece when they’re ready. “Joy of Cooking” in particular provides an extensive list of recommendations pertaining to prepping pans.
Joy of Cooking, available on Amazon
Allow cakes to cool in the pan for at least 10 to 15 minutes – or sometimes longer, as needed – before you make any attempts at loosening the edges with a knife and inverting them over a cooling rack.
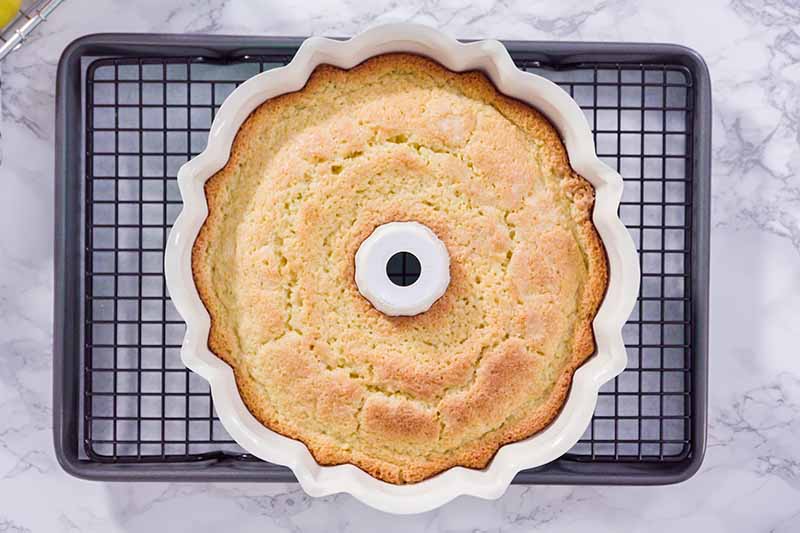
Adjustments may be necessary here in terms of your choice of baking vessel too, if thick batters result in cakes that form a hard, dense crust on the outside while remaining wet in the middle. Batters will also tend to rise more quickly, and they may overflow and run over the sides if you choose a pan that’s too small.
Try replacing loaf pans with a bundt pan instead, to deliver heat to the center of the batter as well as the outside, and do not overfill your cake pans or cupcake tins.
Take ingredients out of the fridge or freezer in advance, so they will have time to come to room temperature. Starting with ingredients that are too cold when they go in the oven will not help you to achieve the results you’re looking for.
It’s normally advisable to avoid making too many substitutions to a recipe all at once, so you will be able to keep track of what you did, and make notes for later so you know what worked – and what didn’t. This is still important here!
But keep in mind that you will often need to make adjustments to the quantities of liquid, leavening, and flour all at once to make your recipe work, with added adjustments to the quantity of sugar and/or fat as needed, and small adjustments to flavorings as needed as well.
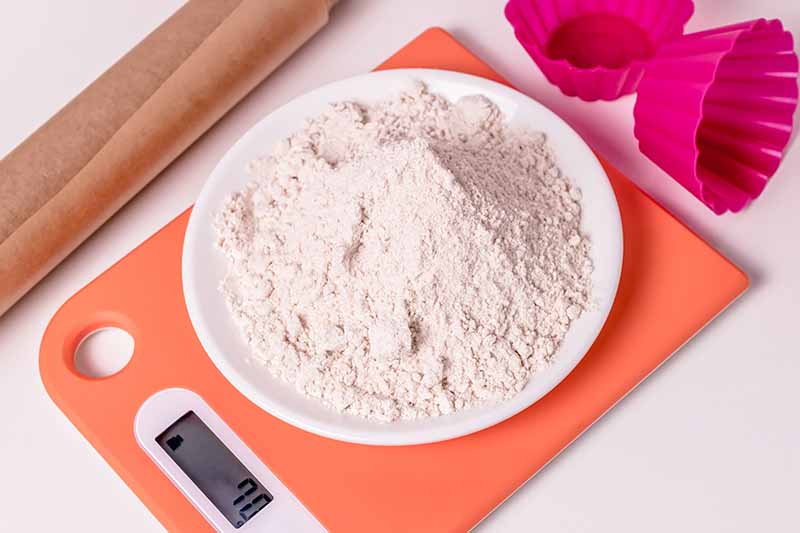
2. Measure Carefully
Measuring ingredients precisely is of the utmost importance in baking. Unlike cooking on the stove, where you can tinker with the quantities of various ingredients and add spices or other seasonings to suit your taste as you go, turning the heat up a little here to encourage browning, or lowering it there to simmer slowly and allow flavors to meld, baking is a different animal entirely.
Everything you need to create the chemical reactions that you’re aiming to achieve, allowing your cake batter to rise and form a solid structure as it bakes, is combined before you add the mixture to a pan and pop it in the oven. And once it’s in there, with the exception of making slight alterations to the bake time or temperature, there’s nothing you can do to make changes.
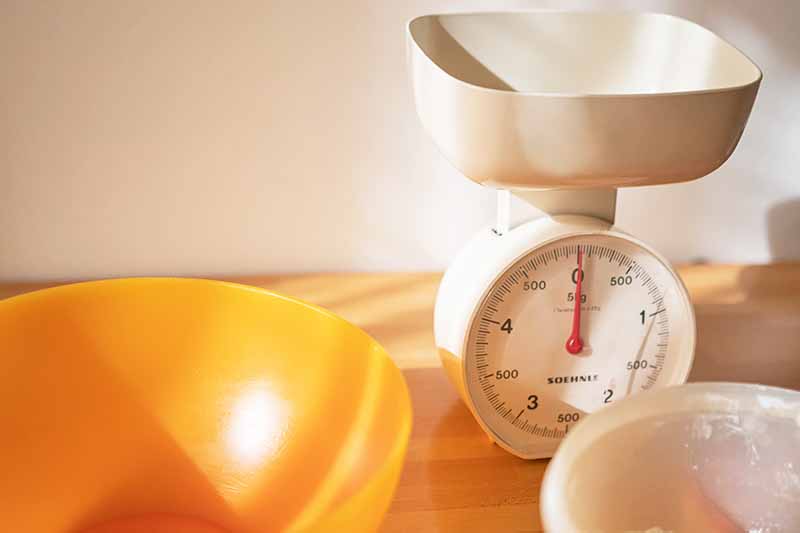
Thus, it’s important to get your measurements right, to encourage the chemical reactions that you’re going for to take place. Using a kitchen scale is your best option here, since measuring cups can lead to varied results – flour that’s packed tightly into a cup contains more mass than lightly spooned or sifted flour, though these may appear to take up the same volume.
If you do use measuring spoons and cups, be sure to level off the top and measure consistently, and stick closely with whatever recipe you are following. The adjustments needed for high-altitude baking are slight, and changes are made in small increments – sometimes adding as little as a quarter-teaspoon of baking powder to your batter, for example. Measuring accurately and precisely will set you up well to achieve the best results.
Measurement conversions in grams can help, if you wish to convert a recipe with measurements in cups, tablespoons, and teaspoons into quantities that you can measure on your kitchen scale instead. Keep the following in mind:
- All-purpose flour: 1 cup = 120 grams; 1 tablespoon = 7.81 grams
- Granulated sugar: 1 cup = 200 grams; 1 tablespoon = 12.5 grams
- Milk: 1 cup = 240 grams; 1 tablespoon = 14.3 grams
- Butter: 1 cup (2 sticks) = 225 grams; 1 tablespoon = 14.2 grams
- Baking powder: 1 teaspoon = 4 grams
- Baking soda: 1 teaspoon = 6 grams
If you need to convert ingredients that are not on this list, check the front of your cookbook for a conversation table, or do a quick search online. Different types of flour and sugar, as well as liquids, fats, and leaveners, have different weights depending on the specific type you are using. In essence, a cup is not always a cup!
3. Add Extra Liquid
So, you’ve mastered a few recipes designed specifically for your 5,000-foot elevation in the mountains and you’re ready to branch out and start experimenting. Good for you!
All experienced bakers agree that experimentation truly is the name of the game here. You will need to experiment with recommended adjustments and see what works, through trial and error.
Various factors come into play when you’re trying to achieve the best results in baking at high altitudes, where the air pressure is low and the air is often dry. To prevent a dry cake, you’ll typically start making adjustments to your batter by adding some extra liquid.
Since water boils at a lower temperature at high altitudes, causing moisture to evaporate more quickly and resulting in a more dense finished product, rebalance your batter with a higher quantity of liquid ingredients.
The general rules of thumb here are:
- 3,000 feet: Increase each cup of liquid by up to 2 tablespoons
- 5,000 feet: Increase each cup of liquid by 2-4 tablespoons
- 7,000 feet: Increase each cup of liquid by 3-4 tablespoons
- 10,000 feet: Increase each cup of liquid by 3-4 tablespoons
It’s also worth mentioning that higher-protein options like bread flour and all-purpose absorb more moisture than cake flour. We’ll cover flour adjustments and tips for using the correct type a little later, so keep reading!
Acidity is another factor that comes into play when baking, helping the batter to set when ingredients are combined in the right proportions. Buttermilk is often the preferred liquid for baking at 5,000 feet and above, as an acidic ingredient that also provides moisture.
Finally, moisture loss also has an effect on our senses. Have you ever had the feeling that your dessert turned out just right, in terms of texture, but something was missing? At higher altitudes where the air is dry, our senses of taste and smell may be weaker.
Selecting flavorful recipes to start with, or making small adjustments to increase the quantity of salt or flavorings like vanilla and other types of extracts, may be required to achieve the intended results. But adjust these sparingly – flavor extracts are highly concentrated, and you don’t want to add too much.
4. Reduce Leavening
Leavening is the action by which cakes achieve their airy crumb, but this can be achieved at higher altitudes with less of the ingredients that make batters rise. Gasses expand more quickly at higher altitudes where the air pressure is lower, so you need less baking soda or baking powder to achieve the intended results.
Baking soda also neutralizes the acidity of certain ingredients, so you may need to reduce this ingredient, and/or add buttermilk instead of regular milk as mentioned above, so the batter maintains the necessary level of acidity.
Try these adjustments:
- 3,000 feet: Decrease each teaspoon of leavening by 1/8 teaspoon
- 5,000 feet: Decrease each teaspoon of leavening by 1/8-1/4 teaspoon
- 7,000 feet: Decrease each teaspoon of leavening by 1/4-1/2 teaspoon
- 10,000 feet: Decrease each teaspoon of leavening 1/2-2/3 teaspoon
Reducing the amount of air whipped into the mix can also have an effect on leavening. Egg whites are often whipped and gently folded into the batter to make light and airy sponge cakes rise – but whipping these too much at a high altitude will cause them to overexpand, and then collapse.
At 3,000 feet and above, in recipes that call for stiff peaks, beat egg whites to smooth, glossy, soft peaks instead. These will still have room to expand, and they’ll hold their shape in baking.
Be sure to also firmly tap pans containing thick batters on the countertop before placing them in the oven to dislodge large air bubbles, and run a knife around the pan through airy batters containing whipped egg whites just before baking.
5. Add Flour or Eggs
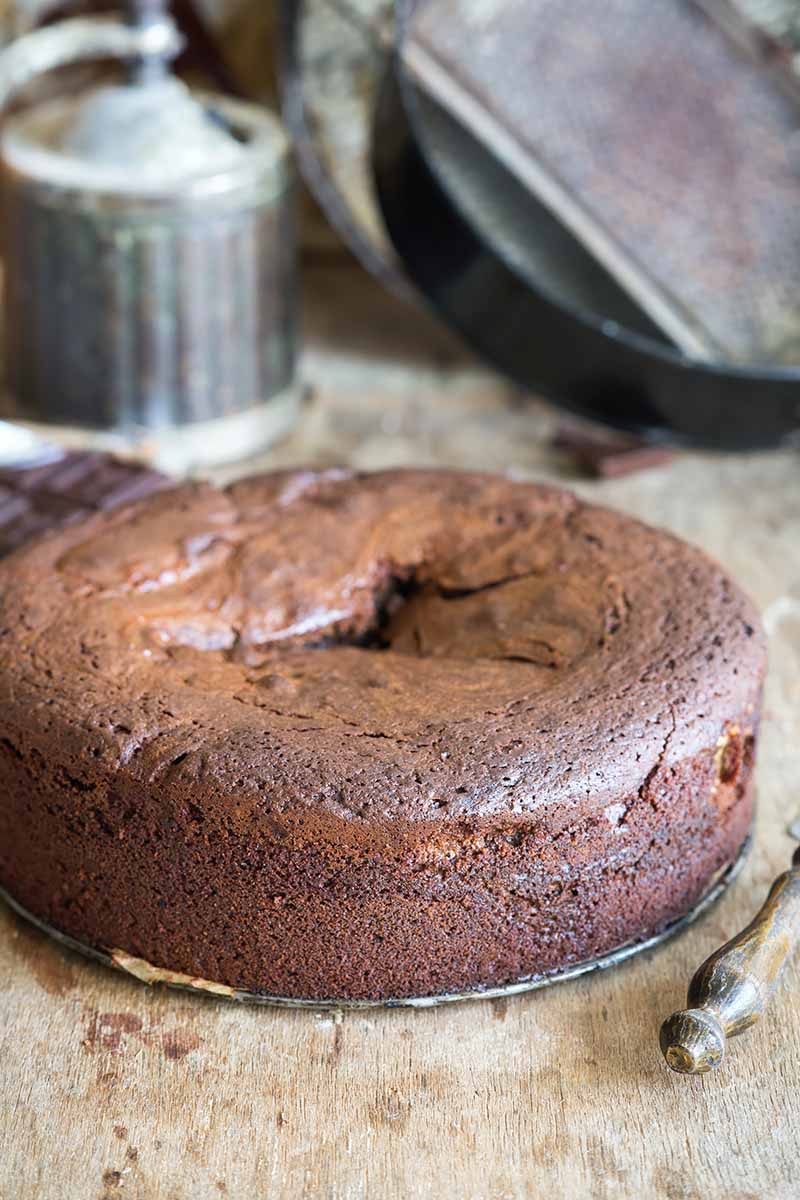
Cakes that fall flat in the middle after you take them out of the oven do this due to a lack of structure, and structures stabilize more slowly in baking at higher elevations.
Adding flour, or sometimes eggs, will increase the protein and starch content of your batter, giving the cake a better structure that holds up in the face of more rapid moisture loss and quicker increases in temperature.
Try this:
- 3,000 feet: Add 1 tablespoon of flour per cup
- 5,000 feet: Add 2 tablespoons of four per cup
- 7,000 feet: Add 3-4 tablespoons of flour per cup
- 10,000 feet: Add 2-4 tablespoons of flour per cup
Be sure to use the correct type of flour as well, and make adjustments as needed. While cake flour is often called for in recipes designed for baking at sea level, all-purpose flour is usually the way to go when baking at high altitudes.
The higher protein content results in a better gluten structure in your finished baked goods, and less likelihood of collapsing when they come out of the oven.
While adding an egg can add moisture and strengthen a cake’s structure as well, it’s important to note that adding too many egg whites can dry out the batter. Adding a yolk on its own might be your best option.
6. Reduce Sugar or Fat
Moisture loss results in a higher concentration of non-liquid ingredients – and an overabundance of the starch and fat that are left behind can result in a brick, with a weak gluten structure and coarse texture, rather than light and airy baked goods.
Reducing the quantity of one or the other of these, depending on the type of cake that you are baking, can lead to the results that you’re looking for. This adjustment will help your batter to set more quickly, but it’s also important to keep in mind that adjusting the sugar content of your recipe will alter the flavor of the finished product.
Try the following:
- 3,000 feet: Reduce each cup of sugar by 1 tablespoon
- 5,000 feet: Reduce each cup of sugar by 1-2 tablespoons
- 7,000 feet: Reduce each cup of sugar by 2-4 tablespoons
- 10,000 feet: Reduce each cup of sugar by 3-4 tablespoons; reduce fat (butter) in rich batters 1-2 tablespoons per cup
These adjustments are particularly useful if you are baking sponges that do not contain leaveners like baking powder, or dense pound cakes made with a lot of butter:
7. Increase Oven Temperature or Bake Time
Since water boils more quickly the higher you climb, cake batter may fail to reach the high temperature required to encourage proteins to coagulate and starches to gelatinize within the allotted baking time that a recipe calls for. Cakes may be cooked on the outside while remaining wet in the middle, where the temperature failed to increase enough for the batter to rise.
Creating a strong structure that doesn’t fall requires some adjustments.
Water boils at 212°F at sea level, and the boiling point of water drops about 1°F for each 500-foot increase in altitude. At elevations of 3,000 to 7,000 feet, increasing the baking temperature by 25°F is often what’s called for to adjust for this effect.
Before you even attempt this, however, it’s important to understand your oven. Is the temperature gauge accurate? Does it have hot spots or other quirks you should be aware of?
Until you can confirm that it is actually producing the level of heat you set it to, this element of your baking experiment remains a bit of a wild card. Use an oven thermometer to compare what appears on the gauge or display to what’s actually going on inside when you preheat, and then increase the temperature accordingly to raise it 25°F for your baking projects.
On the other hand, sometimes high-altitude baking calls for a slower bake rather than a hotter oven temp. Adding more time is the way to go when you’re at 7,000 feet above sea level and higher, so your homemade desserts won’t develop a hard crust too quickly, leaving the batter inside unbaked.
Instead, bake at a moderate temperature – 350°F – for a longer time instead, and keep your trusty cake tester or toothpicks at the ready to check for doneness.
Bake Confidently, Even with Your Head in the Clouds!
Above all else, it’s important to remember that baking a cake is a chemistry experiment – albeit one that has the potential to be super delicious – and many different factors are involved. These include atmospheric conditions like air pressure and humidity, as well as the reactions that take place between various ingredients including proteins, fats, acids, leavening, starches, and moisture or liquids.
When your cake is ready, allow it to cool completely before decorating or storing, as you normally would. If it sinks but still tastes fantastic, try these tips to enjoy it anyway, make a note of what you did and what might have gone wrong, and try, try again.
Whatever you do, don’t let that cake sit out. If you don’t plan to serve it right away, be sure to wrap it tightly in a double layer of plastic wrap, and store it in something airtight in the fridge or freezer until you’re ready to enjoy it. Baked goods tend to go stale more quickly at higher elevations, with the exception of meringues – and this is another side effect of rapid moisture loss.
What have you baked up recently in your high-altitude environs? What adjustments worked for you, and what didn’t? And who are some of your favorite high-elevation cookbook authors? You might consider buying their books as gifts for someone who recently moved to a higher elevation!
Let us know in the comments below! And feel free to reach out with any questions.
Next up, give these baking guides from Foodal a read to increase your culinary know-how even more:
- Mastering the Art of Artisan Sourdough Bread
- 10 Tips to Bake Perfect Cookies Every Time
- Love at First Smear: The Difference Between Salted and Unsalted Butter in Baking
© Ask the Experts, LLC. ALL RIGHTS RESERVED. See our TOS for more details. Product photos via Amazon. Uncredited photos via Shutterstock.
About Allison Sidhu
Allison M. Sidhu is a culinary enthusiast from southeastern Pennsylvania who has returned to Philly after a seven-year sojourn to sunny LA. She loves exploring the local restaurant and bar scene with her best buds. She holds a BA in English literature from Swarthmore College and an MA in gastronomy from Boston University. When she’s not in the kitchen whipping up something tasty (or listening to the latest food podcasts while she does the dishes!) you’ll probably find Allison tapping away at her keyboard, chilling in the garden, curled up with a good book (or ready to dominate with controller in hand in front of the latest video game) on the couch, or devouring a dollar dog and crab fries at the Phillies game.


