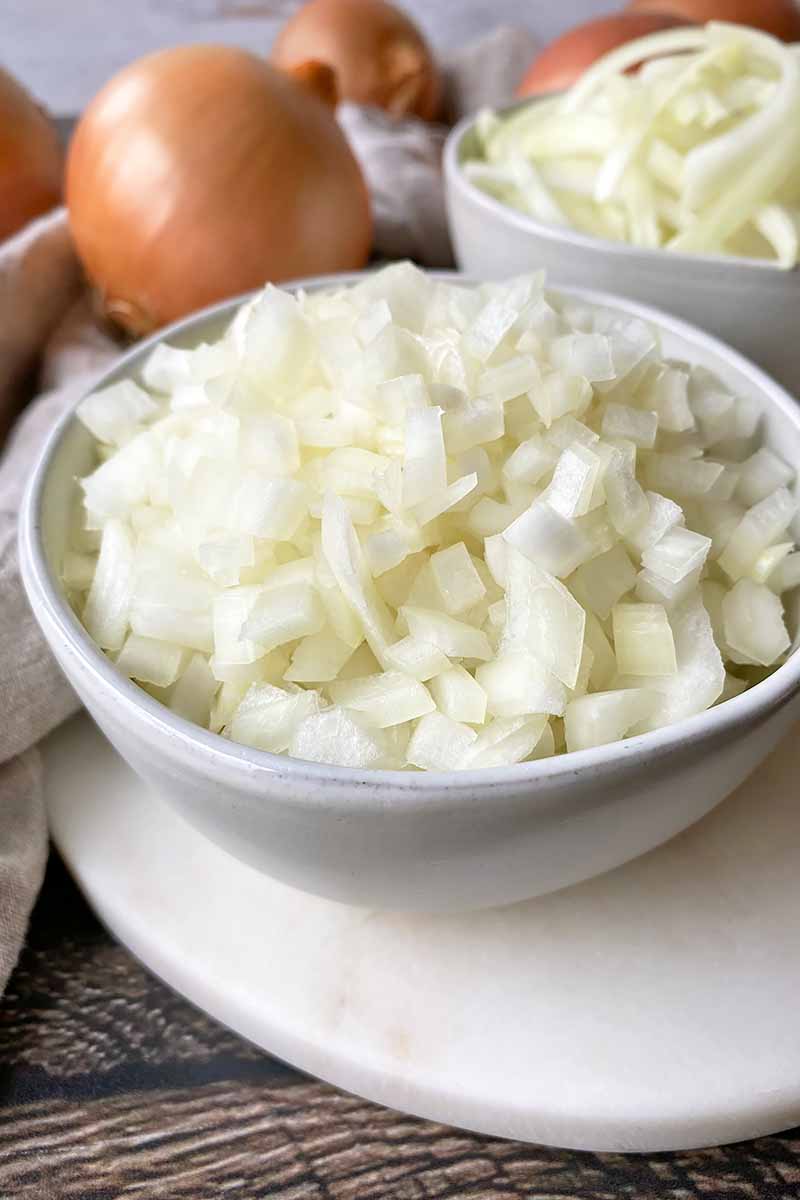
Making a recipe that calls for chopped, diced, or sliced onions?
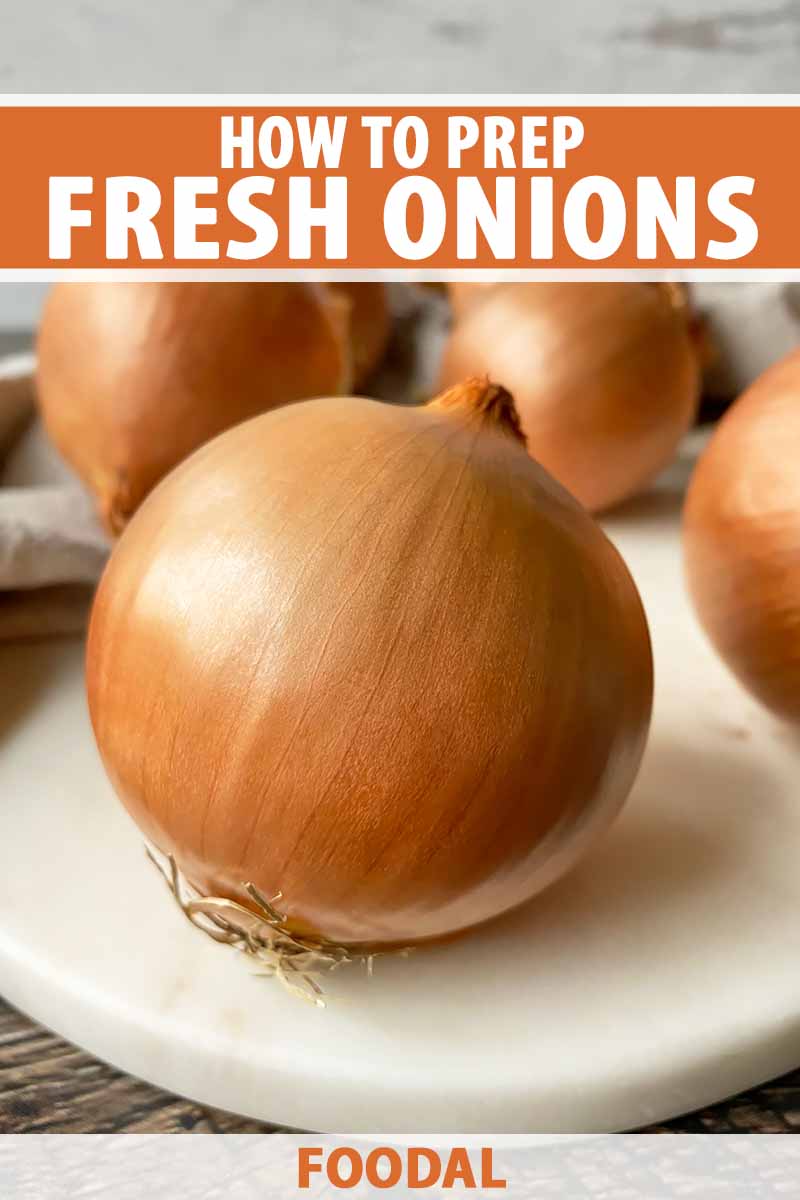
No surprise there – this important ingredient makes its way into so many recipes!
The onion is a popular allium that provides a fundamental foundation of aromatics and flavors for a wide range of dishes.
As one of the three components in a mirepoix, it has a long history of playing an incredibly vital supporting culinary role to help the main ingredients shine.
It can also be featured front and center in all its zingy glory as a raw ingredient in salads and condiments.
While the onion is a common ingredient to use, it can be difficult to handle when you’re not confident or familiar with the prep process.
One faulty cut will reveal its underlying malicious nature beneath those concentric layers: a ticking time bomb of volatile compounds that erupt onto the face of the poor cook who is simply trying to get dinner on the table!
There will be no crying from now on. With our guide, get back to the basics and learn how to select, store, and prep this essential ingredient.
In this article, we’ll focus on the larger bulbous varieties – red, white, sweet, and yellow – as well as bigger shallots. Smaller shallots can simply be peeled and minced like fresh garlic cloves.
All of these varieties can be prepared using the same techniques we’ll review now.
How to Prep an Onion
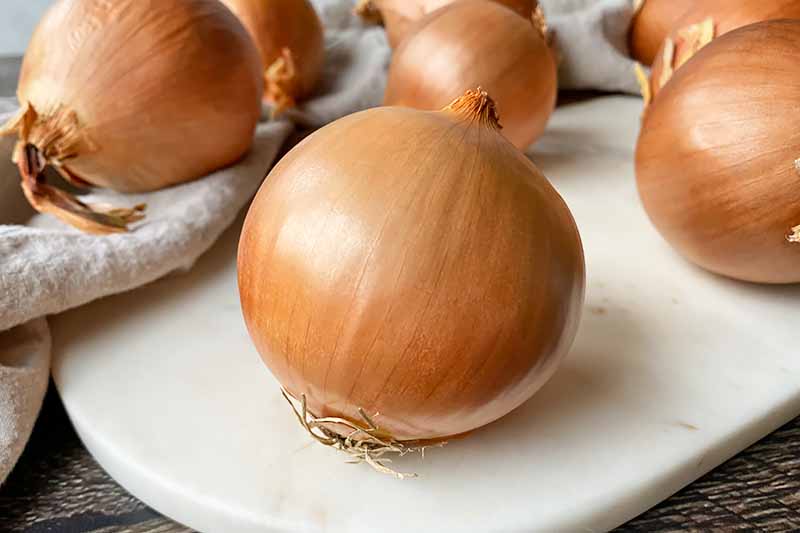
Buying
Purchase individual onions instead of multiples in a bag. While you think you may be saving some money going for the bag, looks can be deceiving!
There is actually a greater risk of waste when choosing the bag.
Being able to touch and see each individual one won’t leave you with any surprise moldy ones that you have to throw away when you open the bag at home.
Look and feel for firm ones that are free of any mold, gashes, or soft dark spots. The outer skin should be dry with no moisture or wet spots.
They should not have a scent when you smell them – the papery skin should be doing its job of protecting the interior from decay.
Storing
Storing whole unpeeled onions is simple!

Ideally, they should be stored in a cool, dark place. Place them in a large bowl, basket, or platter that offers ventilation and airflow.
Avoid stacking too many on top of one another, as this will cause any of them at the bottom of the pile to potentially be crushed with no ventilation.
If you don’t have the appropriate pantry space (townhouse woes!), you can easily store them at room temperature in your kitchen, away from any heat sources or direct light.
Depending on how fresh they are on the day of purchase, whole unpeeled onions can last anywhere from 1 to 3 weeks.
To maximize the length of storage time, rotate them every few days to ensure the entire bulb is getting enough airflow.
Due to the hardy quality of the whole unpeeled option, storing them in the refrigerator is not necessary until they are cut.
A cut or otherwise exposed piece should be refrigerated in an airtight container to maintain its quality.
Exposing the surface area will result in fast moisture loss and an increase of harsher aromas. With this in mind, cut refrigerated pieces are best used within 3 days.
Prepping YOURSELF First!
Oh, so you think you’re gonna slice right into an onion without any sort of preparation, huh?
I’m here to hold the stop sign. Right in front of your face.
Right before I make my first cut, I like to quickly review our article for how to avoid a waterfall of painful tears streaming down my face when I’m prepping these pungent alliums.
I suggest you also review this information to prevent this particular misery from ever happening to you again!
You can read the full article for more details, but here is one of the main takeaways for the most successful cutting:
Make sure your knife is sharp, sharp, sharp!
Don’t think of it as a nuisance to hone and sharpen your knife – it needs to be considered an absolute necessity!
A sharp knife will help you cut through each piece quickly, neatly, and safely.
And it’s not just the sharpness of the knife that matters – it is how you cut with the knife, as well.
If you second-guess each cut and move your knife around, you are essentially mutilating the poor thing, destroying its cellular structure and releasing more volatile compounds – not to mention putting you at risk for potential injuries!
You want to cut with confidence and agility, making sure you are cutting with the end of the knife. You also need to continually stabilize the onion with your other hand as you slice, and keeping those fingers tucked in.
When you cut it with swift and methodical slices, you will avoid the tears and have lovely-looking slices and dices to use in your cooking.
How to Prep an Onion for Slicing and Dicing
The initial steps of preparing an onion are the same to yield both slices and dices. Follow these first 4 steps, and move on to the next phase!
Step 1 – Clean the Bulb
To prevent any unnecessary moisture intrusion during storage, do not fully clean it until you will be cutting it.
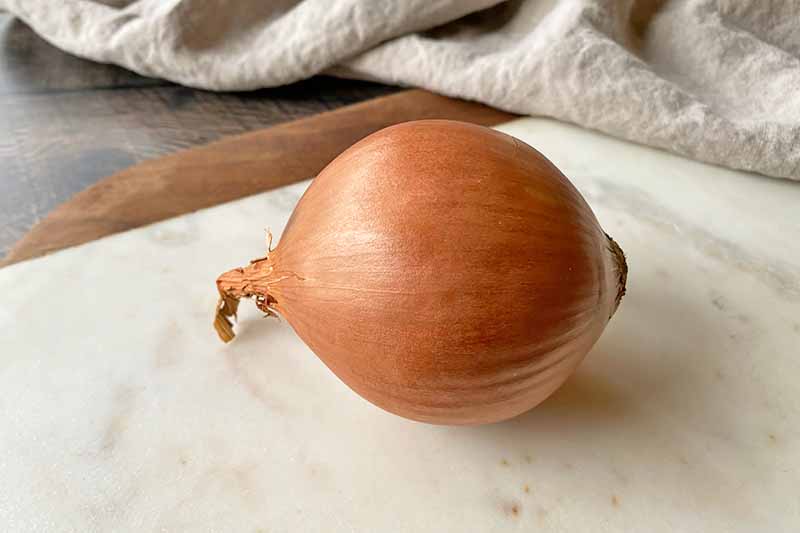
Quickly run the entire unit under cold water. Concentrate on the ends, to remove any excess dirt on the stem or roots.
Immediately dry it off with a clean kitchen towel.
Step 2 – Slice and Trim the Ends
The onion has two ends: the stem and the root. As long as the tight root end is not completely removed, it helps to hold all the layers together as you are cutting. This is the end that you want to keep intact.
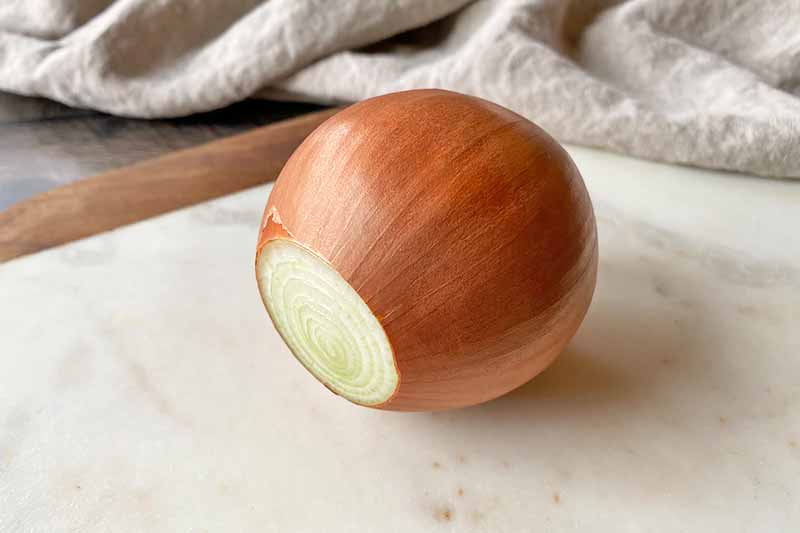
Using a sharp chef’s knife and sturdy cutting board, slice off the entire stem end, slicing about 1/4 inch down from the stem.
Slice any excess roots off the root end, but leave the root end mainly intact.
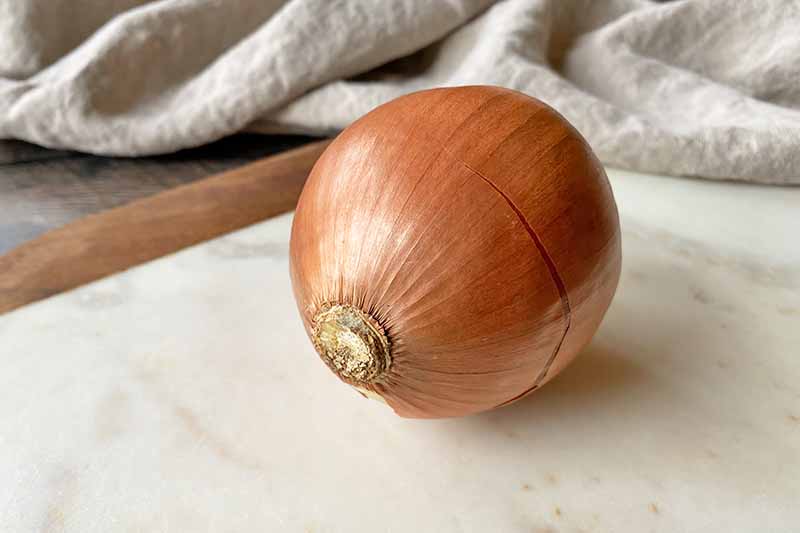
Step 3 – Cut in Half
Place the onion with the cut stem end directly down on your cutting board. The root end will be facing up vertically. You now have a stable unit you can easily cut in half.
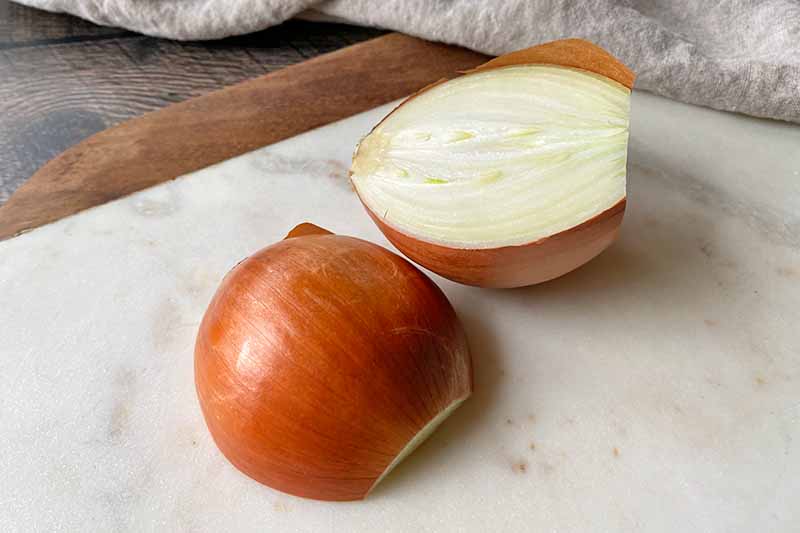
Making one quick motion with your knife, slice it completely in half from root end to stem end.
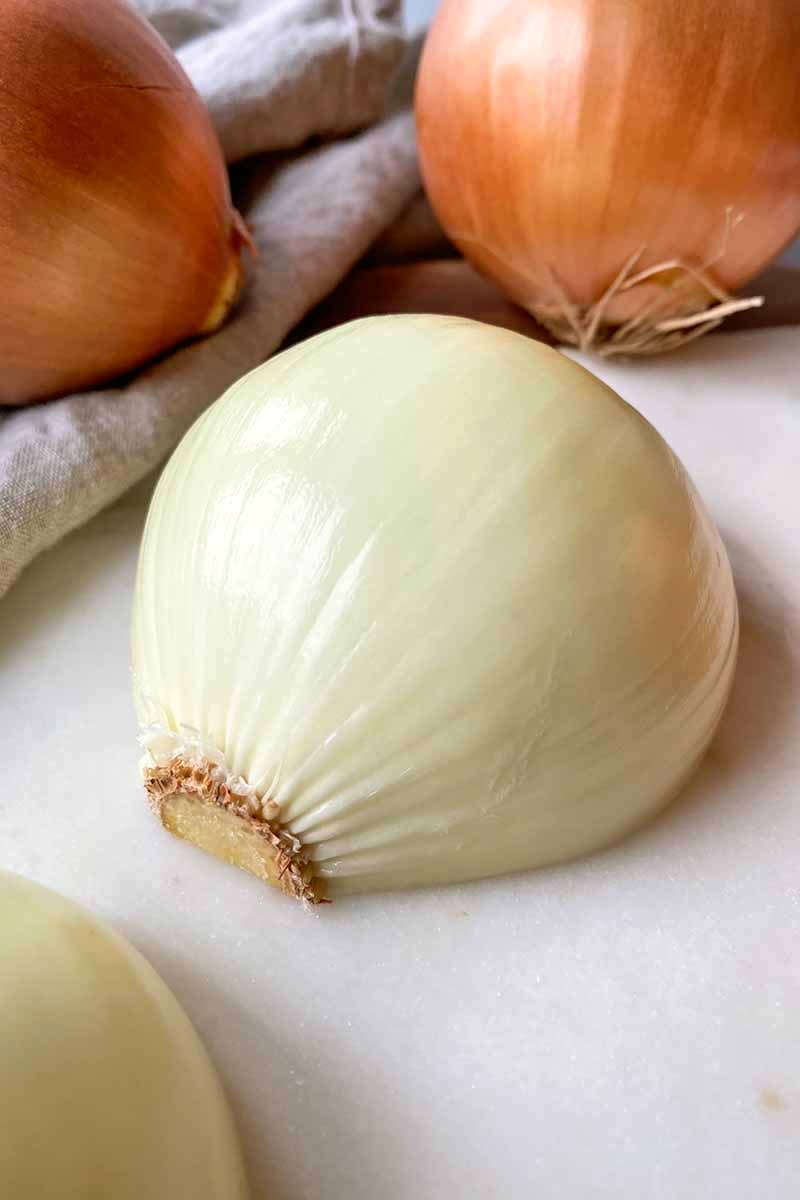
Step 4 – Peel
Using your fingers, peel away the outer papery skin from both halves, as well as any exterior layers that look and feel papery or have blemishes.
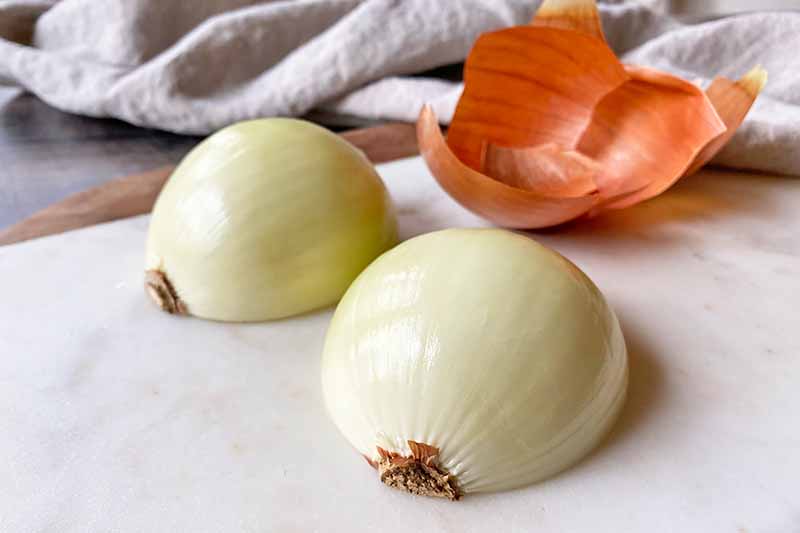
You may need to wash off the pieces with cold water again if there is any dirt that was trapped between these outer layers.
Be careful to not remove too many layers, as you do not want to waste any if you don’t have to. Scraps can be saved for stock, or put in the kitchen compost. Whatever you decide, give yourself a pat on the back for reducing food waste in your kitchen!
Initial prep – done!
At this point, you can move forward with either slicing or dicing the halves. Find more on both of those prep methods below.
How to Slice
After finishing the prep steps, you are now ready to slice your beautiful allium with ease, if that is what you need for your recipe.
Follow these steps to get the best results.
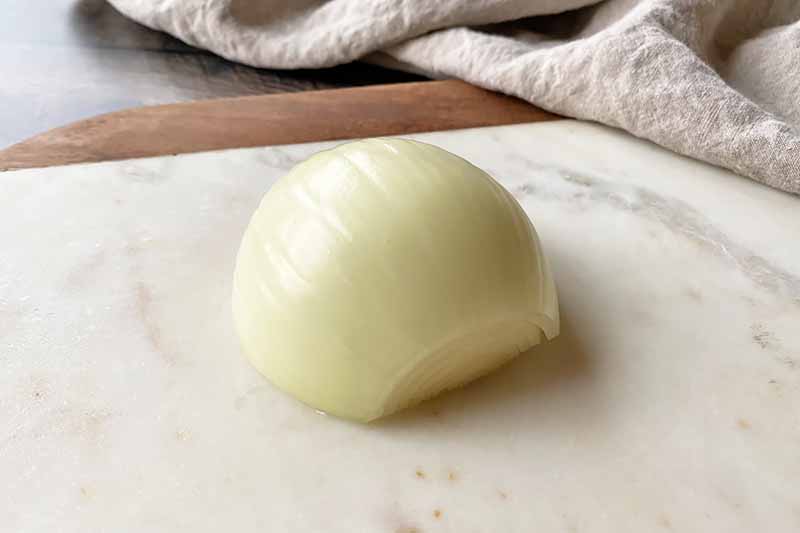
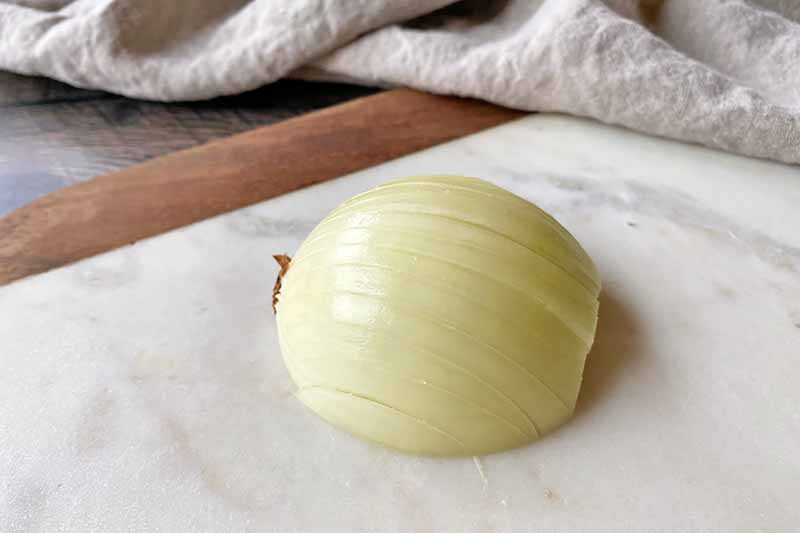
Step 1 – Position the Half
Working with one peeled half at a time, place the half cut side down on the cutting board with the root end facing away from you.
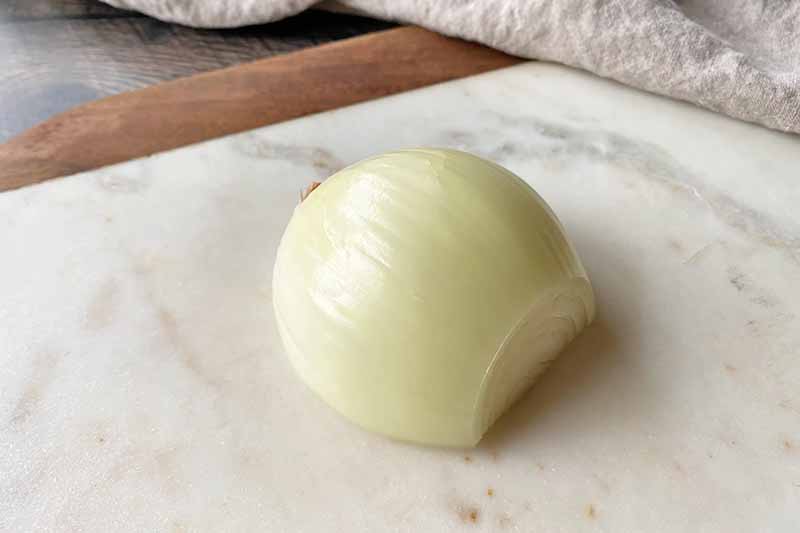
Make sure the other half is out of the way as you are slicing.
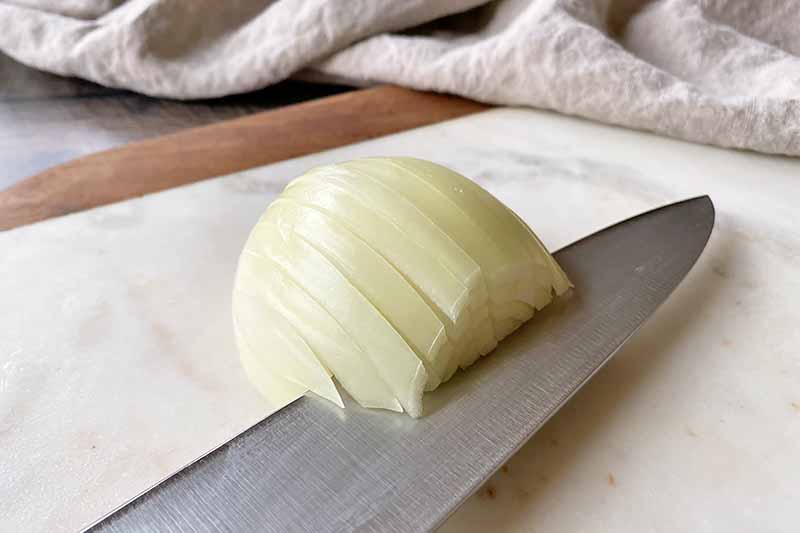
Step 2 – Make Parallel Slices
Cut vertical parallel slices of the desired thickness through the half, slicing as close to the root end as possible without cutting completely through it.
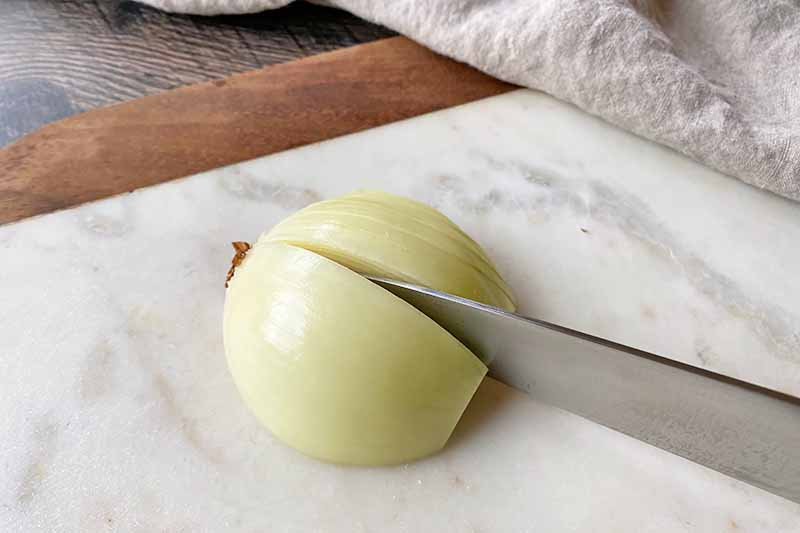
Leaving a smaller amount of space between each cut will result in skinnier slices. Leaving a larger amount of space between each cut will result in thicker slices.
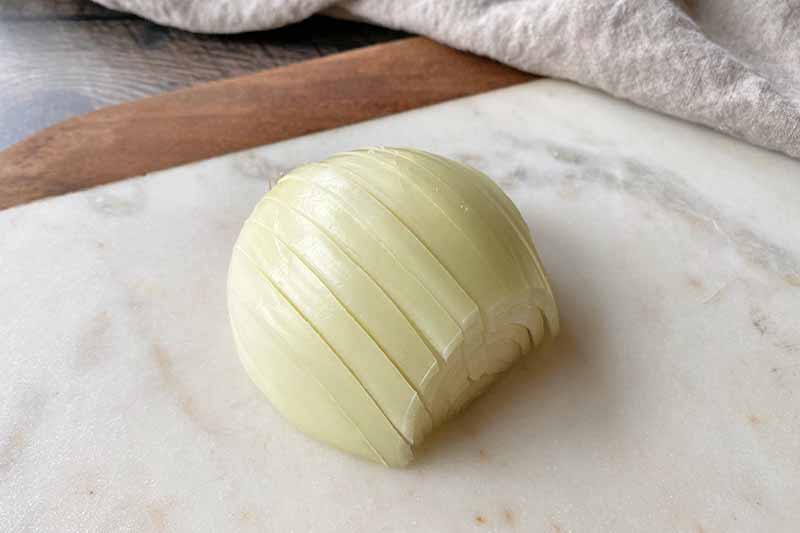
Push the slices tightly back together if they started to fall apart as you are slicing. This keeps everything neat and compact.
Step 3 – Cut Off Root End
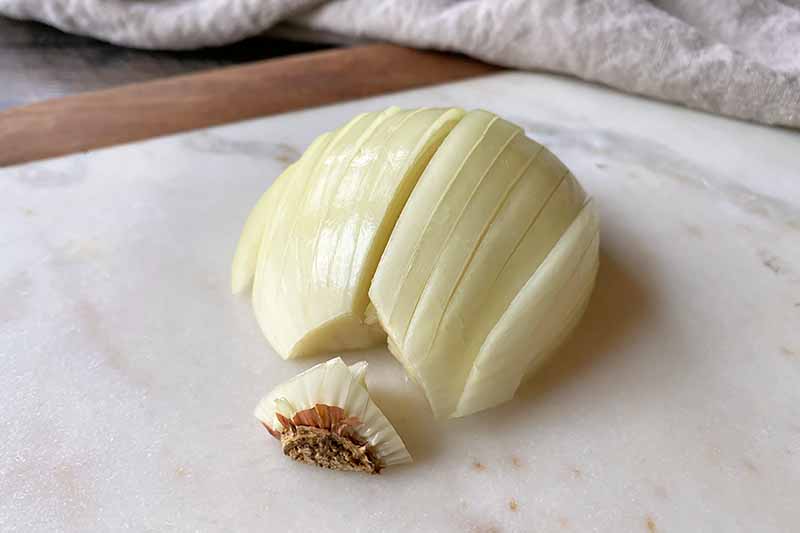
Cut off the root end that is holding the slices together, slicing a “V” shape around the root to minimize waste.
Step 4 – Pull Apart the Slices
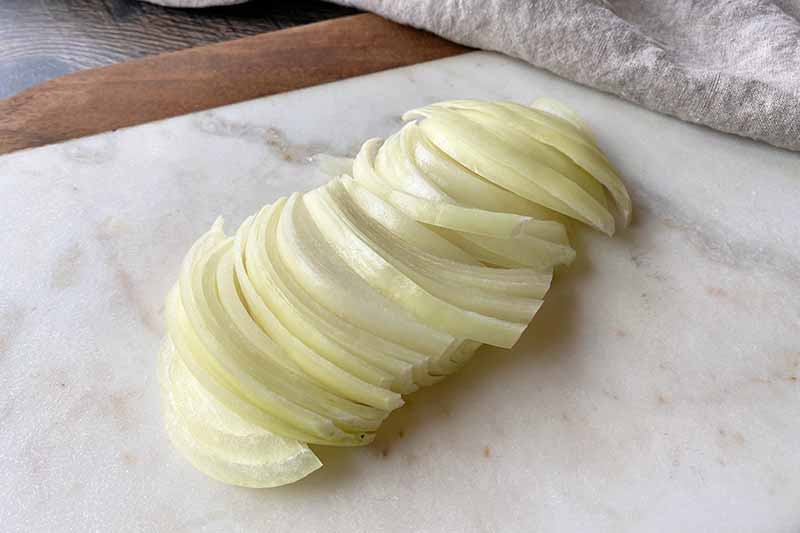
Once the root end is removed, you can now easily separate the slices with your fingers.
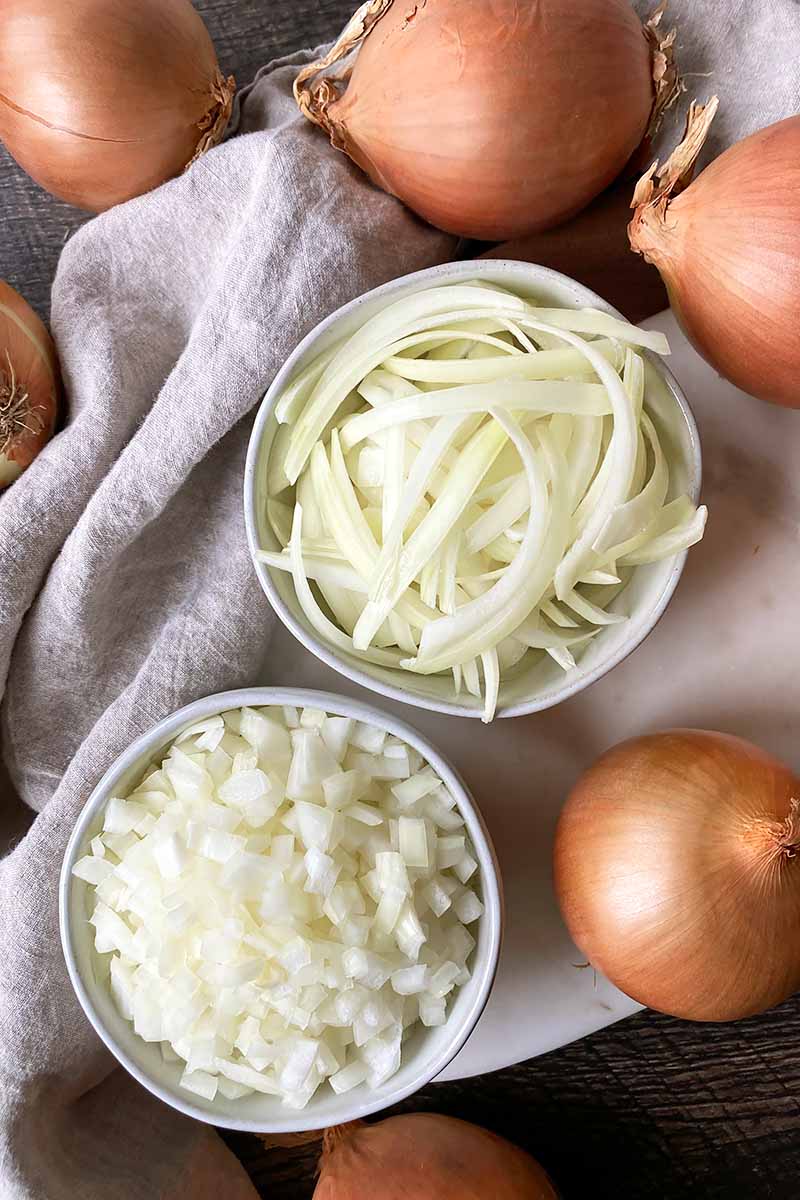
How to Dice
Need to take your prep a step further? Slicing it gets you halfway to the perfect chopped or diced pieces! The first two steps will be the same for this as when you slice it.
Chopped onions are prepared with rougher and bigger cuts, an easy option when the final presentation doesn’t need to be perfect – like for larger roasts, stews, or anything that will be pureed.
Diced onions are prepped with more uniform cuts. You’ll want to pay more attention to each slice you make to ensure even results.
Step 1 – Position the Half
Working with one peeled half at a time, place the half cut side down on the cutting board with the root end facing away from you.
Step 2 – Make Parallel Slices
Cut parallel slices of the desired thickness vertically through the half, without cutting completely through the root end.
Leaving a smaller amount of space between each cut will result in a thinner slice. Leaving a larger amount of space between each cut will result in a thicker slice.
As you are slicing, make a conscious effort to push the half back together after you make each slice – you want to maintain the original shape of the half to get the cleanest cuts in the next steps.
Step 3 – Cut One or Two Horizontal Slices
Parallel to the cutting board, make a single horizontal cut on a small onion, or two horizontal cuts on a larger one.
Slice through the width of the onion without cutting through the root.
Again, remember to push the half back together after making each slice – it will move around!
Step 4 – Dice
Carefully turn the onion so the root end is now facing to the left.
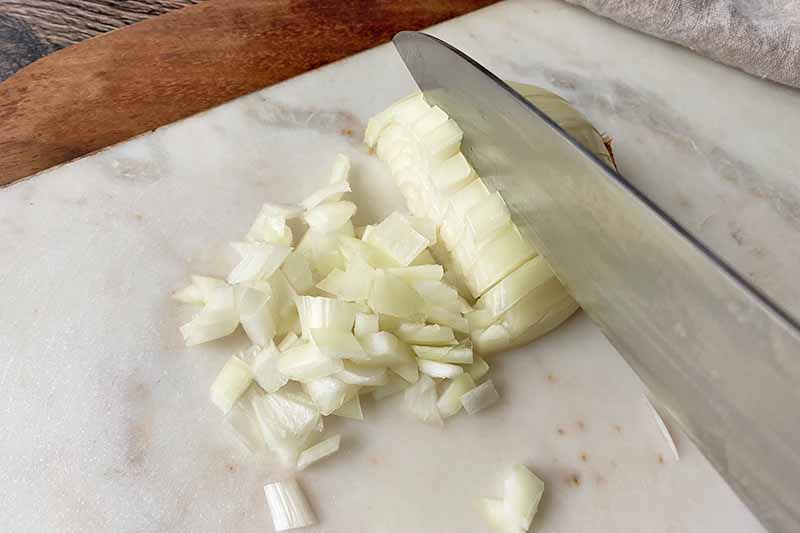
Now, cut new slices perpendicular to the first set of slices. Leaving a smaller amount of space between each cut will result in a smaller dice. Leaving a larger amount of space between each cut will result in larger diced pieces.
And here’s a final reminder to maintain a tight grip as you cut!
Cut as close to the root as possible.
Step 5 – Cut off Root End
Cut off the root end that is holding the diced pieces together, slicing any remaining onion that is around the root to reduce waste.
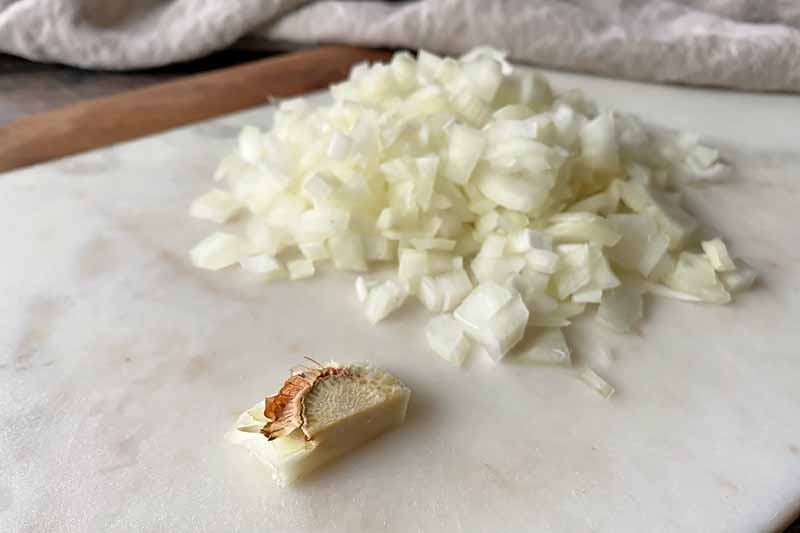
If there are any bigger chunks left near the root end that you couldn’t slice, now is the time to make those few extra cuts.
Step 6 – Pull Apart the Pieces
Dispose of the root end, and separate the diced pieces with your fingers.
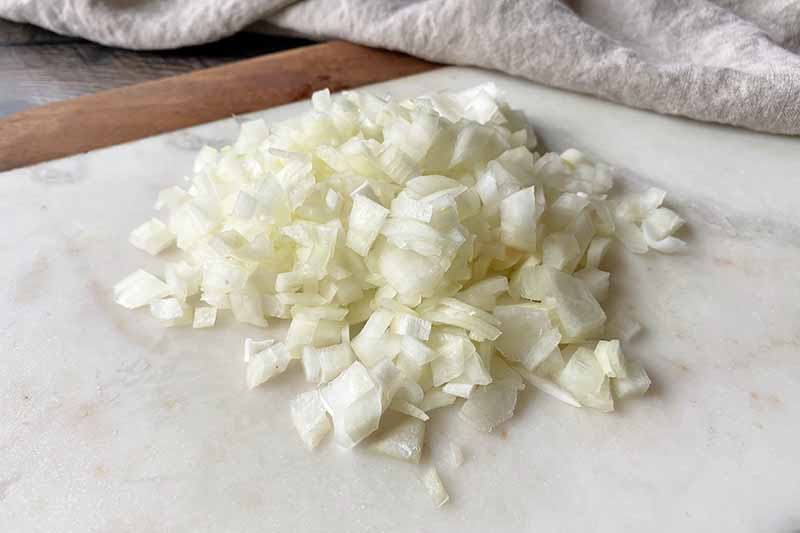
All finished! You now have beautiful sliced, chopped, or diced pieces – and hopefully no tears to go along with them.
Delicious Applications
Fresh onions provide a base of aromatics and flavors to complement and enhance so many dishes!
For recipes featuring diced or chopped onions, try these delicious options:
Prefer the smooth lines of sliced onions? You’ll want to make these recipes:
- Satsuma, Red Onion, and Pomegranate Salad
- Spiced Pepper and Mushroom Tacos
- Instant Pot French Onion Soup
And these recipes are just the start! The savory applications are endless. From loaves to tarts to roasts to pasta, the onion happily plays a supportive role in dish after dish.
All of the Alliums!
If you want to gain the most amount of practice you can to work on your knife skills, just keep cooking!
You know you’ll be getting tons of practice slicing and dicing every time you choose to go homemade.
When you’re planning your next meal prep day and are motivated to continue gaining confidence with your cuts, be sure to choose recipes that include some chopped or sliced onions.
Where are you on the scale of cutting onions? Beginner, intermediate, or expert? Do you have any tips that are helpful to you when you are buying, storing, and prepping alliums? Share with us in the comment section below.
And don’t just stop at alliums – learn how to prep even more fun ingredients by reading more of our informative articles. To start, try out these tutorials from Foodal:
Photos by Nikki Cervone, © Ask the Experts, LLC. ALL RIGHTS RESERVED. See our TOS for more details.
Nutritional information derived from a database of known generic and branded foods and ingredients and was not compiled by a registered dietitian or submitted for lab testing. It should be viewed as an approximation.
About Nikki Cervone
Nikki Cervone is an ACS Certified Cheese Professional and cheesemonger living in Pittsburgh. Nikki holds an AAS in baking/pastry from Westmoreland County Community College, a BA in Communications from Duquesne University, and an MLA in Gastronomy from Boston University. When she's not nibbling on her favorite cheeses or testing a batch of cupcakes, Nikki enjoys a healthy dose of yoga, wine, hiking, singing in the shower, and chocolate. Lots of chocolate.