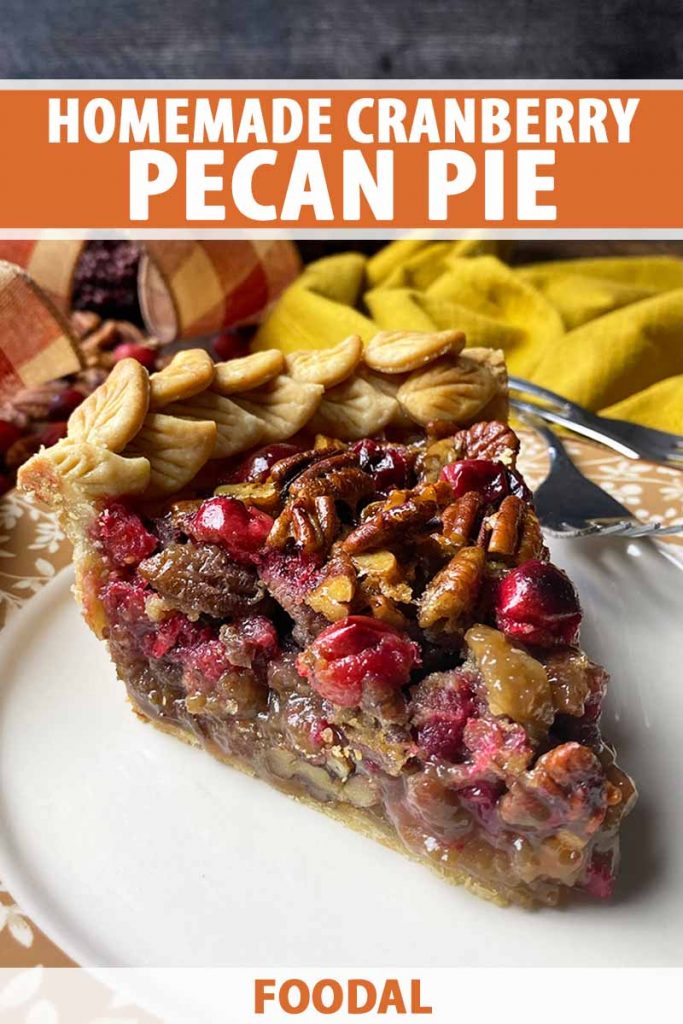
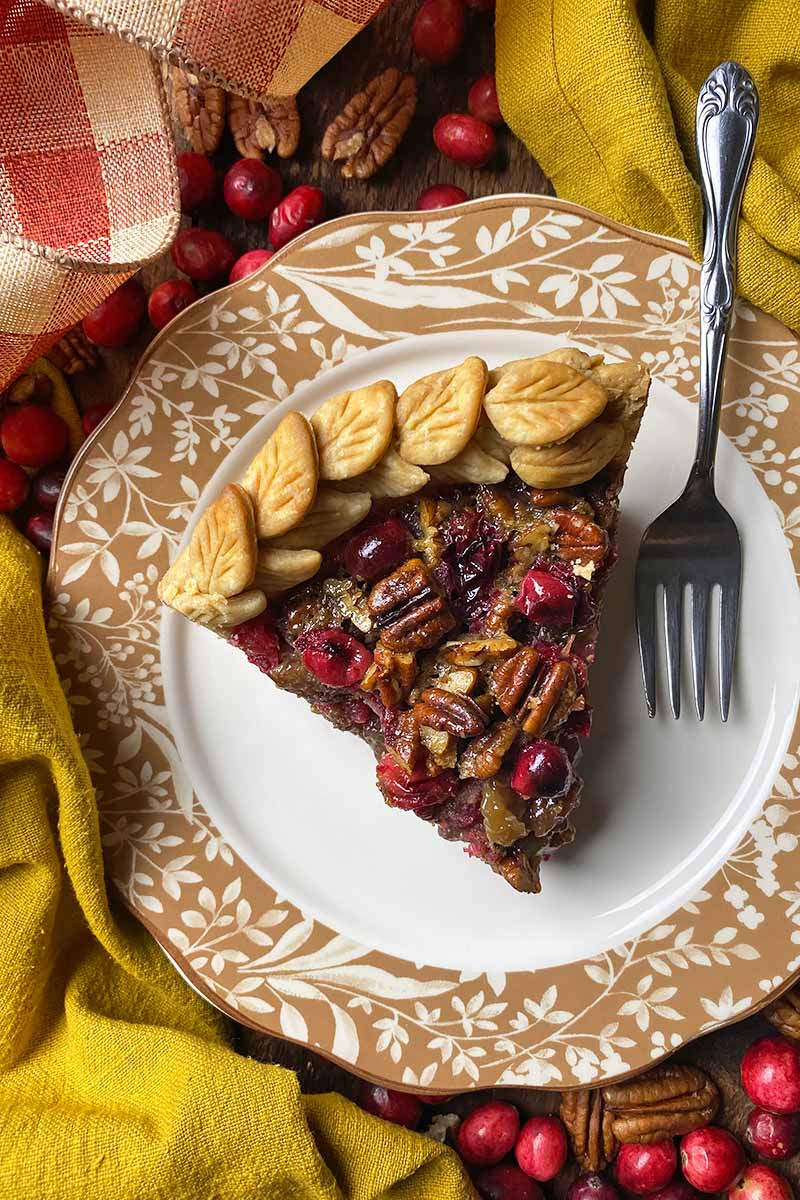
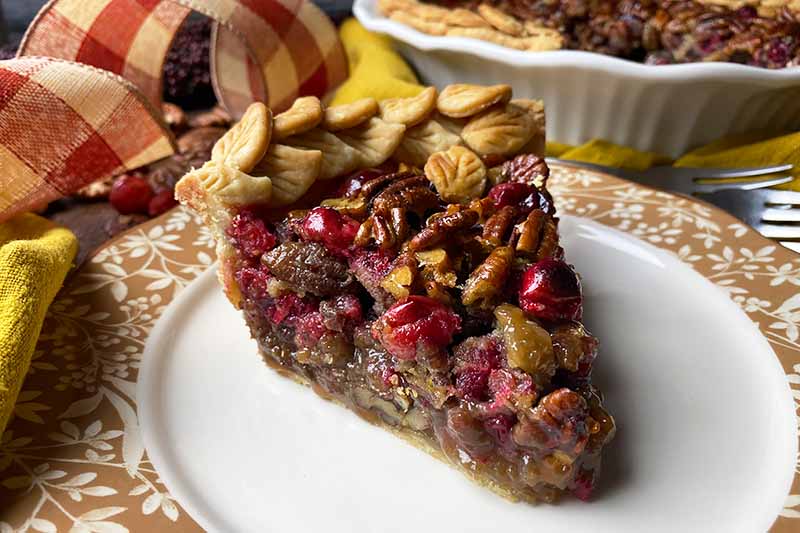
When it comes to finding a perfect balance of flavors, this homemade cranberry pecan pie aims for the very center of the target!
Balance is not a particularly favorable concept during the fall and winter holidays, and it can be challenging to find among the super sweet desserts assigned to these specific celebrations.
After every feast, a seemingly endless dessert binge ensues once the main course is over, with platters of sugar cookies covered in sugary icing topped with sugary sprinkles, super-duper dense rum-soaked fruit cakes, and creamy, custardy pies filling every inch of the table.
As irresistibly tasty as they are, these desserts often teeter heavily on the side of waaaaaaay too sweet – which has ignited my natural desire to find more desserts that have a unique twist to subdue their sweetness.
With its deep but saccharine sweet flavors, a classic recipe for pecan pie can be excessively cloying.
How could it not be? The combination of brown sugar, butter, corn syrup, and eggs creates a ridiculously rich base combined with the fatty nuts.
A pinch or two of salt is often added to provide a minor respite from the concentrated intensity of the filling. But those little granules have a lot of weight to put upon their tiny crystalline shoulders!
Let’s lighten the load with help from a flavor with mighty muscles:
Tartness!
If you love pecan pie, and believe it to be a necessity on every holiday dessert table, you need to try this version.
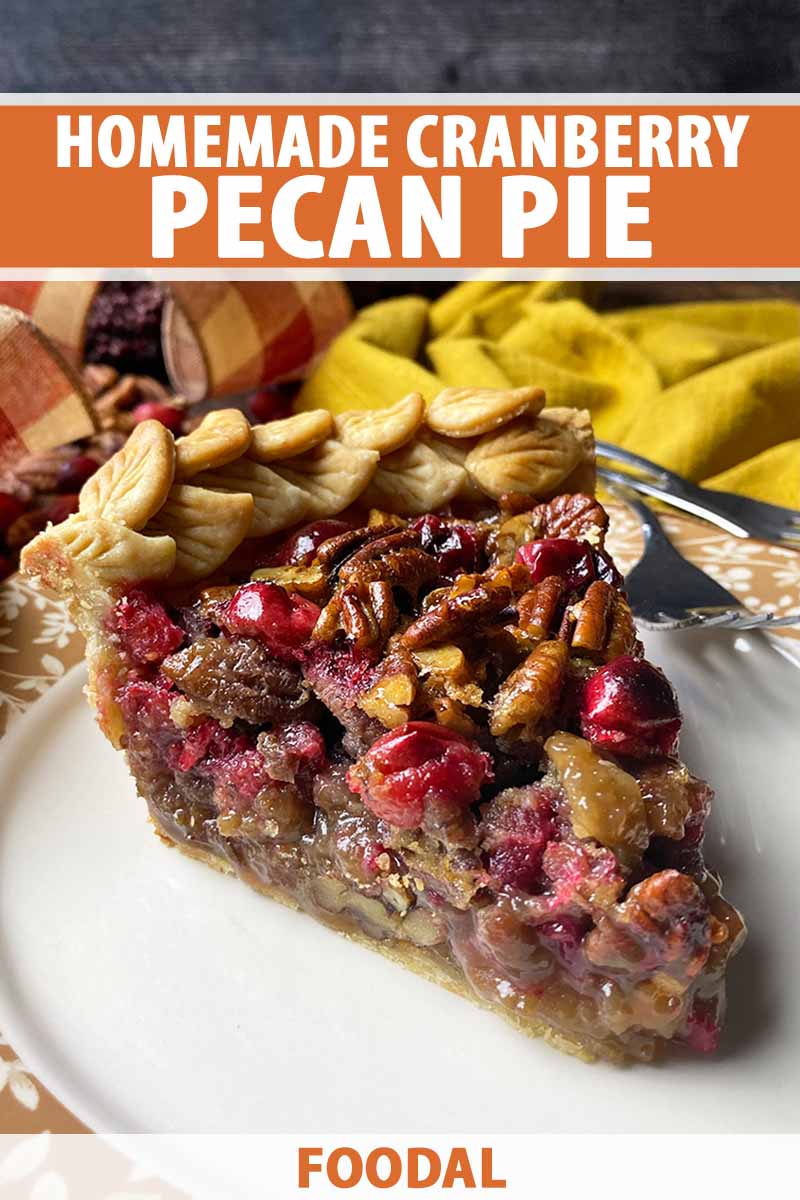
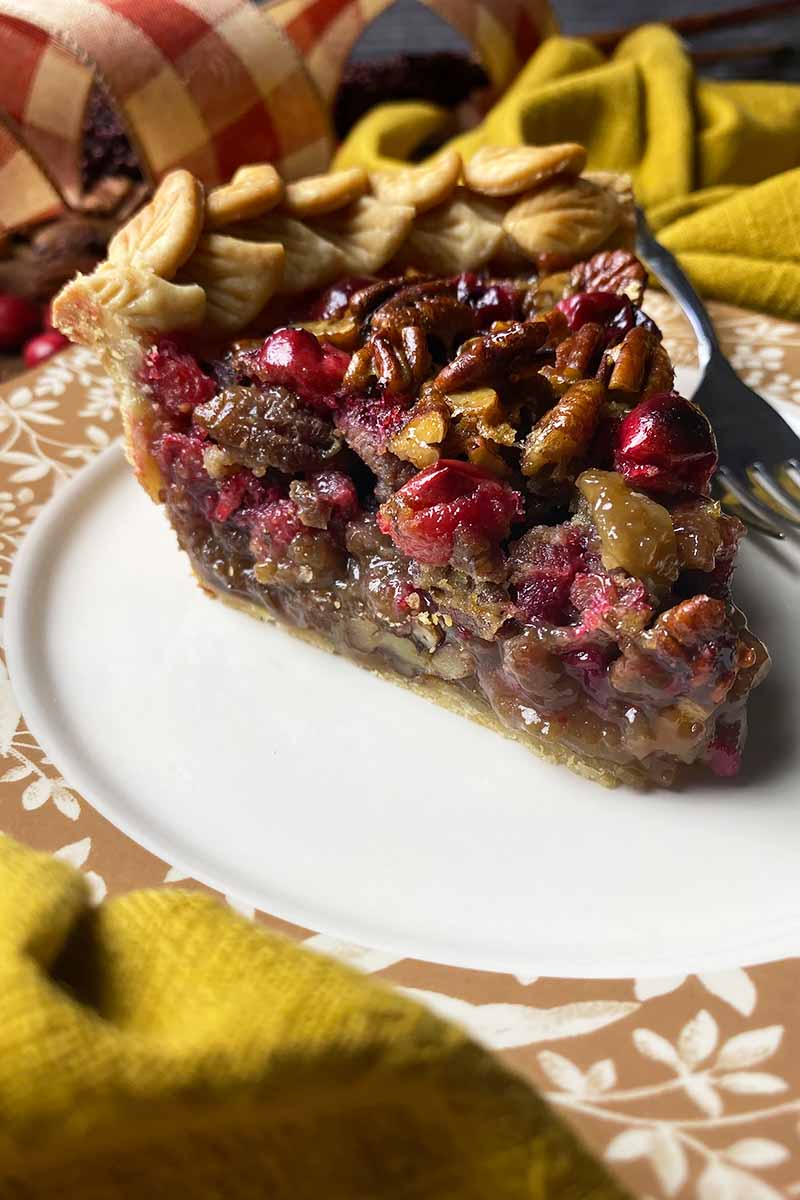
Fresh cranberries pack a sour punch, an unexpected left hook that doesn’t completely knock out the sweetness, but successfully restrains its power.
And a lovely bonus to the bold and bright flavors are the cranberries’ deep red color, which you’ll be happy to see among the maple-brown nuts.
The end result is just right: a pretty, seasonal dessert that’s not too sweet, and not too tart.
In other words, there is balance – beautiful balance!
Print
Cranberry Pecan Pie
- Total Time: 8 hours
- Yield: 1 9-inch pie (8 servings) 1x
Description
Do you love pecan pie, but think most recipes are too sweet? Try our version featuring tart cranberries that balance out the flavors beautifully.
Ingredients
For the Pie Crust:
- 1 recipe Foodal’s Pate Brisee Pie Crust or 1 9-inch single pie crust
- All-purpose flour, for dusting
For the Filling:
- 3 large eggs
- 1 cup packed light brown sugar
- 1 cup light corn syrup
- 4 tablespoons (1/2 stick) unsalted butter, melted and cooled
- 1 teaspoon vanilla extract
- 1/2 teaspoon kosher salt
- 1 cup fresh whole cranberries
- 2 cups raw pecan halves, coarsely chopped
Instructions
For the Crust:
- If making the pie dough from scratch, prepare the dough according to Foodal’s directions. Form the dough into a smooth, flat disc. Tightly wrap the disc in plastic wrap and refrigerate for at least 1 hour.
- Remove the dough from the refrigerator and let sit at room temperature for 5-10 minutes, until it has softened slightly and is pliable. Remove the plastic wrap and place the disc on a clean counter dusted with flour.
- With a rolling pin, roll and flatten the dough until it is about 1/8 inch thick and is large enough to cover the bottom and sides of a 9-inch pie pan, with about an inch of excess around the edges.
- Carefully transfer the dough to the pie pan. Press into the bottom of the pan, then press into the sides. Fold the excess dough under to form a thicker crust around the edges, crimping decoratively.
- Place the pan uncovered in the refrigerator and chill for at least 1 hour.
- Preheat the oven to 400°F. Place a rack in the center of the oven.
- Cover the bottom and sides of the pie pan with a sheet of parchment paper or aluminum foil and fold the excess over the sides for easy lifting later. Gently press the liner against the bottom and sides of the pan, and spread pie weights out evenly to cover the bottom and up the sides.
- Immediately transfer the pan to the oven and bake for 20-25 minutes, until the edges are starting to dry and develop slight color. Remove from the oven. Lift the parchment paper to remove the hot pie weights and set them aside to cool.
- Place the pan back in the oven and bake for another 10-15 minutes, or until the edges and bottom of the crust are light golden brown. Remove the pan from the oven and let cool completely on a wire rack as you prepare the filling.
For Filling and Baking:
- Reduce the oven temperature to 350°F.
- In a large mixing bowl, whisk together the eggs, brown sugar, corn syrup, melted butter, vanilla, and salt until smooth. Fold the cranberries and pecans into the liquid mixture.
- Pour the filling into the prepared pie crust.
- Immediately transfer the pan to the oven and bake for 45-55 minutes, until the edges are golden brown and the center of the pie jiggles slightly when you gently shake the pan.
- Remove from the oven. Let cool completely at room temperature on a wire rack, about 4 hours. Serve at room temperature, or chill and serve cold.
- Prep Time: 50 minutes
- Cook Time: 1 hour, 10 minutes
- Category: Nut
- Method: Baking
- Cuisine: Pies
Cooking by the Numbers…
Step 1 – Prep and Chill the Dough
Set out a rolling pin and a 9-inch pie pan.
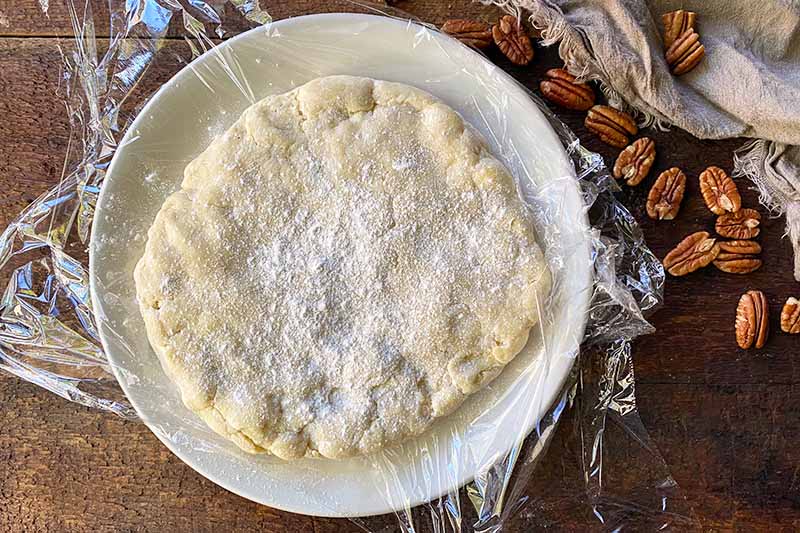
If making the dough from scratch, prepare the pie dough according to the directions in Foodal’s recipe for an all-butter pate brisee crust. Form it in a smooth, flat disc. You’ll also find helpful tips and tricks here to make a foolproof crust!
Tightly wrap the disc in plastic wrap and chill in the refrigerator for at least an hour.
Step 2 – Roll the Dough
Remove the chilled disc from the refrigerator and let it sit at room temperature for 5 to 10 minutes.
You don’t want to attempt to roll it out immediately as it will be too cold and stiff, and will rip easily. Letting it sit for a few minutes will soften the dough to an ideal temperature that’s pliable enough for rolling into a neat circle without tearing.
Remove the plastic wrap and place the disc on a clean countertop dusted with flour.
Roll and flatten the dough into an even circle using a rolling pin until it is about 1/8 inch thick. It will need to fit the base of a 9-inch pie pan, with about 1 inch of excess around the sides of the pan.
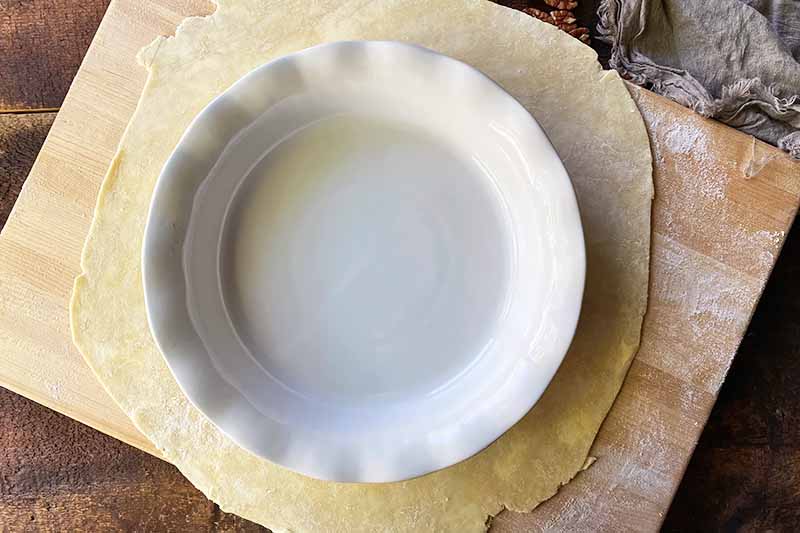
Step 3 – Form into Pan and Chill
Carefully transfer the dough to the pie pan.
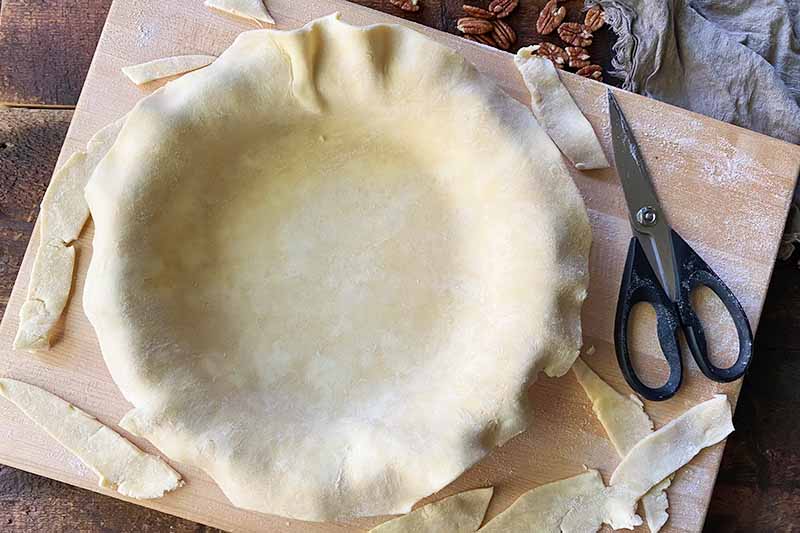
An easy way to do this without ripping the soft, delicate dough is to gently fold the dough in half, quickly transfer it to one half of the pan, and unfold it over the other half.
Using your hands, gently press the dough into the bottom of the pan, then press it onto the sides of the pan.
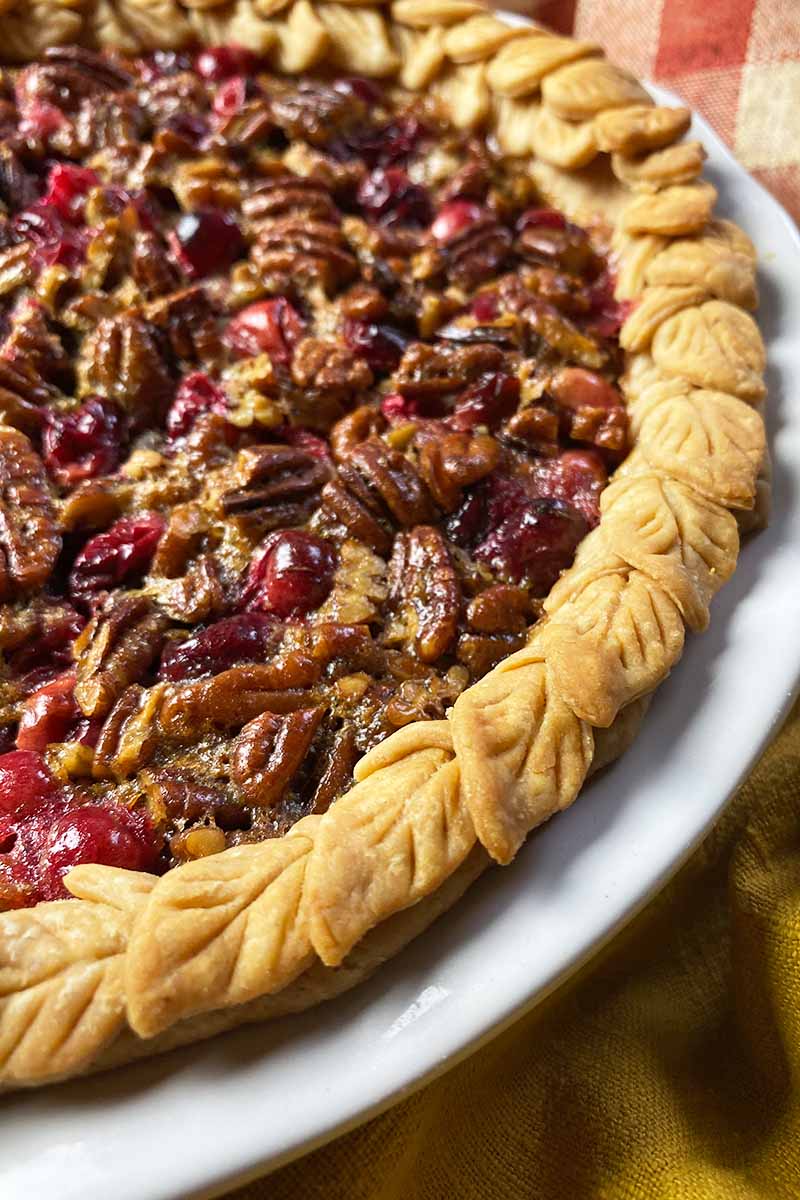
To create a fluted pie crust, fold the excess dough underneath the edges and crimp all the way around the circumference of the pan. You can also use any excess dough to create designs.
Return the crust uncovered to the refrigerator. Chill for at least one more hour. For a quick shortcut, you can place it in the freezer instead for about 30 to 40 minutes.
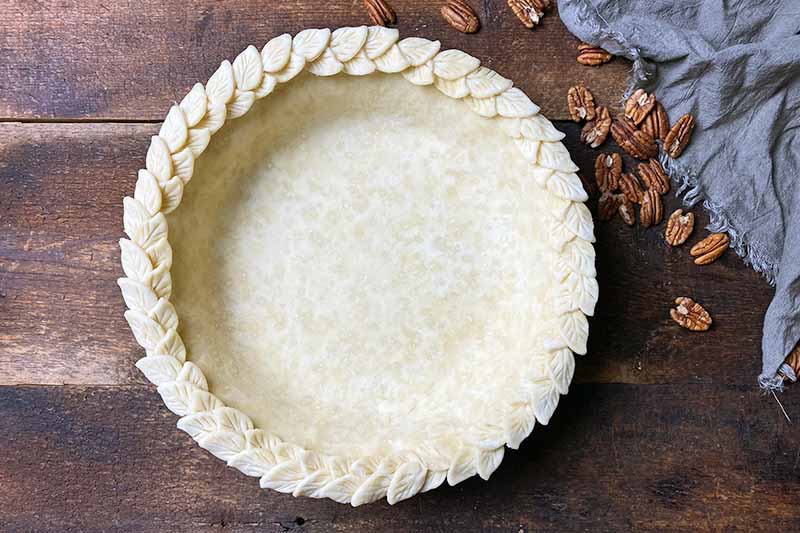
Whichever method you choose, make sure the dough is completely chilled and very firm before baking. Cold, firm dough will maintain its shape better, and it won’t shrink excessively during baking.
If your premade crust is already in a disposable pie plate, that’s fine, just be sure to keep it refrigerated until use, and remove any packaging before moving on to the next step.
Step 4 – Blind Bake
When the crust is nearly finished chilling, preheat the oven to 400°F and move a rack to the middle.

Take the pan out of the refrigerator or freezer. Place a sheet of parchment paper or aluminum foil in the pan to cover the bottom and create a bit of an overhang that goes up the sides. Place pie weights on top of the paper.
Use enough pie weights to reach as close to the top of the pan as possible without the weights spilling over. This will ensure the sides of the dough will stay in place and won’t collapse while you parbake the crust.
You can buy pie weights on Amazon, or use uncooked dried beans, rice, or granulated sugar.
Transfer the pan to the oven and bake for 20 to 25 minutes or until you can see the edges of the crust start to dry out, and begin to develop a little color.
Take out the pan and carefully remove the parchment paper, lifting it up around the edges so it holds the weights – be careful, because they will be hot! I like to set a large heatproof bowl next to the oven so I have a safe place nearby to deposit the hot pie weights and allow them to cool.
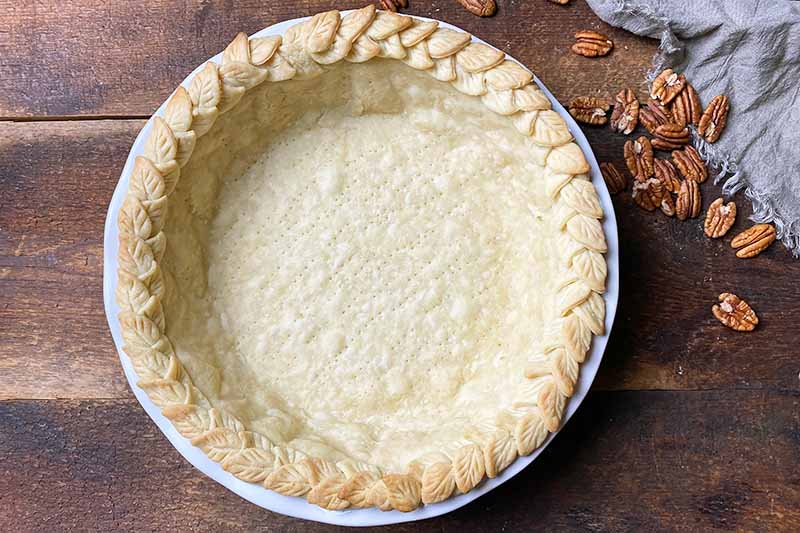
Before transferring the crust back to the oven to finish par baking, you have the option to repeatedly pierce the bottom of the crust with the tines of a fork to dock the pastry – this technique helps to prevent bubbles from forming.
This is not a requirement, but it is a smart method that will help to evenly bake the crust.
Transfer the pan back to the oven and bake for 10 to 15 minutes, or until the edges and bottom of the crust are light golden brown.
While you do want the crust to be partially baked, you don’t want to develop too much color at this stage, since the crust will continue to bake after filling.
Remove the pan from the oven and let the crust cool completely in the pan on a wire rack as you prepare the filling.
Step 5 – Measure the Filling Ingredients
Reduce the oven temperature to 350°F.
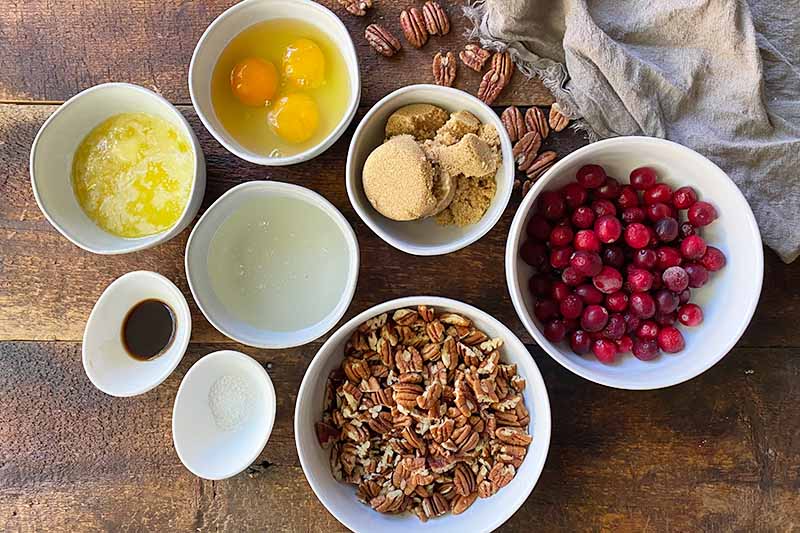
Measure out the unsalted butter and melt it in the microwave using a heatproof bowl. Remove from the microwave and set aside to cool as you prepare the other ingredients.
Measure out the brown sugar, light corn syrup, vanilla extract, kosher salt, and whole cranberries.
Crack 3 eggs in a large bowl, checking for any shell fragments.
On a sturdy cutting board with a sharp chef’s knife, coarsely chop the raw pecan halves.
Step 6 – Make the Filling
Add the brown sugar, corn syrup, melted butter, vanilla, and salt to the large bowl with the eggs. Whisk until you create a smooth and homogenous mixture.
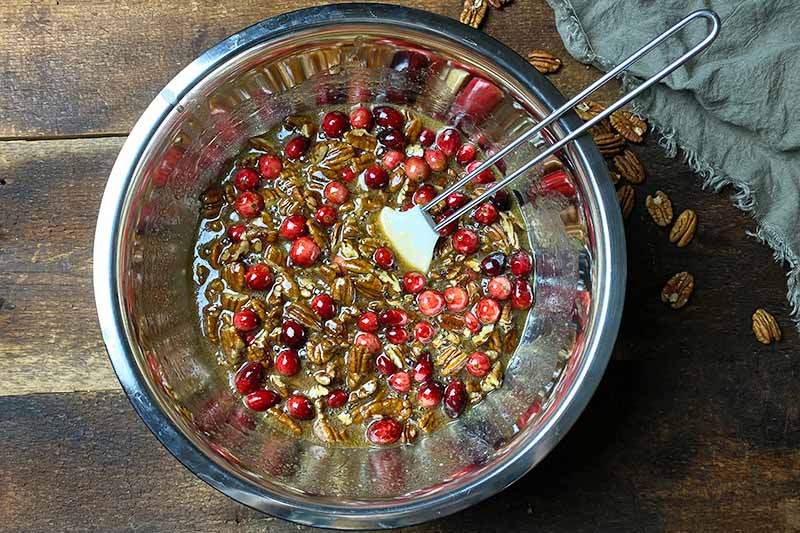
Fold in the cranberries and pecans until they are evenly dispersed.
Step 7 – Assemble and Bake
Pour the filling into the prepared pie crust, using a rubber spatula to spread the nuts and cranberries out evenly if needed.
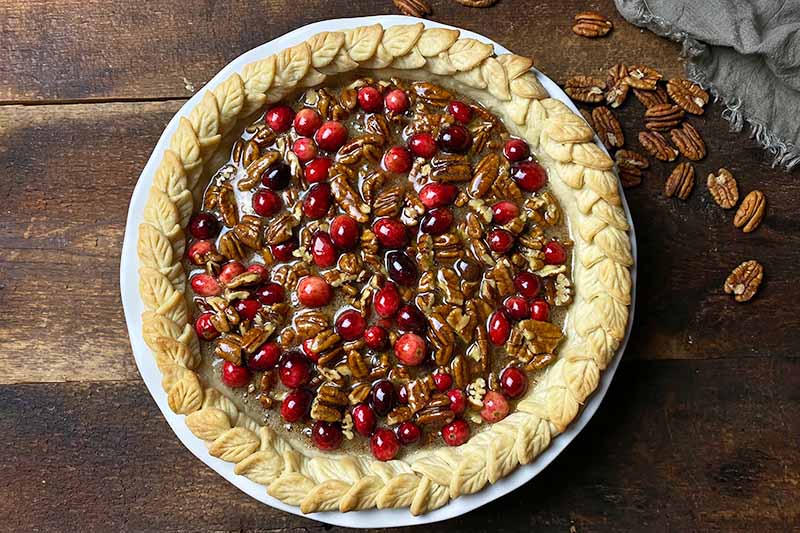
Immediately and carefully transfer the pan to the oven.
Bake the pie for 45 to 55 minutes, or until the edges of the crust are golden brown and the center of the pie jiggles slightly when you lightly shake the pan.

A little jiggle in the center is the best sign that the filling is baked perfectly – the filling will continue to set when the pie is cooling out of the oven.
Step 8 – Cool and Serve
Remove the pan from the oven and set on a wire cooling rack.
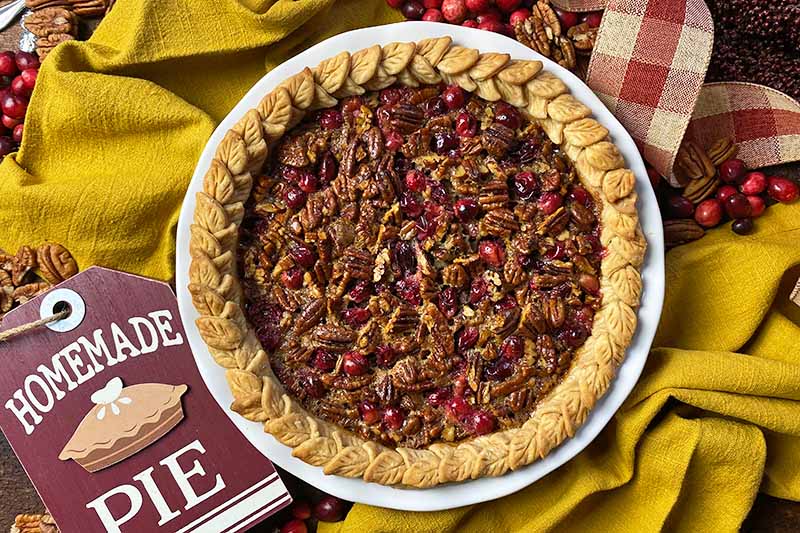
Cool the pie completely at room temperature. This will take about 4 hours. If you cut into the pie before it cools completely, the filling won’t be set and will be too runny to serve.
Serve at room temperature, or chill covered in plastic wrap or foil in the refrigerator and serve cold when ready.
Enjoy!
To Chop, or Not to Chop?
If you’re standing in front of a pile of whole pecan halves, frozen with your hand tightly grasping your knife, and repeating that question to yourself, don’t feel like you’re alone in this struggle.
I myself have been in your situation:
Should I, or shouldn’t I, chop the pecans for my pie?
There are pros and cons to both choices. Let the debate commence:
Whole Pecan Halves
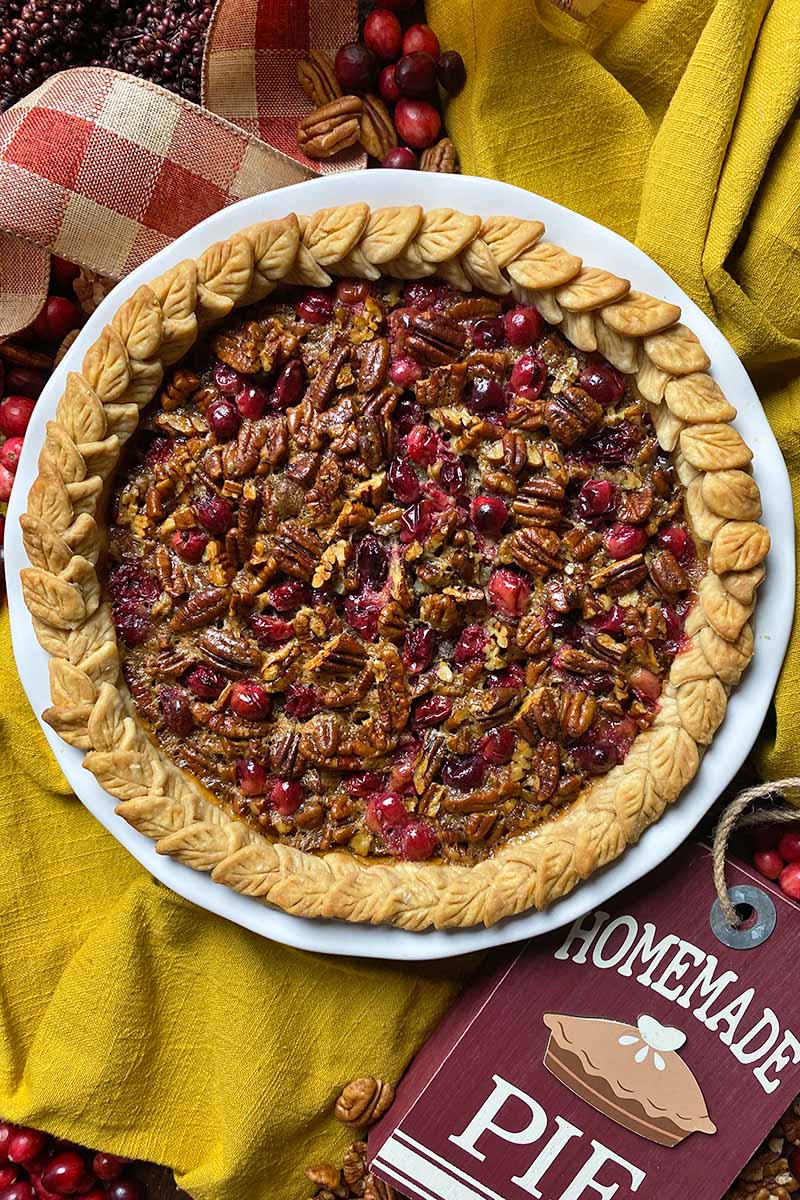
- Pro: you’ll create a stunning final presentation when serving the whole pie, especially if you decide to craftily arrange additional halves on top of the pie before baking
- Con: the larger halves will be difficult to cleanly cut through, which will potentially result in messier individual slices
Chopped Pecans
- Pro: there will be a more even distribution of smaller pieces of nuts, which helps to cut cleaner slices
- Con: the presentation won’t be as striking, and will have a slightly rough-and-ready final presentation – “rustic,” as some would say
While I might favor whole pecans for a classic pecan pie, this particular recipe includes cranberries. In combination with the fruit, chopped pecans are the better companion for more thorough and uniform dispersal of the filling ingredients.
I strongly advise you to use a well-sharpened chef’s knife, and not a pie server, for cutting into the pie, as this will be a significant aid in getting the cleanest cuts you possibly can.
Tart, bright, and vibrant, cranberries have a presence you won’t soon forget. Not that they really need our additional endorsement – their popularity speaks for itself!
But we can’t help but give you a few more recipes to try. Keep your kitchen busy and buzzing with more cranberry-rich recipes like these:
Photos by Nikki Cervone, © Ask the Experts, LLC. ALL RIGHTS RESERVED. See our TOS for more details. Originally published by Lorna Kring on November 8, 2015. Last updated on October 16, 2022.
Nutritional information derived from a database of known generic and branded foods and ingredients and was not compiled by a registered dietitian or submitted for lab testing. It should be viewed as an approximation.
About Nikki Cervone
Nikki Cervone is an ACS Certified Cheese Professional and cheesemonger living in Pittsburgh. Nikki holds an AAS in baking/pastry from Westmoreland County Community College, a BA in Communications from Duquesne University, and an MLA in Gastronomy from Boston University. When she's not nibbling on her favorite cheeses or testing a batch of cupcakes, Nikki enjoys a healthy dose of yoga, wine, hiking, singing in the shower, and chocolate. Lots of chocolate.