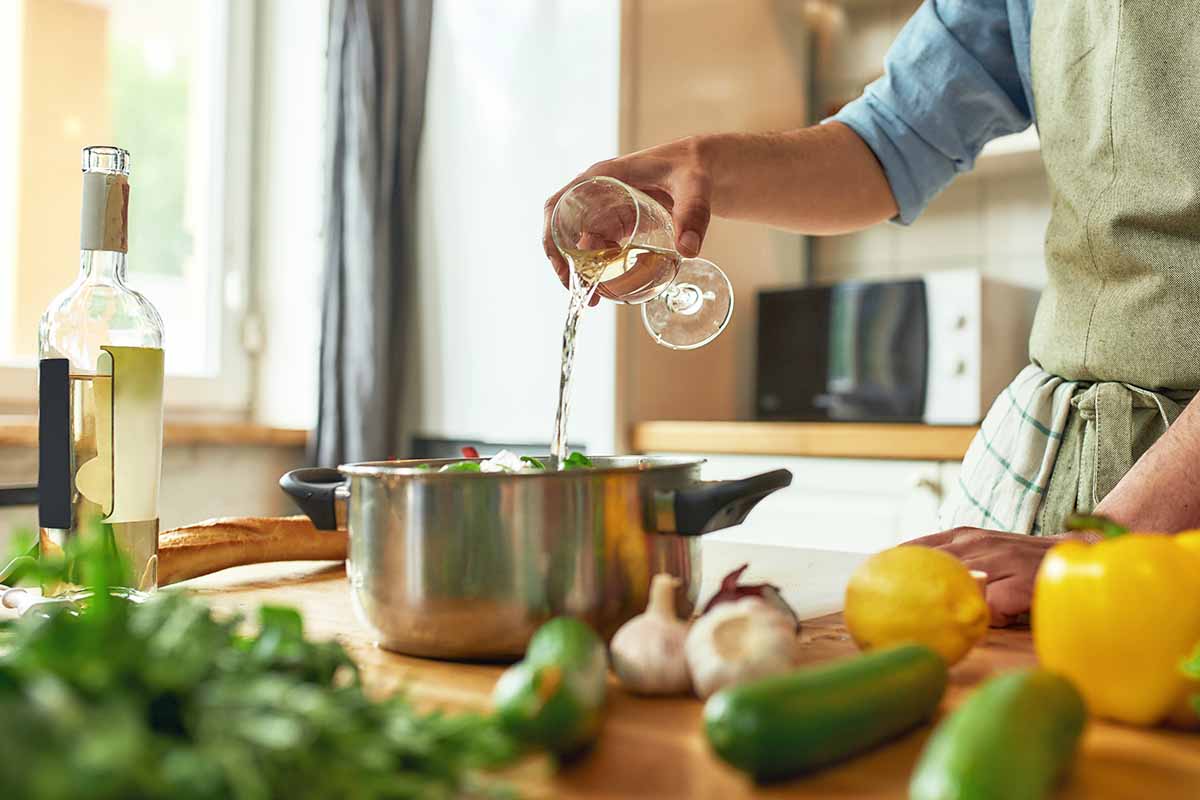
Italian-style breadcrumbs were a staple in my childhood home. They were the binder for eggs and ground beef in meatballs, the crusty topping on baked macaroni and cheese, and the thick fried breading for cutlets and all sorts of vegetables.

If you’re like me, and you have a breadcrumb-rich heritage, it’s time to learn about a relatively new crumb on the butcher block in the US: panko.
Read on to learn everything you need to know about breadcrumbs and panko, from their similarities and differences to recipe applications, and how to make your own.
Here’s the lineup:
What’s the Difference Between Breadcrumbs and Panko?
Let’s get started.
Historically Speaking
If the ancient Natufians were baking and eating bread 14,000 years ago, as a 2018 archaeological find in Jordan may indicate, then the crumb itself, with all of its potential uses, dates to antiquity.
By the Middle Ages, it is believed that breadcrumbs were already a common thickening agent.
Around this time, in the mid-1500s, Portuguese missionaries travelled to Japan, bringing bread with them, and most likely oil for frying. The Portuguese word for bread is “pão,” which translates to “pan” in Japanese.
By World War II, European-style bread was so much a part of Japanese culture, it is said that soldiers used their tank batteries to inconspicuously cook dough while on the battlefield. This process of electrocuting dough required no smoky fire, and resulted in a surprisingly airy and light loaf.
The notion of cooking dough with an electric current would lay the foundation for today’s panko production, and by the 1950s, Japanese panko was being exported to the United States.
The word “panko” comes from the Portuguese-derived “pan,” and the “ko” portion of the word means child, but “kona” means flour or powder. So, we have the notion of panko as being smaller bits of bread. However, they are different from regular breadcrumbs, as we’ll soon see.
Panko would not be manufactured commercially in the United States until the 1980s, and would not become a mainstream ingredient here until the early 2000s.
In the United States, historians credit the origins of the commercial manufacturing of bread products to Joseph Lee, the son of North Carolina slaves, who worked in the hotel and restaurant industry in Boston where he invented machines for mixing and kneading dough and making bread into crumbs.
Lee was inducted into the United States Patent and Trademark Office’s 2019 National Inventors Hall of Fame.
A Crumb Isn’t Always a Crumb
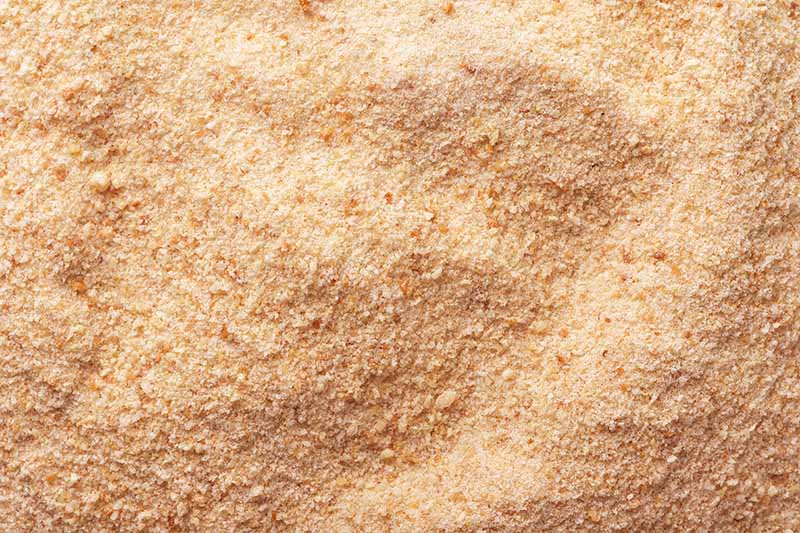
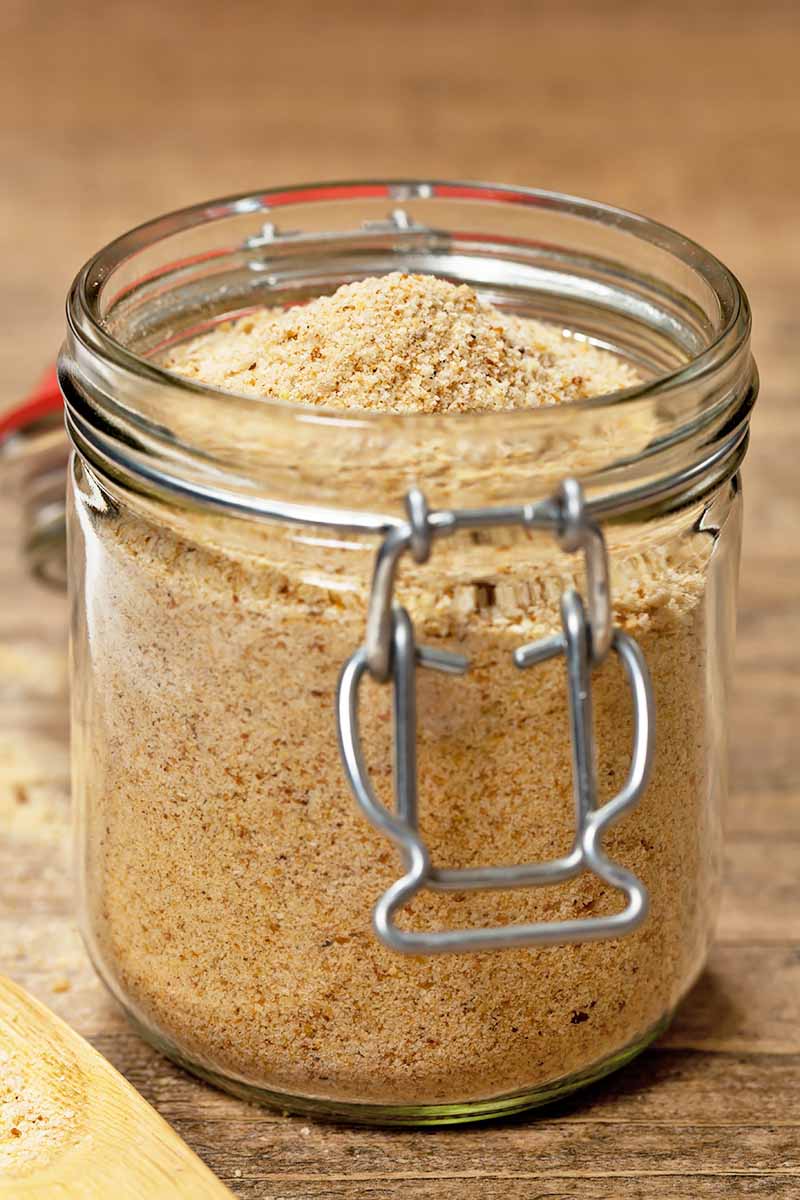
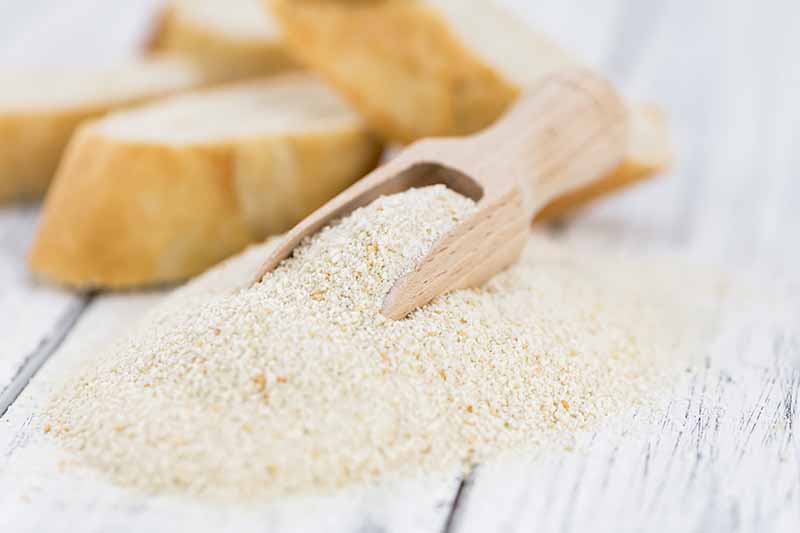
Today’s commercially produced breadcrumbs are made from dense dough that is baked specifically for the purpose of grinding into fine, sand-like crumbs.
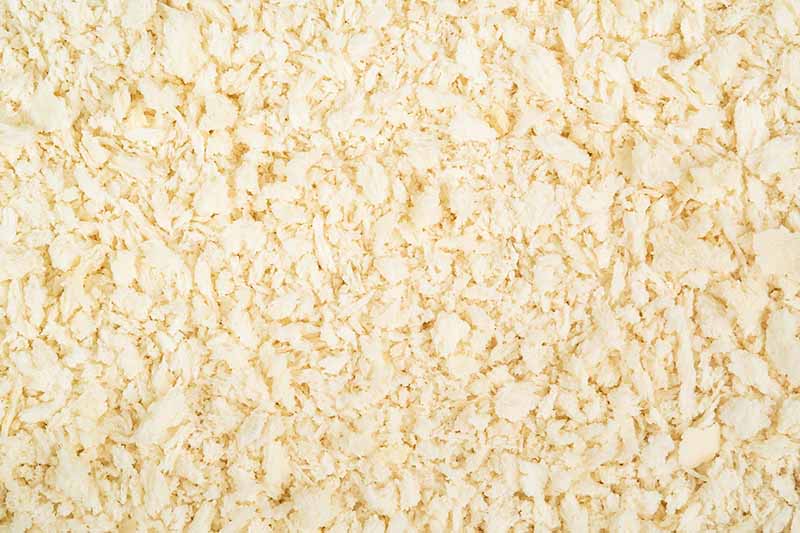
Unlike regular crumbs, panko is made from a light and fluffy white loaf that is baked using an electric current, much as the soldiers cooked their dough during the war.
The moist center of the loaf, with the crusts discarded, is used to make a white product while the entire loaf, with the crusts included, is used in the making of a tan one.
Once baked, a loaf is flaked into delicate pieces of differing shapes, sizes, and thicknesses, before being dried and packaged. When these various pieces are dried, their texture is airy and very crunchy, rather than dense and crusty like traditional American-style breadcrumbs.
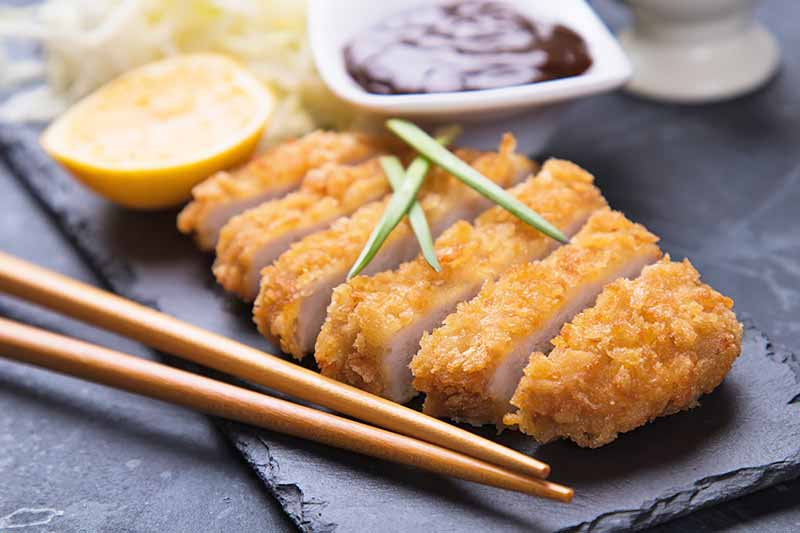
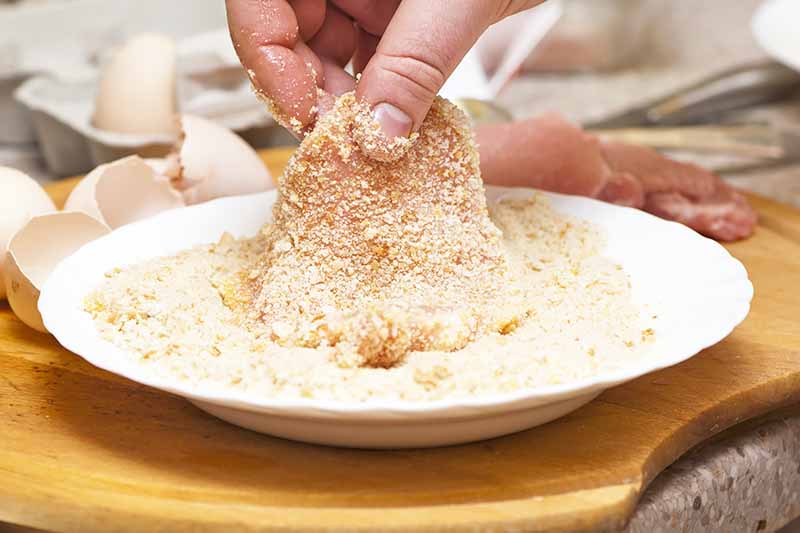
Panko is perhaps best known for giving Japanese dishes, like shrimp tempura and tonkatsu, or breaded pork cutlets, their classic brittle crust.
Breadcrumbs and panko are both available in plain and seasoned varieties. Textures range from coarse to fine, flavors from sweet to spicy, and seasoning blends from Chilean and Italian to Mexican and Viennese.
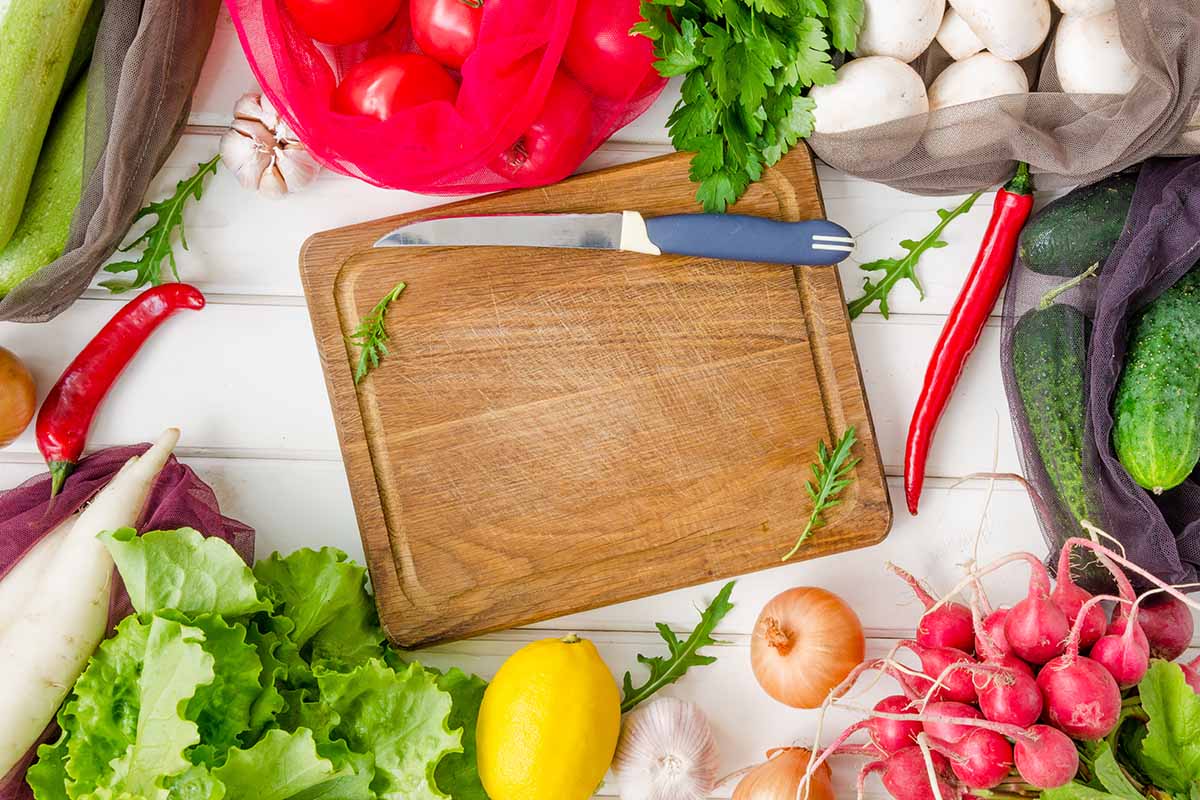
Make Your Own
For an alternative to store bought, you can make your own fresh or dry, fine or coarse, seasoned or unseasoned crumbs.
Moist, fresh bread is put in a slow oven to dry up moisture before making fresh crumbs, which can then be toasted, aka dried, in a moderate oven, for a browner result that is crisper and has a longer shelf life.
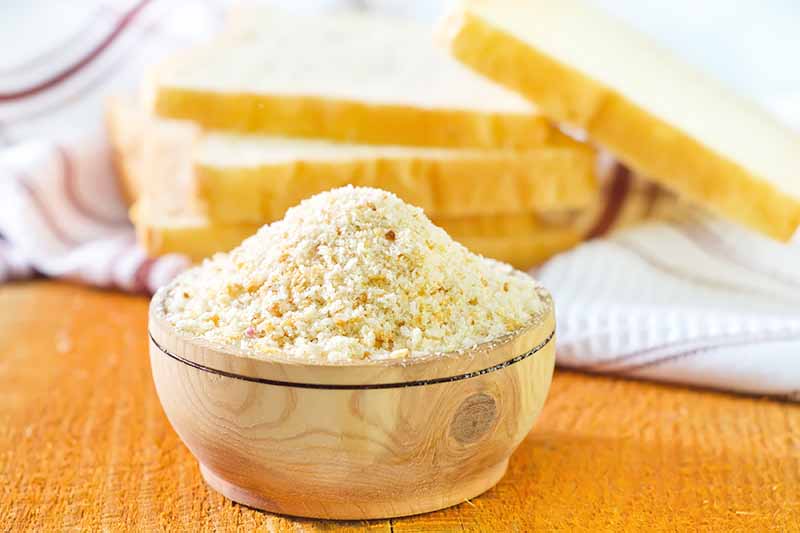
Unwrap and cut three-quarter-inch slices of your favorite loaf, like a white, wheat, or sourdough baguette, boule, or ciabatta. Leave them out, uncovered, for a day to release moisture for easy grinding.
In addition to firm, crisp artisan breads, you can also use other types of foods like soft or semi-soft corn muffins, dinner rolls, English muffins, sandwich bread, stuffing cubes, and thawed waffles to make crumbs.
This is also the perfect opportunity to use the end pieces of your bread loaves that you often ignore!
In a pinch, you can accelerate the drying process by using the oven. This is especially useful for soft and semi-soft baked goods.
Here’s how:
Lay slices about three-quarters of an inch thick, or chunks of softer foods, side by side on ungreased baking sheets.
For a pale crumb, similar to white panko, you can remove the crusts first.
Otherwise, leave the crusts on to incorporate their concentrated flavor and color. Both are the result of “Maillard browning,” an amino-sugar reaction that takes place during the baking of foods, giving them a tasty and firm brown coating.
Set them in a warm 200°F oven for 20 minutes.
Turn them over and leave them in the oven to dry for another 20 minutes.
Take the trays out and let them cool. With reduced moisture, the slices are now ready to grind.
To Make Fresh Breadcrumbs:
Tear or cut the moisture-reduced slices into two- to three-inch pieces, and place them in a blender or food processor.
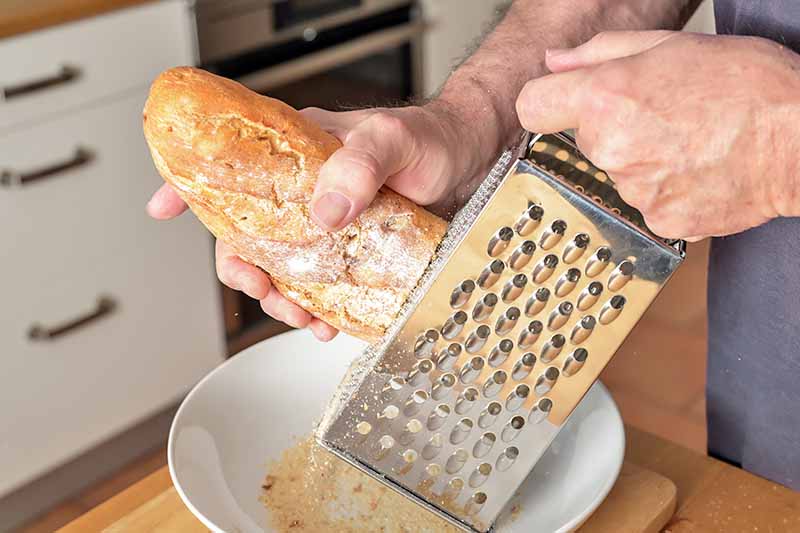
Grind them to the desired consistency. Large pieces are more like panko, and smaller, more like traditional American-style crumbs.
Alternatively, you can use a box grater.
Fresh crumbs still contain some moisture. This is advantageous when binding ground meat for meatballs and meatloaf. However, they also make a heavier coating for fried foods, and may not crisp as much when used to top baked casseroles. Keep this in mind when selecting which type to use in your cooking.
Store in an airtight container in a cool, dark place at room temperature, and use within one week.
To Make Dry Breadcrumbs:
The quickest way to make dry, aka toasted, crumbs is to start by following the instructions above for fresh crumbs.
Then, spread the fresh crumbs in a single layer on an ungreased baking sheet.
Set them in a 300°F oven for 10 minutes.
Take them out and stir them around.
Put them back in the oven for another 10 minutes. Watch them closely so they don’t burn, and take them out when they are golden brown.
Cool completely on the baking sheet before storing in an airtight container for up to six months. Keeping them on the baking sheet dries them out even more without the risk of burning. The less moisture they contain, the longer they will last in storage.
Fridge and freezer storage are not recommended for either type, as moisture absorption may cause sogginess and/or mold development.
To Make Seasoned Crumbs:
Adding dried and crushed herbs and seasonings to prepared fresh or dry crumbs makes for exciting and flavorful blends.
Use your imagination and ingredients such as basil, black pepper, cayenne pepper, garlic powder, grated aged Parmigiano or Romano cheese, onion powder, oregano, paprika, parsley, red pepper flakes, and salt.
Measurements vary by taste, and range from one teaspoon to one-quarter teaspoon per cup of crumbs. Experiment and create your own unique flavor combinations.
To add seasonings, place crumbs and seasonings in a zippered plastic bag and shake back and forth until well blended. Store as recommended above.
Put Your Best Crumb Forward
You can use panko in place of breadcrumbs and vice versa in many cases.
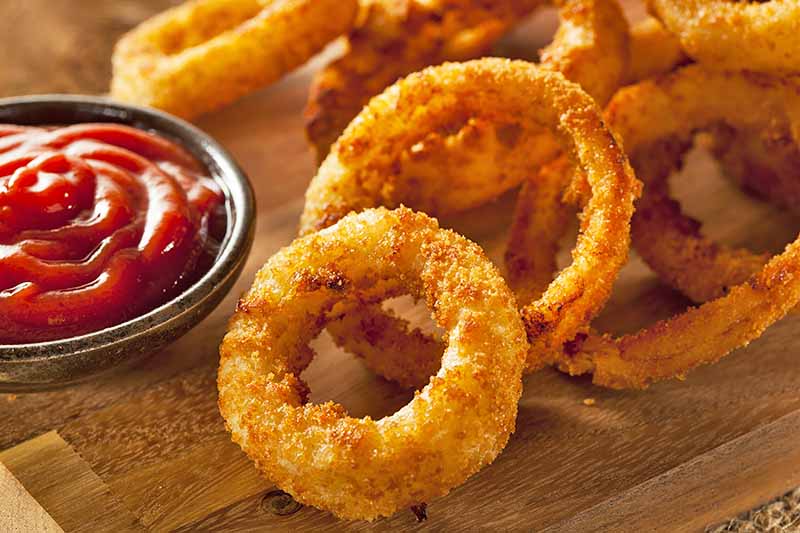
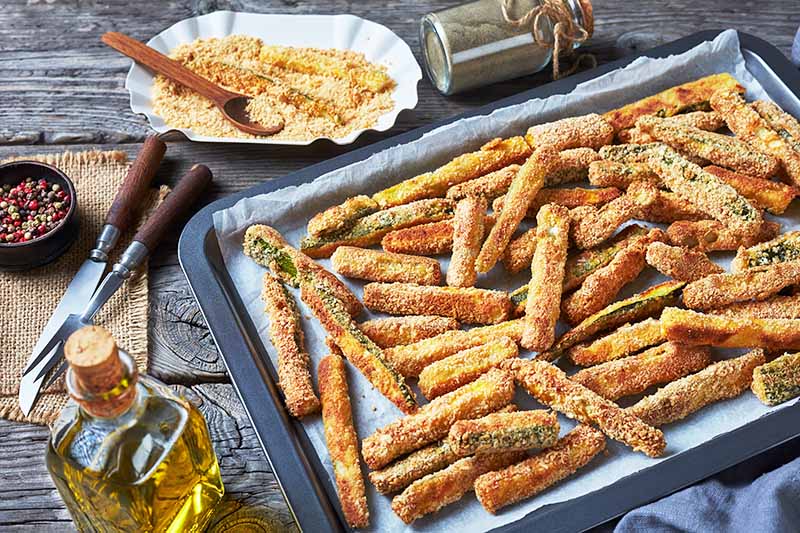
If you’re used to a smooth, dense crust on foods like meats, veggies, and croquettes, you might enjoy shaking things up now and then with a full-bodied crinkly panko crunch. It’s lighter and airer, absorbs less oil, and not only withstands high cooking temperatures, it becomes even crunchier because of them.
If you’re making meatballs, you may find that both homemade fresh crumbs and dry panko flakes are a gummier, more bread-like filler than dry crumbs.
Lastly, remember to consider seasonings when making substitutions, or you may find you’ve used Italian-style crumbs on Japanese shrimp tempura, resulting in an unpleasant cacophony of flavors.
Crunchy Alternatives
With store bought or homemade breadcrumbs and panko, you’re all set to bind, coat, fry, and top your favorite dishes, like our Western Tex-Mex crab cakes with lemon aioli, shown here made with panko.
But what if you don’t have any on hand, and no bread to make any?
No worries.
The following make such good substitutions, you may want to use them regularly:
- Baked corn chips (less greasy)
- Breakfast cereal
- Crackers
- Hard pretzels
- Nuts
- Rice cakes
- Salad croutons
Just pop the crunchy food of your choice into the food processor or blender and pulse to the desired consistency.
Or, place it in a zippered plastic bag and roll slowly over it with a rolling pin. Be sure to leave a little opening in the zipper so air can flow as you roll, or the bag may pop.
A Matter of Preference
Commercially produced American-style crumbs stay fresh for up to one year, but don’t expect panko to stay fresh for more than six months. Examine both for signs of mold, and discard them if they smell malodorous or appear discolored.
Let’s recap and wind things up.
Breadcrumbs that are mass produced start out as dense loaves and are ground to a fine, sand-like consistency. They may be seasoned or unseasoned, and can be easily replicated at home in both fresh and dry, aka toasted, forms.
They are used to coat fried foods, as well as being a binder for meatballs and meatloaf, topping for casseroles, and thickening agent.
Panko, on the other hand, is best used as a coating and topping. Coarse flakes are airy and light, white or tan, and seasoned or unseasoned.
Plain products have a nearly neutral flavor. Panko is particularly suited to frying at high temperatures, does not absorb a great amount of oil, and makes an exceptionally crunchy coating and topping.
In addition to substituting one for another as discussed, crisp foods ranging from baked corn chips to salad croutons are viable alternatives to both.
If you’re like me, with a heritage of breading and frying everything from artichokes to zucchini in breadcrumbs, it’s time to branch out and enjoy the robust crackle of panko.
If you found this comparison guide informative and enjoyable, we recommend reading the following articles next:
- Grits vs. Polenta: What’s the Difference?
- Ice Cream vs. Gelato: What’s the Difference?
- Love at First Smear: The Difference Between Salted and Unsalted Butter in Baking
© Ask the Experts, LLC. ALL RIGHTS RESERVED. See our TOS for more details. Uncredited Photos via Shutterstock.
About Nan Schiller
Nan Schiller is a writer from southeastern Pennsylvania. When she’s not in the garden, she’s in the kitchen preparing imaginative gluten- and dairy-free meals. With a background in business, writing, editing, and photography, Nan writes humorous and informative articles on gardening, food, parenting, and real estate topics. Having celiac disease has only served to inspire her to continue to explore creative ways to provide her family with nutritious locally-sourced food.