If you haven’t tried to make your own slow-cooked pulled pork on the grill, you need to try this recipe immediately.

First off, I know that grilling can be a bit intimidating, and preparing a roast in the pressure cooker or slow cooker seems like an easier option, but this recipe isn’t complicated. The ingredients are super straightforward, and the steps to make it are all so easy.
The main thing that this recipe requires is time. This is definitely an all-day preparation method, so be sure to plan ahead. You can either get up super early to accomplish this, or you can do the work ahead of time and reheat it later.
In fact, that’s one of the best things about this pulled pork. It can easily be made ahead of time.
If you prepare the pork shoulder and have more than a few hours or you need to hold it overnight before you’re ready to serve it, simply shred it and let it cool, place it in the refrigerator, and chill it until it’s almost mealtime. You can chill the meat for up to three days in the fridge before serving.
When you are ready to eat, add the meat to a baking dish and cover it with foil. Then bake it at 300˚F in the oven for about 20 to 25 minutes, until the meat is warmed all the way through.
Using my pellet grill, the recipe took me about 7 1/2 to 8 hours to prepare. For a bone-in pork shoulder of the size that we’re preparing here, one that’s about 8 to 10 pounds, you can estimate needing about 8 to 9 hours of cooking time, no matter what type of grill you are using.
The best way to tell if the pork shoulder is done is not according to the time, however, but rather, by checking the internal temperature.
The temperature of the cooked meat should be 190˚F. If your grill has a probe attachment, this is the perfect time to use it. Otherwise, you can use a meat thermometer to gauge the temperature of the meat.
Since you are going to be turning and brushing the meat every half hour, you can simply check the temperature periodically at the same time.
Pulled pork really doesn’t have to be difficult to make. This recipe is intended for those who are looking to make a traditional version without too much fuss, where the grilled meat really shines.
For me, this is the perfect recipe to feed a large crowd. It doesn’t matter if you’re having a backyard barbecue or you’re hosting a tailgating party, this recipe comes in handy for all seasons.
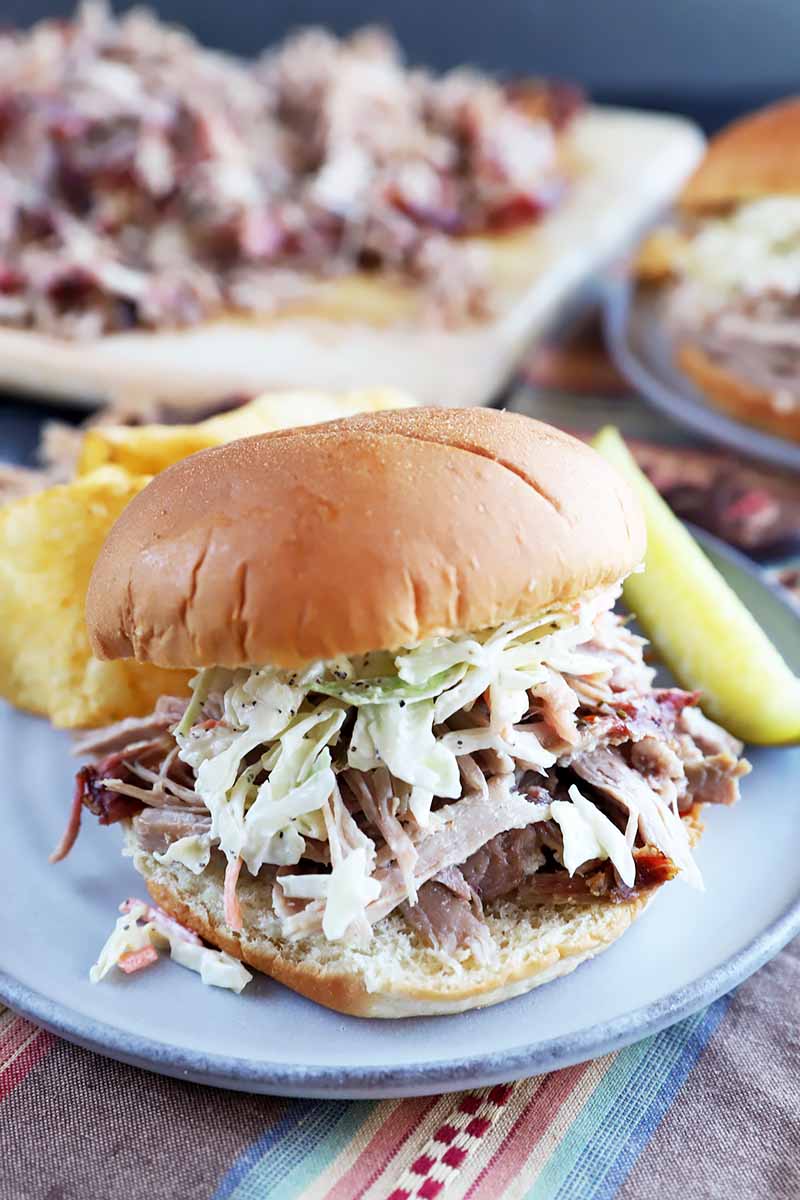
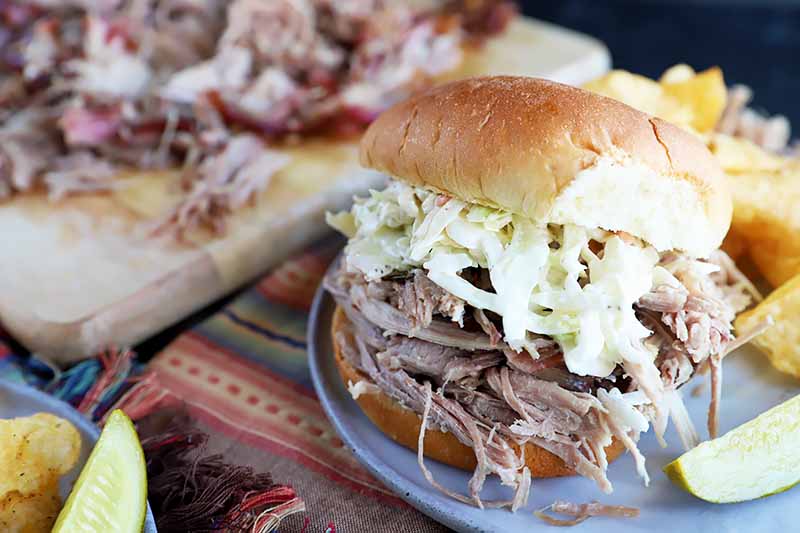
You can serve up the meat as you see it pictured here, in juicy and delicious sandwiches with soft and fluffy white bread and coleslaw or homemade pickles, or you can also use it in chili, nachos, pizza, and even on top of salads. The leftovers are fantastic – if you have any, that is!
This is the best pulled pork I’ve ever had. It’s rich and smoky, with a flavor that just can’t be beat.
All you need to do is set up a lawn chair in your backyard, and sit by and sip your coffee after you place the meat on the grill in the morning. Switch over to beer or a cocktail once the afternoon hits, and you have a lazy and relaxing day ahead of you, with oh-so-tasty results to look forward to at the end.
The effort you put into it, babysitting the tender and flavorful meat while it cooks, is sure to be appreciated by everyone who eats it.
Print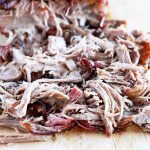
Classic American Pulled Pork
- Total Time: 9 hours, 10 minutes
- Yield: 12 servings 1x
Description
This classic American pulled pork recipe is so versatile, and totally foolproof. Cooked low and slow for hours, the results are smoky and tender.
Ingredients
- 3 1/2 cups apple cider vinegar
- 1 1/2 tablespoons packed light brown sugar
- 1 1/2 tablespoons red chili flakes
- 1 teaspoon minced fresh basil
- 1 teaspoon minced fresh rosemary
- One 8 to 10-pound bone-in pork shoulder roast
- 1 teaspoon salt
- 1 teaspoon ground black pepper
- Large, soft buns (white or wheat, optional for serving)
- Coleslaw (optional for serving)
Instructions
- Preheat grill to low heat, about 300˚F.
- Place the apple cider vinegar, brown sugar, chili flakes, basil, and rosemary in a saucepan and place it over medium-high heat. Stir constantly, until the sugar dissolves. Remove from heat and set aside to cool to room temperature.
- Reserve about 2 cups in an airtight container and place in the fridge until ready to serve. Add remaining sauce to a bowl and set aside.
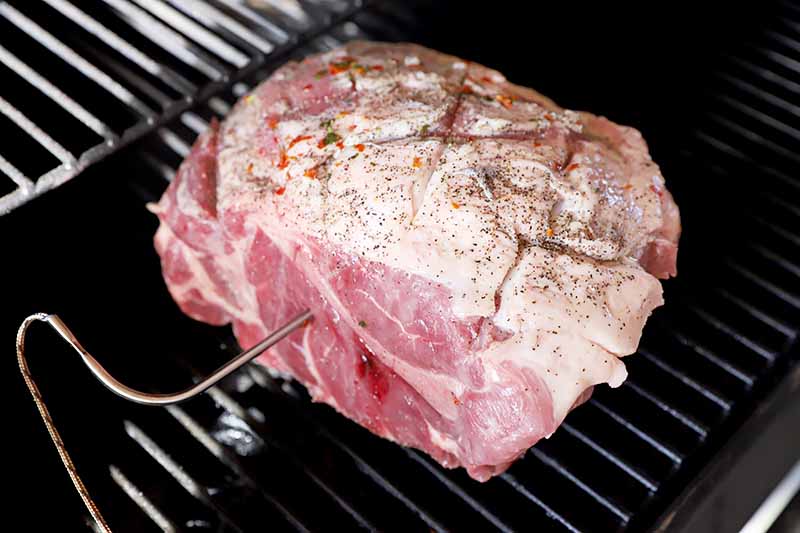
- With a sharp knife, score the pork rind with a crosshatch pattern, cutting through the skin and fat but stopping short of the meat. Rub all over with salt and pepper.
- Place the roast skin side up on the grill. Brush all over with sauce from the bowl. Cook over low, indirect heat at 300˚F. Turn and brush with sauce every 30 minutes, until fork tender and the internal temperature away from the bone registers 190˚F. This will take about 8-9 hours.
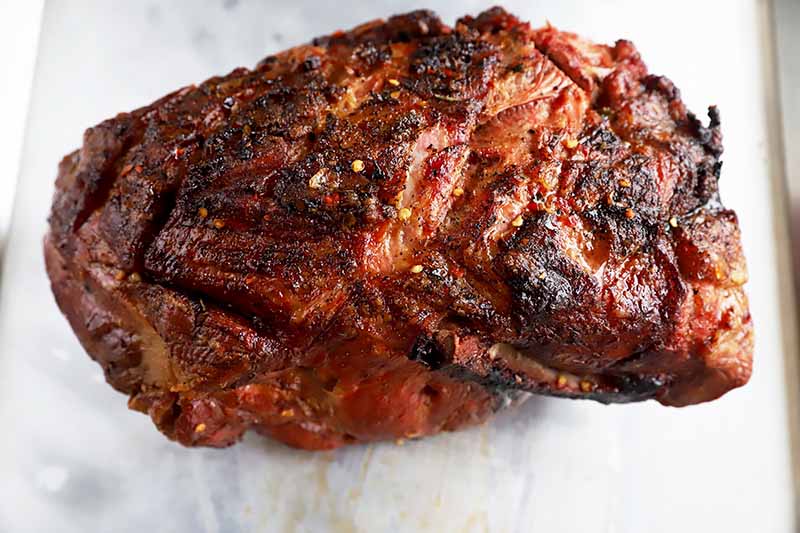
- Carefully transfer to a cutting board and slice away the rind and fat. When the meat is cool enough to handle, pull it apart with two forks.
- Serve on fresh, soft buns with coleslaw and a drizzle of reserved sauce, or plated with your choice of sides.
- Prep Time: 10 minutes
- Cook Time: 9 hours
- Category: Pork
- Method: Grilliing
- Cuisine: Barbecue
Cooking By the Numbers…
Step 1 – Mince Herbs and Measure Remaining Ingredients
Mince enough fresh basil leaves until you have one teaspoon total.
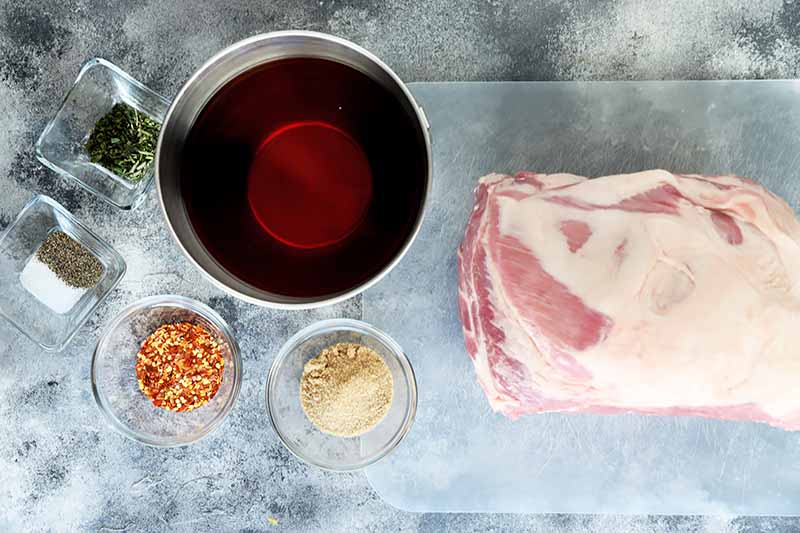
Remove the stems and mince enough fresh rosemary leaves until you have one teaspoon total.
Measure out all of the remaining ingredients as listed on the ingredients list.
Preheat grill to low heat, about 300˚F.
Step 2 – Make Sauce
While the grill is preheating, make the sauce. Add all of the ingredients except the pork, salt, and pepper to a saucepan over medium-high heat, and stir to combine.
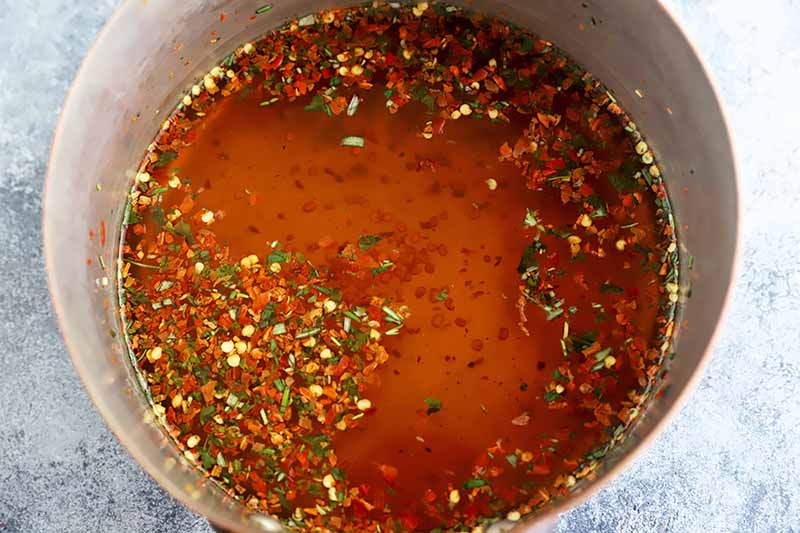
Continue to cook until the sugar dissolves, stirring constantly for about 3 to 5 minutes. Remove the pan from the heat and allow the vinegar sauce to cool to room temperature.
Reserve about 2 cups of the sauce in an airtight container, and place it in the fridge until you are ready to use it for serving.
Add the remaining sauce to a bowl and set it aside. This is the sauce that you will brush onto the meat while it is cooking.
Step 3 – Prep Pork Roast
Using a sharp knife, score the pork rind with a crosshatch pattern. Cut through the skin and fat, but don’t cut into the meat itself.
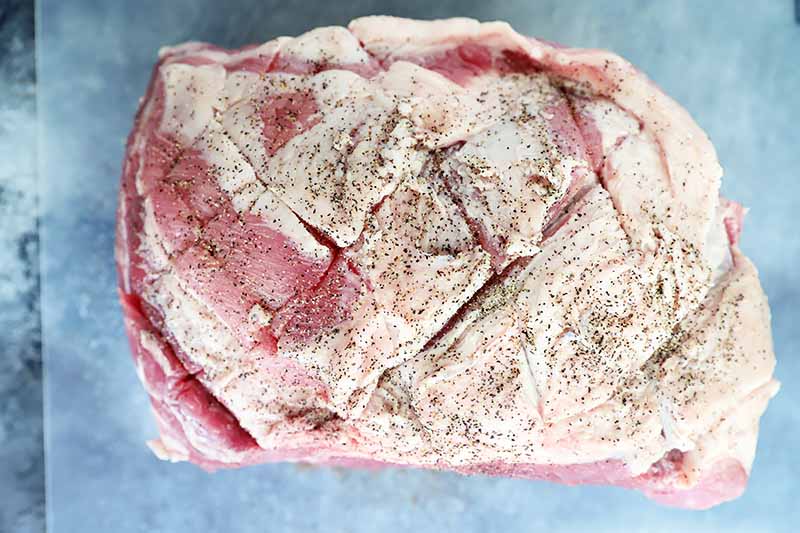
Rub the roast all over with salt and freshly ground black pepper.
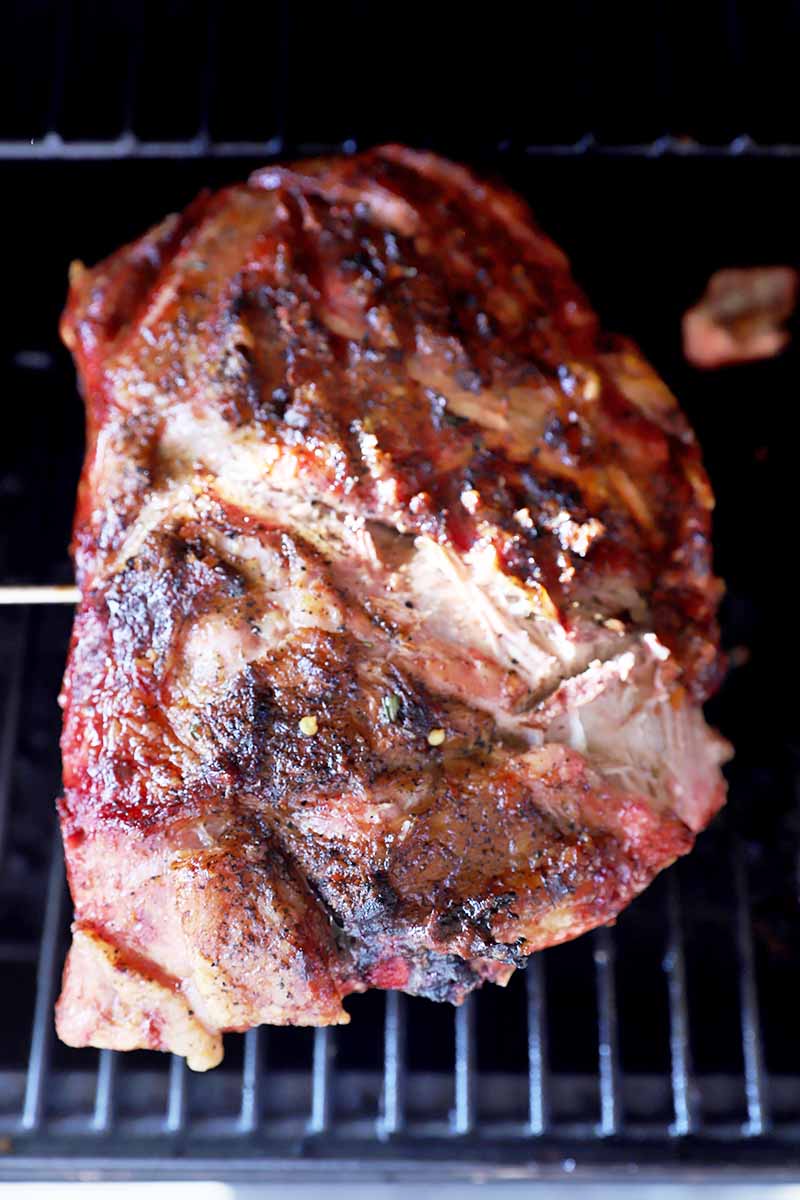
Step 4 – Grill
Place the roast directly on the grill, skin side up. Brush it all over with sauce.
Turn and brush the roast with the sauce every 30 minutes.
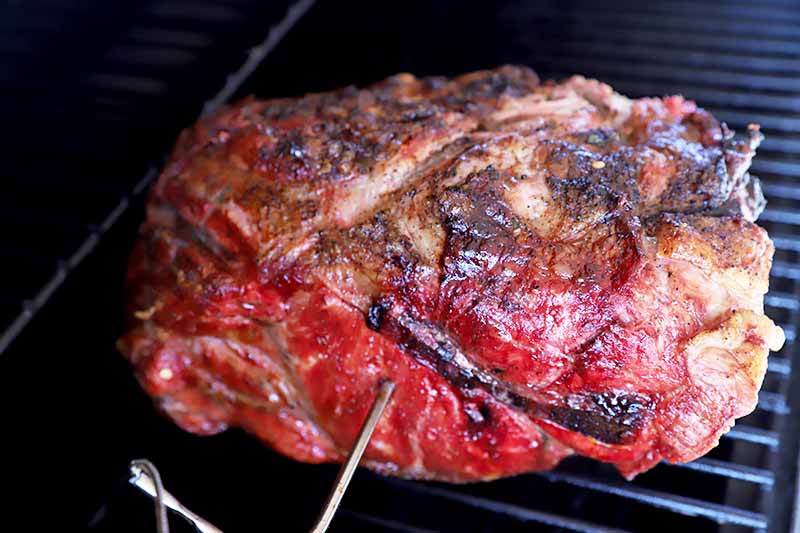
Cook the roast over low, indirect heat, until the internal temperature away from the bone reaches 190˚F and it is fork tender.
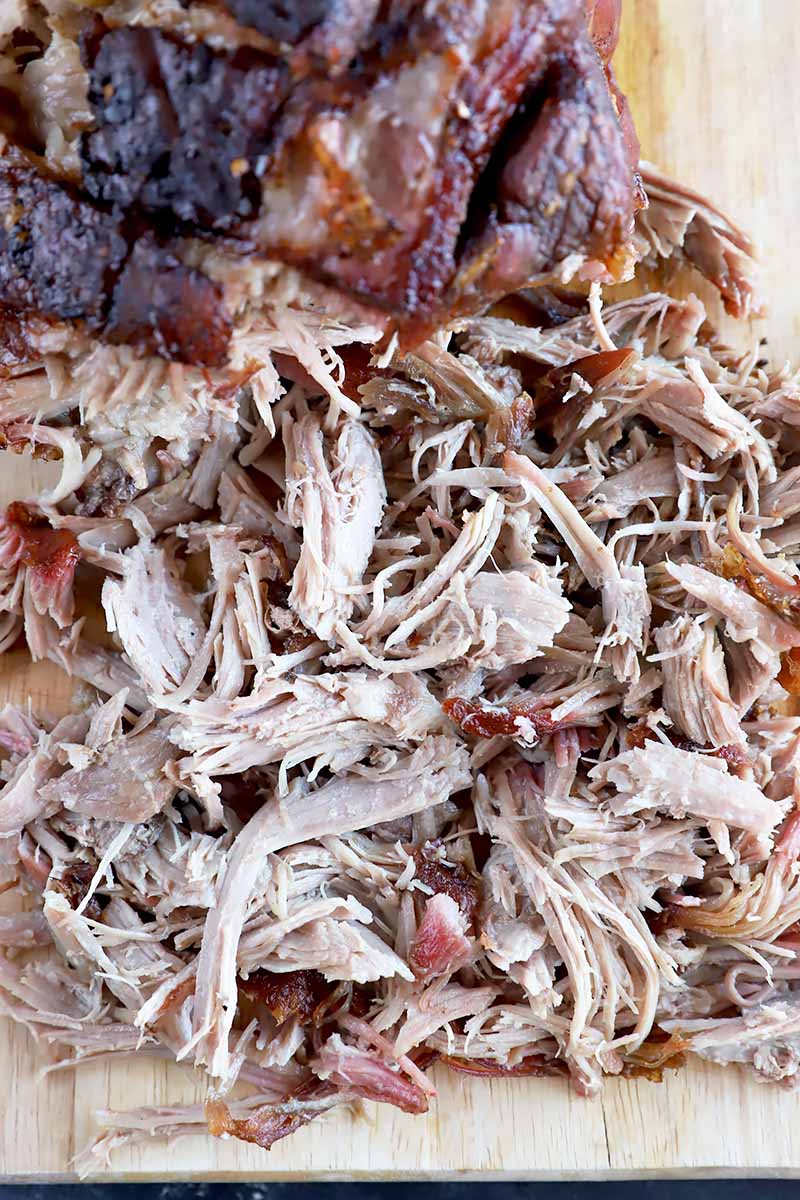
Step 5 – Pull Apart
Transfer the roast to a cutting board to rest. Slice away the rind and fat from the roast and discard them.
When the meat is cool enough to handle, shred it with two forks.
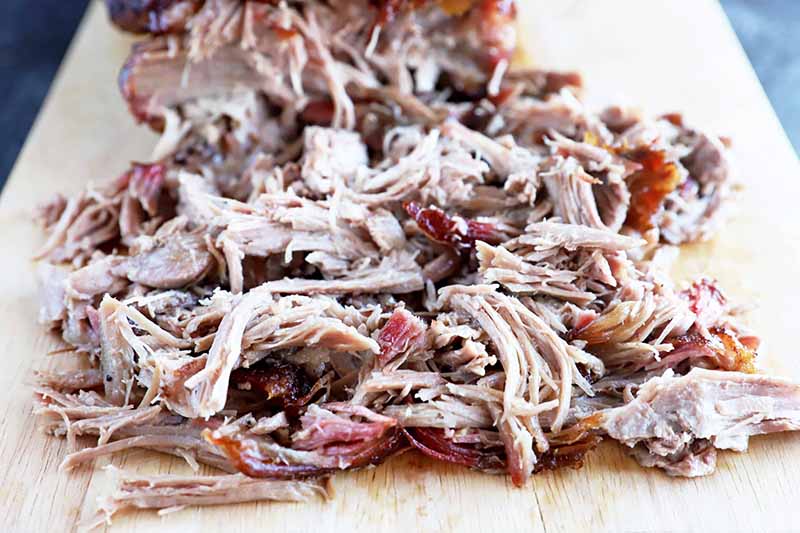
Serve on fresh, soft buns with coleslaw and a drizzle of the reserved sauce, or alongside your favorite barbecue sides.
Can You Freeze Pulled Pork?
Yes, you can!
Cool the meat to room temperature before packaging it in a freezer-safe resealable container.
I recommend packaging it in suitable serving sizes for one or two, so it’s easy to grab what you need when you are ready to thaw it. Remove as much air as possible from the containers to prevent freezer burn before sealing and placing them in the freezer.
The pork can be stored in the freezer this way for 2 to 3 months.
Looking for even more delicious recipes to make on the grill? Check out some more of our favorites next:
What occasion will you celebrate when you make this amazing pulled pork? Tell us in the comments below, and be sure to rate the recipe after you give it a try!
Photos by Meghan Yager, © Ask the Experts, LLC. ALL RIGHTS RESERVED. See our TOS for more details. Originally published by Lorna Kring on August 15, 2015. Last updated on May 11, 2021.
Nutritional information derived from a database of known generic and branded foods and ingredients and was not compiled by a registered dietitian or submitted for lab testing. It should be viewed as an approximation.
About Meghan Yager
Meghan Yager is a food addict turned food and travel writer with a love for creating uncomplicated, gourmet recipes and devouring anything the world serves up. As the author of the food and travel blog Cake 'n Knife, Meghan focuses on unique foodie experiences from around the world to right at home in your own kitchen.