At one point or another in our lives, all of us have maliciously made fun of egg salad.
Just like the school kid who bullies a clueless crush on the playground as a form of avoiding total acceptance of his or her true feelings deep down, many of us can confess now that our initial contempt for the salad was simply a way of covering up potential embarrassment for admitting our love.
The naysayers have their reasons – many don’t like the way it smells and stinks up the fridge. Some find mayo-based salads to be sloppy and icky. And others often lump egg salad together with all the other outdated, old-fashioned dishes they saw their grandparents eat.
We link to vendors to help you find relevant products. If you buy from one of our links, we may earn a commission.
For all of these explanations and far more, many of you still don’t really care for this lunchtime classic, even going as far as avoiding it at all costs.
But there are many others who have shifted their opinions for the better, and have come to love and appreciate it over the years with zero guilt.
I’m one of them.
Outside of the normal excuse of just being a picky little kid, I had no other reason why I didn’t like egg salad – I never actually tried it. I only knew what it looked like from the deli cases at grocery stores, and from a couple references on children’s television shows displaying cartoon gloops and globules in messy, exaggerated heaps.
It wasn’t until my mom made it for a weekend lunch when I was a teenager that I finally tasted it for the first time.
And. I. Loved. It.
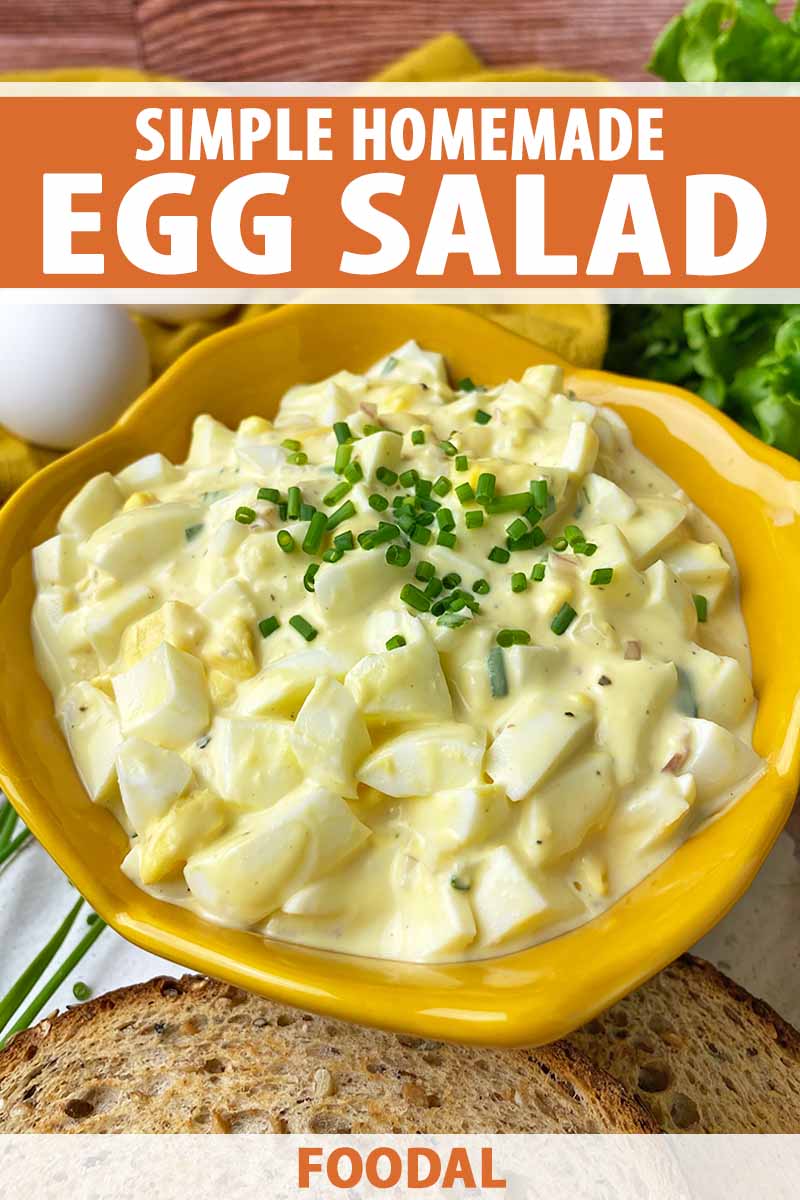
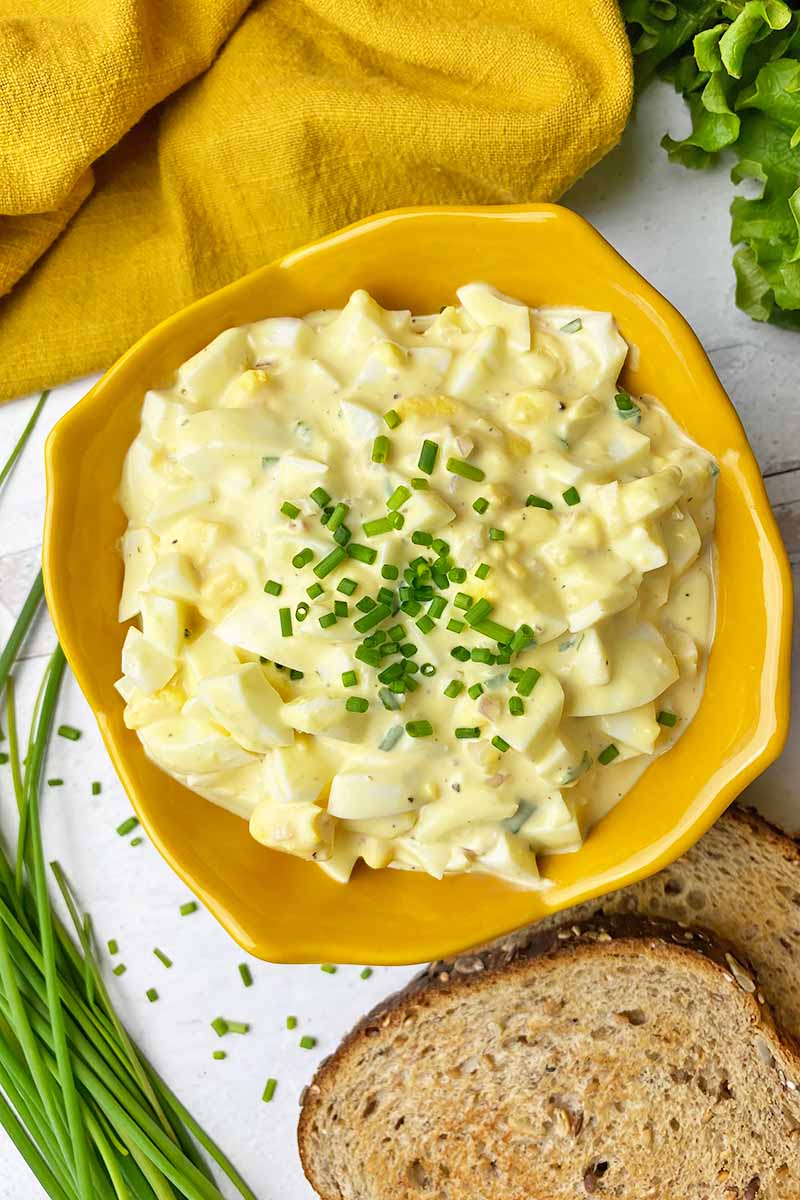
It was nothing like I imagined – it wasn’t the monstrosity I thought it was! It was chilled and refreshing, with the most tender morsels of hard-boiled yolks and whites roughly chopped and mixed with a little mayonnaise, mustard, and freshly squeezed lemon juice.
Some finely chopped onion provided crunch and zippy, zingy flavor – and dashes of salt and freshly cracked pepper were the only other seasonings.
I set aside my sticks and stones and replaced them with a fork, a smile, and an excited request for a second helping, please and thank you.
And so, I present you with the same exact recipe that immediately ended my prejudiced disdain and disgust.
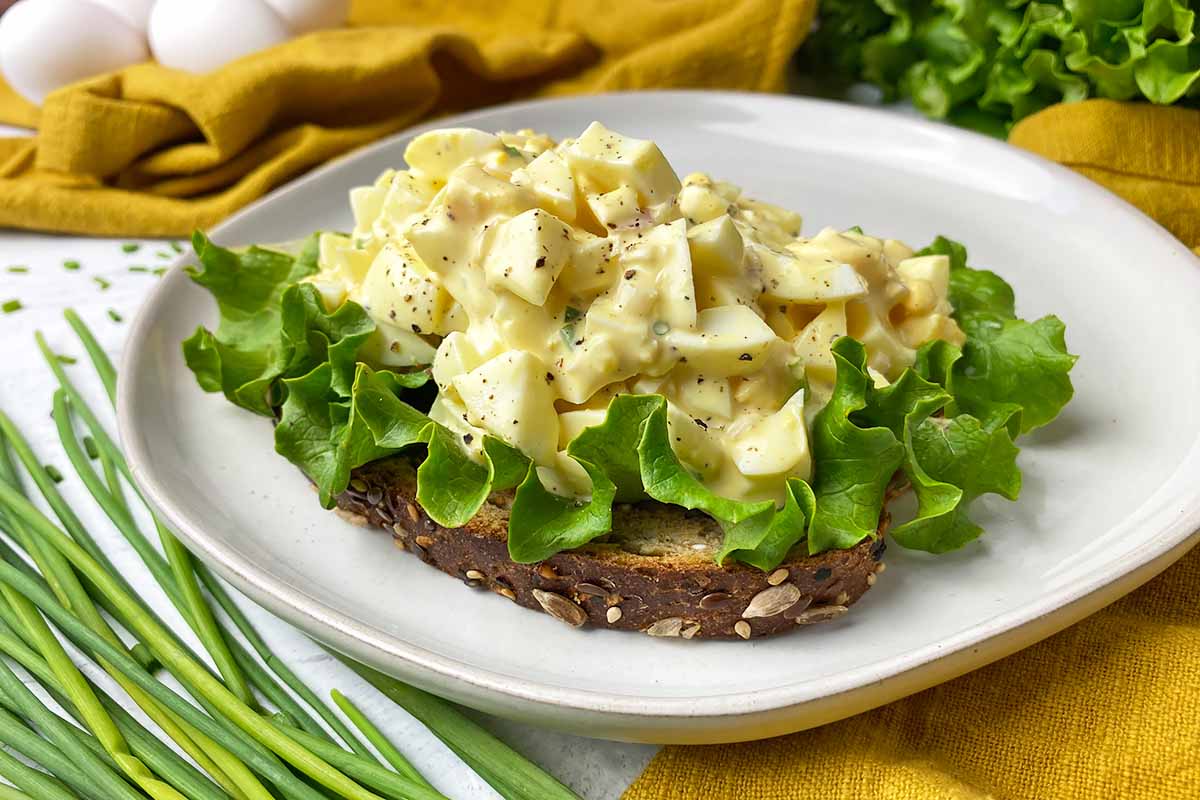
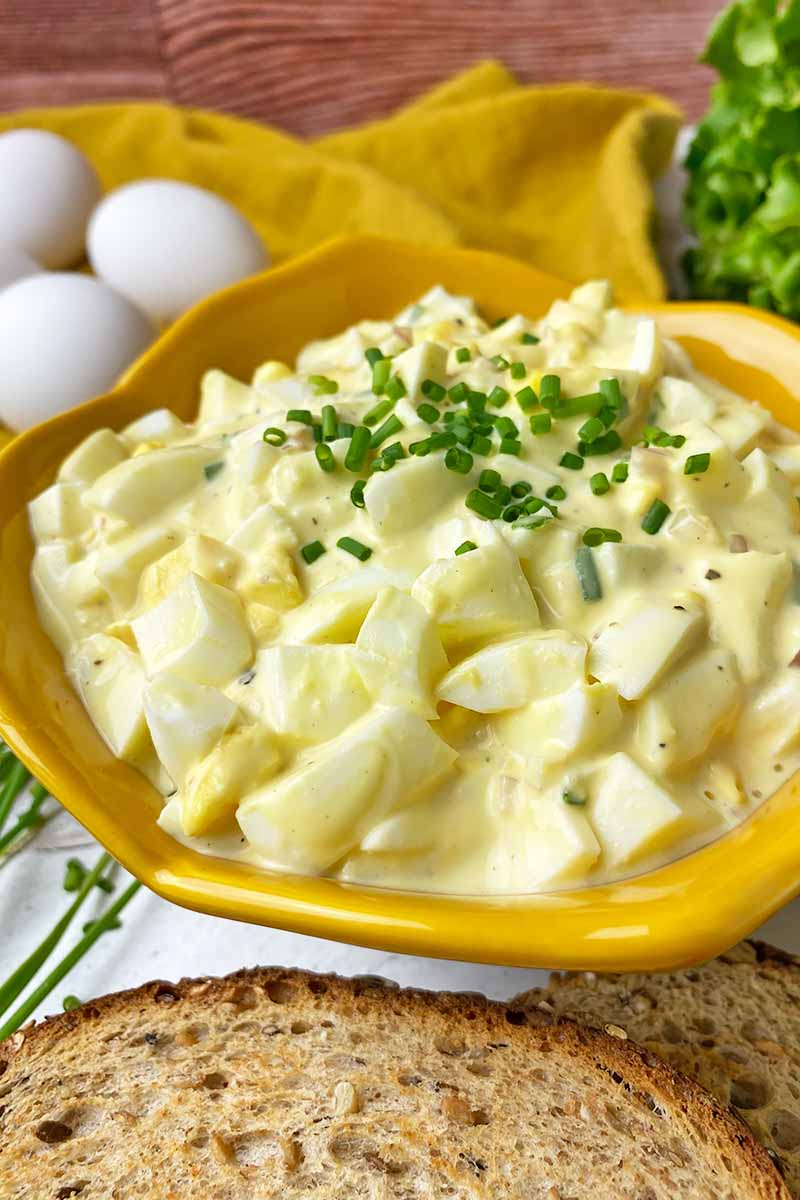
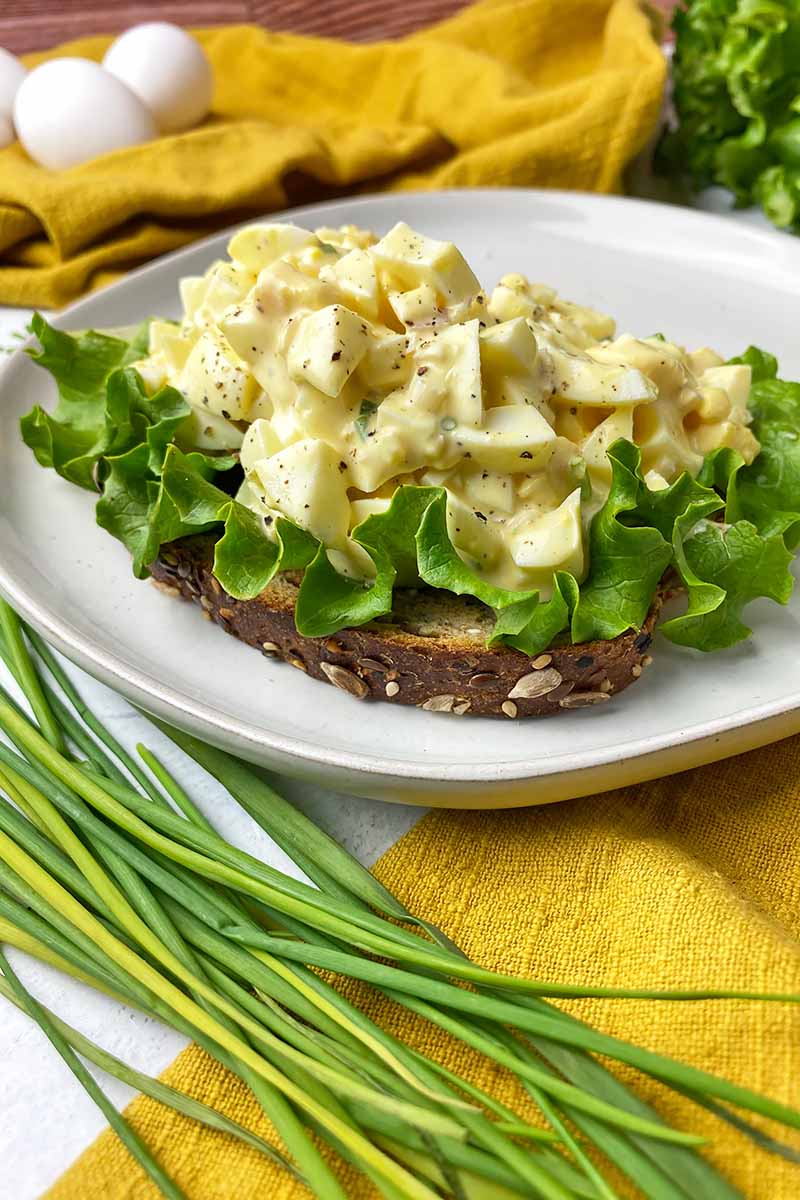
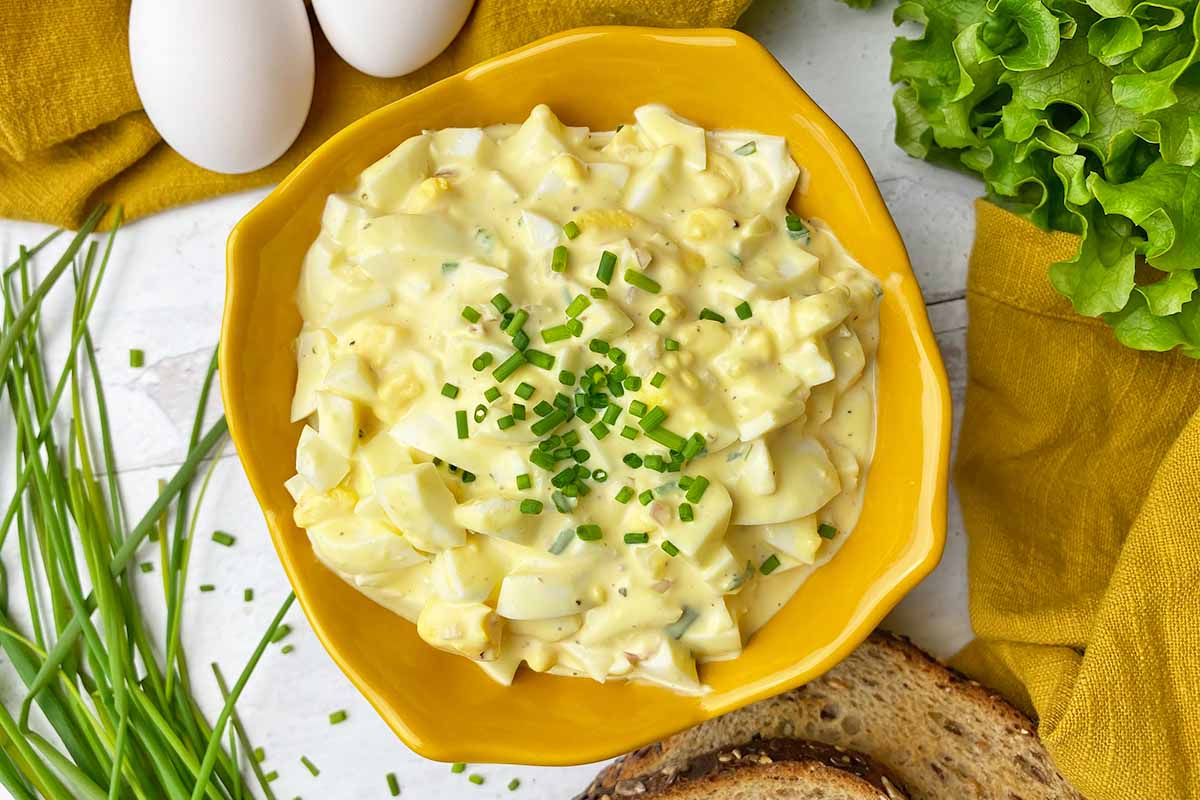
Simple and flavorful, this is an ideal make-ahead dish for the home. Though the ingredient list may be small, the joy it causes is infinite. Serve it on a bed of billowy lettuce leaves, or use it as the ultimate sandwich filler.
If you’re exploring other ingredients to add to this basic recipe, scroll down to the conclusion for our favorite additions to play with texture and flavor.
I know I was a horrible brute to you in the past, egg salad. No more bullying – I vow to love you forever and for always, and to capture the hearts and stomachs of as many other cynics as possible with my recipe!
Print
Simple Egg Salad
- Total Time: 1 hour, 30 minutes
- Yield: 4 small servings 1x
Description
How do you make the perfect egg salad? In our recipe, we focus on a simple mix of ingredients to honor this lunchtime classic.
Ingredients
- 6 large eggs
- 1/2 medium shallot, finely chopped (about 1/8 cup)
- 4 chive stems, finely chopped (about 1 tablespoon)
- 1/4 lemon, juiced (about 1/2 tablespoon)
- 1/4 cup mayonnaise
- 1 teaspoon Dijon mustard
- 1/2 teaspoon kosher salt, plus more to taste
- 1/4 teaspoon freshly cracked black pepper, plus more to taste
Instructions
- Fill a large pot 3/4 of the way full with water, and bring to a boil on the stovetop over high heat.
- Once at a boil, gently place the eggs in the water using a heatproof skimmer. Boil the eggs for 11 minutes. While the eggs are cooking, prepare an ice bath in a large bowl.
- Immediately remove the eggs from the pot with a skimmer and submerge them in the ice bath. Allow them to cool for about 5 minutes before peeling them.
- Transfer the peeled eggs to an airtight container and place in the refrigerator to cool completely, about 1 to 2 hours. When cooled, roughly chop the eggs.
- Whisk together the shallot, chives, lemon juice, mayonnaise, mustard, salt, and black pepper in a large bowl.
- Stir in the chopped eggs with a spatula, crushing lightly, until everything is completely incorporated together. Check the seasonings, and add more salt and pepper to taste.
- Serve immediately, or transfer the contents to an airtight container and refrigerate for up to 4 days.
- Prep Time: 10 minutes
- Cook Time: 15 minutes
- Category: Eggs
- Method: Stovetop
- Cuisine: Salad
Cooking by the Numbers…
Step 1 – Hard-Boil the Eggs
Everyone has their own favorite technique to make perfect, hard-boiled eggs that are easy to peel – here’s the tried-and-true method I like!
Fill a large pot 3/4 of the way full with water, and bring to a boil on the stovetop over high heat. You want the pot to be large enough for the eggs to have ample space for cooking evenly.
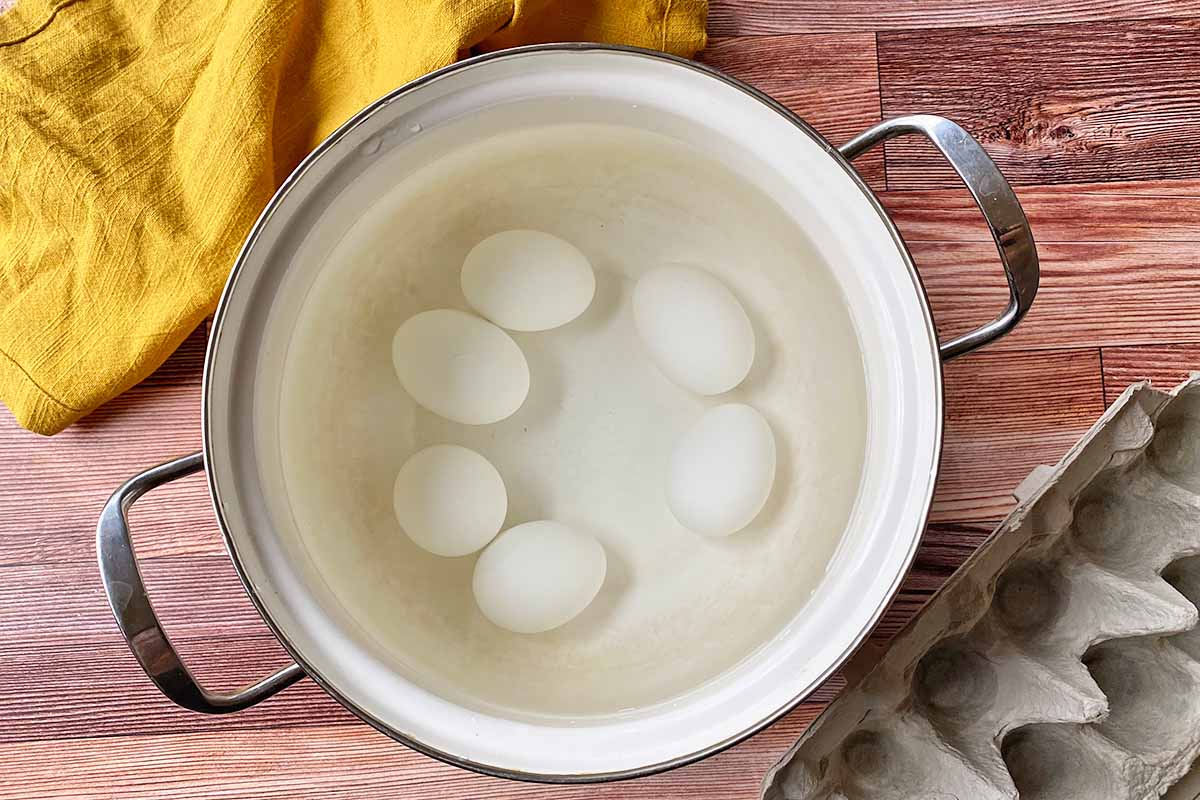
Once at a boil, gently place the eggs in the water using a heatproof skimmer. This is a handy tool for safely lifting food out of hot liquid!
We like Sur La Table’s Wire Skimmer, made of 18/8 stainless steel. You can buy it directly from the company’s website.
Boil the eggs for 11 minutes – this amount of time ensures the whites and yolks are fully cooked, but still leaves a slightly softer yolk.
While the eggs are cooking, prepare an ice bath in a large bowl next to the stovetop for easy transferring. The ice bath shocks and helps to instantly stop the cooking process, and also helps shells easily peel off from the whites.
When the eggs have cooked for the full 11 minutes, immediately remove them from the pot using the same skimmer and submerge them in the ice bath.
Allow them to cool for about 5 minutes before peeling them.
Step 2 – Peel and Chill the Eggs
When they are cool enough to handle after 5 minutes of being in the ice bath, you can now peel them.
Make sure you have a bowl for the peeled eggs, as well as a separate bowl for the shells. You can dispose of the shells, or save them to add to your kitchen compost.
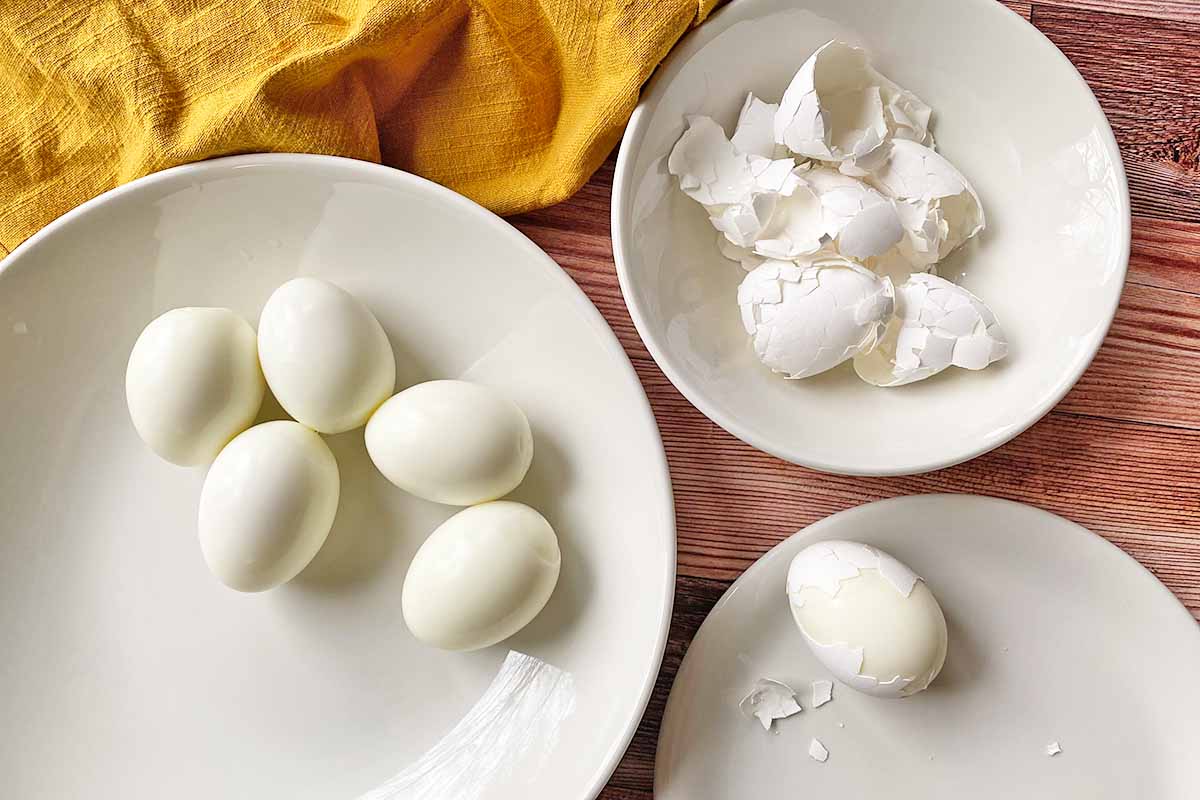
Are there still tiny shell fragments? Briefly run the peeled eggs under cold water to remove anything remaining on the whites. Tap dry with paper towels.
Place the eggs in an airtight container and allow to cool completely in the refrigerator before moving forward in the recipe – this will take about 1 to 2 hours, but you also can leave the eggs in the refrigerator overnight.
Step 3 – Prep the Other Ingredients
Once the eggs are completely chilled, continue with preparing the other ingredients.
Finely mince half of a shallot, using a sharp knife and sturdy cutting board – you’ll get roughly 1/8 cup. Finely chop the chives.
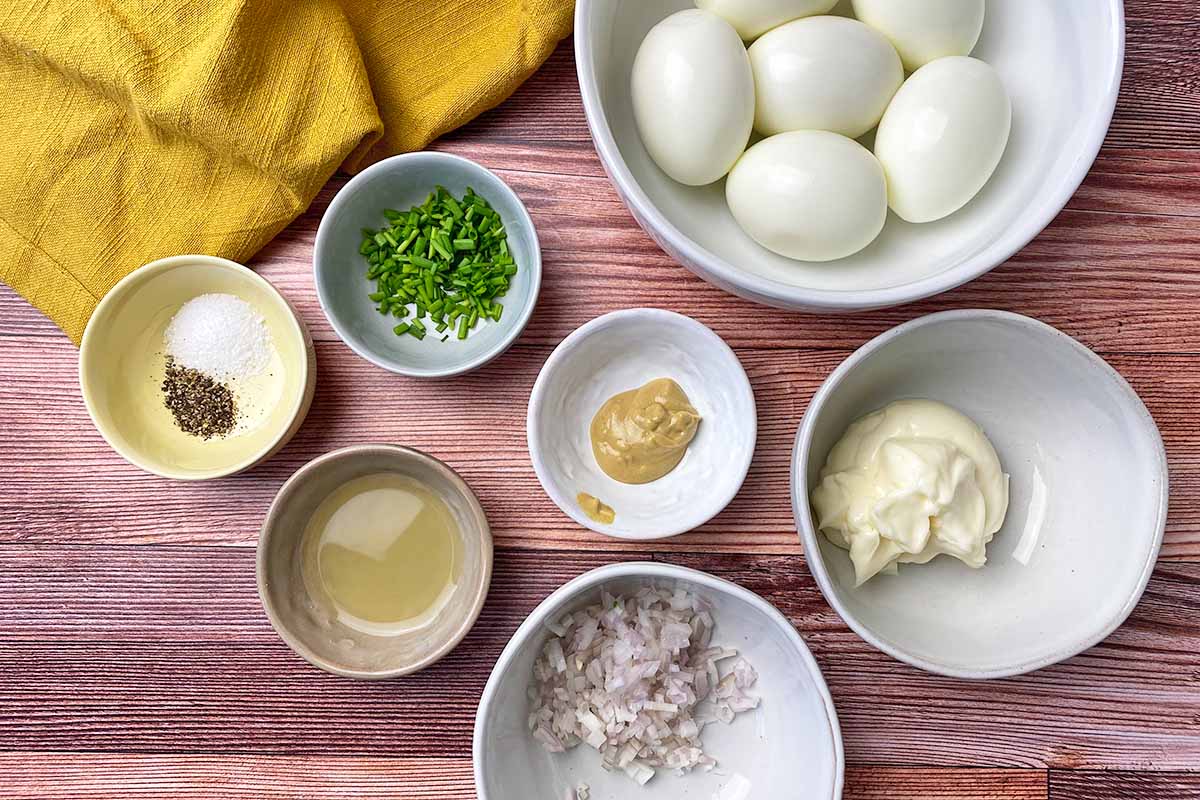
Juice a quarter of a lemon, which should yield about 1/2 tablespoon. It’s fine if it’s a little less or a little more, but anything over a tablespoon might be too acidic. Save anything remaining for another use.
Measure out the mayonnaise and mustard. Freshly grind the salt and crack black peppercorns for the best flavor. Make sure you have a little extra of both in order to adjust the seasonings before serving.
Step 4 – Make the Dressing
In a large bowl, whisk together the shallot, chives, lemon juice, mayonnaise, mustard, salt, and black pepper.
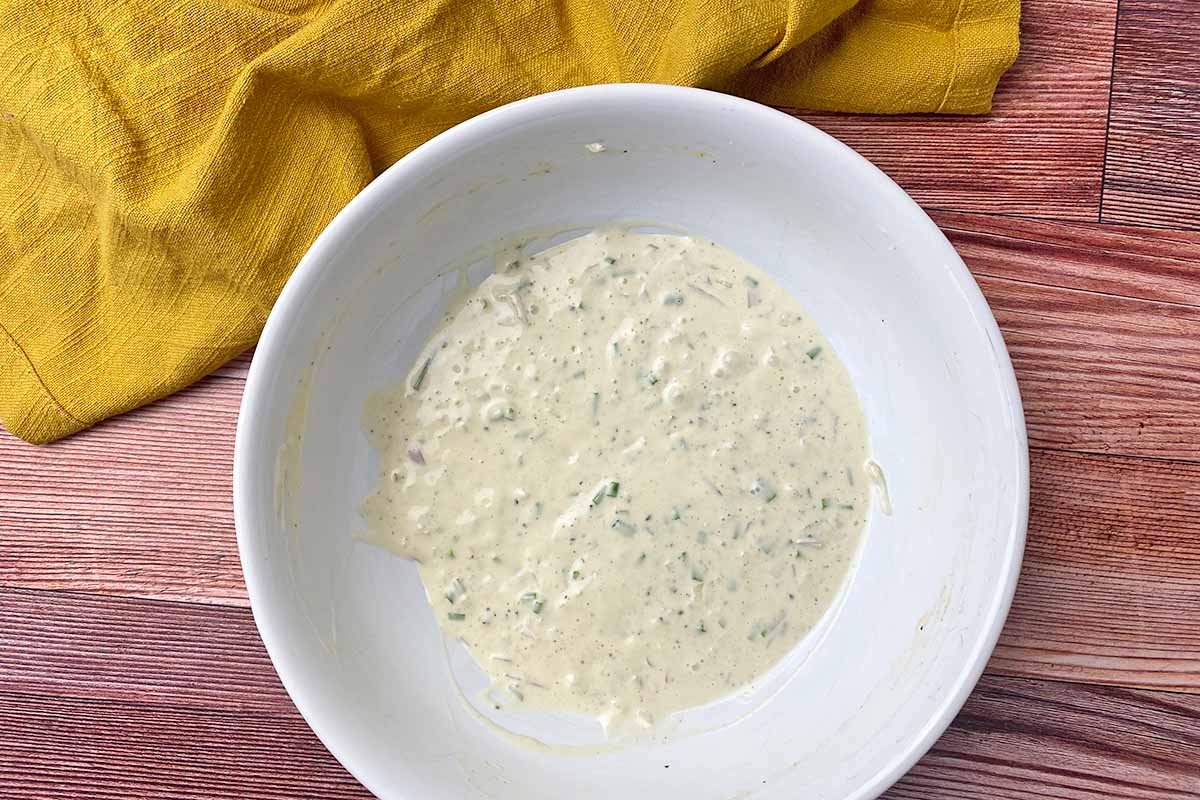
Continue mixing until you create a creamy dressing.
Step 5 – Chop the Eggs
Using a sharp knife and sturdy cutting board – use the same utensils you had for prepping the other ingredients for a lazy way of reducing cleaning – roughly chop all of the eggs.
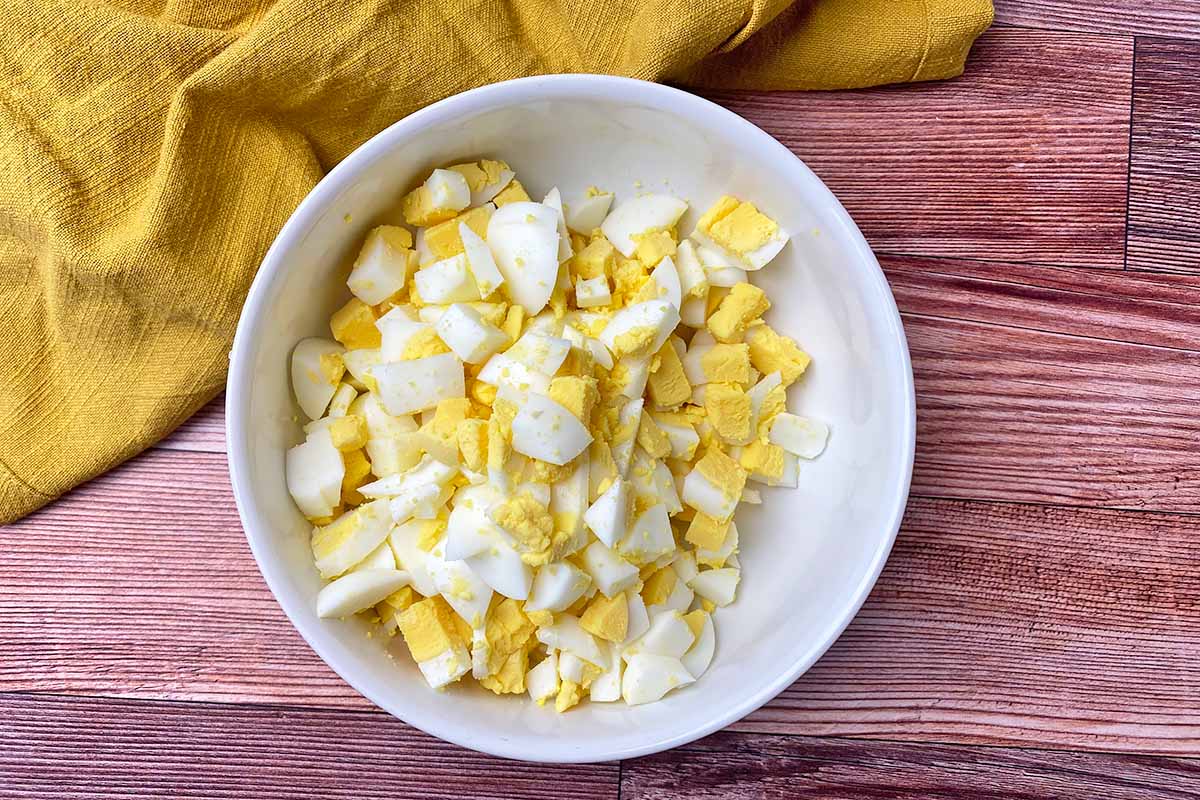
While I prefer a chunkier mix, you can chop them more finely.
Step 6 – Mix Together
Transfer the chopped eggs into the bowl with the dressing. Using a spatula, mix everything together until completely incorporated.
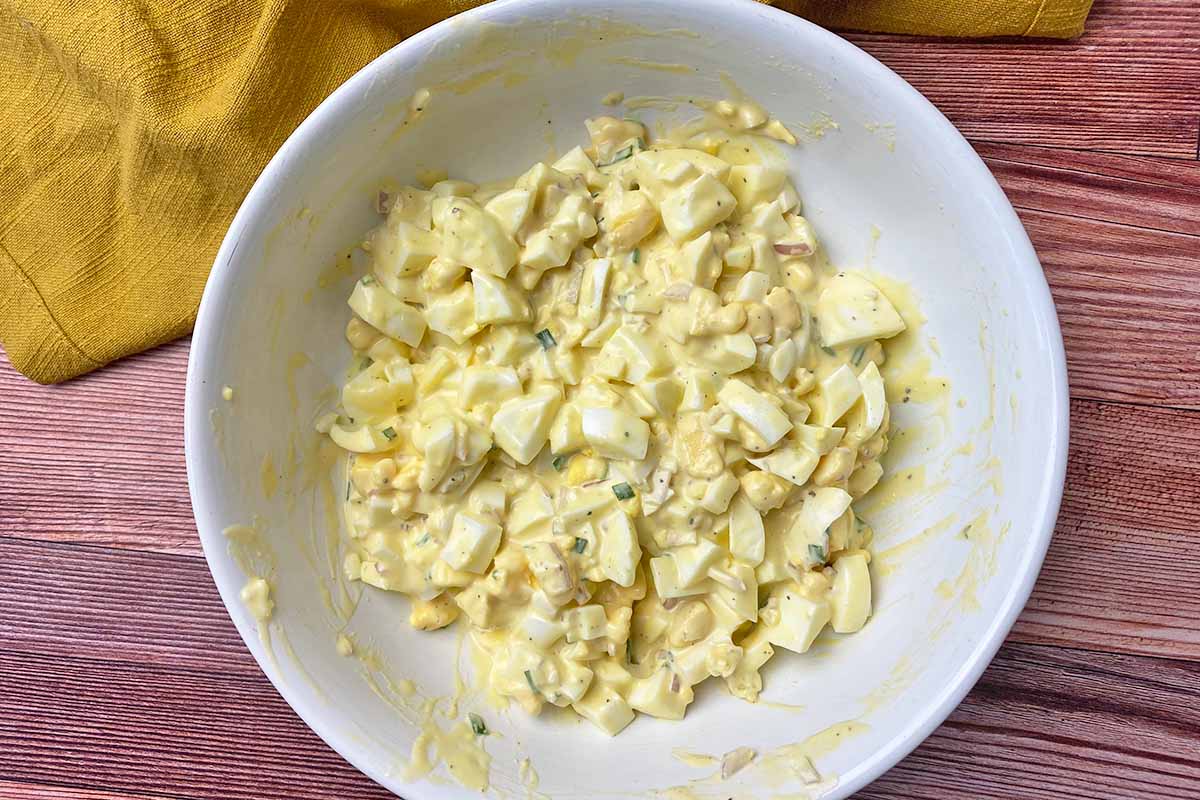
I like stir vigorously and lightly crush some of the chopped yolks as I’m mixing, which creates a thicker dressing. For a thinner dressing, very gently mix to avoid crushing the yolks too much.
Step 7 – Serve or Store
Check the seasonings by having a little taste – adjust with more salt and pepper, if necessary.
At this point, you can serve it immediately, or transfer it to an airtight container and store in the refrigerator for up to 4 days.
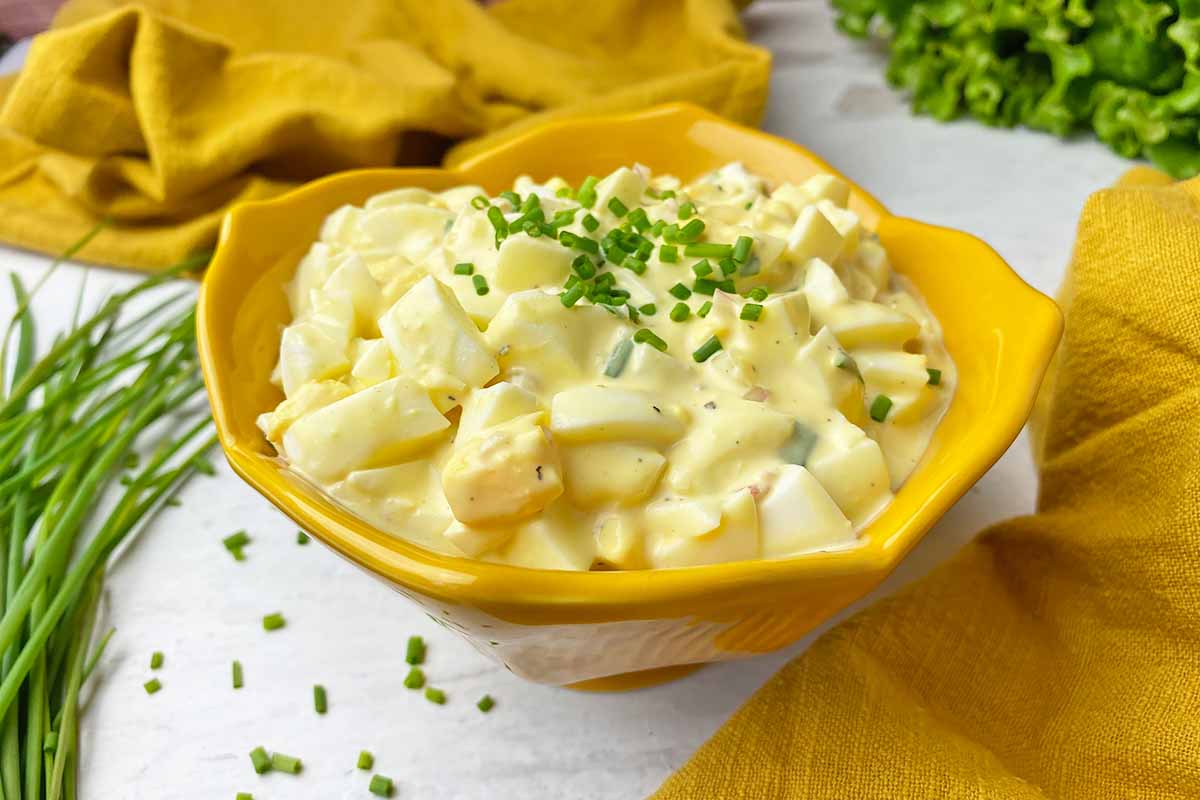
The dressing will thicken slightly the more it chills in the refrigerator.
Enjoy!
Small Additions, Big Flavors
The “If it ain’t broke, don’t fix it!” phrase, at least when it comes to my egg salad, is a personal mentality I proudly stand by.
But there are ways of adding a few extra ingredients without compromising the integrity of a classic recipe – and without upsetting Mom!
On occasion, I like to mix in some chopped celery or bell peppers for a dynamic crunch.
And for a brinier punch, I’ll throw in some capers, chopped green olives, or sliced pickled green beans.
Don’t let fresh chives have all the fun! Use your favorite varieties of fresh, grassy herbs – basil, chervil, tarragon, dill, and parsley will all have a blast here.
And the sandwich stacking possibilities are pretty much endless! Other than the bread choices, layer the flavors with oven-baked bacon, juicy tomato slices, ruffled green lettuce, ripe avocado, thinly sliced cheese, or crisp potato chips.
What’s your take on this lunchtime favorite? Love it or leave it? Was there a defining moment or recipe that changed your opinion one way or the other? The comment section is open – message me!
If you’re not doubling the recipe, use the other remaining eggs in more savory recipes! You’ll enjoy these three next:
Photos by Nikki Cervone, © Ask the Experts, LLC. ALL RIGHTS RESERVED. See our TOS for more details. Originally published April 2, 2015 by Ashley Martell. Last updated February 6, 2024.
Nutritional information derived from a database of known generic and branded foods and ingredients and was not compiled by a registered dietitian or submitted for lab testing. It should be viewed as an approximation.
About Nikki Cervone
Nikki Cervone is an ACS Certified Cheese Professional and cheesemonger living in Pittsburgh. Nikki holds an AAS in baking/pastry from Westmoreland County Community College, a BA in Communications from Duquesne University, and an MLA in Gastronomy from Boston University. When she's not nibbling on her favorite cheeses or testing a batch of cupcakes, Nikki enjoys a healthy dose of yoga, wine, hiking, singing in the shower, and chocolate. Lots of chocolate.