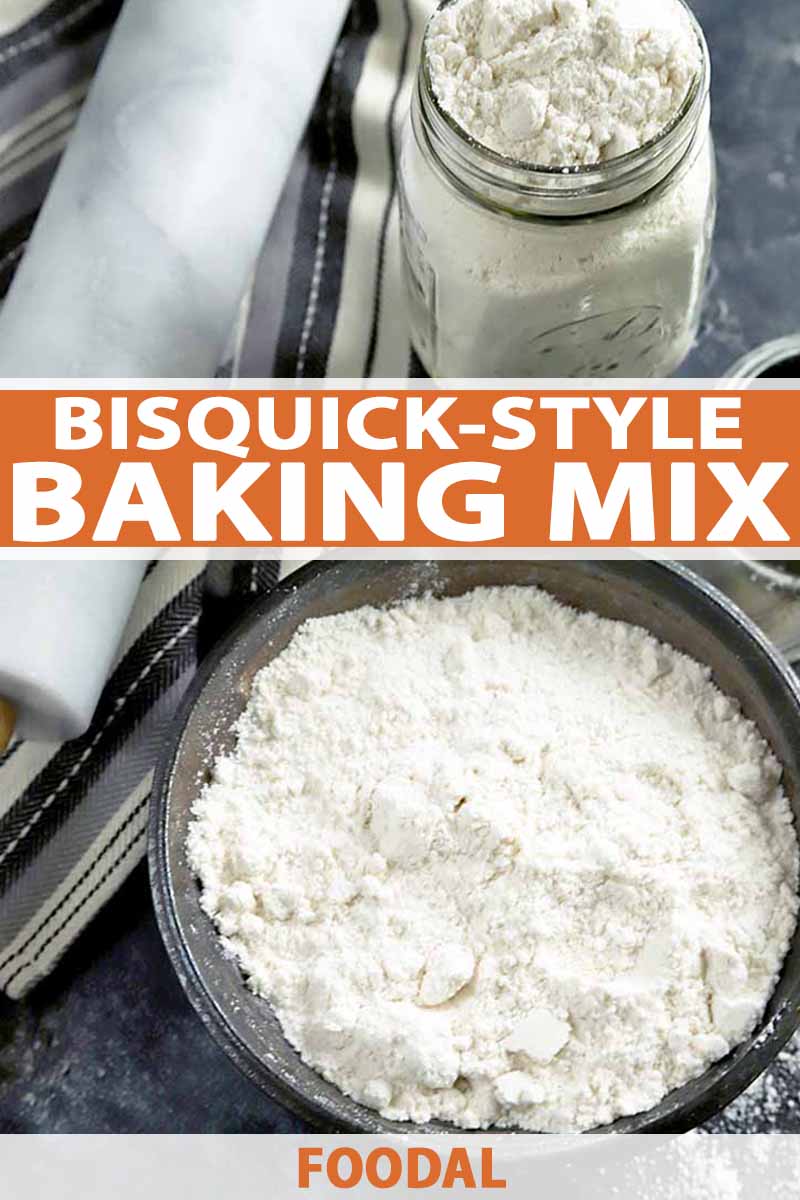
For a real time-saver prepared in the comfort of your own home, you need to start making this homemade Bisquick-style pancake and baking mix.
My husband is a big breakfast person. Though I admittedly am not, I will never turn down a surprise plateful of banana chocolate chip pancakes on a lazy weekend morning.
The key to my husband’s fluffy and soft pancakes is usually thanks to his love of Bisquick. He’s been using it ever since he cooked breakfast with his mom as a kid.
There’s really nothing like waking up to a stack of pancakes made by your favorite human on a Saturday morning…
In fact, I’m making a mental note right now to make sure we have enough of my homemade mix on hand for this coming weekend!
My husband has this deep love for his favorite store-bought shortcut ingredient, and I really can’t complain because it makes for incredible pancakes every time, in mere minutes.
But what are you supposed to do when you realize you’ve run out? Rush to the store in your pajamas?
Sometimes, it’s better to just do things yourself. And this recipe for homemade Bisquick-style baking mix is proof of that, many times over.
Personally, I love to know every ingredient that I am putting into the mix so that I can ensure the quality, and know every element that’s being added to my muffins, pancakes, waffles, and quick breads. I’ve also found that it’s usually cheaper to just make it in bulk at home as well.
If that’s not the best motivator ever, I really don’t know what is. Plus, you really won’t be able to tell the difference in terms of flavor and texture between whatever you make with this, and the yellow box that you can buy at the store.
In fact, my guess is that you will end up liking this recipe even better overall.
Oh, and did I mention that it requires just four ingredients? I’d be willing to bet that you already have all of them sitting in your pantry right now. And that means you’re just a few minutes away from having some mix ready to go, to make whatever your breakfast-loving heart desires.
Now, I know that this kind of mix is usually used to make pancakes. But there are so many other recipes that you can use it in as well.
You can make biscuits, coat fried chicken – one of my personal favorite uses – and so much more. The whole point of having this on hand is for convenience!
You don’t have to spend a lot of money or devote a lot of time to making it, and it comes in handy whenever you need a quick shortcut to make your life a little easier.
Just be sure to keep it in the refrigerator. I have more notes on that at the end of this article, so scroll down to read more on that.
Print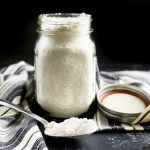
Homemade Bisquick-Style Pancake and Baking Mix
- Total Time: 5 minutes
- Yield: 3 cups 1x
Description
For those times when you run out and don’t want to go all the way to the store, simply make your own homemade Bisquick-style pancake and baking mix.
Ingredients
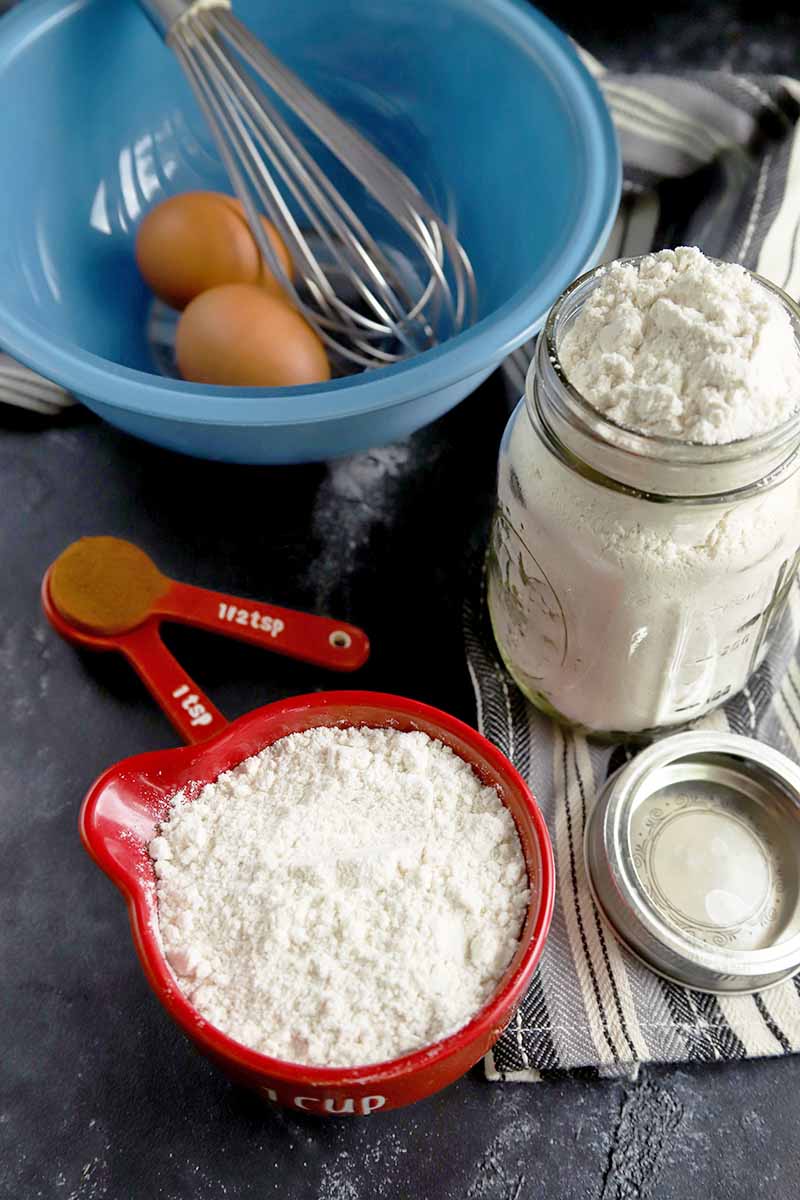
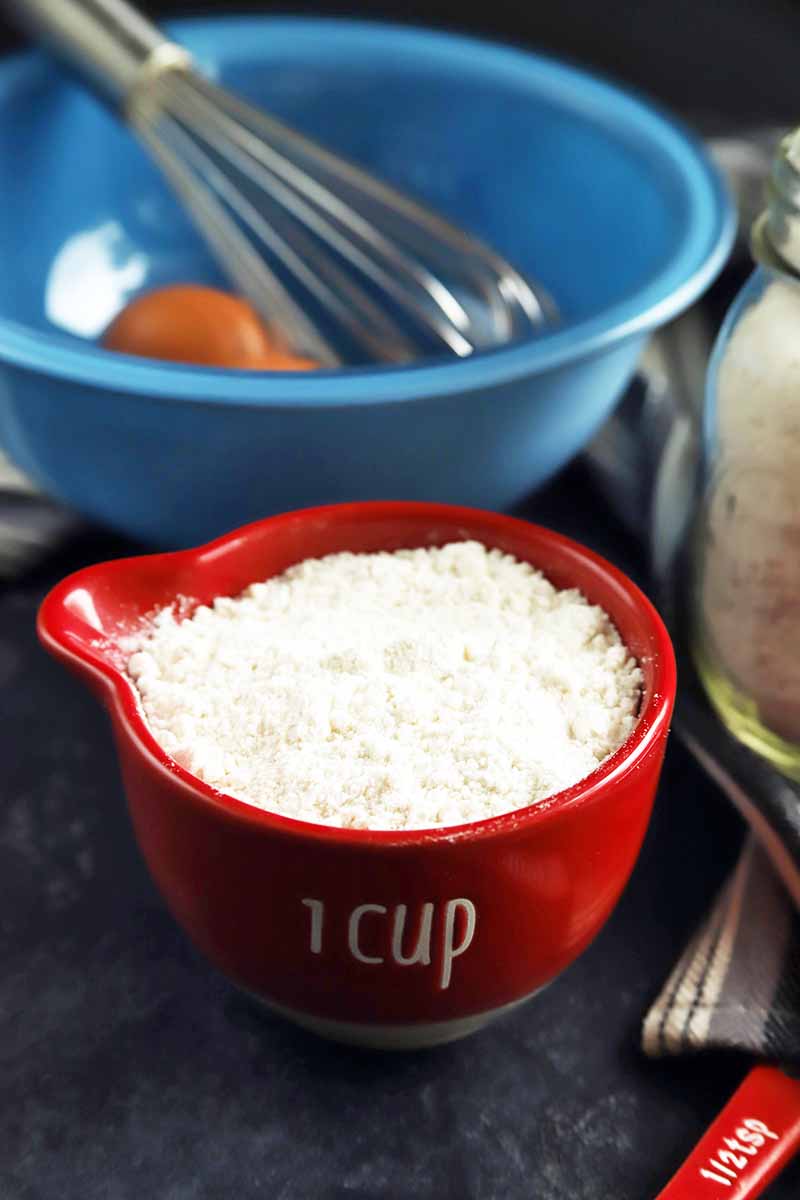
- 3 cups all-purpose flour
- 1 1/2 Tbsp baking powder
- 1 1/2 tsp salt
- 3 Tbsp vegetable shortening or canola oil
Instructions
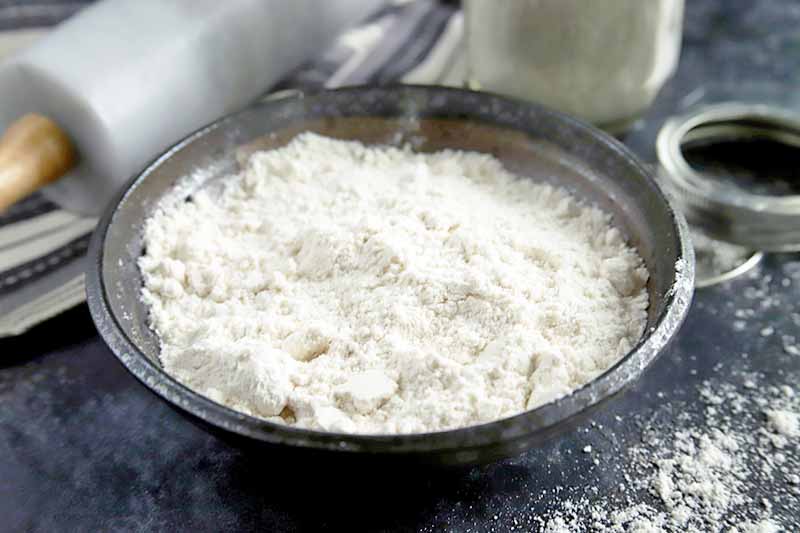
- In the bowl of a food processor, add flour, baking powder, and salt. Pulse for about 15 seconds.
- Add vegetable shortening or oil. Pulse until mixture resembles cornmeal.
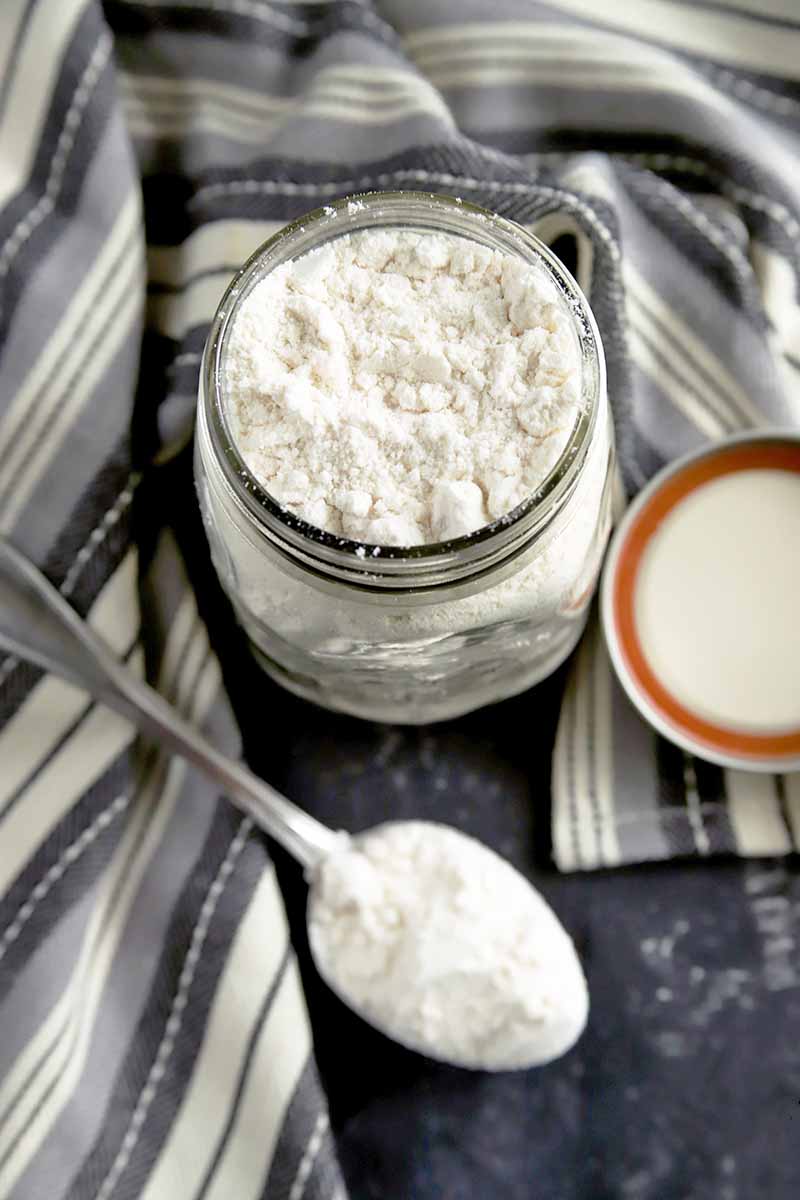
- Store in an airtight container in the refrigerator for up to 3 months.
- Prep Time: 5 minutes
- Category: Baking
- Method: No-Cook
- Cuisine: Breakfast
Cooking By the Numbers…
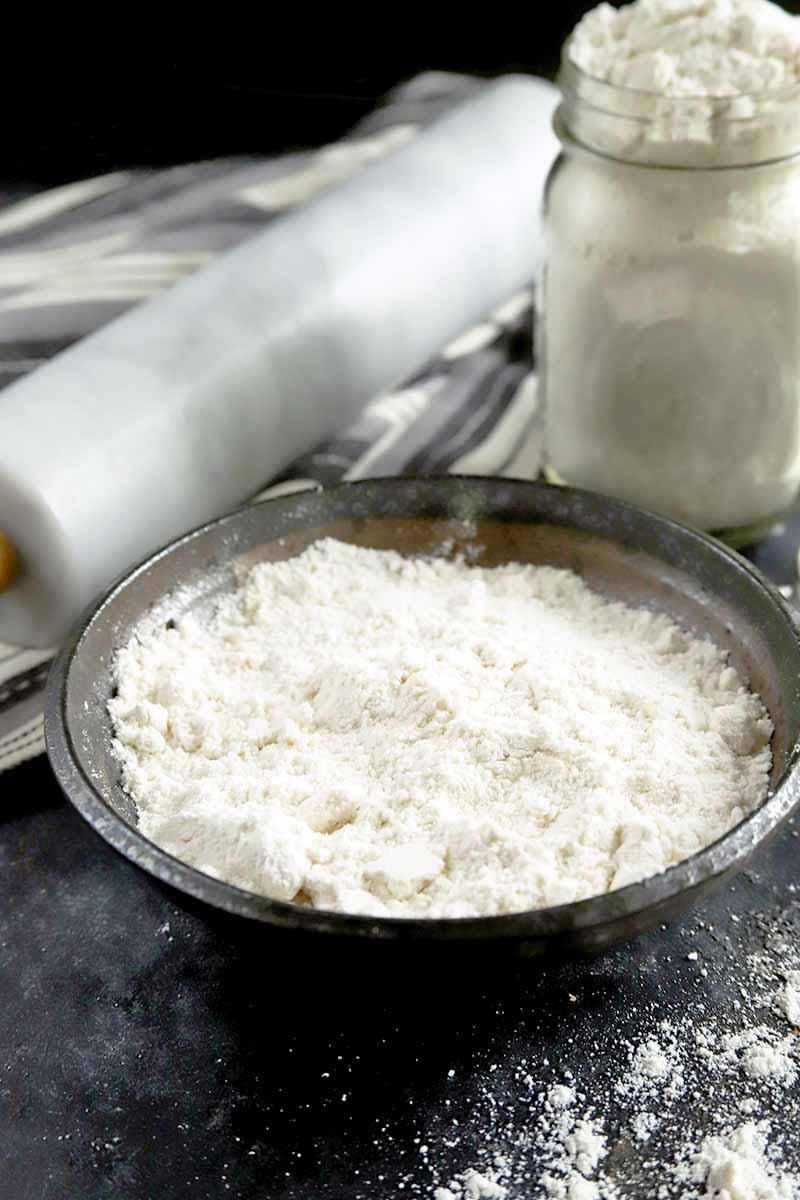
Step 1 – Measure Ingredients
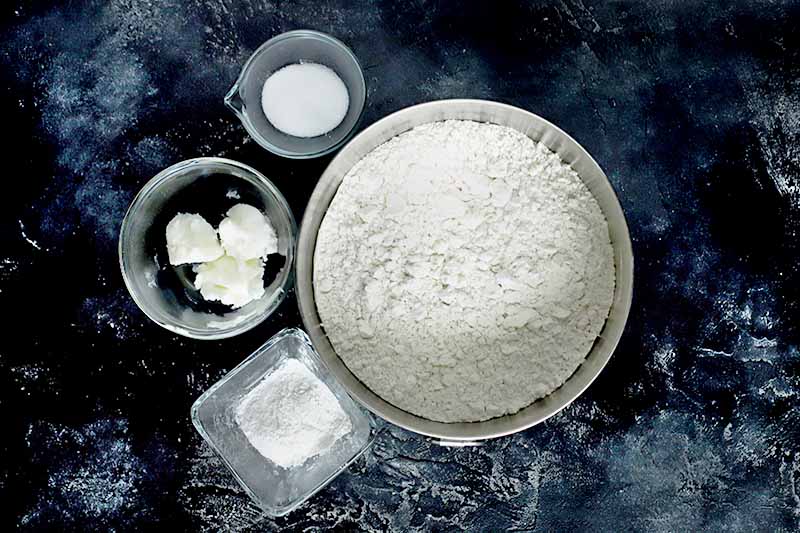
Measure out all of the ingredients on the ingredients list so they will be ready to go, and get out your food processor.
Step 2 – Make Mixture

To make the dry mix, add the flour, baking powder, and salt to your food processor. Pulse for 15 seconds, until combined.
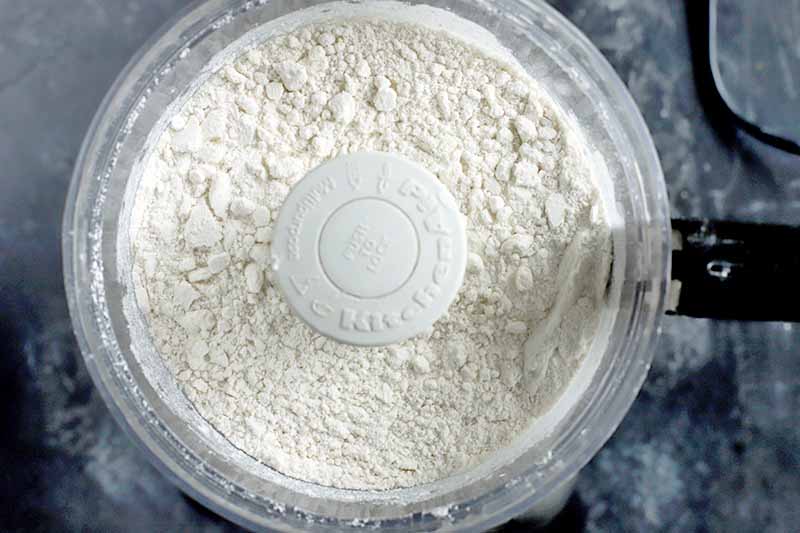
Add the vegetable shortening or oil, and pulse again until the mixture resembles cornmeal.
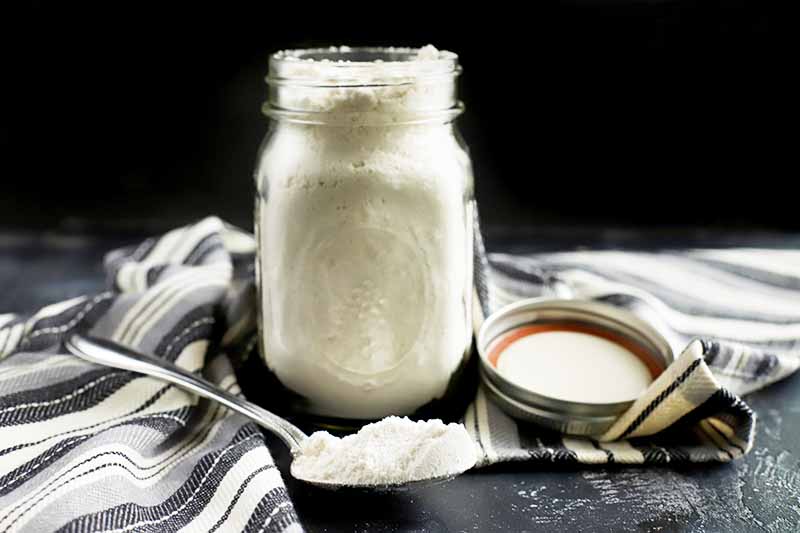
This baking mix should be stored in an airtight container in the refrigerator, and it will keep for up to 3 months.
Read the Instructions, Store It the Right Way
When it comes to making a recipe like this at home, things are just a little different than what you might be used to with a shelf-stable product from the grocery store.
Added chemical stabilizers in the store bought mix make it safe for room temperature storage in the pantry.
Our homemade version, as you already read above, really should be stored in the refrigerator. This way, it will be good to use for up to three months.
I like to fill up a mason jar or two. That way, you can always see when they are running low in the refrigerator.
Want to start exploring other ways to make your own homemade baking mixes? Check out this article on how to make your own baking mixes in jars. They are perfect for gift-giving, or keeping in your pantry. I just made a batch of our DIY Yellow Cake Mix to give out as presents!
Ready to give this homemade mix a whirl? Try these classic breakfast recipes:
What do you love to make with boxed baking mix? Tell us in the comments below. When you try making this recipe yourself, be sure to come back and give it a rating!
Photos by Meghan Yager, © Ask the Experts, LLC. ALL RIGHTS RESERVED. See our TOS for more details.
Nutritional information derived from a database of known generic and branded foods and ingredients and was not compiled by a registered dietitian or submitted for lab testing. It should be viewed as an approximation.
About Meghan Yager
Meghan Yager is a food addict turned food and travel writer with a love for creating uncomplicated, gourmet recipes and devouring anything the world serves up. As the author of the food and travel blog Cake 'n Knife, Meghan focuses on unique foodie experiences from around the world to right at home in your own kitchen.


