I’ll say it – I’m loco for cocoa! Chocolate cake is my main weakness, my own Achilles’ heel.
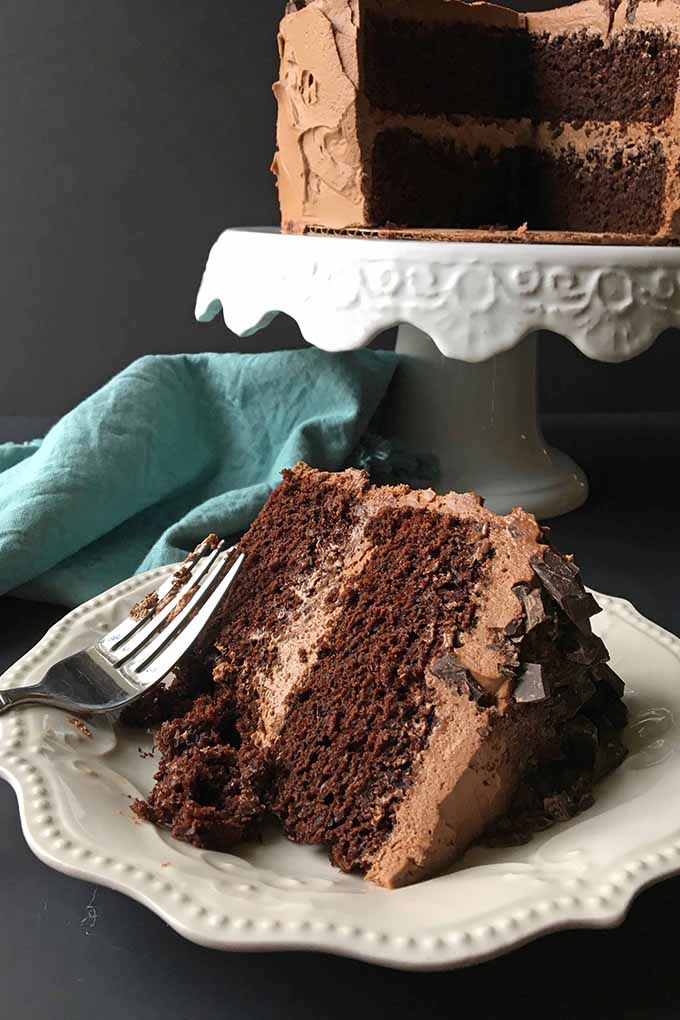
When I catch a whiff of that sweet, rich aroma, I absolutely must grab a huge slice, as quickly as possible.
If you find yourself growing weak in the knees with a similar craving, we have the perfect recipe for you.
Learn how to make a delectable chocolate cake from scratch, one that’s sure to satisfy your desire for cocoa.
This is a very easy recipe – just combine the dry ingredients, mix in the liquids, pour into pans, and bake. It’s pretty much your own deliciously upgraded version of a boxed mix.
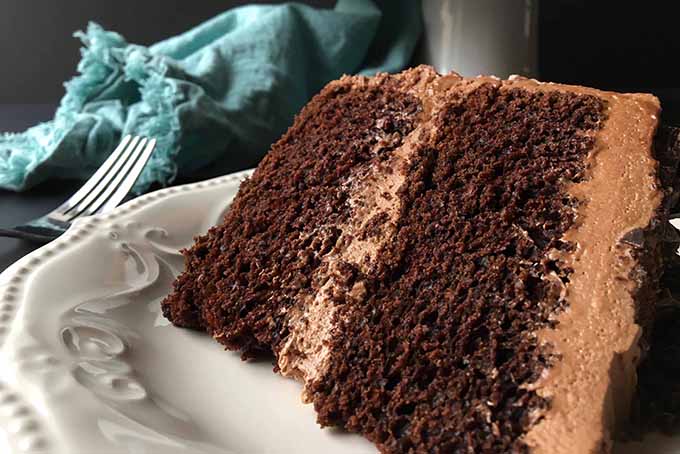
Don’t like chocolate? Gasp!
Rather than remove my glove, slap you in the face with it, and challenge you to a duel… I’ll share with you some of Foodal’s other tasty desserts for you to try instead, like lemon rosemary goat cheese bundt cake or mandarin orange sponge cake.
Chocolate lovers, keep reading!
Before moving on to the recipe, let’s go over a few qualities that make this dessert exploding with chocolaty goodness.
The Essential Ingredients
Liquids
Our dessert is made with two liquid ingredients that are essential to amplifying the flavor profile: coffee and buttermilk.
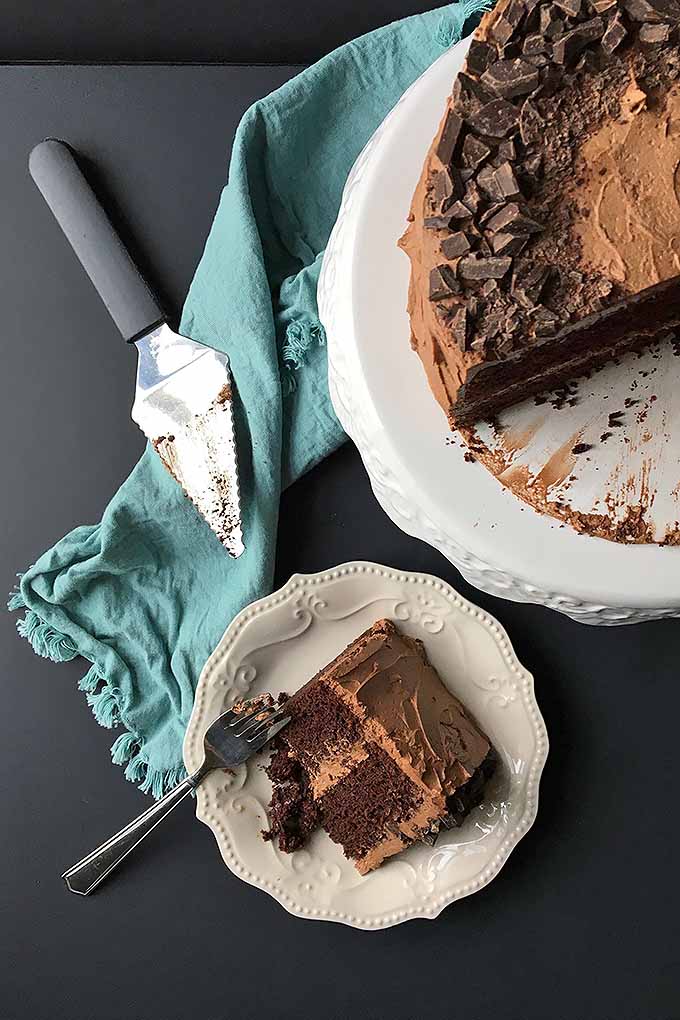
Coffee is popular for its rich, bold, and exciting medley of flavors and aromas.
It can also be used more humbly in a supporting role – when paired with the cocoa powder in this recipe, it intensifies the chocolate essences without being too forward with its own coffee flavor.
Buttermilk is a cultured liquid milk product with a strong acidic quality. Not only does it balance the rich qualities from the cocoa and the sweetness from the sugar, it is also used to facilitate a strong leavening reaction with the baking soda.
Baking Soda and Powder
Equal parts baking soda and powder are ideal for this recipe – both contribute to the leavening abilities in the dessert.
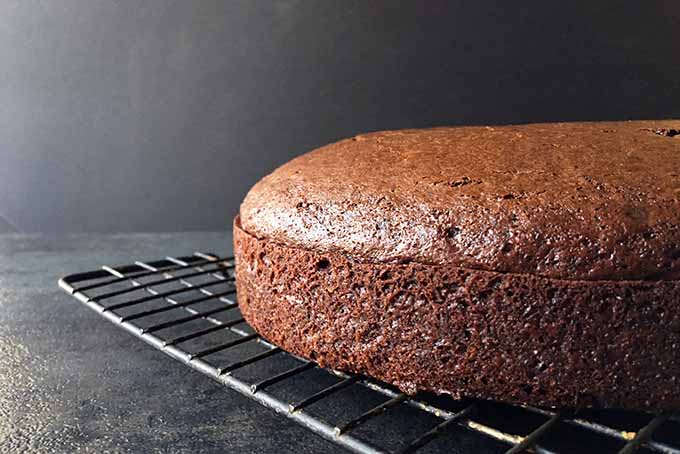
The baking soda reacts to any acids present (like the buttermilk and natural cocoa) and releases carbon dioxide gas.
Baking powder contains baking soda in addition to an acid, so it helps to support the baking soda’s work throughout the leavening process.
Cocoa Powder
Cocoa powder provides all the chocolate flavor needed in this recipe. It is the dry powder that remains after the cocoa butter is removed from fermented, roasted, and ground cacao beans.
Its strong, bitter, and intense chocolate flavor dissolves easily when mixed with liquid ingredients. A little goes a very long way.
You’ll find that two types are sold in stores: natural and Dutch process.
Natural cocoa powder is naturally acidic, and it reacts with the baking soda for extra leavening power.
Dutch process cocoa powder is processed with an alkali, so it is neutral with no acidity. It will not chemically react with the baking soda.
For the purposes of the this recipe and to create more leavening power in other baked items, use a natural style.
Learn more about basic cake tips and tricks here, if you need a little extra assistance with preparing pans and correct cooking and cooling procedures.
Enough chatting – we want chocolate! Read on for the recipe.
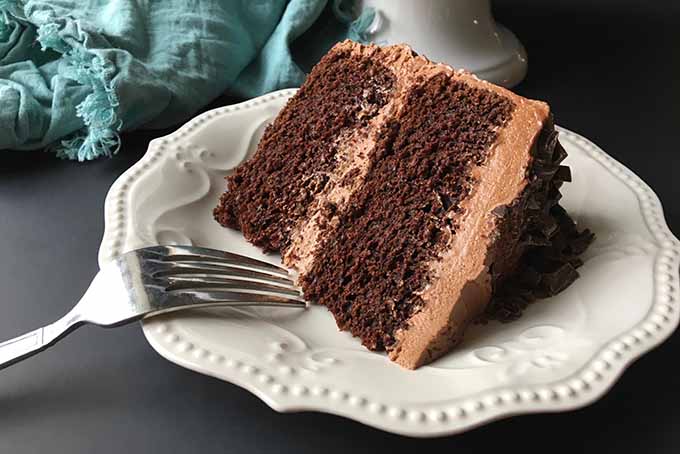
The Best Chocolate Cake
- Total Time: 1 hour, 30 minutes
- Yield: 12 servings 1x
Ingredients
- 1 1/2 cups granulated sugar
- 1 1/2 cups all-purpose flour
- 3/4 cup cocoa powder
- 1 teaspoon baking soda
- 1 teaspoon baking powder
- 1/2 teaspoon salt
- 2 eggs
- 3/4 cup buttermilk
- 1/3 cup vegetable oil
- 1/2 teaspoon vanilla
- 3/4 cup freshly brewed coffee, warm
Instructions
- Preheat the oven to 350°F. Lightly spray two 8- or 9-inch round cake pans with cooking spray. Line the bottom of the pans with parchment paper, and lightly spray again.
- Sift together the sugar, flour, cocoa powder, baking soda, baking powder, and salt. Transfer to the bowl of a stand mixer.
- In a separate bowl, combine the eggs, buttermilk, vegetable oil, and vanilla. Add this liquid mixture to the dry ingredients. Continue to mix on medium speed until everything is well combined, about another minute.
- With the mixture running on low speed, slowly add the warm coffee to the batter. Increase the speed to medium, and continue mixing for another 2-3 minutes to create a thick, smooth batter.
- Pour the batter into the prepared pans and bake for 35-40 minutes, or until done.
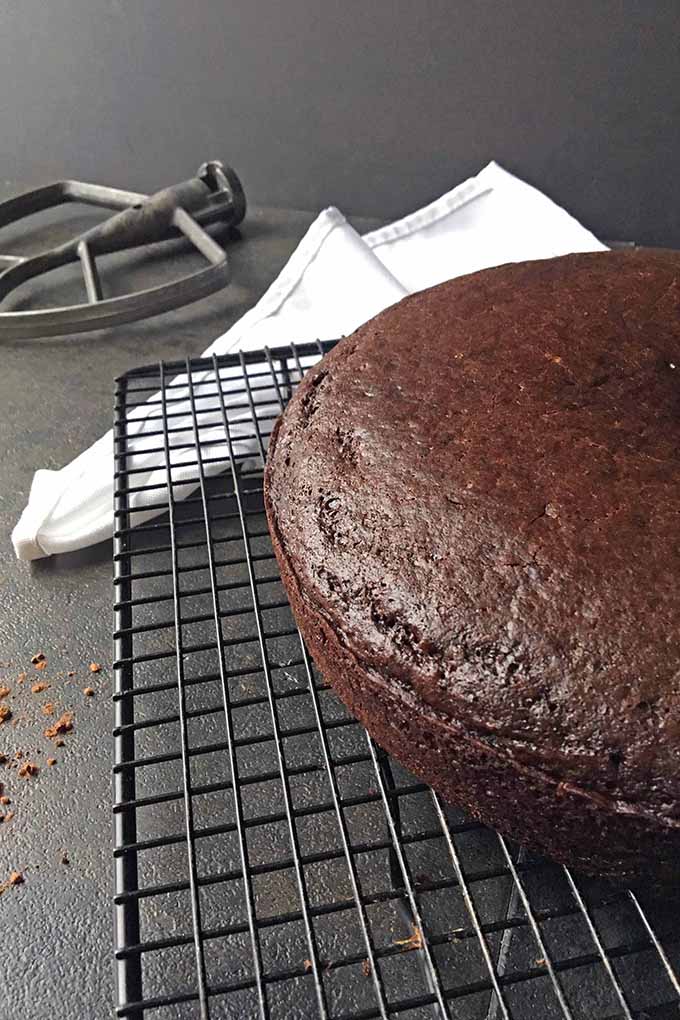
- Cool in the pans for 30 minutes. Turn the cake out of the pans onto a cooling rack, remove the parchment paper, turn right side up, and allow to cool completely for another 30 minutes.
- Decorate and serve!
- Prep Time: 20 minutes
- Cook Time: 40 minutes
- Category: Cake
- Method: Baking
- Cuisine: Dessert
Keywords: chocolate, cake
Cooking by the Numbers…
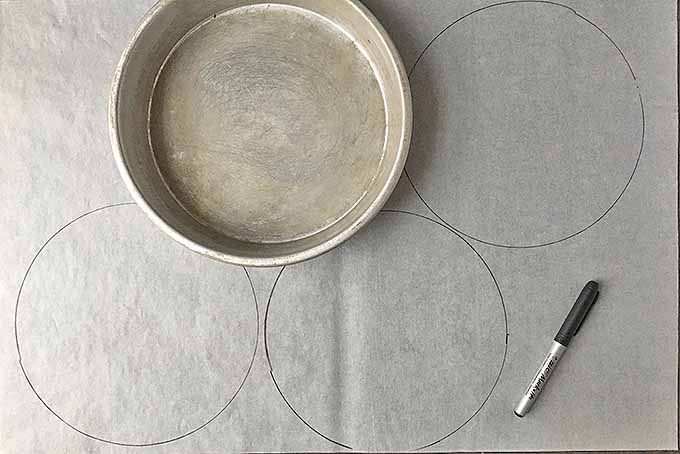
Step 1 – Prep the Oven and Pans
After setting the oven to 350°F, lightly spray two 8- or 9-inch light-colored metal cake pans with nonstick cooking spray.
Line the bottom of the pans with parchment paper, and lightly spray again. Set aside.
Step 2 – Sift and Combine Dry Ingredients
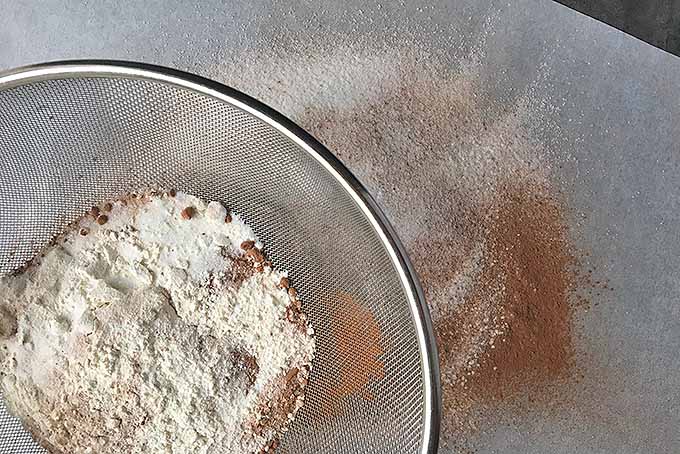
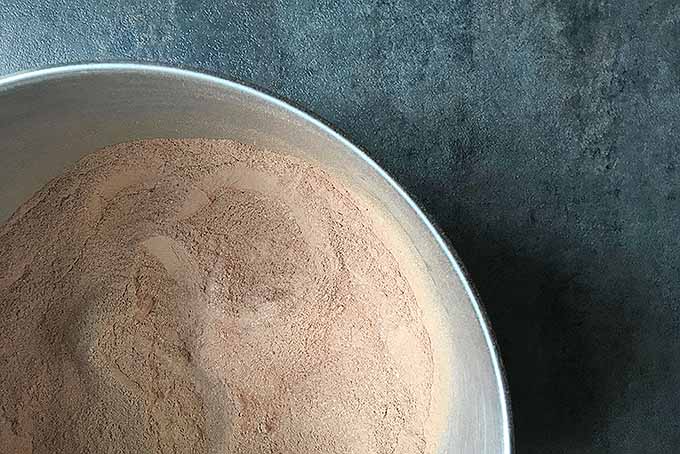
In a separate bowl or on a piece of parchment paper, sift all of the dry ingredients together. Dispose of any hard chunks.
Transfer to the bowl of a stand mixer fitted with a paddle attachment, and briefly stir to mix everything together.
Step 3 – Add Liquids
Crack the eggs in a separate large bowl, removing any pieces from the shells if you need to.
Lightly beat the eggs with a whisk, then add the following liquid ingredients – the buttermilk, vegetable oil, and vanilla. Stir well to combine.
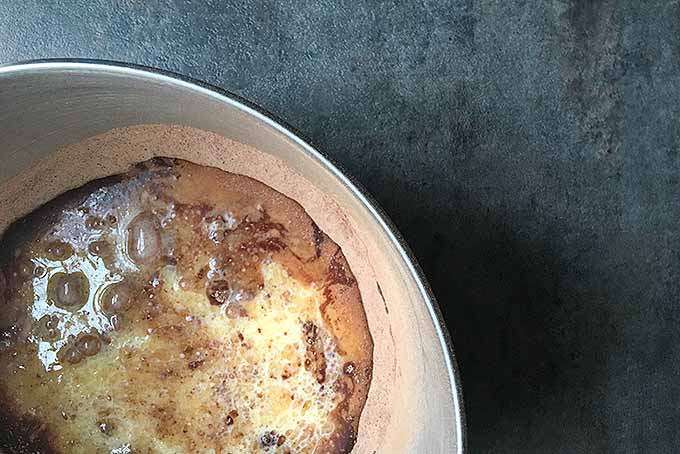
Add the liquid mixture to the dry mixture. Mix until everything is combined and a loose, uniform batter is formed, a couple minutes.
Turn the mixer to low speed. Slowly add the warm coffee to the mixture. Increase the speed to medium, and mix for a few minutes until the batter is super smooth and thick.
The brew strength for the coffee should be of normal strength – you don’t want an excessive coffee flavor that would overpower the other accompanying flavors.
Scrape the sides and bottom of the bowl with a spatula and mix for another 30 seconds.
Step 4 – Bake
Pour the batter evenly into the prepared pans. The mixture will be liquidy.
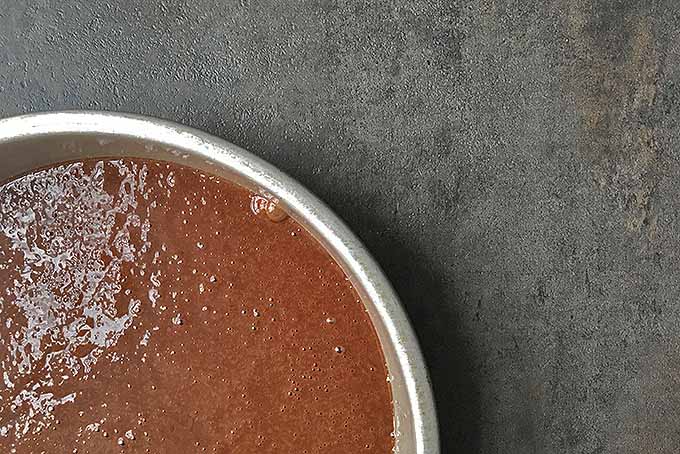
Gently tap the pans a couple times on the counter to let the air bubbles rise to the surface.
Bake for 35-40 minutes. Enjoy the chocolate aroma as it cooks!
Step 5 – Cool, Decorate, Serve, and Store
Cool in the pans for 30 minutes. Run a small paring knife around the edge of the cake, and invert onto a cooling rack.
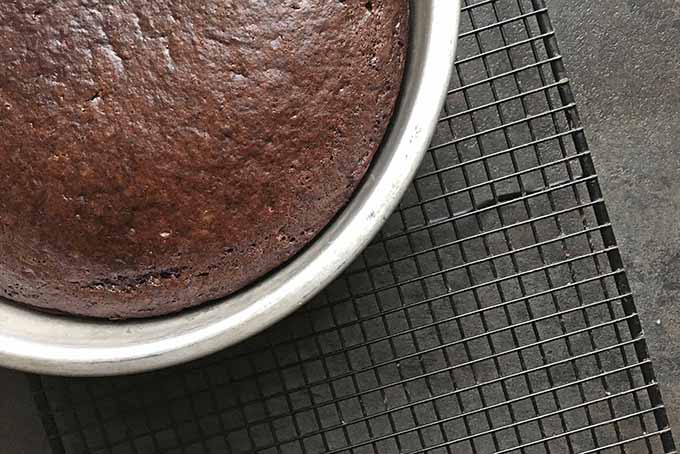
Remove the parchment paper, and turn over so that each cake is right side up. Let cool completely, for another 30-50 minutes.
Both layers should be completely cool to the touch before decorating or storing.
Decorate as you wish, and serve!
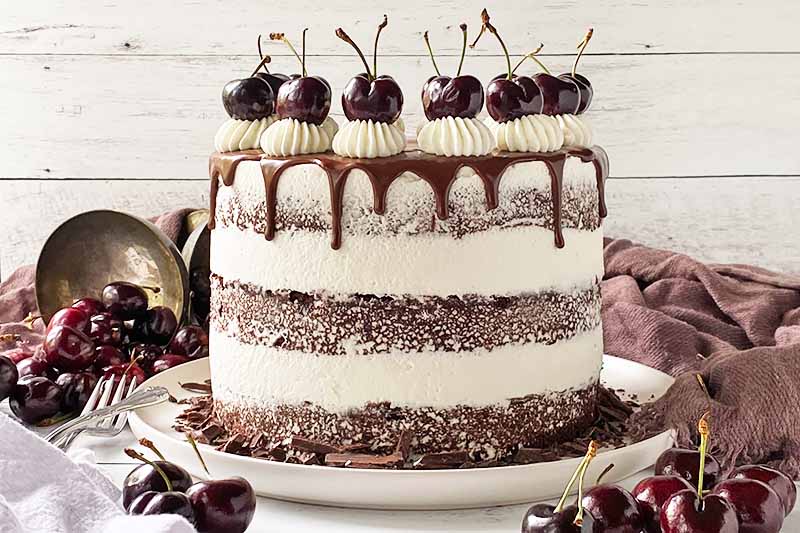
Cover in ganache glaze or cocoa fudge frosting for a sinfully sweet dessert, or stay classy with frostings like American-style buttercream or Swiss meringue buttercream.
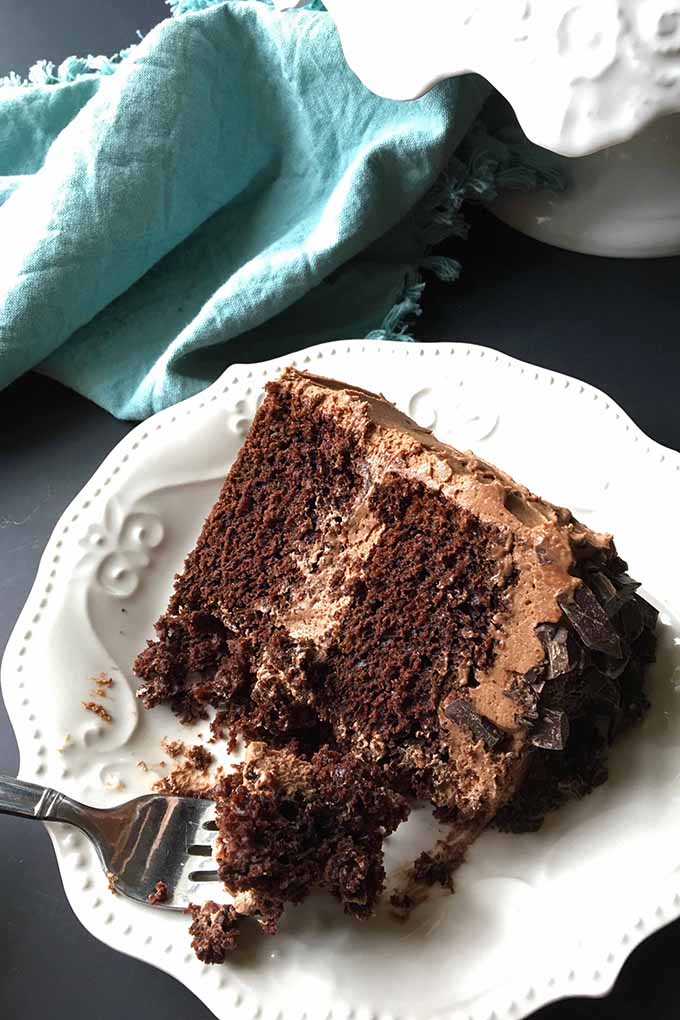
You can also layer it with Bavarian cream, and show off those gloriously rich and luscious layers of cake and cream!
If you want to store your cake before decorating, wrap each individual round tightly in plastic wrap, then cover in a layer of aluminum foil. Be sure not to leave any portions exposed. Freeze for up to 1 month.
Need some extra help with choosing the right tools for decorating? Read our guide on the best decorating tools every baker should own.
Looking for something different (and easier!) than a traditionally decorated layer cake for your next party? Forget about all those decorating tools, and make a simple layered trifle instead!
A Slice of Cocoa Heaven
Delicious chocolate cake – it’s moist, soft, fluffy, full of flavor, and now it’s all yours to make! Enjoy every single bite of it, while it lasts!
How will you use this recipe as the base for your own dessert creations? Let us know in the comments below.
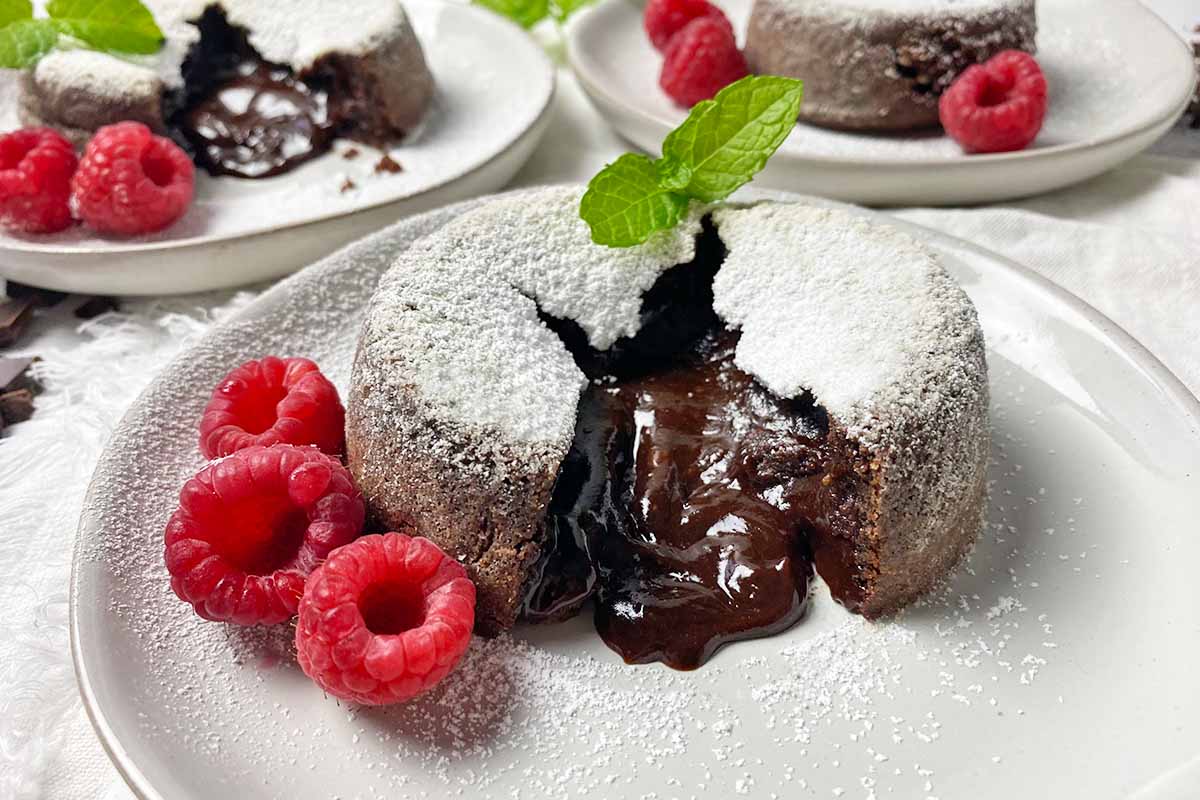
Alright, choco-holics… you’re craving even more desserts, aren’t you? Feast your eyes on these other cocoa-heavy sweets:
- Coffee-Infused Warm Chocolate Cake
- Whole Grain Chocolate Cake
- Sourdough Chocolate Cake with Peanut Butter Frosting
Don’t forget to Pin It!
Photos by Nikki Cervone, © Ask the Experts, LLC. ALL RIGHTS RESERVED. See our TOS for more details.
*Nutritional information derived from a database of known generic and branded foods and ingredients and was not compiled by a registered dietitian or submitted for lab testing. It should be viewed as an approximation.
About Nikki Cervone
Nikki Cervone is an ACS Certified Cheese Professional and cheesemonger living in Pittsburgh. Nikki holds an AAS in baking/pastry from Westmoreland County Community College, a BA in Communications from Duquesne University, and an MLA in Gastronomy from Boston University. When she's not nibbling on her favorite cheeses or testing a batch of cupcakes, Nikki enjoys a healthy dose of yoga, wine, hiking, singing in the shower, and chocolate. Lots of chocolate.

I’d like to make this cake but it’s in oz’s instead if cups even though it says american. Do you know the measurements for standard american?
Thanks for your question, Sarah! Many bakers like to use a scale to weigh their dry ingredients, to be more exact. If you don’t have a scale, you can use the following:
About 2 1/8 cups sugar
About 3 cups flour
1 cup cocoa powder
Hope this helps!