We occasionally link to goods offered by vendors to help the reader find relevant products. Some of these may be affiliate based, meaning we earn small commissions (at no additional cost to you) if items are purchased. Here is more about what we do.
We’ve said it right here on Foodal countless times: life is better with butter.
But let’s make our enjoyment of it even better with compound butter!
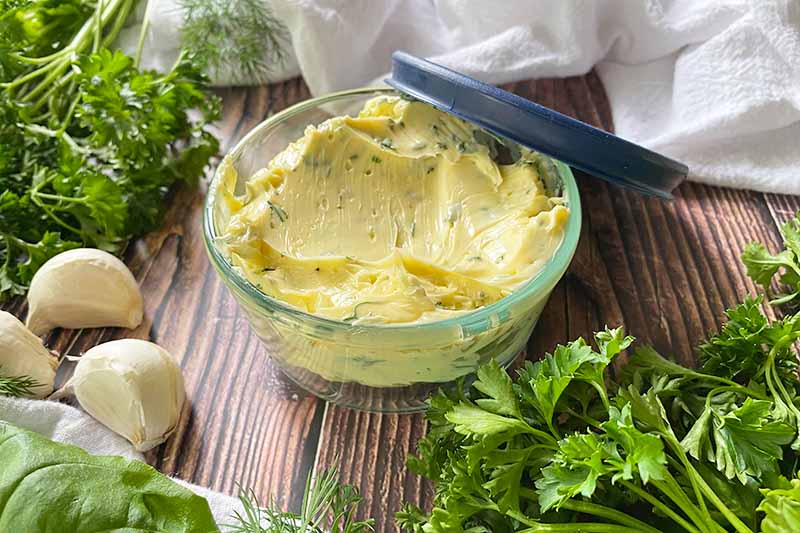
Our herbed compound butter is a happily no-frills recipe. The technique to make it is simple, with a small list of ingredients you can count on just one hand – and that you can count on to make a fresh and flavorful creation!
After just a little prep work, is there really anything easier than mixing five ingredients together in a bowl by hand? And that you can then serve immediately as is, when it’s all soft, silky, spreadable, and luscious?
A short ingredient list and simple prep methods present only one main rule to follow, and this is something you must promise me you will try with all your heart to do:
Use the best and freshest versions of each ingredient that are available to you.
The butter is the star here! The meal you’re about to make – and you! – deserve more than just a generic, name-brand variety that’s the cheapest among the humdrum options at the grocery store.
Of course, those affordable options have their rightful places in the kitchen! But in this instance, you’re not voraciously whipping it into a completely different format with pounds of powdered sugar to make a sugary frosting, or using it to lightly grease a pan.
Accept its role as the head honcho of this recipe, and purchase your dairy product accordingly!
See if you can get a freshly churned option from a local dairy, or peruse the specialty foods section of a gourmet grocer to see what products they may have.
Or see if you can score a European-style variety, which has a slightly higher percentage of butterfat compared to most commercially available options in the United States.
For the garlic, stay far away from the pre-chopped, jarred variety. Freshly minced is the way to go here for the most magnificent raw garlic flavor. And you can also use a garlic press to make less mess with less work.
As for the salt and pepper, you’ll thank me later when you purchase salt and pepper mills for seasoning. By freshly grinding the salt and pepper in the moment that you need them to season your food, you are protecting the powerful potency of these small but mighty ingredients.
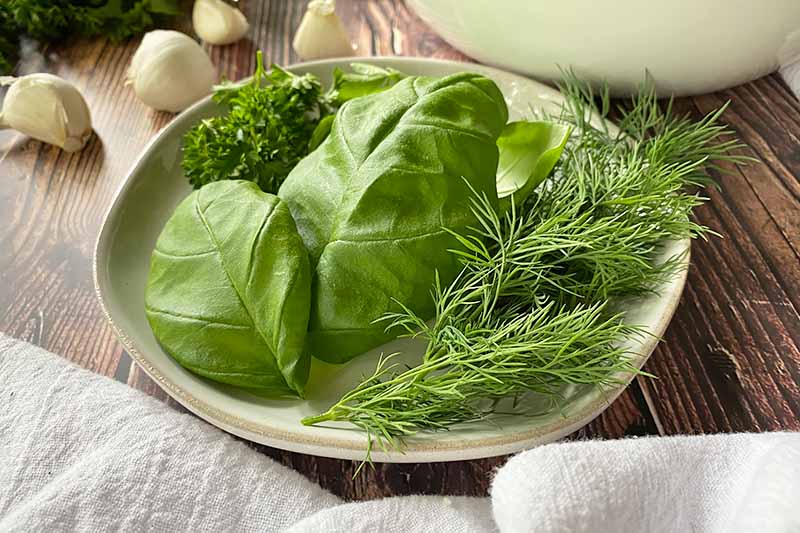
And finally – don’t forget the bountiful, beautiful, fresh herbs!
Whether you purchase seasonally available options from the farmers market, grow them yourself at home, or exchange a jar of pickles that you canned yourself for a handful from someone else’s garden, fresh is best to proudly showcase all the natural flavors of your favorite varieties.
There are no limits on what you choose to use here. The options and combinations are, quite literally, endless!
And this recipe is a smart strategy for repurposing any leftover herbs you may have bought for a different recipe a couple days earlier.
Rosemary, tarragon, dill, savory, lavender, hyssop, mint, chervil, thyme, sage, chives, parsley, basil, oregano… You can choose to focus on just one herb to feature in all its singular glory, or choose a medley of a few.
If you do need some guidance and a push in the right direction, I’ll provide some combination suggestions, as well as shaping ideas, in the Cooking by the Numbers section of the article below.
And if you’ve made it that far without rushing into the kitchen to make your own batch, be sure to stick around to read the concluding portion for our best serving ideas!
Print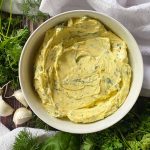
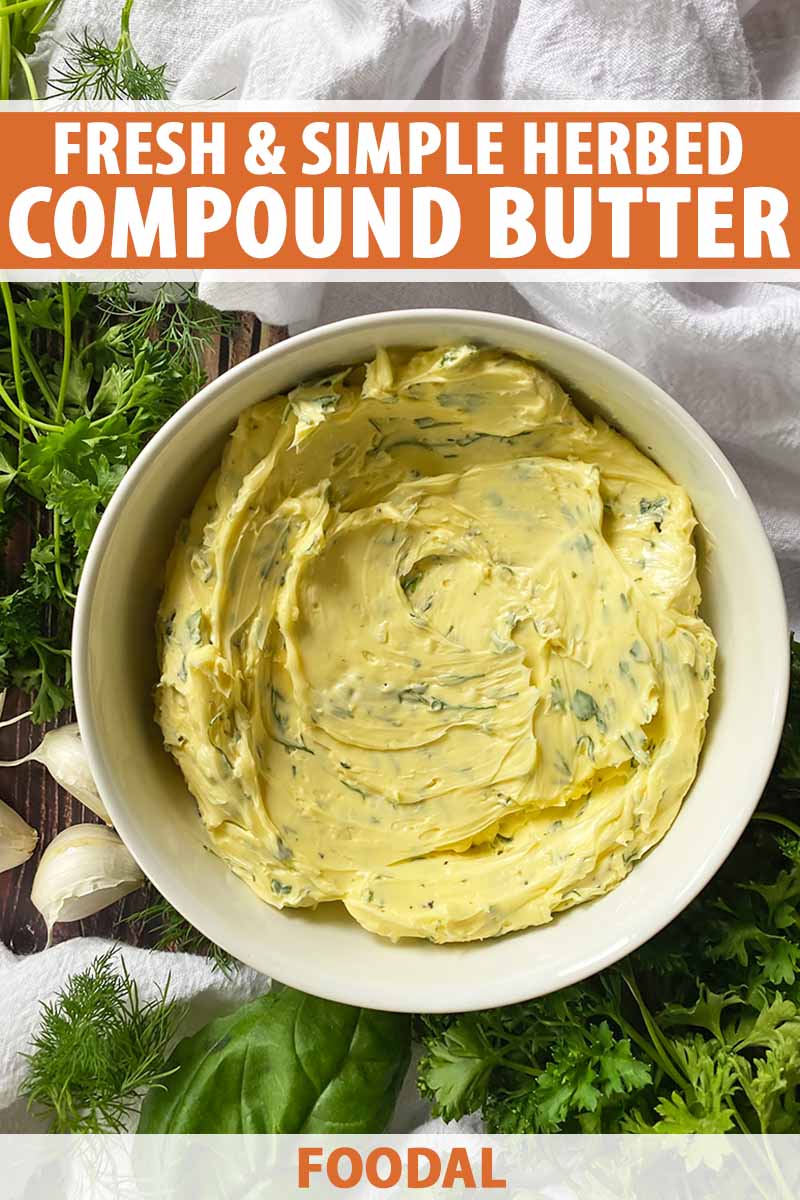
Fresh and Simple Herbed Compound Butter
- Total Time: 15 minutes
- Yield: 8 ounces (16 1-tablespoon servings) 1x
Description
Making your own herbed compound butter is easy to do by hand at home, with just a small list of fresh ingredients and a dose of creativity. Read more now.
Ingredients
- 1 cup (8 ounces) unsalted butter, softened at room temperature
- 2 cloves garlic, minced
- 1/2 cup loosely packed assorted fresh herbs, finely chopped
- 1/2 teaspoon coarse kosher or sea salt, plus more to taste
- 1/4 teaspoon cracked black peppercorns, plus more to taste
Instructions
To Flavor the Butter:
- Place the butter in a large bowl. Scatter/sprinkle the garlic, herbs, salt, and pepper on top.
- Fold the seasonings into the butter with a sturdy spoon or spatula until everything is completely and evenly incorporated. Season to taste with additional salt and pepper.
- Serve immediately for a spreadable texture, or use one of the following methods for shaping. Compound butter may be stored in the refrigerator for up to 1 week, or in the freezer for up to 3 months.
To Store Freeform:
- Transfer the butter to an airtight container. Store in the refrigerator or freezer.
To Create Molded Shapes:
- Fill empty silicone molds in your desired shape with the freshly made compound butter until flush with the top of the molds.
- Place a piece of parchment paper over the top of the exposed butter and chill in the refrigerator until firm, about 4 hours.
- When firm, unmold each piece to serve. Tightly wrap each piece in plastic film and store in the refrigerator or freezer.
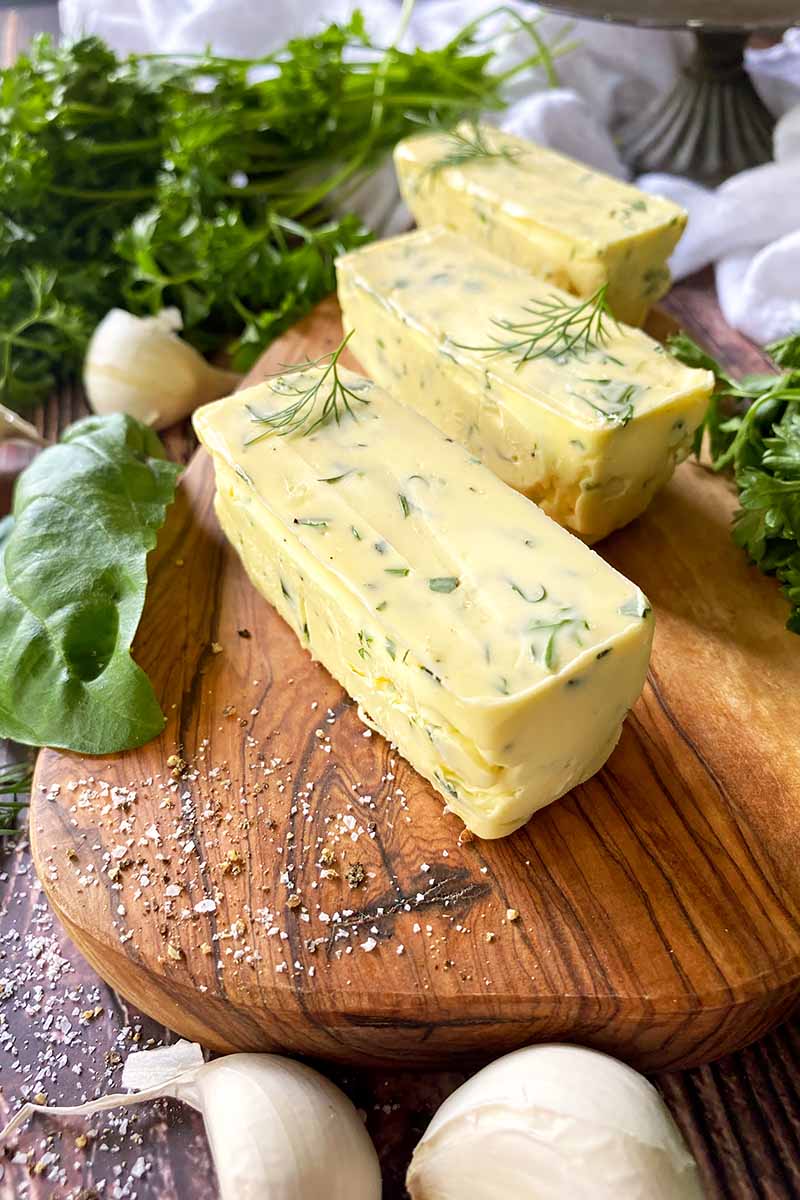
To Create Logs:
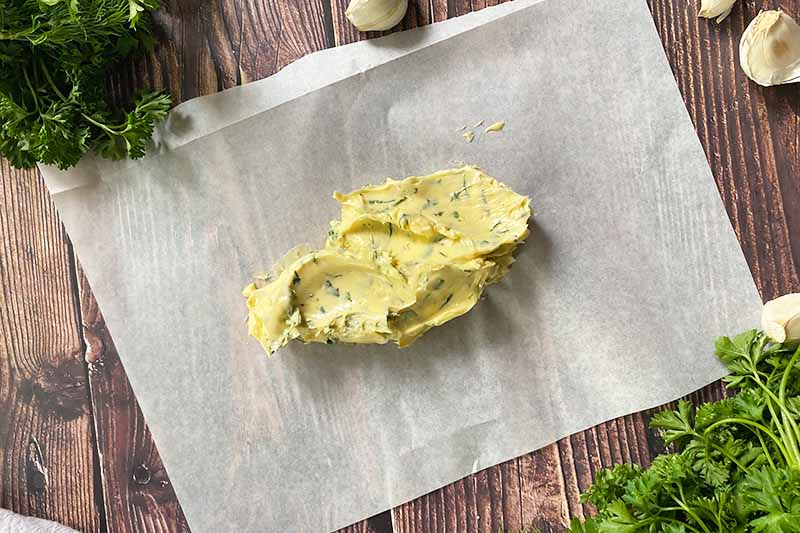
- Scoop the freshly made compound butter onto the middle of a sheet of parchment paper or a large piece of plastic wrap.
- Leaving at least a 2-inch border on both ends widthwise, shape the butter into a log by rolling and forming the paper or plastic wrap around it.
- Tightly twist or fold the ends to close. Chill in the refrigerator until firm, about 4 hours.
- Prep Time: 15 minutes
- Cook Time: 15 mintues
Cooking by the Numbers…
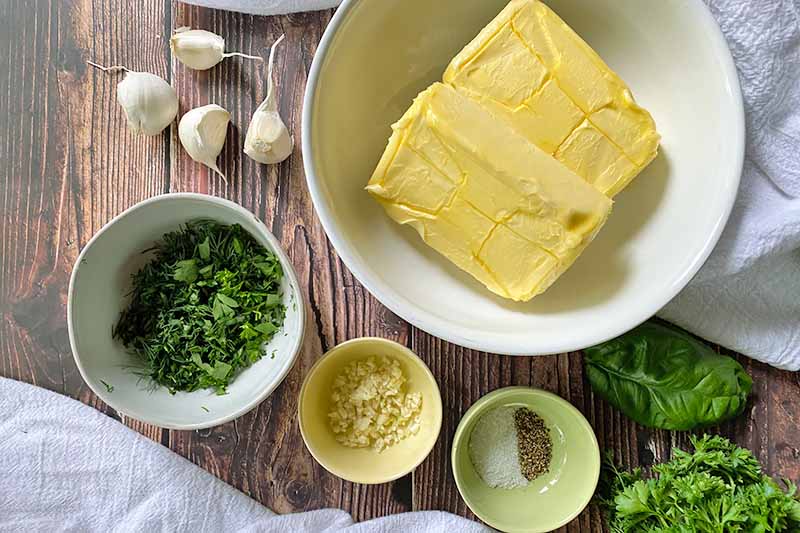
Step 1 – Prep
Measure the unsalted butter, and leave it out at room temperature until it is soft to the touch. Depending on how warm your kitchen is, this may take anywhere from one to three hours.
Since you will be mixing everything together by hand, it should be soft for easy mixing. I do not recommend hastening the softening process by using your microwave – the risk of the butter melting into a greasy pool of liquid is far too high, and you’ll then need to waste time starting over or re-chilling it!
Set out a large bowl and sturdy spatula or spoon.
When the butter is soft, you can then move on to the other prep work to ensure your other ingredients stay as fresh as possible. With a sharp knife and sturdy cutting board, mince the garlic cloves and finely chop the herbs.
Here are a few tasty flavor inspirations for herb combos, using an equal amount of each item:
- Italian: basil, oregano, thyme, rosemary
- Fines Herbes: barsley, chives, tarragon, chervil
- Greek: mint, dill, oregano
Freshly grind both the kosher salt and the black peppercorns, making sure you have some extra for final seasoning.
Step 2 – Mix Ingredients Together
Place all of the ingredients in the bowl, preferably with the sticks on the bottom and the herbs, garlic, salt, and pepper on top.
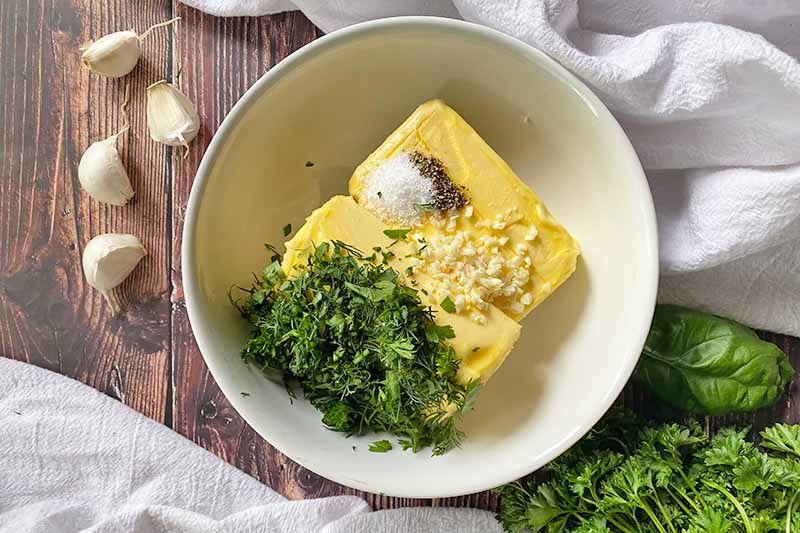
Repeatedly fold the herbs, garlic, salt, and pepper into the butter. You want the ingredients to gently mix together, without harshly crushing your delicate herbs. If the butter is still too firm as you are starting to fold, set it aside and wait another 30 minutes or so.
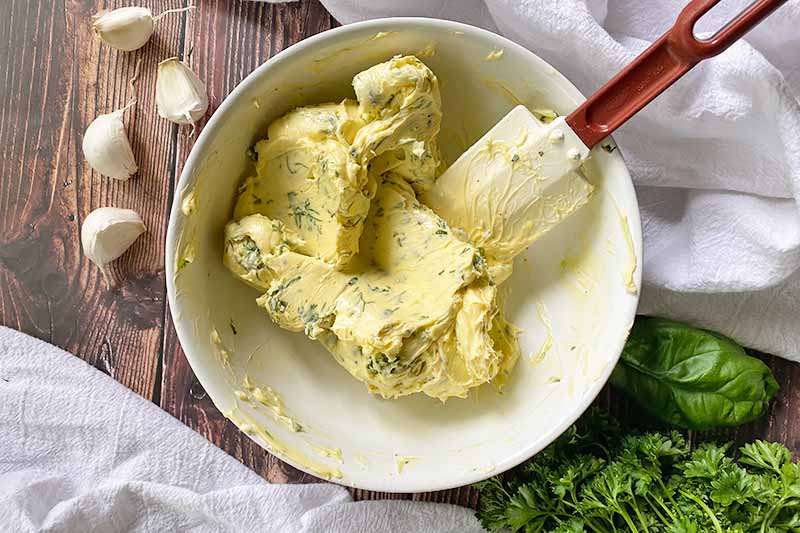
Continue to fold until everything is completely and evenly incorporated.
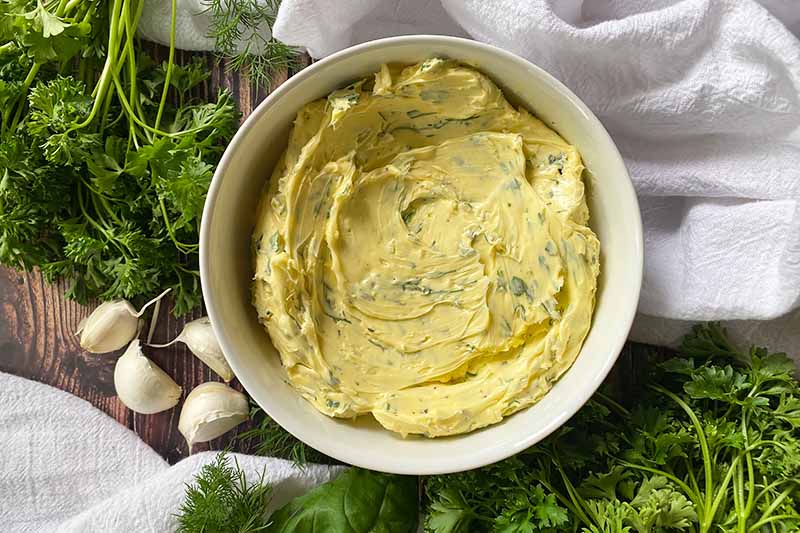
Step 3 – Serve
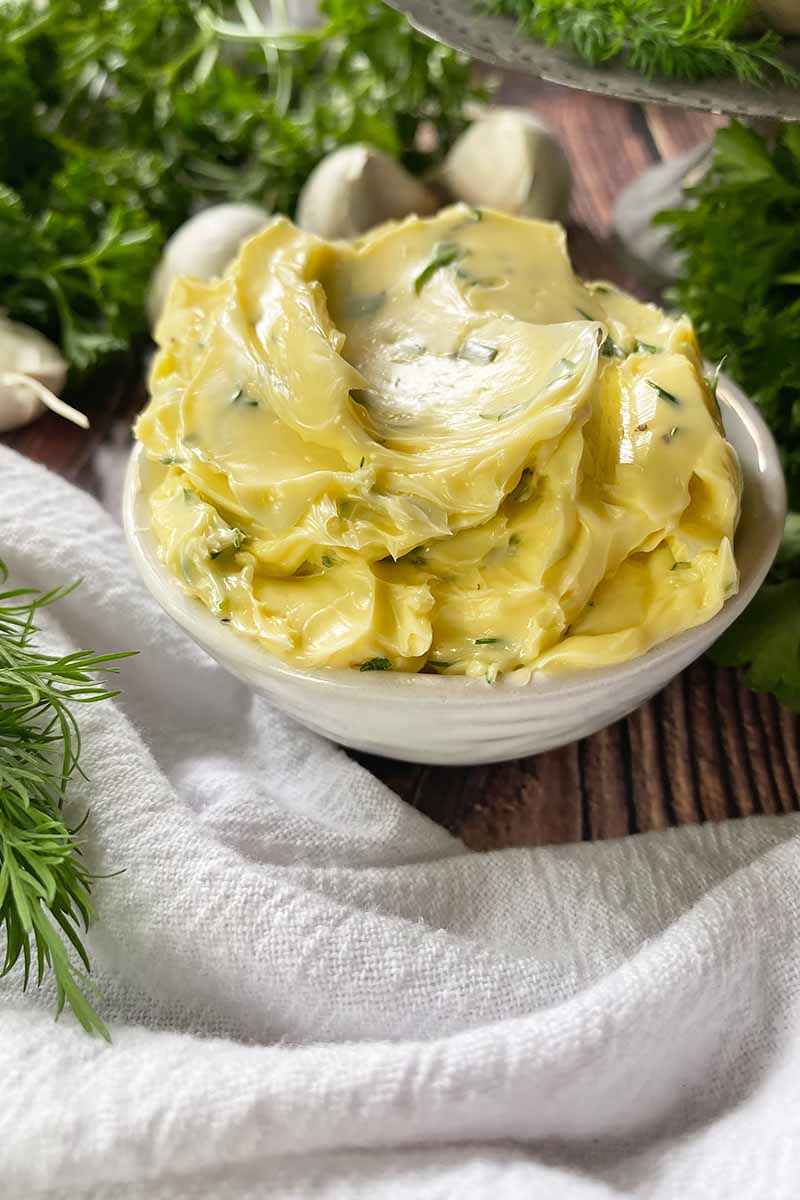
If you want to serve your delicious condiment immediately, go right ahead! Right now, it has an ideal spreadable consistency.
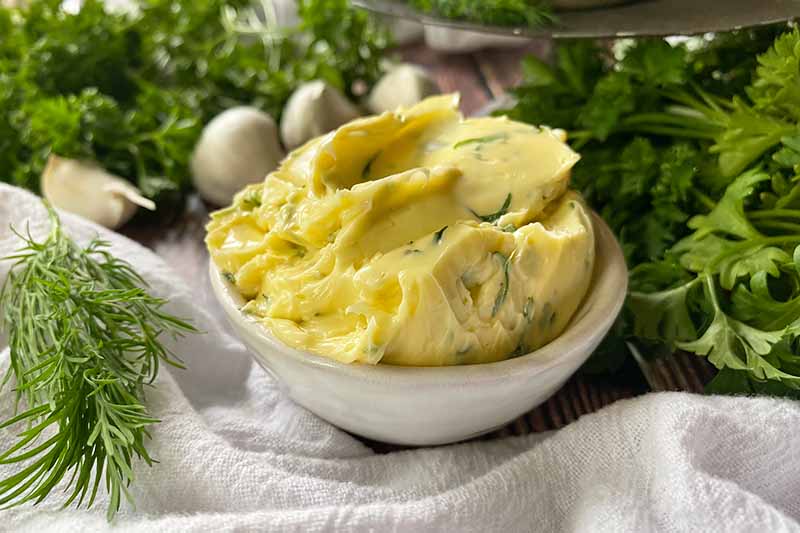
Continue reading for ideas on shaping, as well as procedures for chilling and storing.
Step 4 – Shape: Molds or Logs
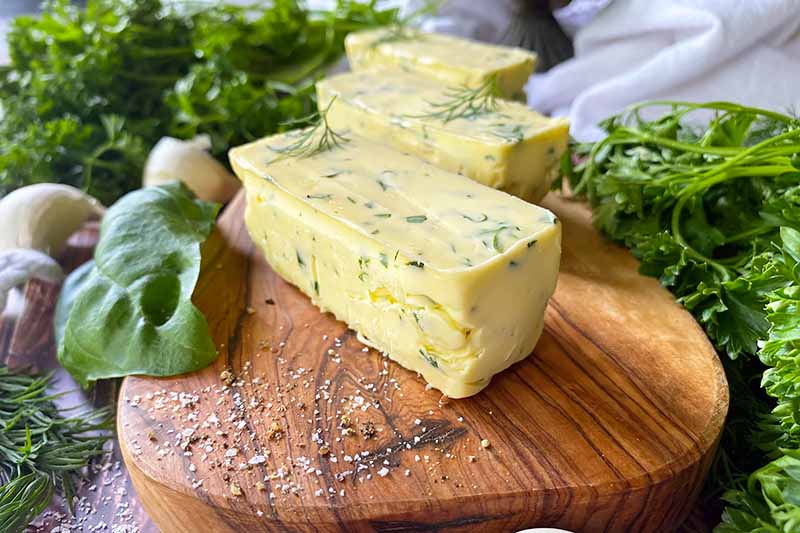
Are you looking for a serving idea that is a little neater and more compact than what you’d get with a rustic, freeform look in a bowl? Use a mold for shaping, or form the mixture into logs to create round slices!
To Create Molded Shapes:
You can use your preferred shapes here as long as you use silicone molds. These will be very easy to fill with butter, and it’s even easier to remove the pieces after chilling.
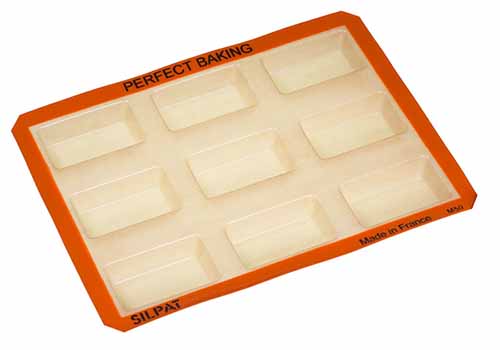
Silpat Mini Loaf Mold, available from Sur La Table
Stick with a streamlined, classic rectangular shape and use this Silpat mini loaf mold, available from Sur La Table.
For more fun and whimsical shapes, you can create individual servings with a variety of shapes like flowers, hearts, and stars with this fun six-piece set, available on Amazon.
And you might want to buy this adorable two-piece dinosaur set, for kicks and giggles. It’s also available on Amazon!
Fill the clean silicone molds with your freshly prepared compound butter while it is still soft and spreadable, filling them until it is flush with the very top of each mold.
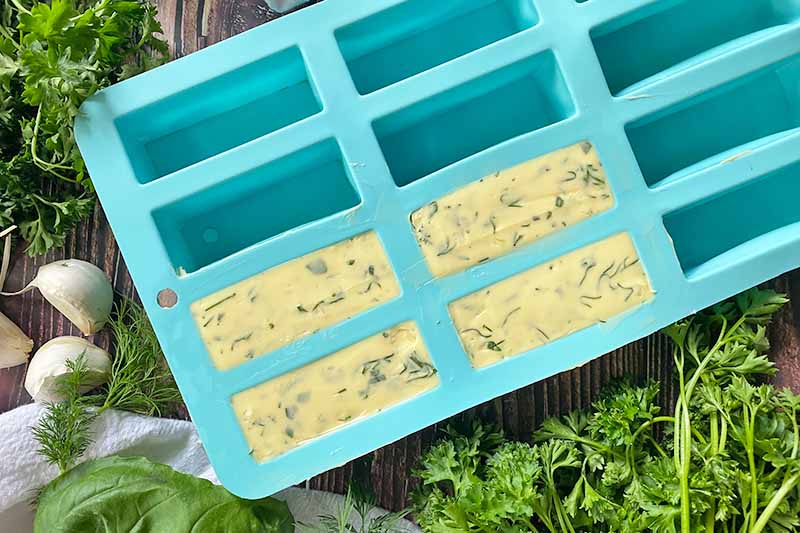
An offset spatula will be the perfect tool to use for this process, and it won’t damage the silicone mold like a sharp chef’s knife might.
Place a piece of parchment paper over the top of the exposed butter and transfer to the refrigerator to chill until completely firm. This will take about four hours.
Under some severe time restrictions? You can place the molds in your freezer, which will cut the chill time by half.
When firm and ready to serve, remove the molds from the fridge or freezer and release each piece.
To Create Logs:
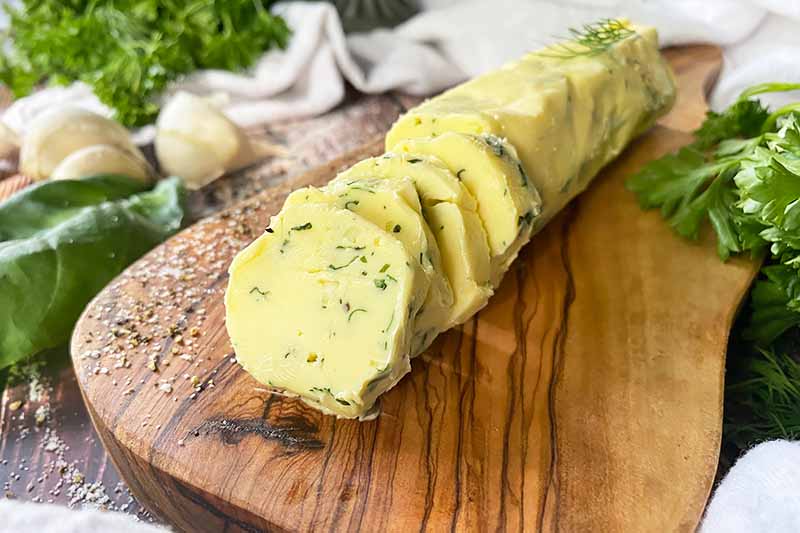
Would you rather slice your butter into cute, circular coins? Don’t have any nifty tools for molding?
No problem – you can easily form it into logs with parchment paper or plastic wrap.
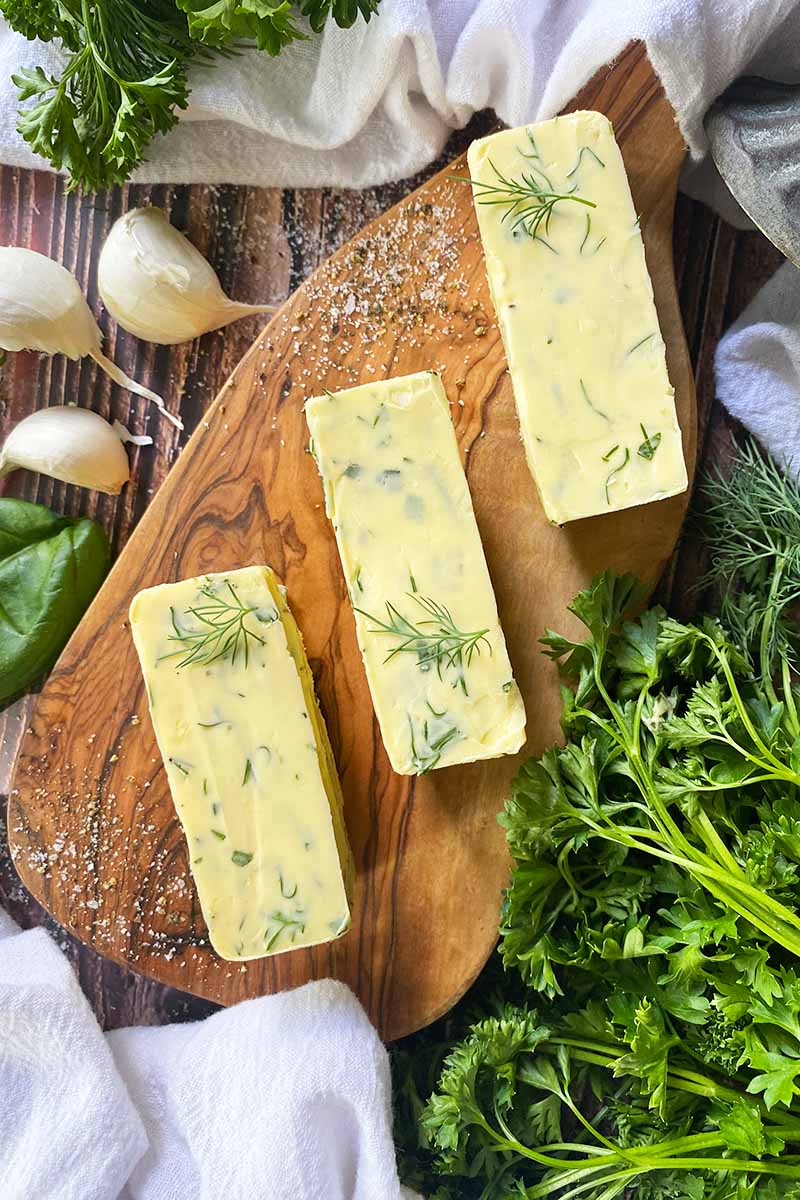
Scoop the freshly made compound butter while it is still soft onto the middle of a sheet of parchment paper or a large piece of plastic wrap.
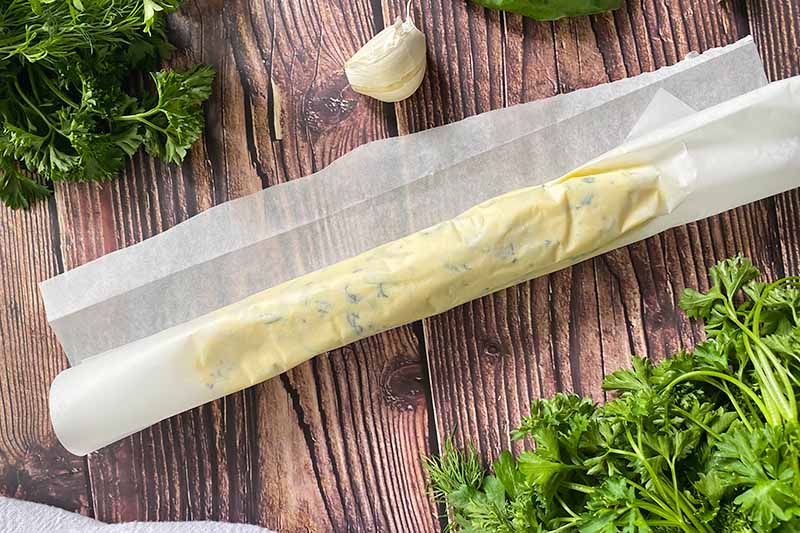
Leaving at least a two-inch border on both ends going widthwise, shape the butter into a long log that’s about one inch thick by rolling and forming it with your hands inside the paper or film.
Tightly twist or fold the ends to close the wrapped package and chill in the refrigerator until firm, for about four hours.
Step 5 – Store
If you decide to keep your compound butter freeform without shaping, transfer it from the mixing bowl to an airtight container.
If you opt to create a molded shape, once you remove the butter from the molds, tightly wrap each individual piece with plastic wrap if you won’t be serving it right away.
And if you created logs, don’t unwrap the parchment paper or plastic wrap you used for rolling – depending on how big the logs are, you can tightly wrap them in another layer of plastic wrap for storage, or place them in an airtight container or bag.
Once properly contained, compound butter can keep in the refrigerator for up to one week, or in the freezer for up to three months.
When you’re ready to serve, remove the compound butter from the fridge or freezer and allow it to sit at room temperature until it reaches your desired consistency.
Serving Suggestions? We’re On It!
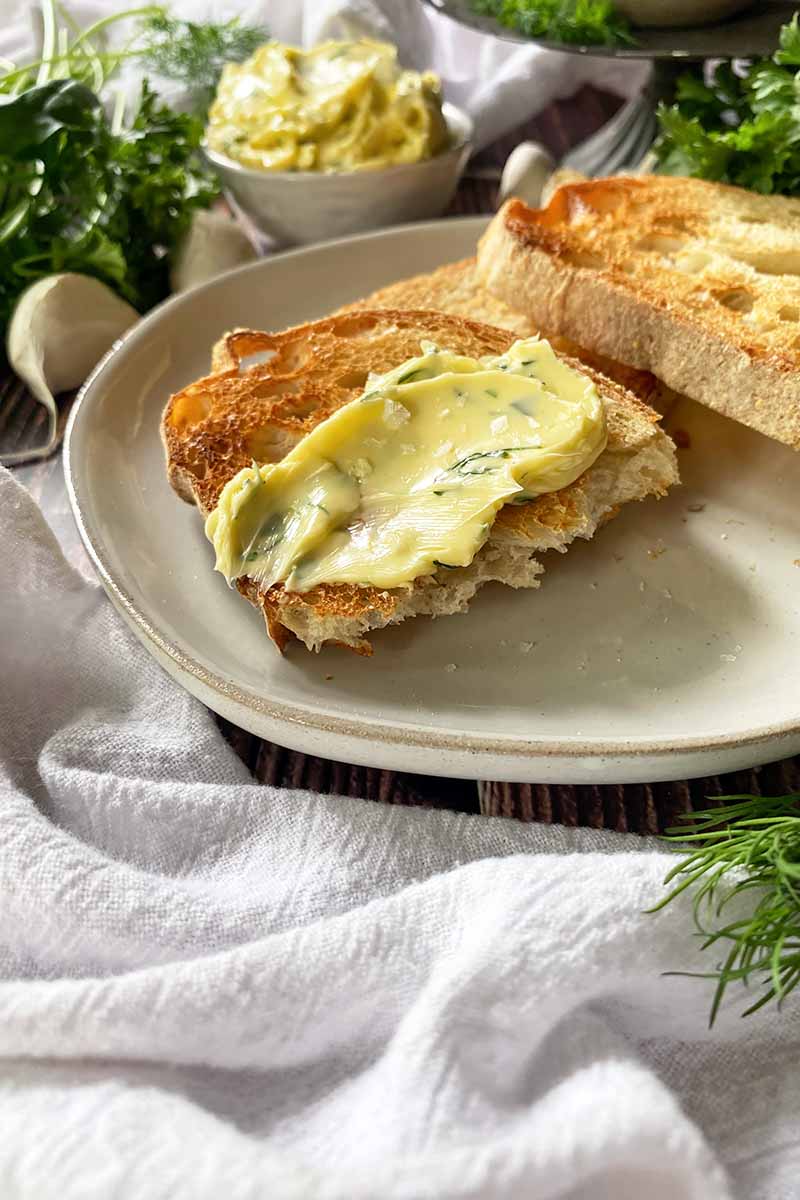
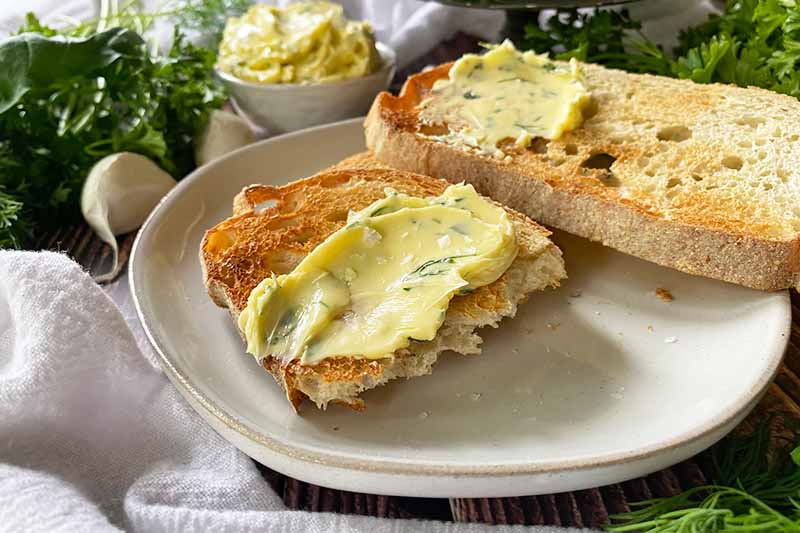
While we’d be content with big slices of crusty bread or steamy, fresh-from-the oven biscuits accompanied by thick smears of compound butter as a snack – or maybe even a meal – there’s still so much more to do with it!
Celebrate your newly crafted compound butter, and encourage friends and family to join you, by featuring its dairy-licious goodness in a variety of ways.
Staying on the topic of carbs, you can make our pull-apart bread, which features yeasted dough layered and baked with a flavored spread.
When you’re firing up the grill for the summer season, it’s the perfect time to whip out your flavorful creation.
Didn’t think you could make your world-famous burgers even better? Top them with a slice or two right off the grill before the final sandwich assembly. You can also finish grilled lobster tails with a couple pieces, and serve them alongside grilled baby potatoes.
And grilled corn on the cob would absolutely love to be lathered in some softened compound butter!
You can also sub it in for plain butter in so many recipes, like a savory shrimp scampi, or as a finishing touch right before serving risotto.
This is just the start! What ideas do you have to use this recipe to its full potential in the kitchen? Leave a suggestion or two in the comment section below.
If you’re the type of cook who always throws in an extra clove of garlic, including in this recipe, let’s be besties with bad breath! You’ll adore making these other garlic-forward recipes next:
Photos by Nikki Cervone, © Ask the Experts, LLC. ALL RIGHTS RESERVED. See our TOS for more details. Originally published by Shanna Mallon on August 14, 2012. Last updated on May 28, 2023.
Nutritional information derived from a database of known generic and branded foods and ingredients and was not compiled by a registered dietitian or submitted for lab testing. It should be viewed as an approximation.
About Nikki Cervone
Nikki Cervone is an ACS Certified Cheese Professional and cheesemonger living in Pittsburgh. Nikki holds an AAS in baking/pastry from Westmoreland County Community College, a BA in Communications from Duquesne University, and an MLA in Gastronomy from Boston University. When she's not nibbling on her favorite cheeses or testing a batch of cupcakes, Nikki enjoys a healthy dose of yoga, wine, hiking, singing in the shower, and chocolate. Lots of chocolate.