Do you have some sourdough starter sitting around?
Well then congratulations, because you can easily make this recipe.
My husband and I have been working with sourdough starter lately, trying to perfect it and make the ideal loaf of bread.
Let me tell you, it’s been a serious project.
When you are making the starter itself, it’s kind of a pain because you feel like you are wasting so much every time you need to discard some. And I don’t know about you, but I don’t have the time or the patience to be baking bread every day.
Part of the joy of this process is that I found out there are other things to do with that excess starter. For example, you can use it to make banana bread (which can also be used for French toast!) and biscuits.
Or, you can use it in this cake!
This recipe is unique because you can use leftover starter, or the excess that you would typically discard in the process of building a starter that is ready to be used in a sourdough bread recipe.
That’s such a bonus for me, because as we continue to keep up this process, we will always have one or the other handy to make this delicious dessert.
I know that it probably sounds a little weird to be using sourdough and chocolate in the same sentence, but that’s not a typo.
Why use sourdough starter in a cake? First off, the flavor is so good. You get this delightful tanginess to your homemade baked goods, which balances out the rich chocolate and the sweetness levels in this recipe.
The slight tang actually enhances the deep chocolate flavor, and prevents the dessert from being overly sweet.
The starter also makes the base nice and moist, plus it rises wonderfully in the oven, thanks to the natural yeast that’s present and with the help of a little baking soda.
After you bake and let it cool, it’s time to top it with the best peanut butter frosting you’ve ever tasted in your entire life. I swear, I had to make my husband remove the empty bowl from my hands because I was two seconds away from licking it clean.
Sometimes I wonder why he loves me… especially when I’m standing over the sink with frosting all over my face and fingers…
The chocolate and peanut butter combination is such a classic one, and it’s no wonder why. The richness of the peanut butter with the slightly bitter chocolate… It’s one that poems should be written about and songs should be sung about.
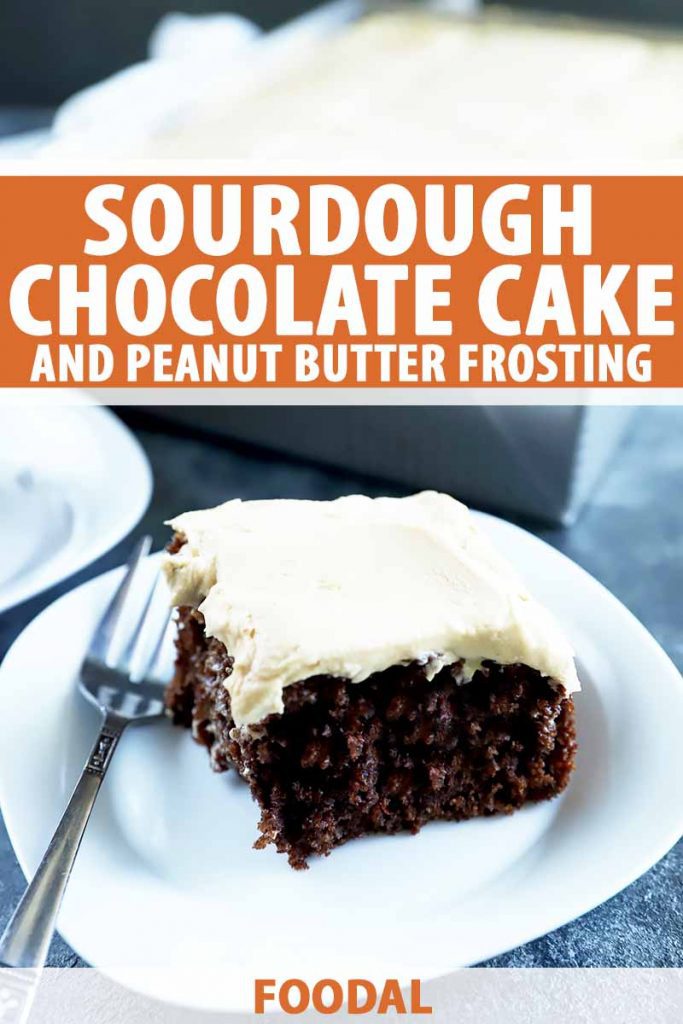
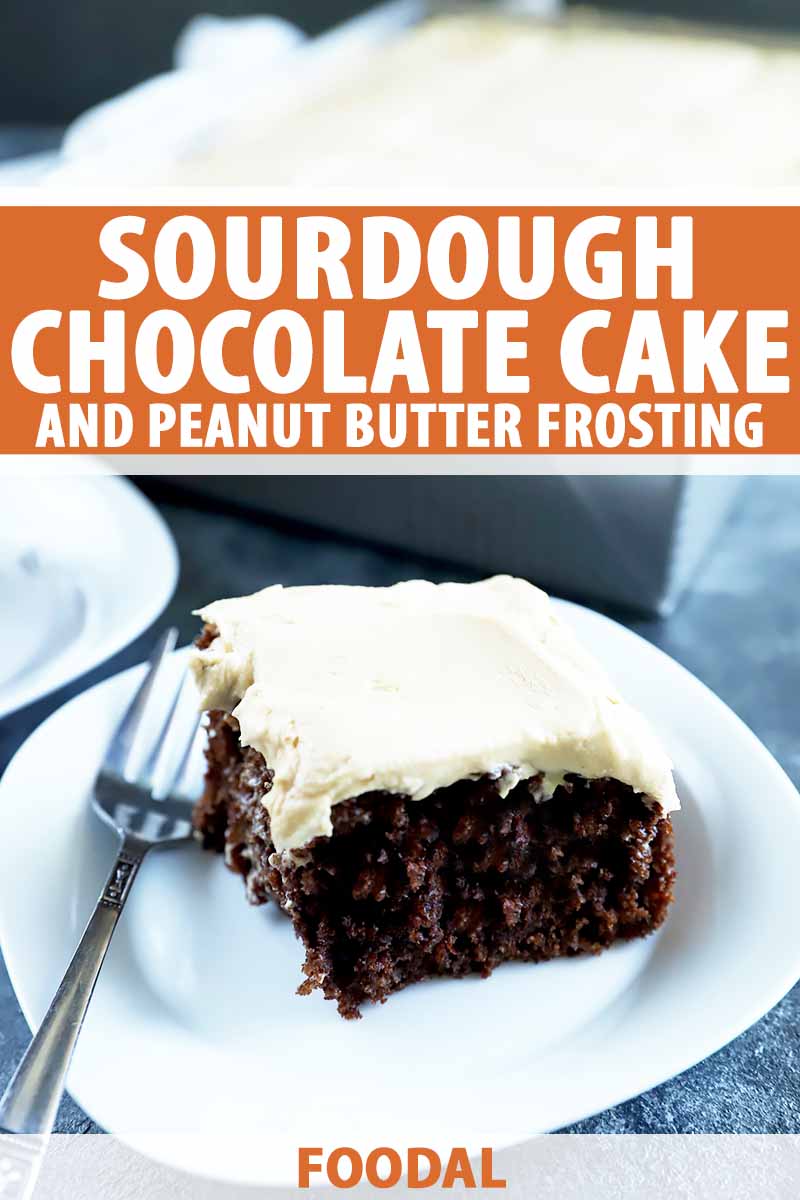
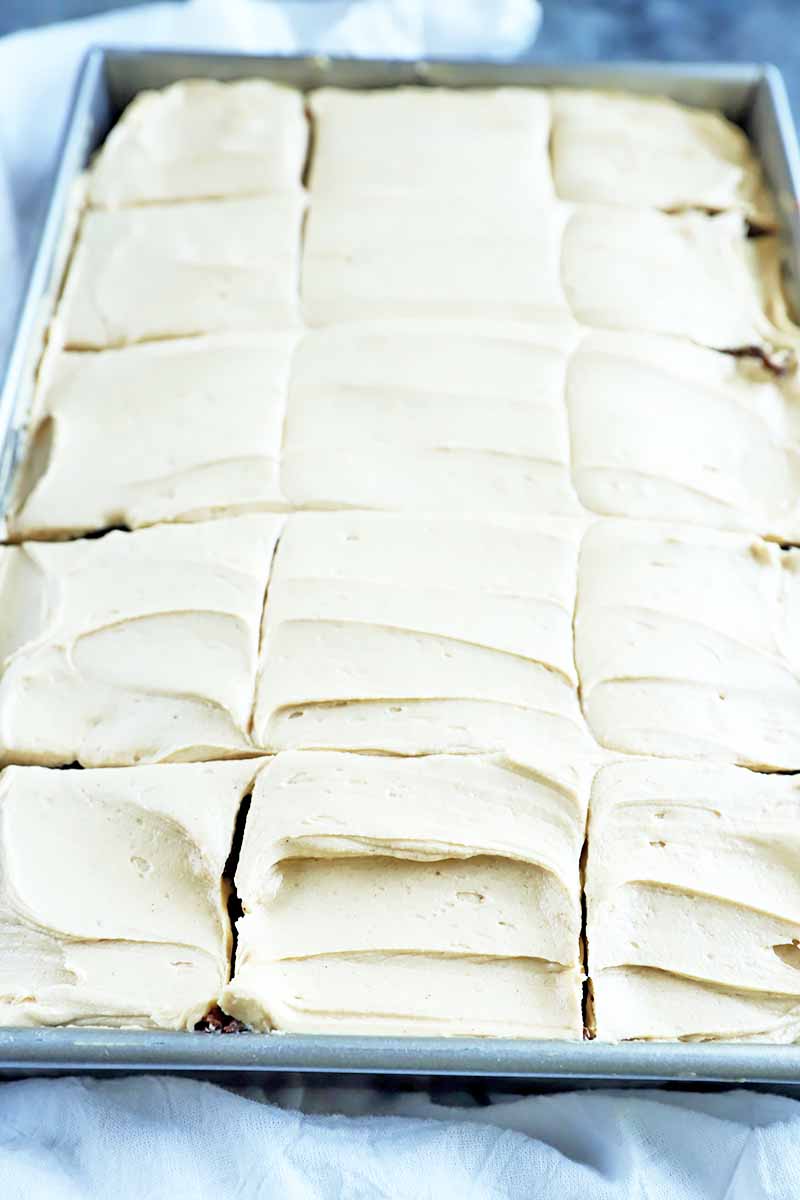
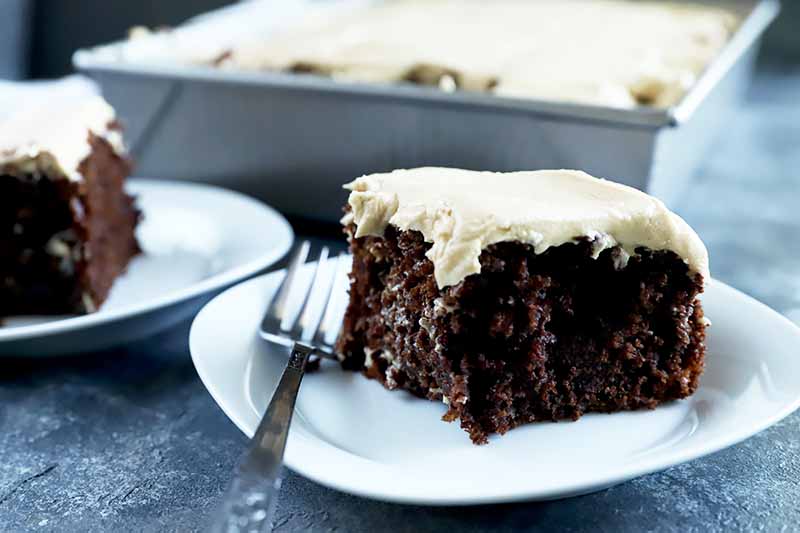
The fluffy frosting is the ideal complement to this moist cake.
The bonus here is that this is also a sheet cake. For me, as a fairly terrible decorator, that’s one of the selling points of this recipe.
If you’re interested in upping your decorating game, help is out there (in the form of this tutorial, to start). But when it comes to this particular confection, you can simply ice it right in the pan and it looks stunning, without any of that painstaking effort that you would have to put into other cakes – those with layers, in particular – to make them look good.
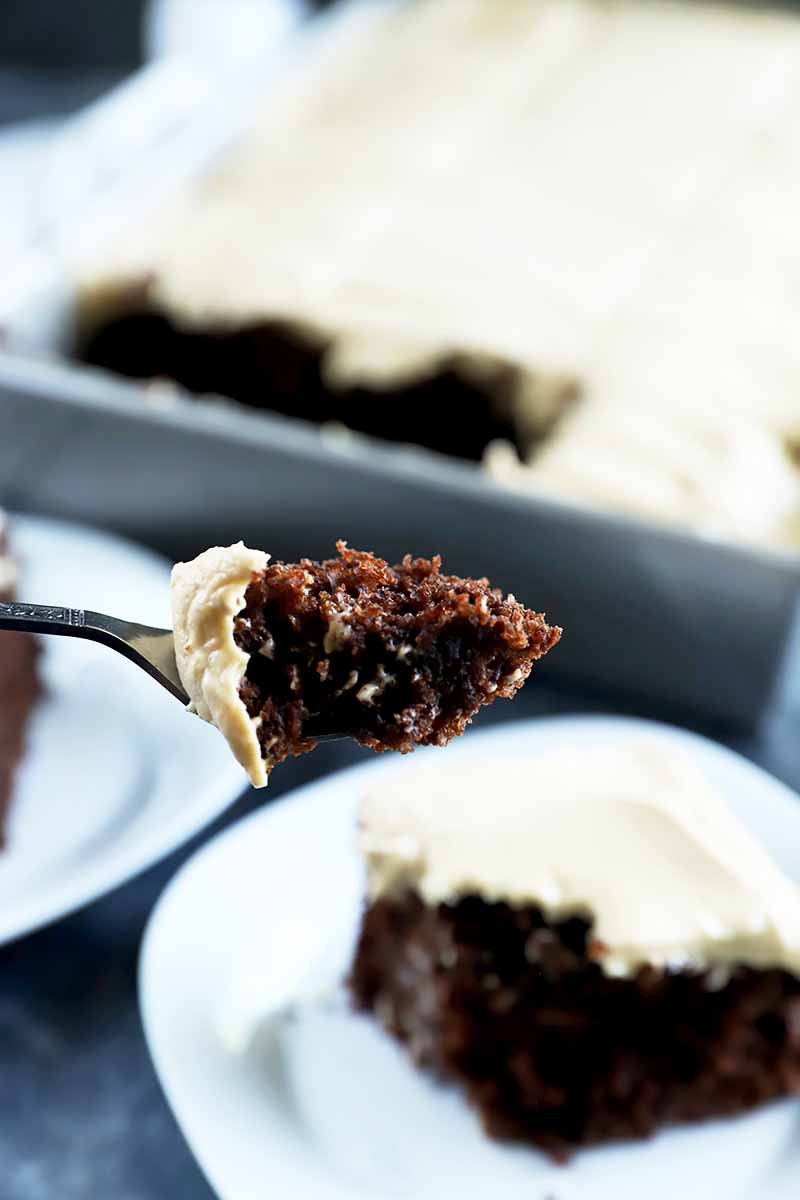
Just because it’s made in a sheet pan doesn’t mean it’s lacking in impressive presentation, irresistible flavor, or outstanding texture. Every single slice offers bite after bite of moist deliciousness.
Bring it to a party, or make it for your family to enjoy over the next few days. Either way, when you pair it with a cup of cold milk or a mug of coffee, you and your loved ones are practically guaranteed to enjoy it. Right now, it’s my favorite way to end the evening.
Print
Sourdough Chocolate Cake with Peanut Butter Frosting
- Total Time: 3 hours, 55 minutes
- Yield: One 9-by-13-inch cake 1x
Description
This sourdough chocolate cake with peanut butter frosting is a delightful way to use up any extra sourdough starter you may have on hand.
Ingredients
For the Cake:
- 1 cup sourdough starter
- 1 cup milk (whole or 2%)
- 2 cups all-purpose flour
- 1 1/2 cups granulated sugar
- 1 cup vegetable oil
- 2 teaspoons vanilla extract
- 1 teaspoon salt
- 1 1/2 teaspoons baking soda
- 3/4 cup natural cocoa powder
- 2 large eggs
For the Frosting:
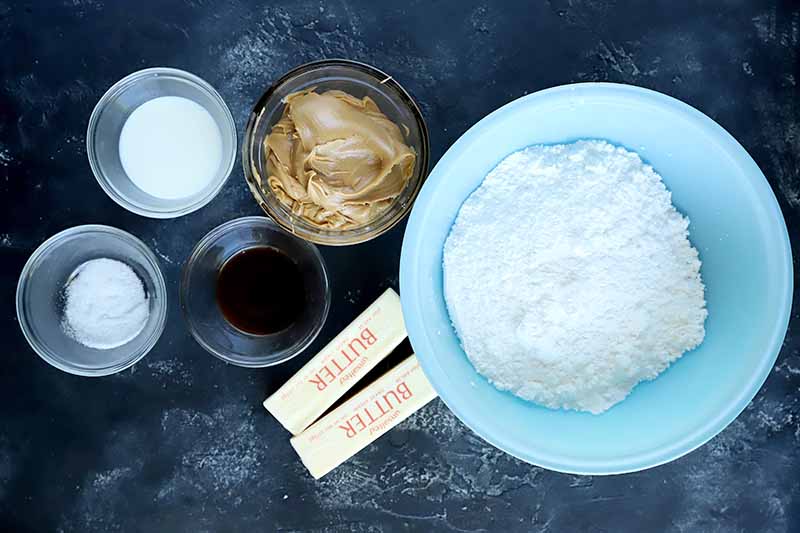
- 1 cup unsalted butter, softened to room temperature
- 1 1/4 cups creamy peanut butter, room temperature
- 3 cups powdered sugar
- 1 teaspoon vanilla extract
- 1/4 teaspoon salt
- 2 tablespoons milk, plus more if needed
Instructions
To Make the Cake:
- Add starter, milk, and flour to a large mixing bowl. Stir to combine. Cover with plastic wrap and let rest at room temperature for 2-3 hours. It should expand by a third in this time.
- Preheat oven to 350°F. Lightly grease a 9-by-13-inch metal pan.
- In the bowl of a stand mixer fitted with the paddle attachment, beat together sugar, oil, vanilla, salt, baking soda, and cocoa powder until combined.
- Add eggs one at a time, beating well after each addition.
- Add the wet chocolate mixture to the starter mixture, and stir until smooth. Pour batter into prepared pan.
- Bake for 30-40 minutes, until a cake tester inserted into the center comes out clean.
- Remove from oven. Set the pan on a cooling rack until completely cooled and ready to frost.
To Make the Frosting
- Add butter and peanut butter to a large bowl. Use a hand mixer to beat until creamy and well-combined.
- Gradually add powdered sugar on low speed until combined. Scrape down the sides and bottom of the bowl as needed.
- Stir in vanilla extract, salt, and milk until well-combined. Beat on high speed until fluffy, about 30 seconds to 1 minute.
- The mixture should be fluffy and creamy. If the frosting isn’t coming together and seems dry, add milk 1 teaspoon at a time, beating to incorporate after each addition.
- Frost cooled cake in the pan.
- Prep Time: 15 minutes
- Cook Time: 40 minutes
- Category: Cake
- Method: Baking
- Cuisine: Dessert
Cooking By the Numbers…
Step 1 – Separate Eggs and Measure All Ingredients
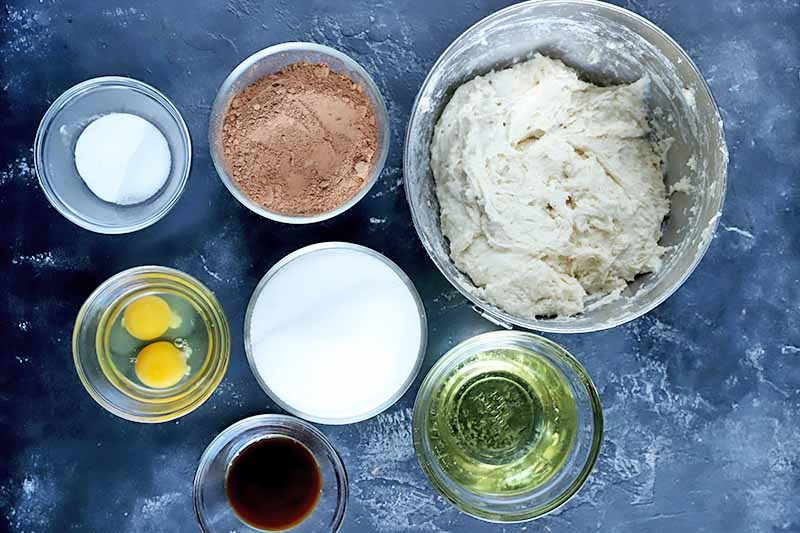
Separate four eggs, retaining the egg yolks. You will not need to keep the whites.
Measure out all of the remaining ingredients as listed on the ingredients list.
Note: the sourdough starter can be ripe (i.e. fed) for this recipe, or you may use discarded portions.
Step 2 – Let Starter Rise

Add the starter, milk, and all-purpose flour to a large mixing bowl and stir to combine.
Cover the bowl with plastic wrap and let it rest at room temperature for about two to three hours. The mixture should expand by about a third in this time.
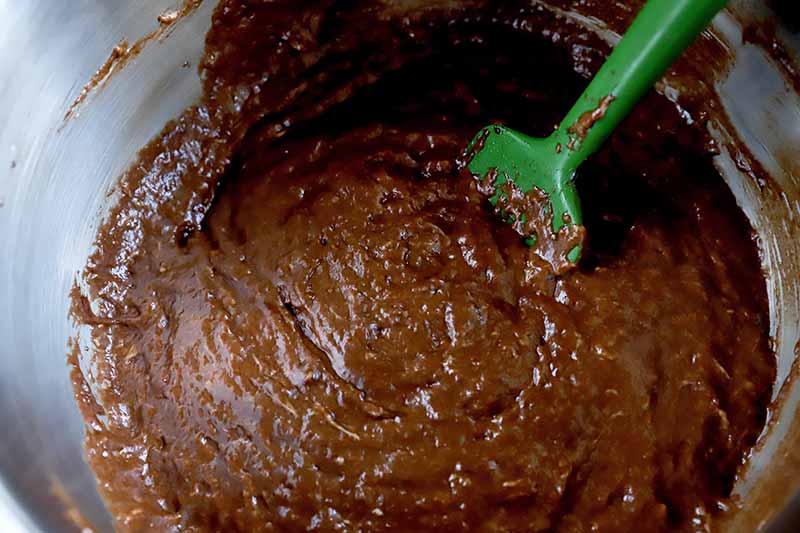
Step 3 – Make Batter
When you’re ready to bake, preheat your oven to 350˚F. Lightly grease a 9-by-13-inch metal baking pan with cooking oil spray and set it aside.
Add the granulated sugar, oil, vanilla, salt, baking soda, and cocoa powder to the bowl of a stand mixer fitted with a paddle attachment. Beat on medium speed until combined.
Add the eggs one at a time. Beat in between each addition until combined.
Add the chocolate mixture to the starter mixture. Stir well until smooth and completely combined.
Pour into the prepared baking pan.
Step 4 – Bake
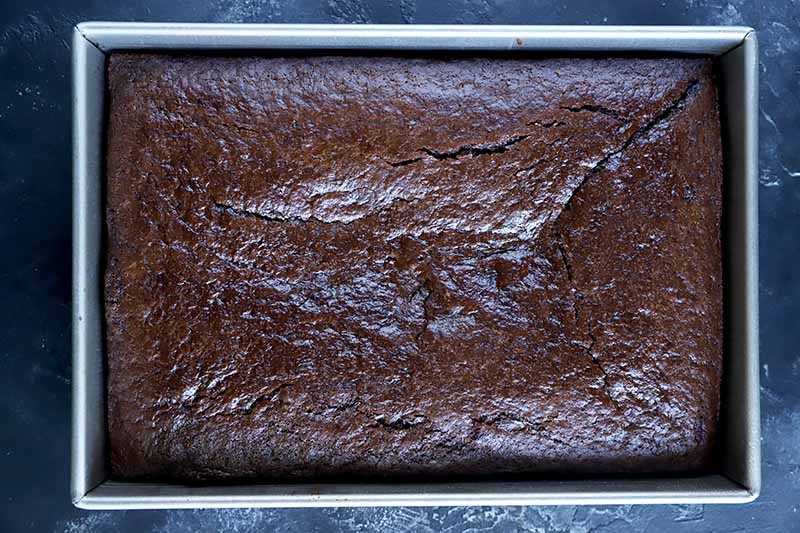
Bake for 30 to 40 minutes. A cake tester or toothpick inserted in the center should come out clean.
Remove from the oven and place the pan on a cooling rack. Cool completely before frosting.
Step 5 – Make Frosting
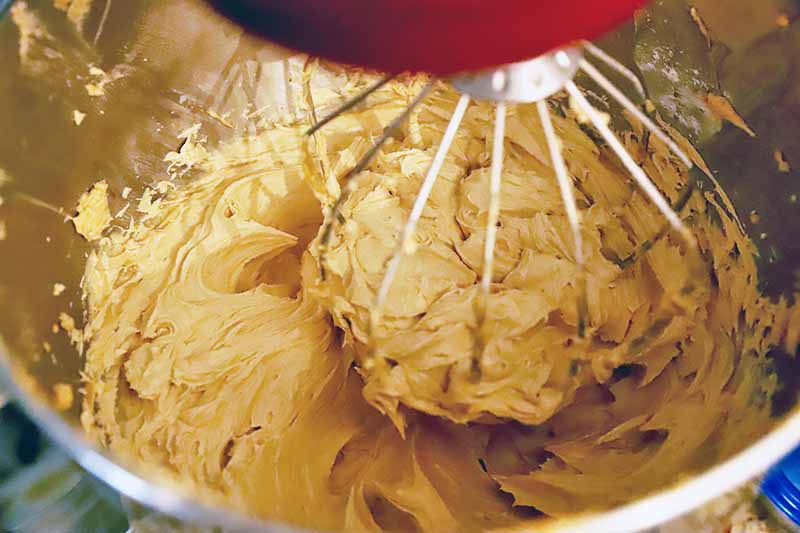
When you’re ready to frost, add the peanut butter and unsalted butter to a large mixing bowl. Beat with an electric hand mixer until creamy and well-combined. You can also use a stand mixer fitted with the whisk attachment for this step.
Gradually add the powdered sugar, and beat on low until combined. You may need to scrape down the sides and bottom of the bowl to make sure everything gets incorporated well.
Add the vanilla extract, salt, and milk, and stir to combine on the lowest speed setting Turn up the speed to high and beat until fluffy, about 30 seconds to 1 minute.
The mixture should be creamy and fluffy. If the frosting seems dry, add milk 1 teaspoon at a time. Beat between additions to incorporate it completely and check the consistency again before adding more.
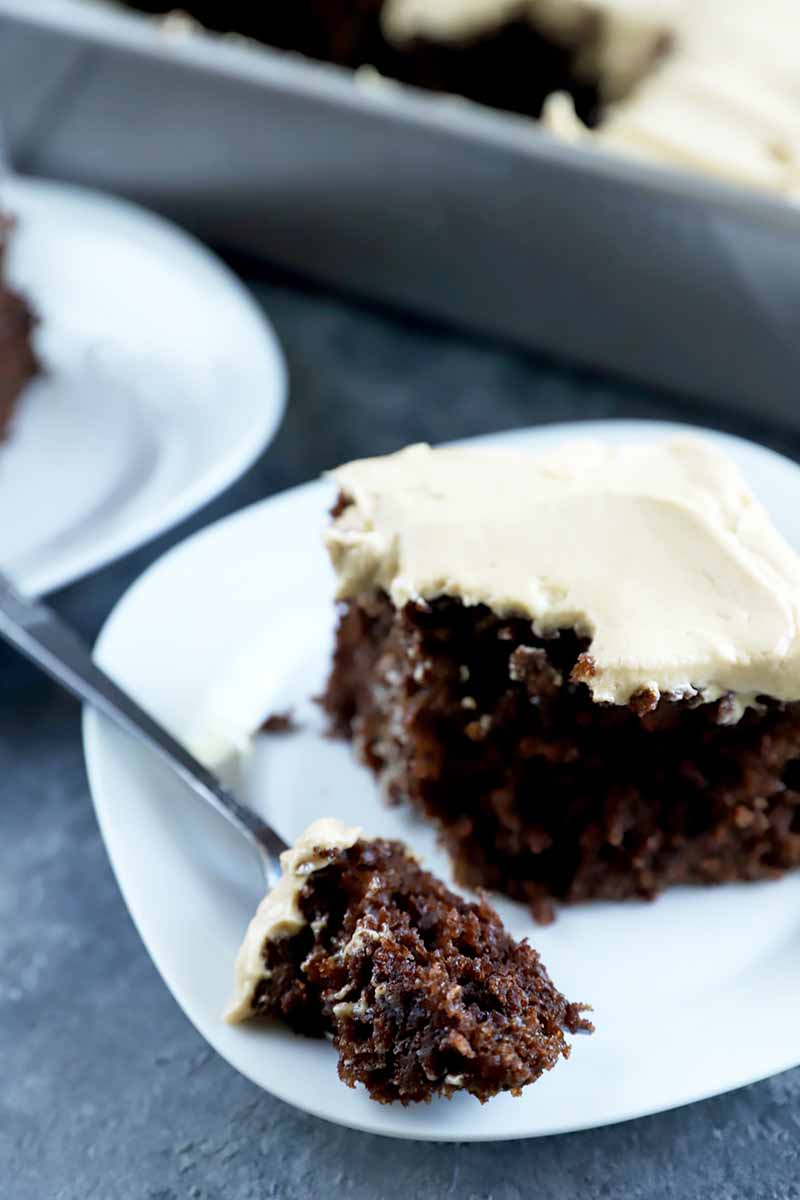
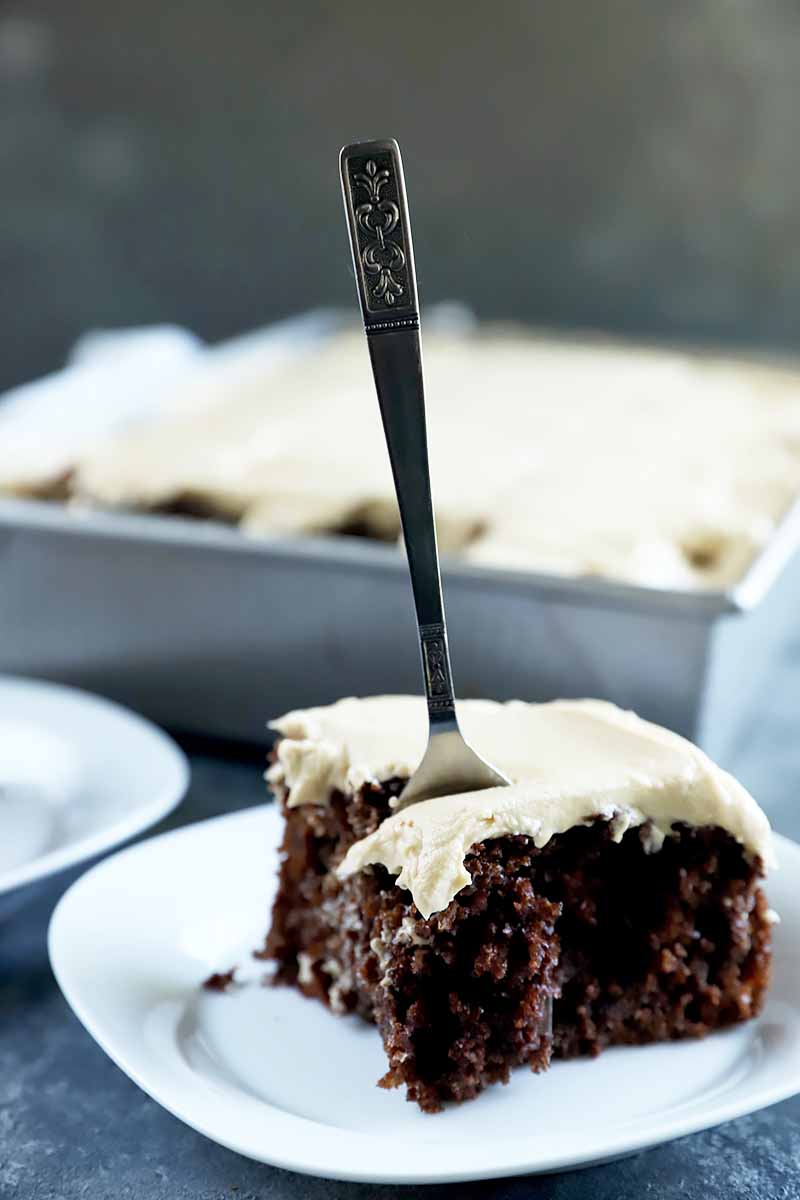
Step 6 – Frost
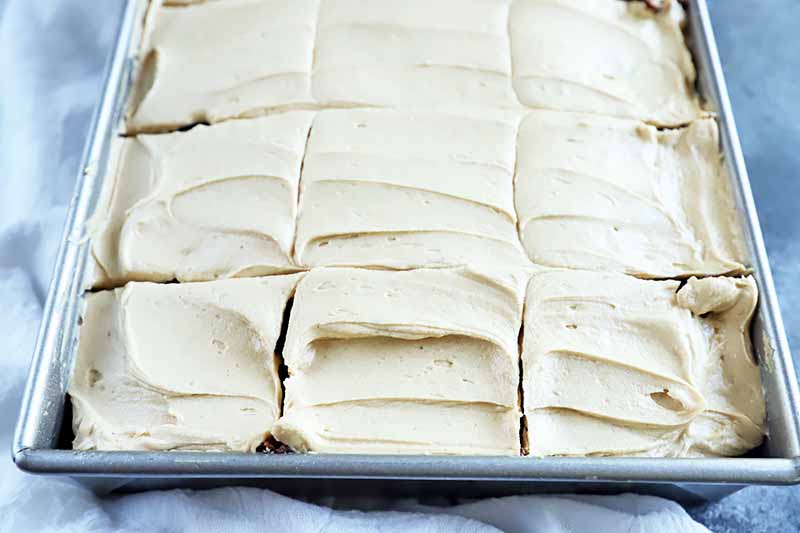
Frost the cooled cake in the pan. Cut it into slices as desired and serve.
How Do I Keep This Cake Fresh When It’s Already Been Sliced?
A frosted cake can be kept at room temperature for four to five days. If you’ve already cut into it, be sure to press plastic wrap onto the cut pieces, making sure that it sticks well. This will help to prevent it from drying out.
Then you can simply store it in a cake keeper, or cover it with an overturned large bowl or aluminum foil. I prefer to store mine in a cake keeper so the foil doesn’t smoosh the frosting on top.
Are you craving even more chocolate cake recipes? Here are some of our favorites to try next:
- Best Chocolate Cake
- Double Chocolate Cupcakes with Vanilla Frosting
- Chocolate Wacky Cake (dairy-free and vegan)
Have you ever baked a sweet dessert with sourdough starter before? Tell us in the comments below, and be sure to rate the recipe as well after you’ve had a chance to try it!
Photos by Meghan Yager, © Ask the Experts, LLC. ALL RIGHTS RESERVED. See our TOS for more details.
Nutritional information derived from a database of known generic and branded foods and ingredients and was not compiled by a registered dietitian or submitted for lab testing. It should be viewed as an approximation.
About Meghan Yager
Meghan Yager is a food addict turned food and travel writer with a love for creating uncomplicated, gourmet recipes and devouring anything the world serves up. As the author of the food and travel blog Cake 'n Knife, Meghan focuses on unique foodie experiences from around the world to right at home in your own kitchen.
Just made this recipe for my birthday cake. Tasted a corner of the cake and really like it, great texture and taste, did use 1/4 c. reg cocoa and 1/2 c. Black onyx cocoa. Made the frosting, used my natural peanut butter, but it was crunchy… wonderful recipe!!!! Can’t wait to taste it together! Thanks!!!!
Could I use two round cake pans for this and stack them?
Hello, Kassandra! You should be able to use two 8-inch round cake pans with this amount of batter. The guidance here is to only fill them about halfway full. If you have extra batter, you can make a couple cupcakes on the side! Perfect for taste-testing…
If you are deciding to go with a fully frosted presentation, I would advise doubling the amount of frosting to have enough for both the middle layer as well as the outside.
Should this be active starter or can I use discard?
Discards are fine for this recipe!