Jump to the Recipe
Are you looking for a sweet treat that will satisfy the guests around your holiday table?
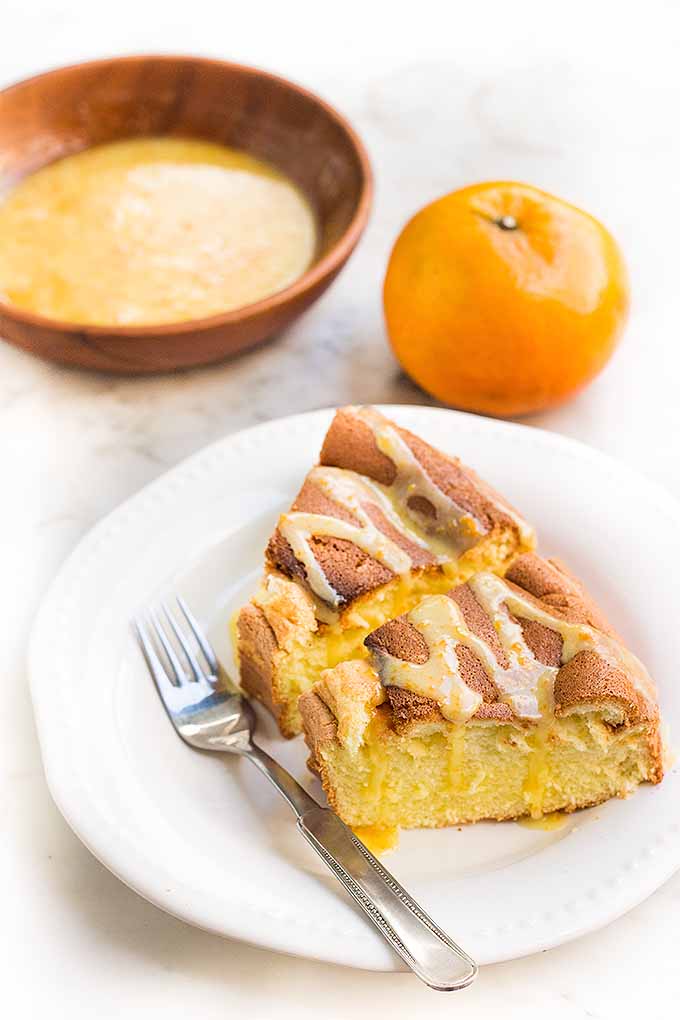
So was I.
About twenty years ago, I cut a cake recipe from a box of Manischewitz potato starch. As a celiac sufferer with lactose intolerance, I needed to find something I could make for guests that I could eat, too. This is my adaptation of that old recipe.

Light as a feather, this exceptional cake calls for potato starch instead of flour, whipped eggs, and no butter. Moist, fluffy, and delicious, this mandarin orange sponge cake makes perfect ending to any festive meal.
The Recipe

| Servings | Prep Time |
| 8 slices | 1 hour |
| Cook Time |
| 1 hour |
|
|

|
Looking for a delicious dessert to serve to your guests? This moist mandarin orange sponge cake is not only fabulous, it’s also gluten free and lactose free.
|
- 8 eggs
- 3 tablespoons fresh mandarin orange juice, strained
- 1 1/2 cups sugar sifted
- 1 cup potato starch (not potato flour), sifted
- 1 cup confectioners’ sugar
- 2 tablespoons water
- 1 teaspoon orange zest
- Preheat oven to 350°F and place rack in center position.
- Separate the eggs. Place whites in a large metal bowl and refrigerate immediately. Place yolks in a separate large bowl. If you have two sets of mixing beaters, chill one set in the fridge.
- Beat egg yolks with and electric mixer for two minutes on medium speed.
- Gradually add the sugar and orange juice, stirring gently to avoid splashing. Beat the mixture for two minutes on medium speed.
- Gradually add the potato starch to the yolk mixture, stirring gently so the starch doesn’t puff up out of the bowl. When they are incorporated, beat the mixture for two more minutes on medium speed. Set aside.
- With clean, dry beaters (preferably chilled), beat the egg whites until stiff peaks form.
- Using a whisk, slowly and gently fold the whites into the yolk mixture.
- Pour carefully into an ungreased 10-inch two-piece tube pan. Tap very gently once on the countertop to release air bubbles.
- Bake for approximately one hour, until the top is brown and springs back to the touch.
- Cool inverted and carefully remove from the pan using a serrated knife.
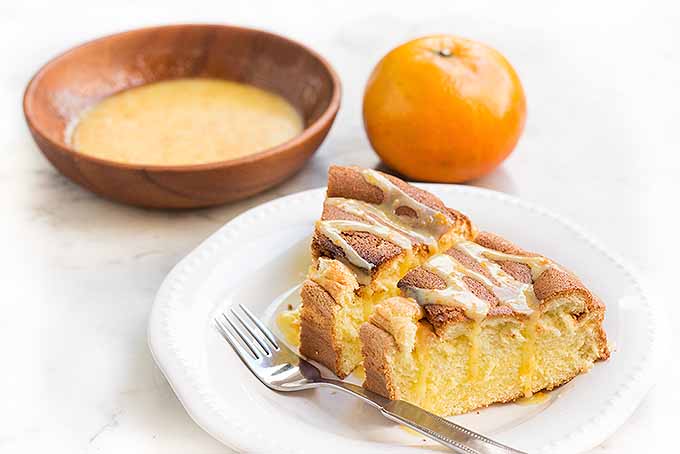
- First, make the glaze. Combine the confectioner’s sugar, water, and orange zest in a small bowl. Mix together until smooth and drizzle over the entire cake, or individual slices just before serving.
- Garnish with curled orange rind, orange sections, and grated dark or bittersweet chocolate.
Adapted from Manischewitz’s Potato Starch Sponge Cake.
Nutritional Information*
Cooking by the Numbers…
Step 1 – Get Ready
As with any baked good, remembering to preheat the oven is crucial, so do that before you do anything else. Then chill your whisk, bowl, and mixer beater(s).
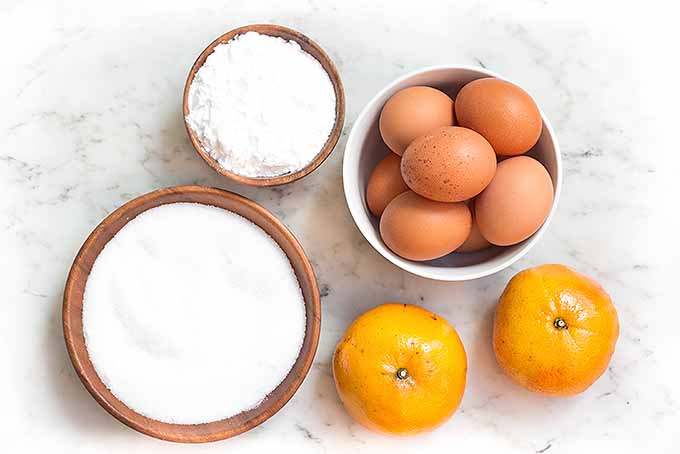
I like to have all of my ingredients in front of me when I begin. Set out 8 eggs and 2 oranges, the potato starch and sugar.
Step 2 – Squeeze and Zest Oranges
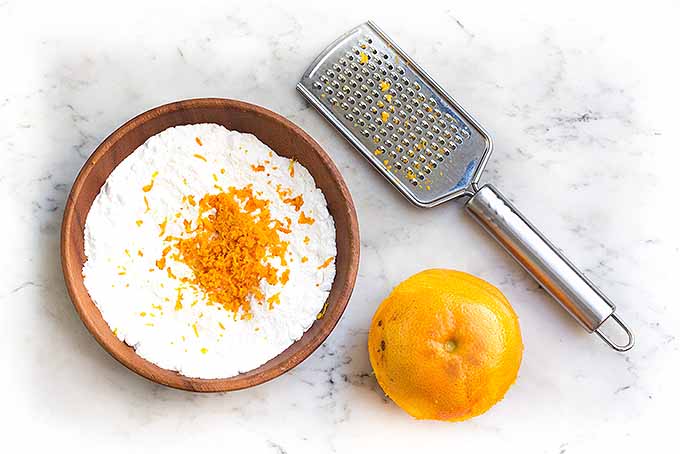
Gently scrub the oranges (one may be enough). Zest what you need for the glaze, and halve and juice what you need for the cake.
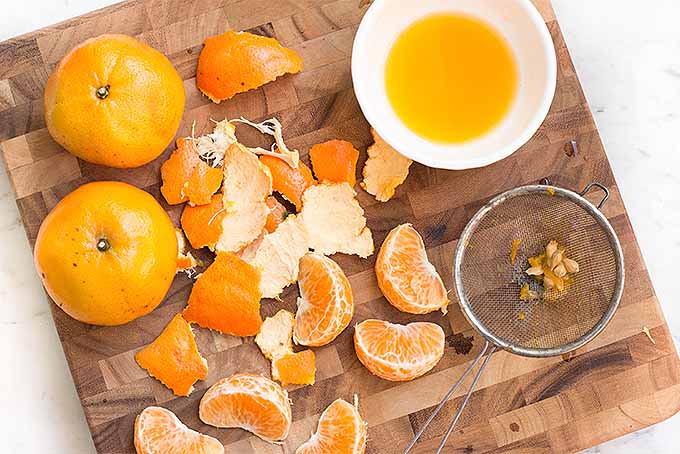
A microplane or zester comes in handy for zesting mandarins in particular, since their skins are not as firm as that of other types of citrus.
Step 3 – Separate Eggs
Separate the whites from the yolks, placing whites in chilled metal bowl, and yolks in a large room-temperature bowl.
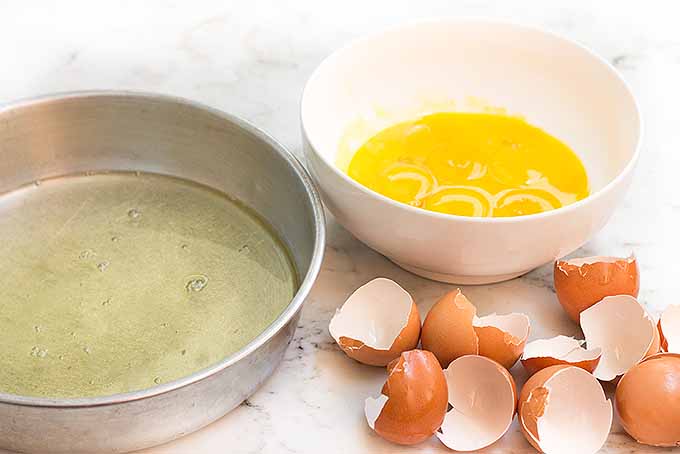
Then place the whites in the fridge to chill.
Step 4 – Mix Yolks
Using an electric mixer, beat the yolks on medium speed for two minutes. Use a rubber spatula to clean the sides of bowl as you go.
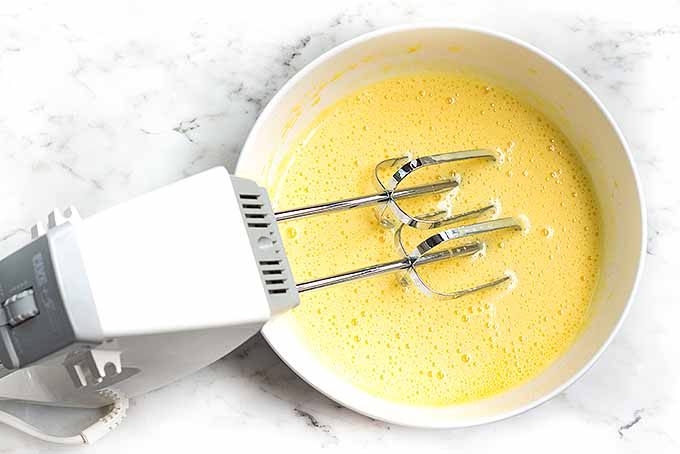
Step 5 – Add Sugar and Orange Juice
Gradually add the sugar and orange juice to the beaten yolks. Beat the mixture for two minutes on medium speed.
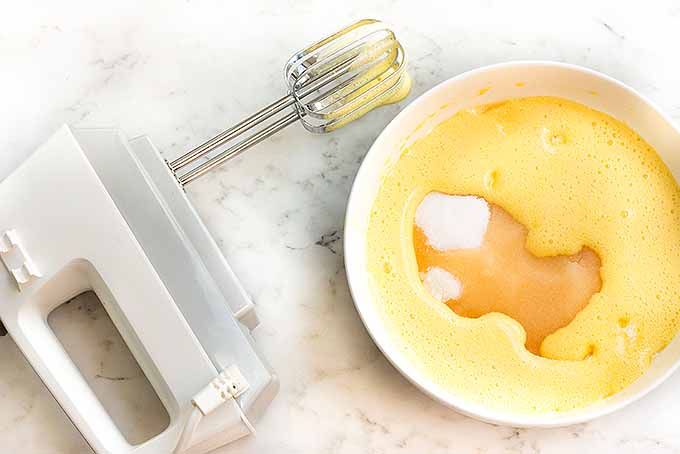
Remember to clean the sides of the bowl with rubber spatula throughout.
Step 6 – Add Potato Starch
The potato starch must be added very slowly, to avoid making a cloud of dust.
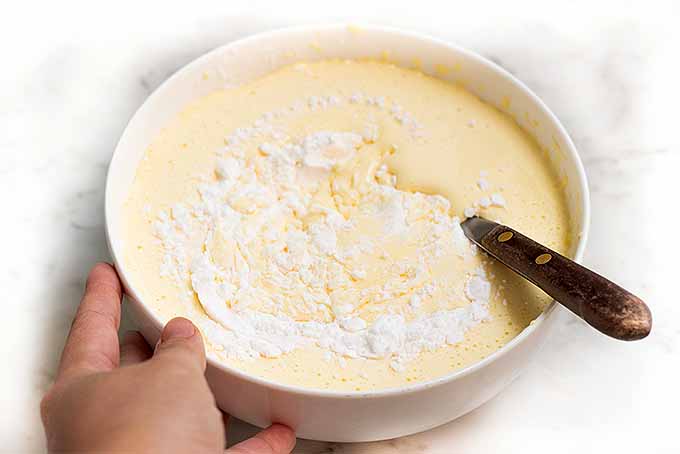
Gently incorporate it into the yolk-sugar,-juice mixture, and then beat for two minutes on medium speed.
Step 7 – Whip Egg Whites
Now it’s time to change gears and work with the chilled egg whites. With clean, dry beaters, preferably chilled, you’re going to mix until stiff peaks form. Use a clean spatula to scrape the sides of the bowl as you go.
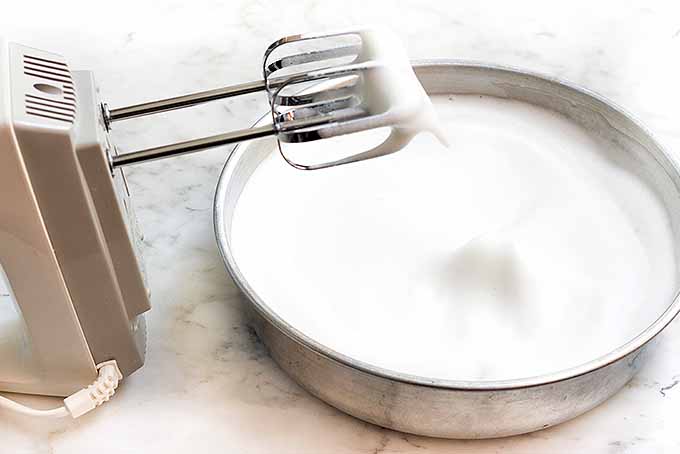
Egg whites are fussy, and the slightest bit of water or food residue on the bowl or beaters may prevent them from forming nice peaks.
Step 8 – Fold Egg Whites into Yolk Mixture
Using a chilled whisk, gently fold the egg whites into the yolk mixture, incorporating them completely for a fluffy batter. The object is to get everything to mix together without deflating the whites.
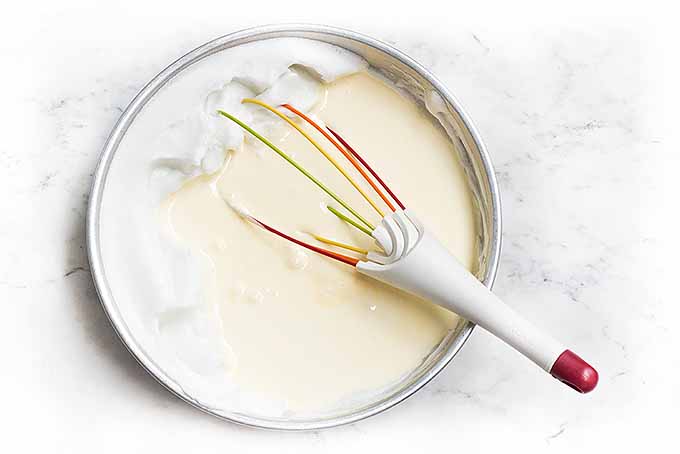
If you don’t mix well enough, you’ll get big air holes. Too much makes a dense cake. I used to do this with a rubber spatula, but the whisk is better for combining without flattening.
Step 9 – Pour into Pan and Bake
Pour the batter into the pan and tap it down lightly on the counter once, to release any air bubbles.
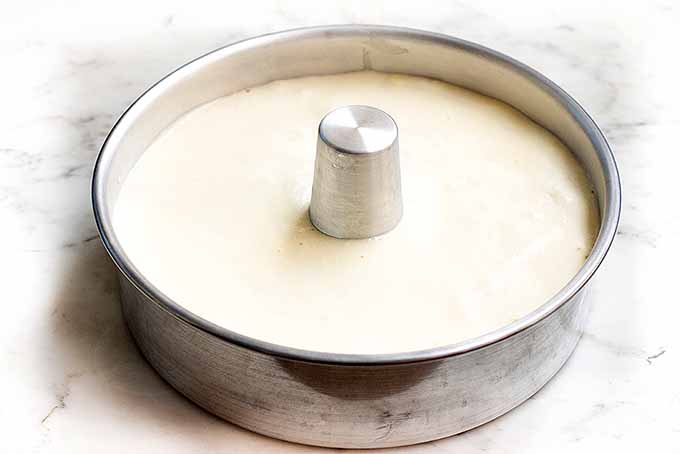
Bake for approximately one hour, until the top is brown and it springs back to the touch.
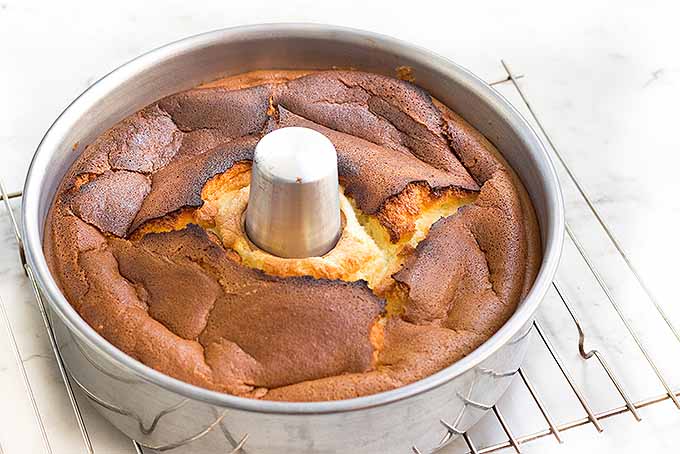
Step 10 – Cool and Remove from Pan
Cool inverted on a wire rack. This may take an hour or so.
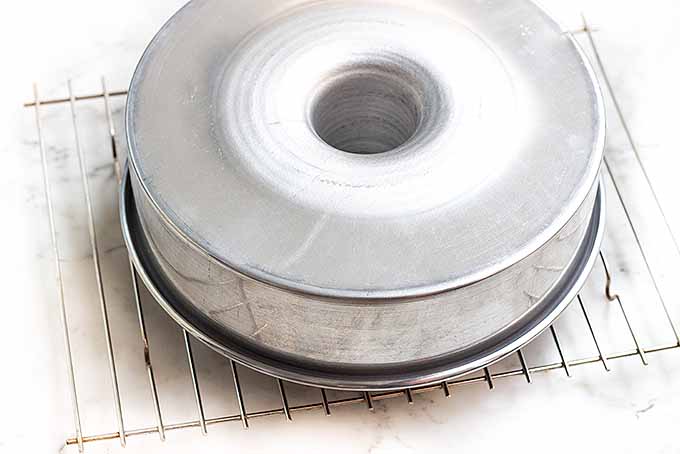
When the pan is cold to the touch, carefully work a serrated knife or metal spatula around it to separate it from the pan, working around the outer edge and inner tube.
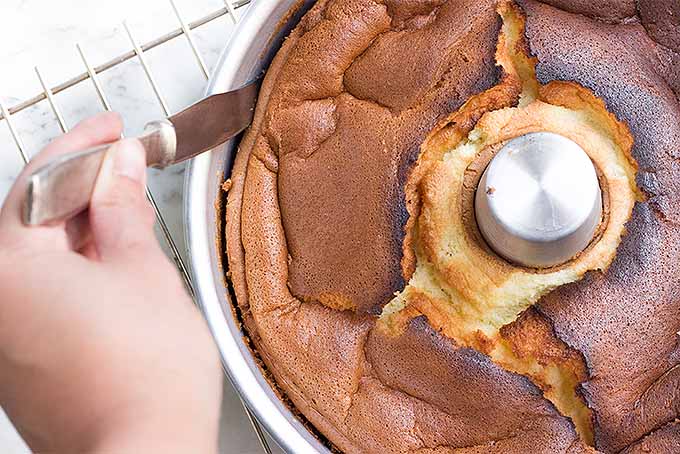
When you’ve worked it free, lift the cake from the pan and slide your knife under it, freeing it from the base of the pan as well if your tube pan has two parts.
Step 11 – Glaze
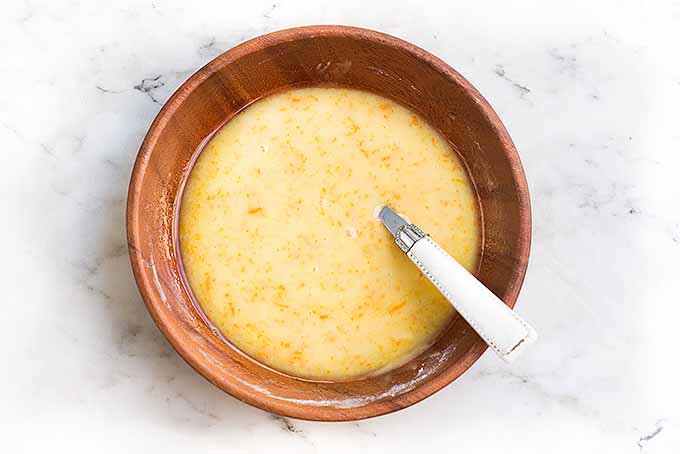
Mix sugar, water, and mandarin orange zest to make a syrupy glaze. Start with less water than you think you need and continue adding water gradually to achieve a consistency that may be drizzled decoratively over the top of the cake.
For another delicious glazed cake with hints of citrus, check out this recipe for Lemon Rosemary Bundt Cake.
Baker’s Secrets
This fabulous cake needs to be finessed just a little. Be sure to do the following:
- Measure dry ingredients, sift, then re-measure.
- Place egg whites in a metal bowl and chill until needed.
- Use clean, chilled beaters to whip egg whites.
- Use a whisk slowly and gently, adding egg whites to the yolk mixture immediately after whipping to stiff peaks.
- Remember to tap the cake pan once, very gently, before baking to release air bubbles.
- Cool upside-down before gently cutting out of the pan with a thin metal spatula or serrated knife.
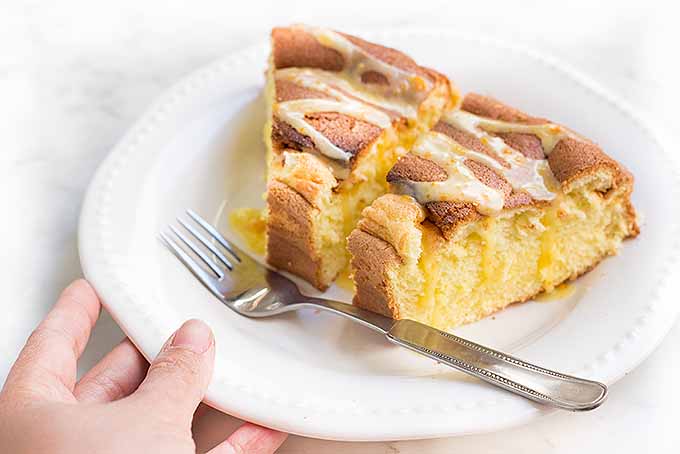
Figure on about two hours of prep time from cracking the first egg to removing your masterpiece from the oven. Take your time. The results are worth the effort!
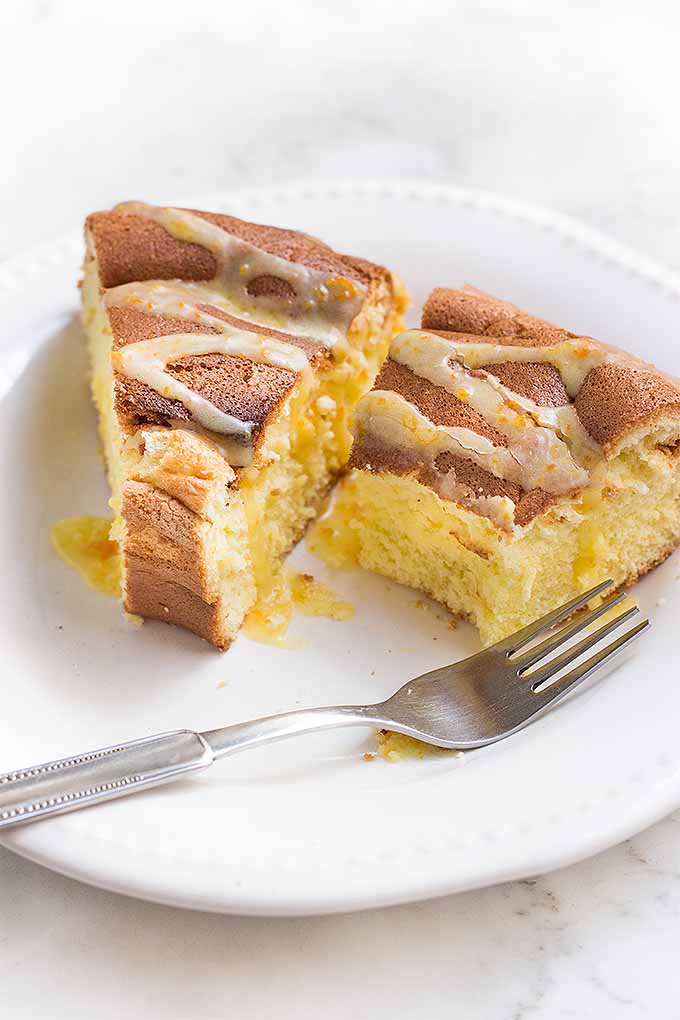
Try this recipe and let us know how your cake turns out in the comments below.
If you love baking with oranges, make our satsuma layer cake with cream cheese frosting!
And make sure to explore our other gluten free baked recipes: such as cashew brownies, chocolate chip cookies, and our chewy soft ginger cookies.
Don’t forget to Pin It!

*Nutritional information derived from a database of known generic and branded foods and ingredients and was not compiled by a registered dietitian or submitted for lab testing. It should be viewed as an approximation.
Photos by Felicia Lim, © Ask the Experts, LLC. ALL RIGHTS RESERVED. See our TOS for more details.
About Nan Schiller
Nan Schiller is a writer from southeastern Pennsylvania. When she’s not in the garden, she’s in the kitchen preparing imaginative gluten- and dairy-free meals. With a background in business, writing, editing, and photography, Nan writes humorous and informative articles on gardening, food, parenting, and real estate topics. Having celiac disease has only served to inspire her to continue to explore creative ways to provide her family with nutritious locally-sourced food.

Can I use corn starch instead of potato? We are on Covid virus shut down and I have corn starch
Since corn is a grain and potato is a root, these have slightly different properties. The taste and texture of the finished product won’t be the same as what you would get if you had potato starch available, since corn starch reacts to liquid, acid, and sugar differently. While corn starch is commonly used as a thickener, it’s not used often in baking, except to thicken something like a pie filling, for example. You can give it a shot, but we’d suggest trying a different recipe instead.
Wishing you all the best during quarantine, Deb!