We’re heading into the busiest time of the year for baking!
Because the year-end holiday season is synonymous with cookies, I decided that it was high time to share the perfect gluten-free recipe.
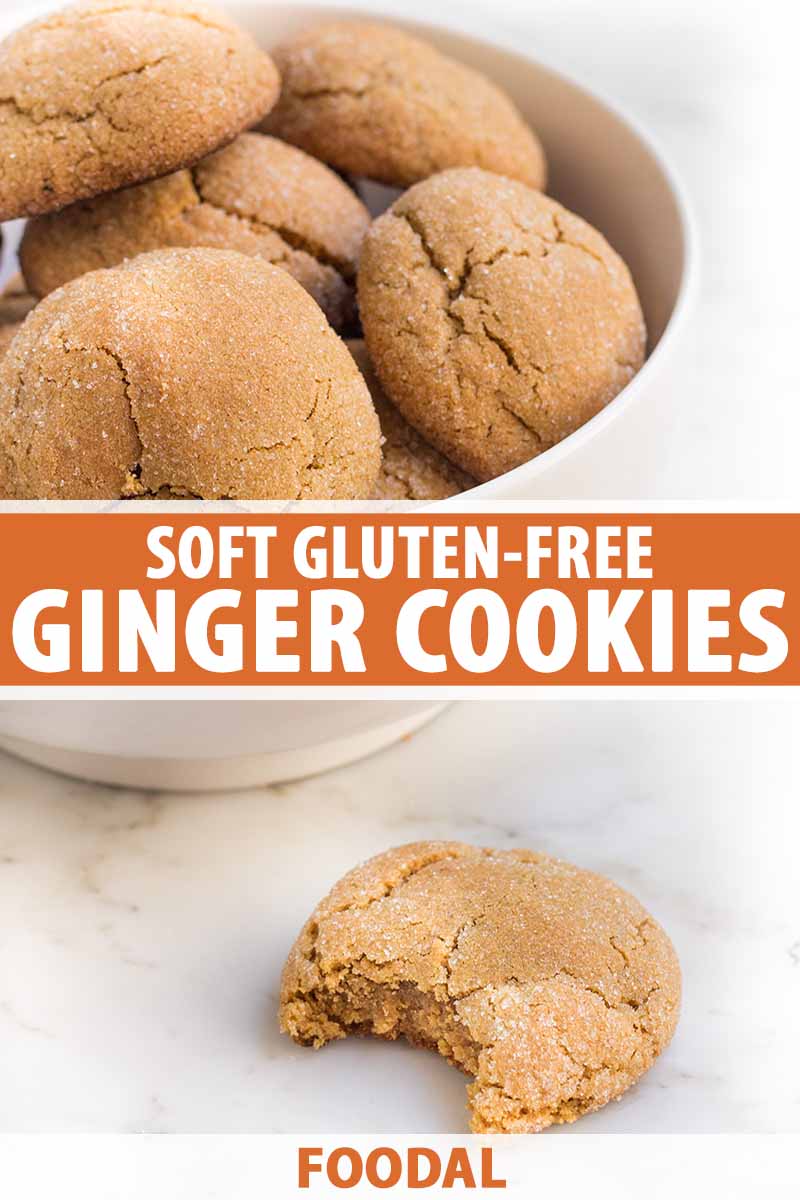
Since winter has arrived and the temperatures are dropping low, I thought it would be best to share a ginger cookie that will warm us with its mix of spices.
We link to vendors to help you find relevant products. If you buy from one of our links, we may earn a commission.
This sweet and spicy recipe is different from the gingerbread and the ginger snaps that you might be used to eating.
And I’m happy to tell you why…
Not only does the recipe yield a soft, chewy texture, but it is also gluten free, so even those with celiac disease can enjoy them all season long!
Made with blackstrap molasses and an all-purpose gluten-free flour mix, these sweet treats incorporate ground ginger, cinnamon, and nutmeg to give it that classic winter dessert taste.
It’s a very simple recipe that can be made in less than 45 minutes completely from scratch, and the results are simply mouthwatering.
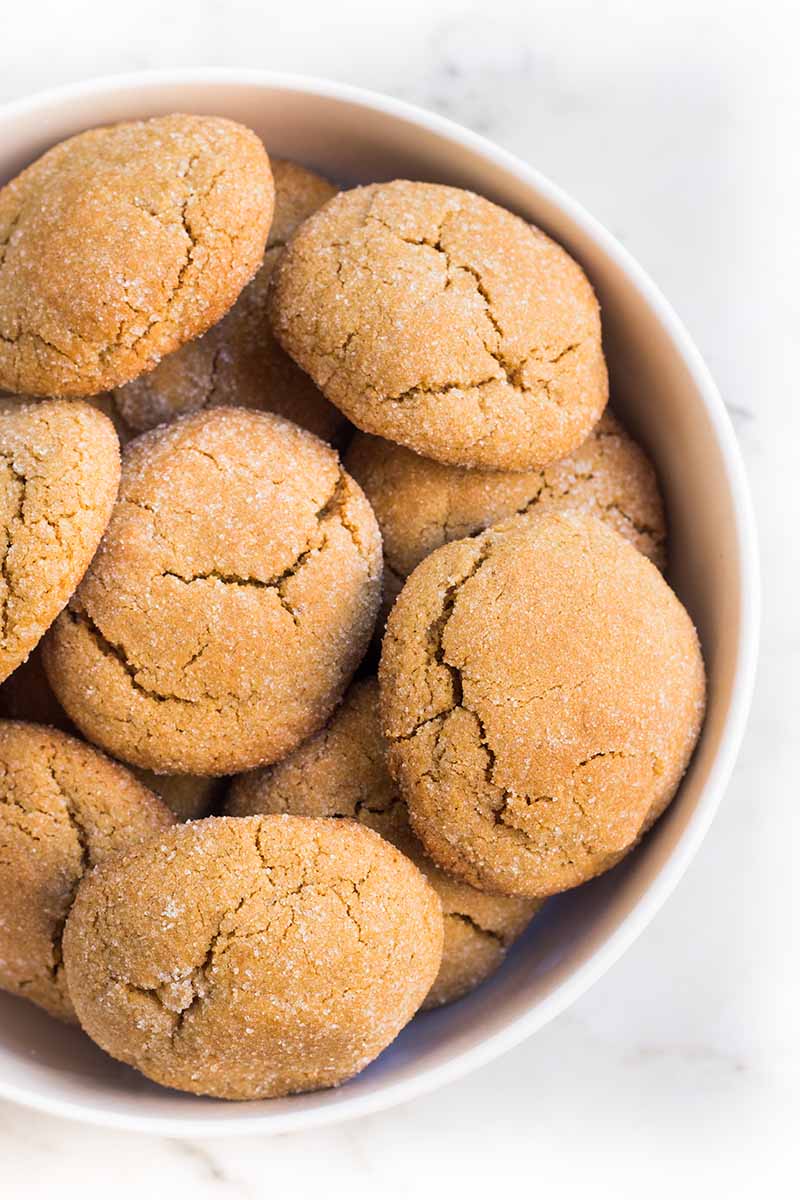
Serve them as part of your lineup of other homemade holiday bakes when your guests are visiting this holiday season, or pack them in little mason jars and give them as cute presents.
Either way, your guests will surely ask you for this amazing recipe!
The instructions below make 15 large cookies, but you can double or triple the recipe to make more in one batch. Just be sure to avoid overcrowding the cookies on one baking sheet – use multiple sheet pans so they have ample space to expand.
That’s one of my most important tips to follow to improve your baking routine – good to remember for your upcoming holiday baking marathon.
Ready to make these delightful gluten-free bites at home? Let’s head straight to the recipe!
Print
Soft Ginger Cookies (Gluten Free)
- Total Time: 40 minutes
- Yield: 15 large cookies 1x
Description
Soft, gluten-free ginger cookies will warm you up with a mix of spices. And a fresh batch can be made in just under 45 minutes.
Ingredients
- 3/4 cup (6 ounces) unsalted butter, softened
- 1 cup granulated sugar, plus more for rolling
- 1 large egg
- 1/4 cup blackstrap molasses
- 2 1/4 cups all-purpose gluten-free flour blend
- 2 teaspoons baking powder
- 2 teaspoons ground ginger
- 1 teaspoon ground cinnamon
- 1 teaspoon ground nutmeg
- 1/4 teaspoon kosher salt
Instructions
- In the bowl of a stand mixer fitted with the paddle attachment, cream the butter and sugar together on high speed until light and fluffy, about 2-3 minutes.
- Add the egg and the blackstrap molasses and beat on high speed until completely combined, about 1-2 minutes.
- In a separate large bowl, whisk the flour, baking powder, spices, and salt together to combine.
- Sift the flour mixture into the bowl with the wet ingredients, and mix at low speed until a uniform dough forms, about 1-2 minutes.
- Place the dough uncovered in the refrigerator for 10 minutes to chill and stiffen slightly.
- Meanwhile, preheat the oven to 350°F and line a baking sheet with parchment paper or a silicone mat. Position a rack in the middle of the oven. Place about 1/2 cup granulated sugar in a shallow bowl and set aside.
- Roll or scoop the chilled dough into small balls about 1 1/2 inches in diameter. Roll the balls around in the granulated sugar to coat evenly and completely. Place them on the prepared baking sheet, leaving about 2 inches of space between each portion.
- Transfer the baking sheet to the oven. Bake for 10 to 12 minutes, or until the cookies are lightly browned and puffy.
- Remove the baking sheet from the oven. Immediately and carefully transfer the cookies from the parchment paper to a cooling rack. Enjoy while warm, or cool completely before storing in airtight containers.
- Prep Time: 20 minutes
- Cook Time: 10 minutes
- Category: Cookies
- Method: Baking
- Cuisine: Dessert
Cooking by the Numbers…
Step 1 – Prep and Measure
First, get your food items ready.
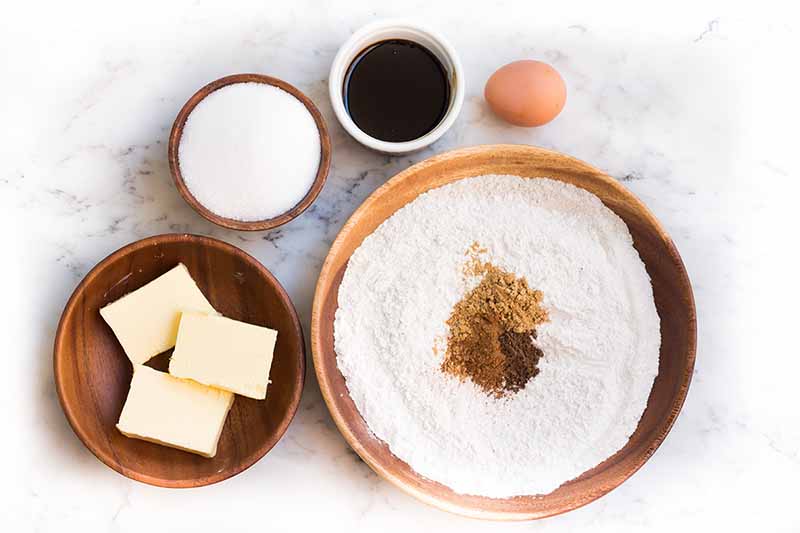
Measure out all of the ingredients: the unsalted butter, granulated sugar, eggs, blackstrap molasses, flour, ground spices, salt, and baking powder.
Be sure to have about 1/2 cup extra granulated sugar – you’ll need this for rolling the portions of dough.
Not sure what to buy for the flour? I can help! One of my favorite brands of all-purpose gluten-free flour is King Arthur’s Gluten-Free All-Purpose Flour. You can purchase a 24-ounce box now directly from King Arthur!
Step 2 – Prepare Wet Mixture
In a large bowl, cream the butter and sugar together until light and fluffy.
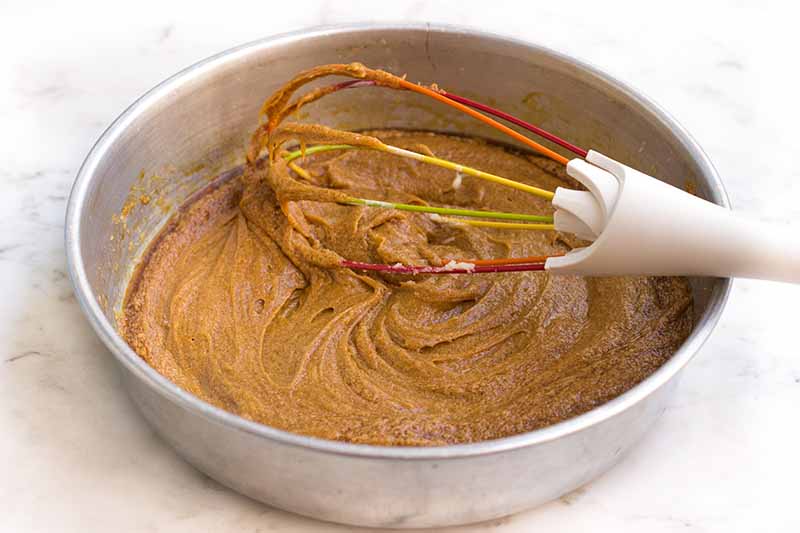
You can do this in your stand mixer, or by hand with a sturdy whisk.
The mixing process will be significantly faster in the stand mixer, compared to doing the next few steps all by hand. It will take about 2 to 3 minutes to properly cream the ingredients together in the stand mixer, but will take at least double the amount of time whisking by hand.
So if you’re looking for some time-saving hacks on a tight schedule, use the machine!
Add the egg and the blackstrap molasses, and mix well until combined.
Step 3 – Prepare Flour Mixture
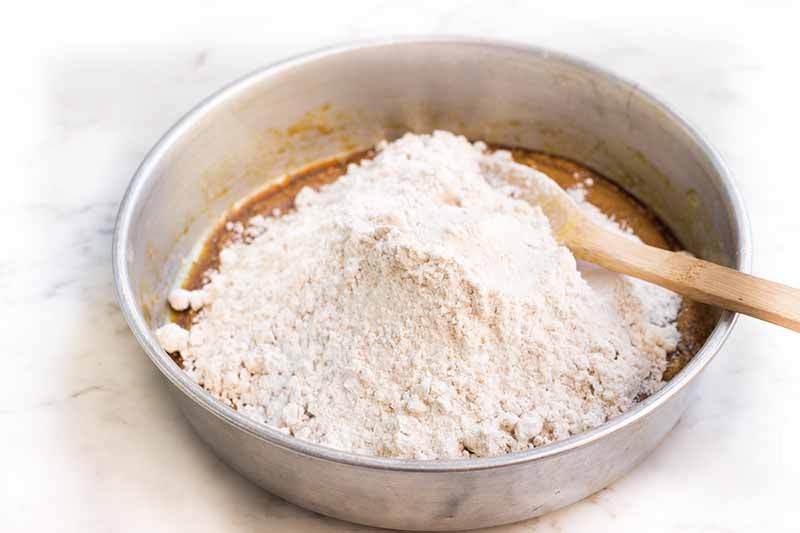
In a separate large bowl, whisk the flour, ground spices, baking powder, and salt together until combined.
Step 4 – Form and Chill the Dough
Sift the flour mixture into the bowl with the wet ingredients, and mix at low speed in the stand mixer, or by hand with a sturdy wooden spoon, until a thick and homogeneous dough forms.
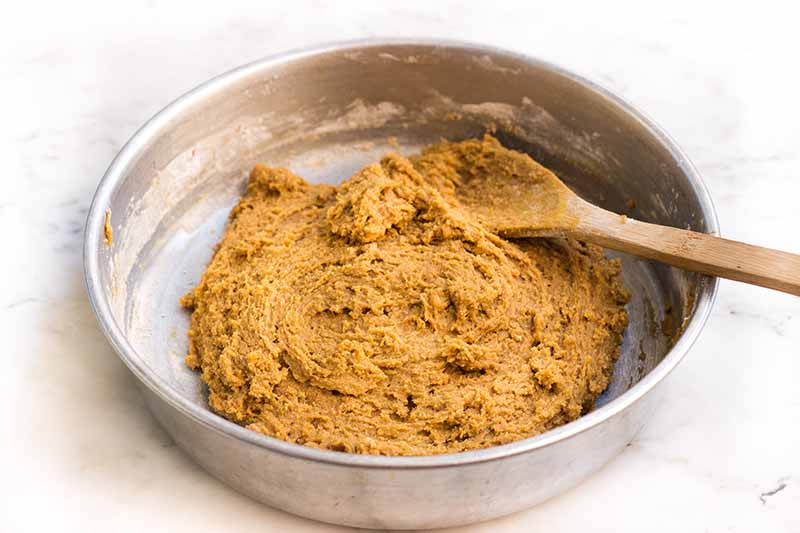
Transfer the dough in the bowl uncovered to your refrigerator. Chill the dough for 10 minutes.
This brief – but essential! – visit to the refrigerator helps to stiffen the dough slightly so that it won’t spread drastically during the baking process.
While the dough is chilling, this is the perfect time to work ahead on other prep!
Preheat the oven to 350°F, and position a rack in the middle for the most even distribution of heat. Line one baking sheet with parchment paper or a silicone mat.
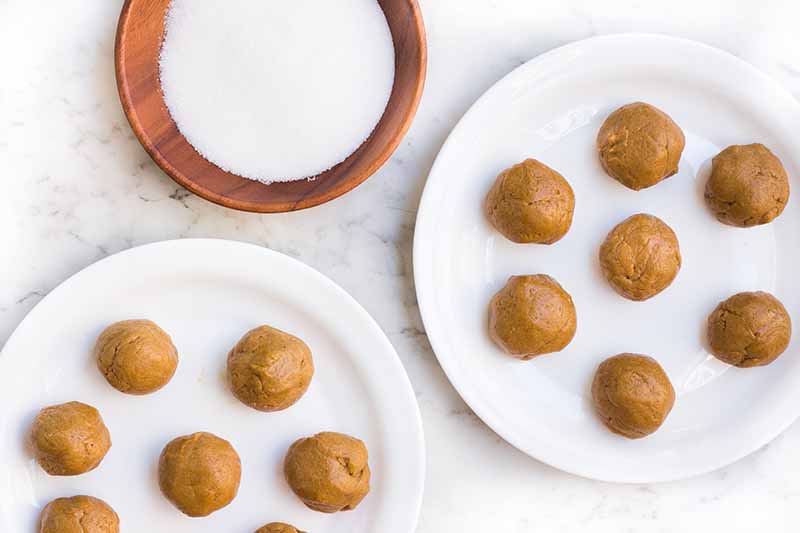
Place about 1/2 cup granulated sugar in a shallow bowl or plate and set that aside.
Step 5 – Portion and Coat
Once the dough has chilled, remove the bowl from the refrigerator. Roll the dough into small balls about 1 1/2 inches wide – you can use your hands, but I prefer a cookie scooper for a more consistent measurement.
Roll each ball in the granulated sugar to completely and evenly coat the exterior in a thin layer of sugar.
Place the coated portions onto the prepared sheet, leaving about 2 inches of space between each one.
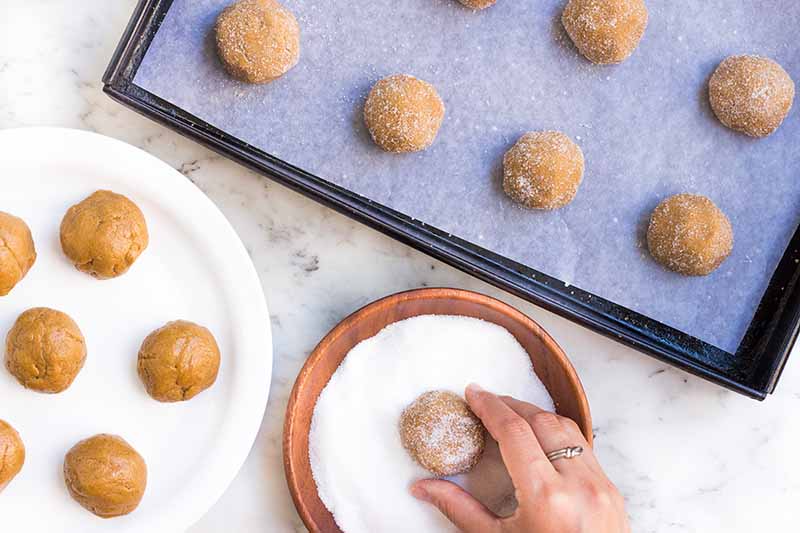
The dough will spread as it bakes, so you want to be sure to leave enough room.
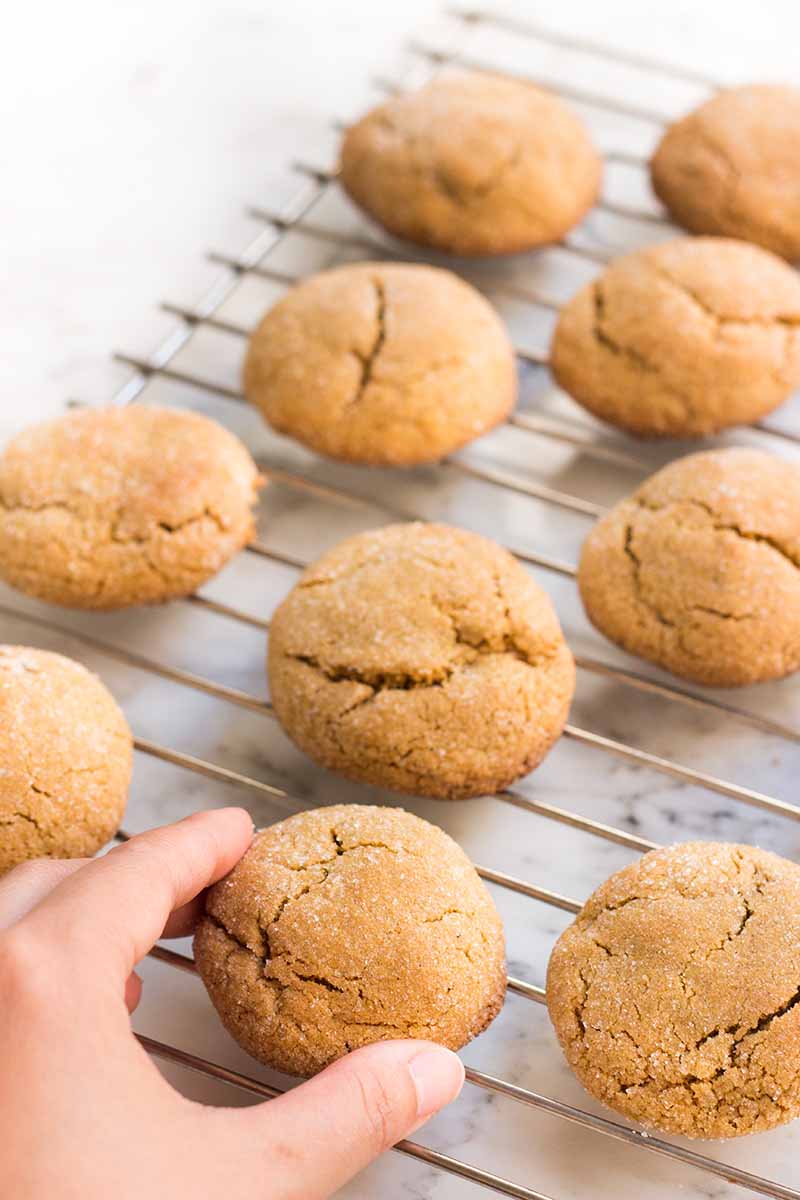
Step 6 – Bake and Cool
Transfer the baking sheet to the oven, and bake for 10 to 12 minutes.
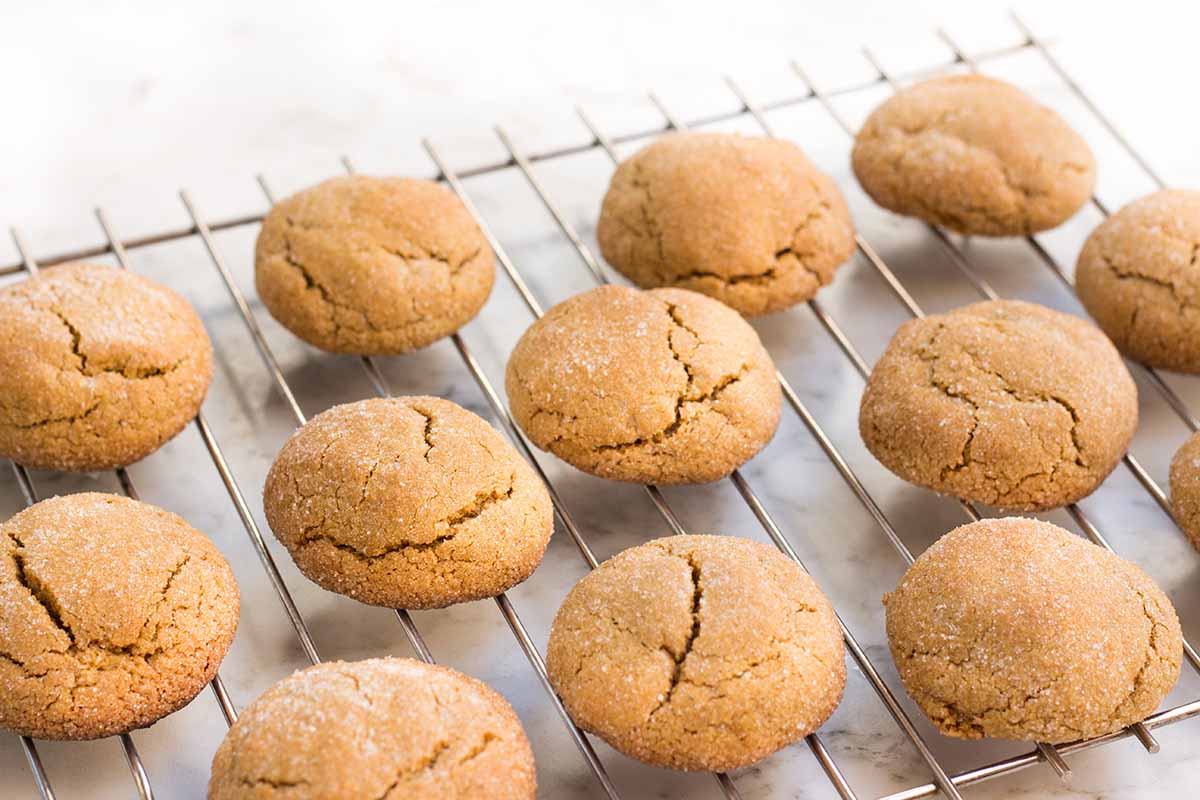
Here are the signs you are looking for when you are nearing the end of the baking time: the portions will become lightly browned and puffy.
Remove the sheet from the oven, and transfer the cookies to a cooling rack immediately.
The sugar coating slightly melts and forms a light caramel. This is delicious, but it may cause the cookies to stick to the parchment paper. That’s why it’s best to remove them from the parchment paper as soon as possible.
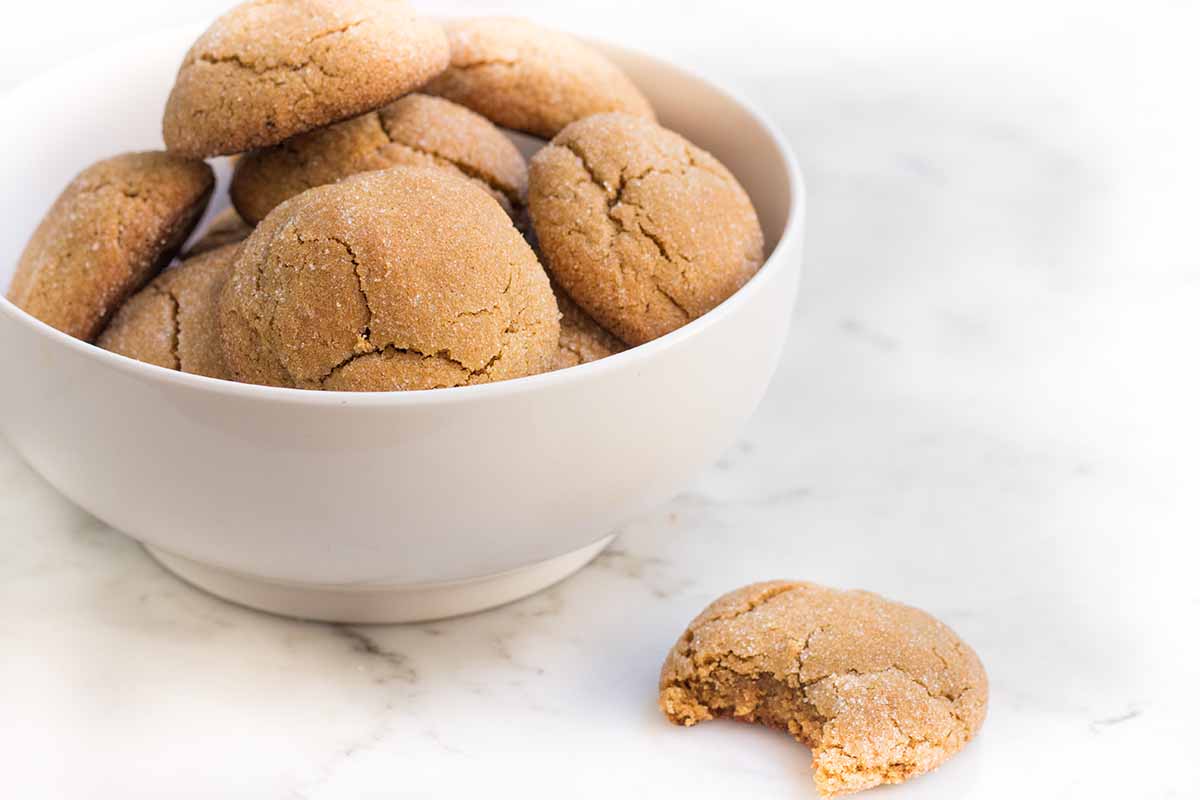
Serve while still slightly warm, or allow them to cool completely before storing in an airtight container.
Enjoy with a Hot Bev!
Once they’re cool enough, it’s time to enjoy these deliciously spiced sweet treats.
Tasty on their own, I prefer serving them with a warm beverage – an ideal pairing on a cold winter night after a hearty dinner.
Try them with a hot and steamy cup of tea, like a frothy ginger tea latte, or a mug of hot cocoa or hot chocolate.
They will also be a fantastic accompaniment to boozier selections… we’re staying in for the night, so why not?
For a satisfying pick-me-up, serve them alongside a classic Irish coffee featuring whiskey, or a Pharisäer Kaffee with a mix of rum.
Do you like your ginger cookies soft or crispy? Based on this rendition, I think you already know what I like best! Let us know your own thoughts in the comments below.
We have more baking to do with ground ginger, the beautifully aromatic and yellow-hued spice! Here are other desserts to try next:
Photos by Felicia Lim, © Ask the Experts, LLC. ALL RIGHTS RESERVED. See our TOS for more details. Originally published on December 12, 2016. With additional writing and editing by Nikki Cervone. Last updated on November 26, 2023.
Nutritional information derived from a database of known generic and branded foods and ingredients and was not compiled by a registered dietitian or submitted for lab testing. It should be viewed as an approximation.
About Felicia Lim
Felicia Lim is a Singaporean who moved to Argentina for love. Based in Buenos Aires, also known as “the Paris of South America,” she fills her days with freelance writing, recipe development, and food photography – three passions that give her endless joy. When she isn’t typing away at her computer, cooking in the kitchen, or shooting in her balcony-studio, you can probably find her curled up on the couch, lost in the pages of a good book.