Growing up, I always loved having dessert when my family ate out at a restaurant. Most importantly, I loved the red maraschino cherry on the top of whatever dessert I was having that day.
Whether it was a big ice cream sundae or a large slice of cake, that cherry made the dessert seem complete.
I never actually wondered how the cherries were made as a kid. But recently, I found out that they are actually a cinch to make at home.
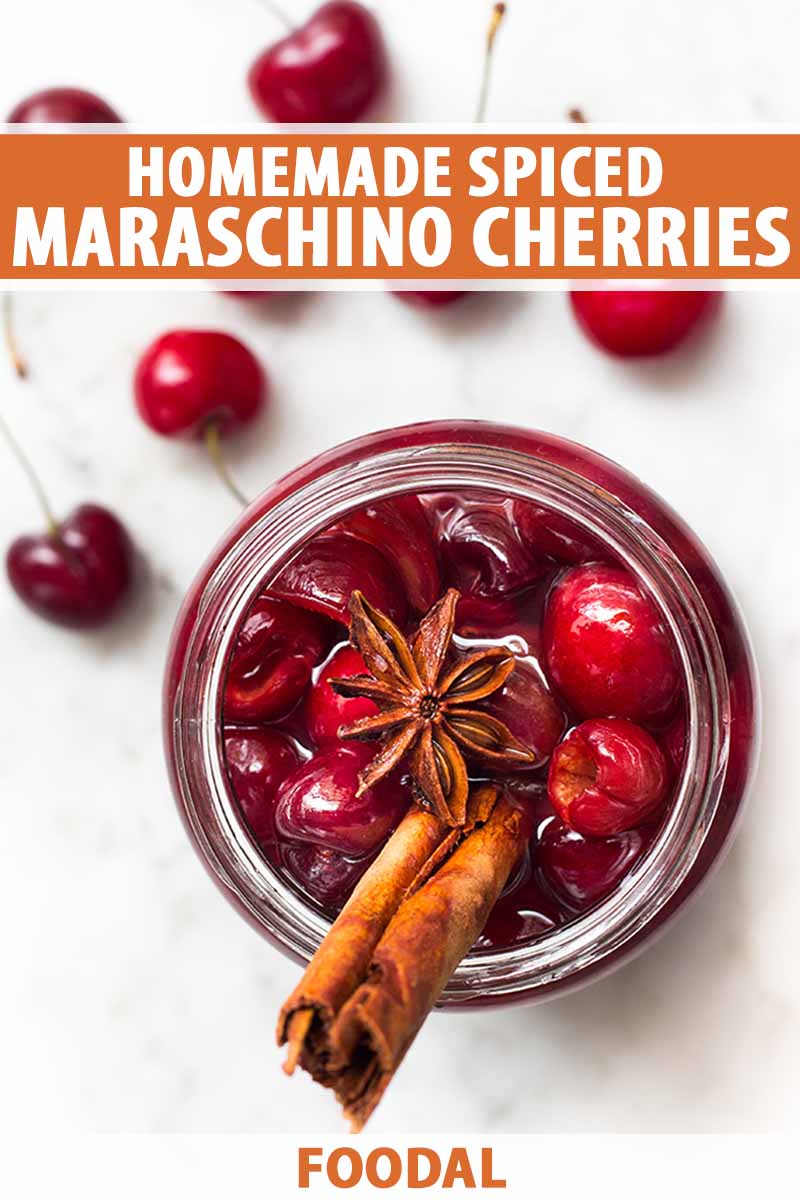
This recipe for spiced homemade maraschino cherries is incredibly simple, and best of all, these little individual sweet treats actually taste so much better than the store-bought ones.
And they’re not dyed artificially red like many premade versions!
This recipe also does not include any alcohol. But if you prefer, you can always make a spiked version by adding a bit of cherry liqueur to yours – or brandy, vodka, bourbon, or rum. These make a wonderful addition to cocktails!
All you need to make your own batch is a little patience to pit the fruits, and a few basic ingredients like sugar, citrus, and warming spices.
Once you’ve tried making your own, you’ll never go back to the commercially available ones again!
These also come in handy for holiday baking, if you take the simple recipe one step further – we’ll explain how in the Cooking by the Numbers section!
And here’s a sweet relief: frozen cherries can also be used to make this recipe, if the fresh version is unavailable in your area during the colder fall and winter months.
With the frozen product, there’s no need for pitting, which will save you some time in the kitchen. And you can reserve the liquid from the defrosted fruit to use in place of some of the water for a more concentrated fruity flavor.
Ready to make your own from scratch? Let’s head straight to the recipe!
Print
Homemade Maraschino Cherries
- Total Time: 3 days, 1 hour
- Yield: 6 servings 1x
Description
A sweet topping for any dessert, these homemade maraschino cherries are tart yet sweet, and flavored with citrus and spices.
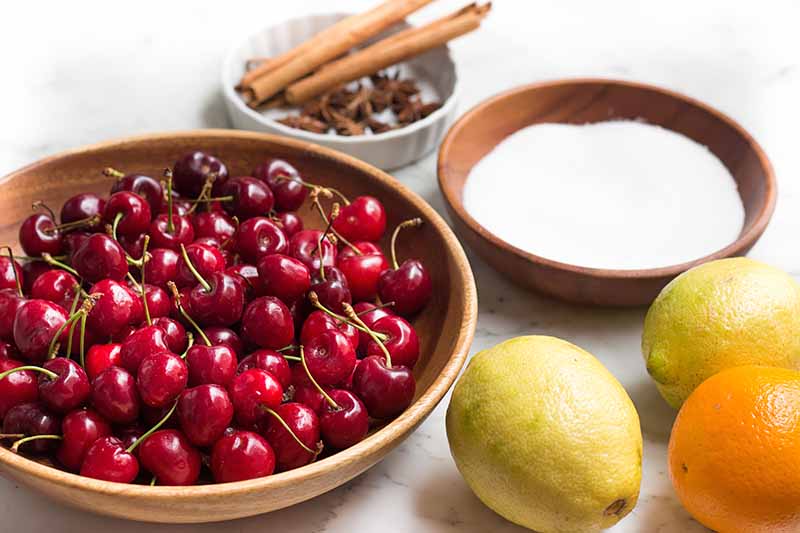
Ingredients
- 1 1/2 cups water
- 1 cup granulated sugar
- 1/8 teaspoon kosher salt
- 1 cinnamon stick
- 1 star anise pod
- 2 large lemons, juiced (about 1/2 cup juice)
- 1 large navel orange, peeled and juiced (about 1/2 cup juice)
- 1 pound whole fresh cherries, stemmed and pitted (Bing, Rainier, Black)
Instructions
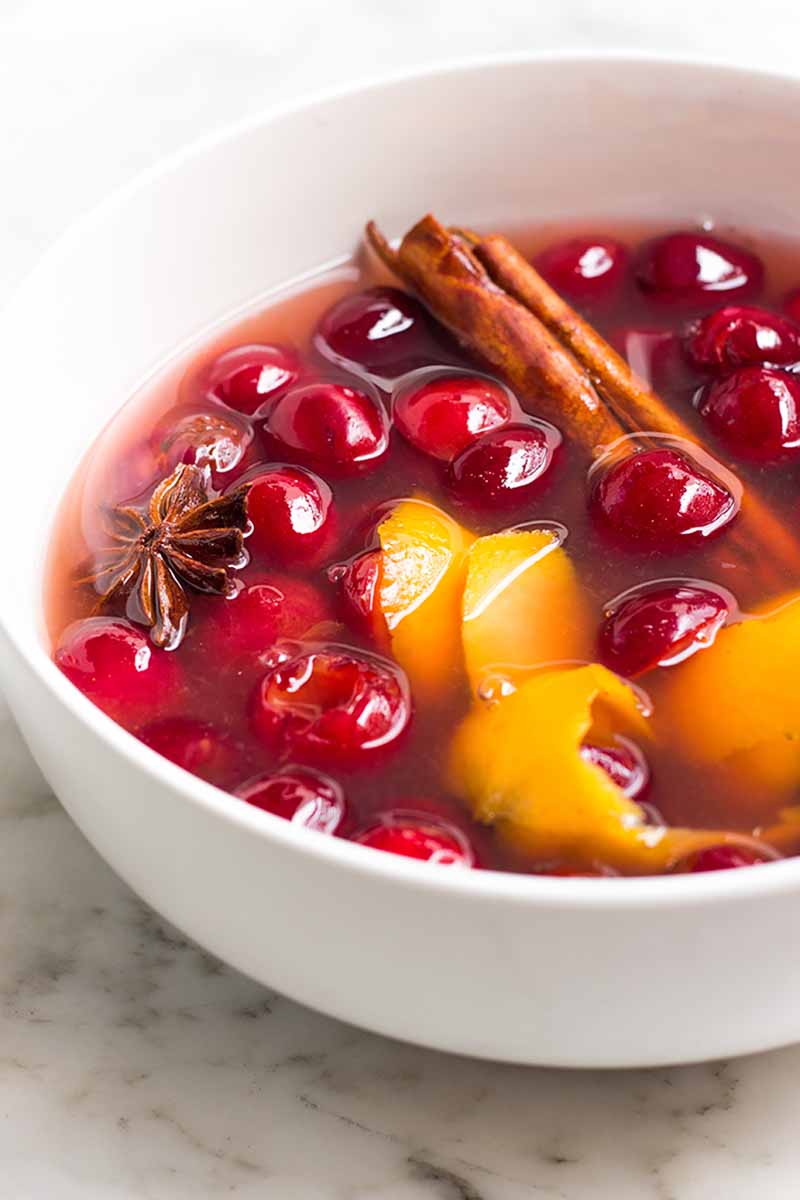
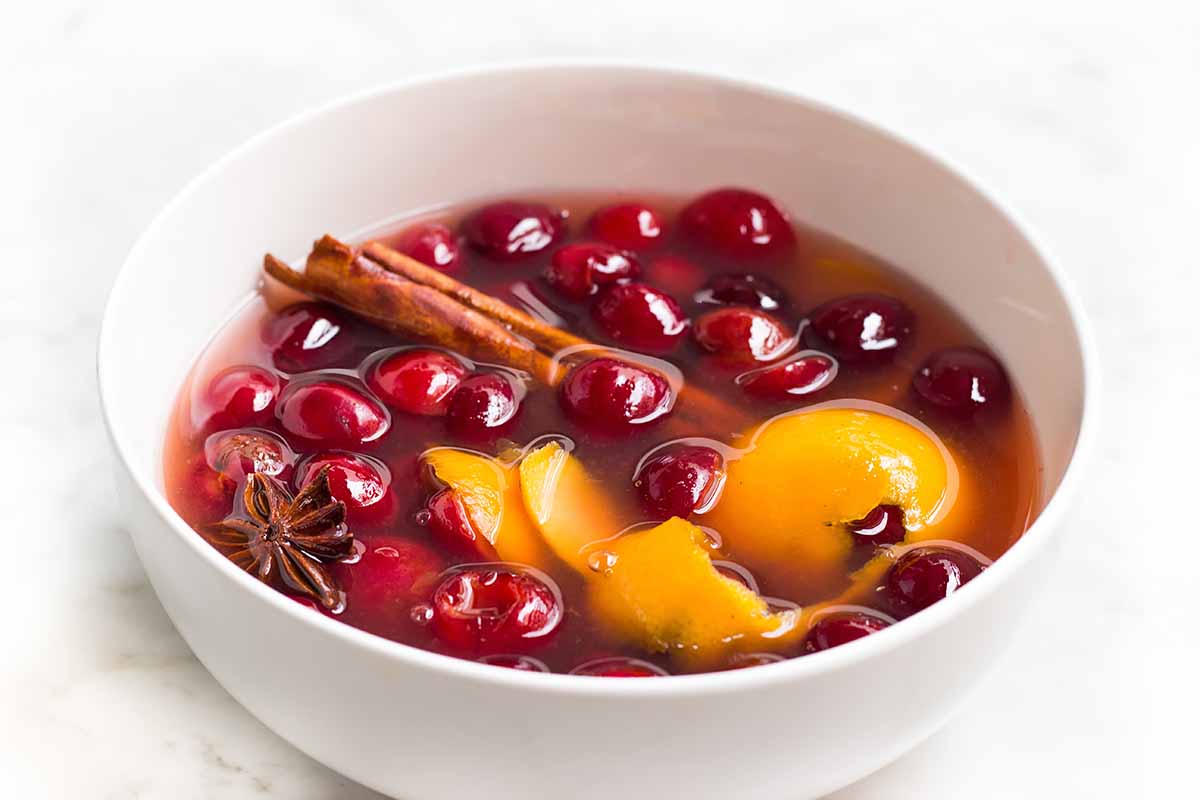
- Combine the water, sugar, salt, cinnamon stick, star anise pod, lemon juice, orange juice, and orange peel in a large skillet. Heat the skillet over high heat and bring to a boil.
- Reduce the heat to low and allow the ingredients to gently simmer until the sugar has dissolved, stirring occasionally with a wooden spoon, about 1-2 minutes.
- Stir in the cherries, and let the mixture simmer on low heat for 8-10 minutes, or until the liquid has reduced enough to the consistency of a thin syrup.
- Once the syrup is ready, immediately pour the mixture into a large, heatproof bowl. Allow to cool completely, stirring occasionally.
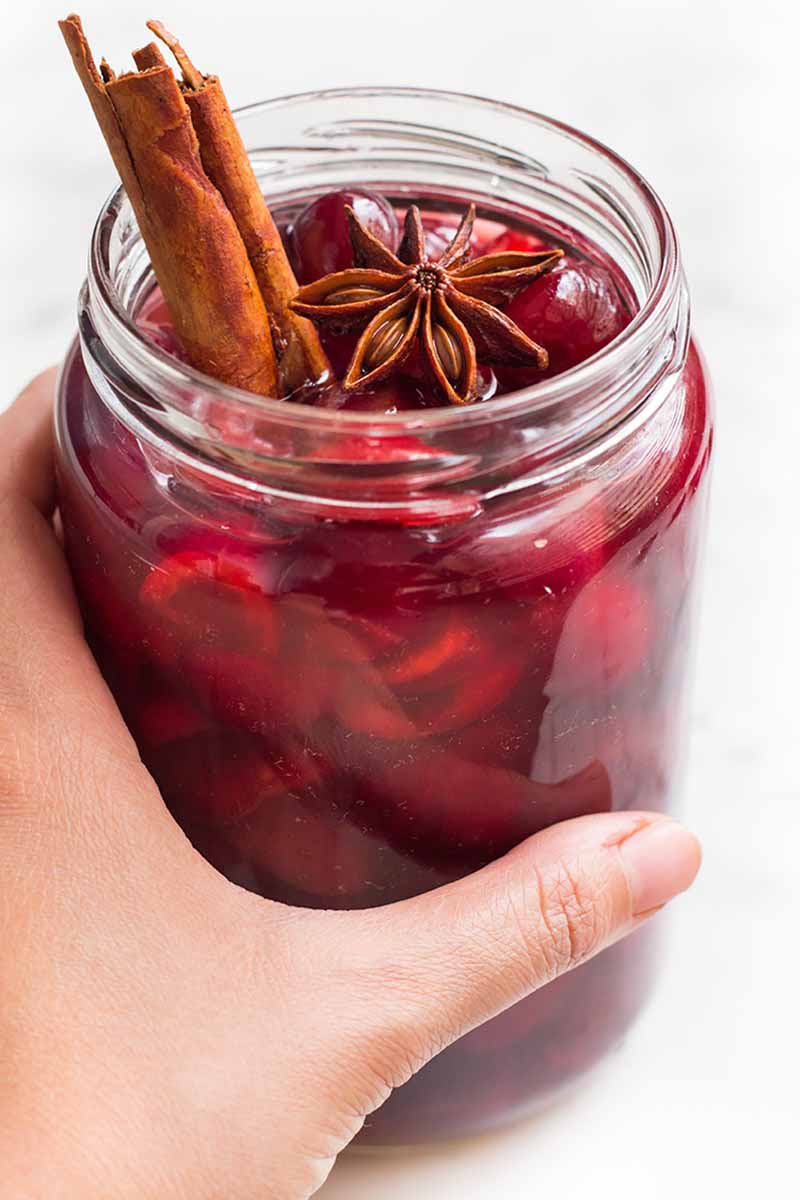
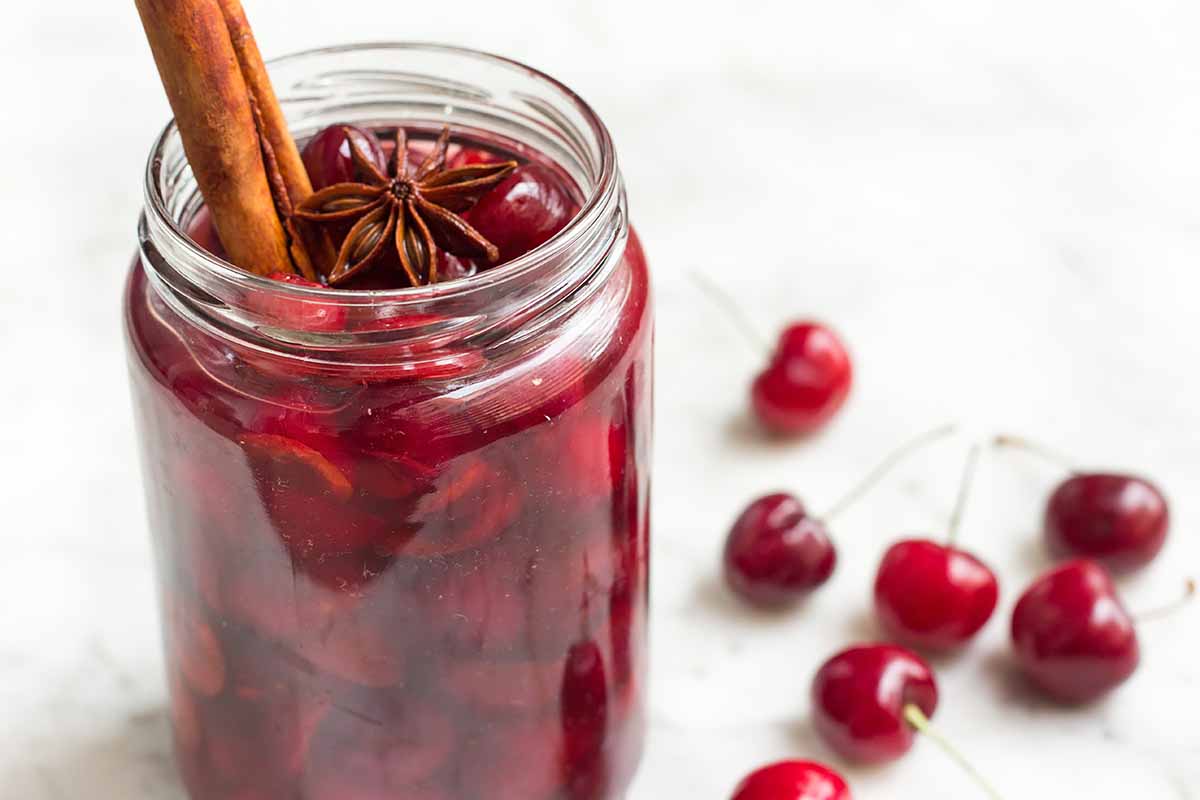
- Once cooled, remove and dispose of the spices and citrus peel. Transfer the ingredients to a clean large glass jar or airtight container and cover tightly. Place the jar or container in the refrigerator and let them soak for at least three days before consuming.
- Prep Time: 30 minutes
- Cook Time: 30 minutes
- Category: Fruit
- Method: Stovetop
- Cuisine: Condiment
Cooking by the Numbers…
Step 1 – Prep and Measure
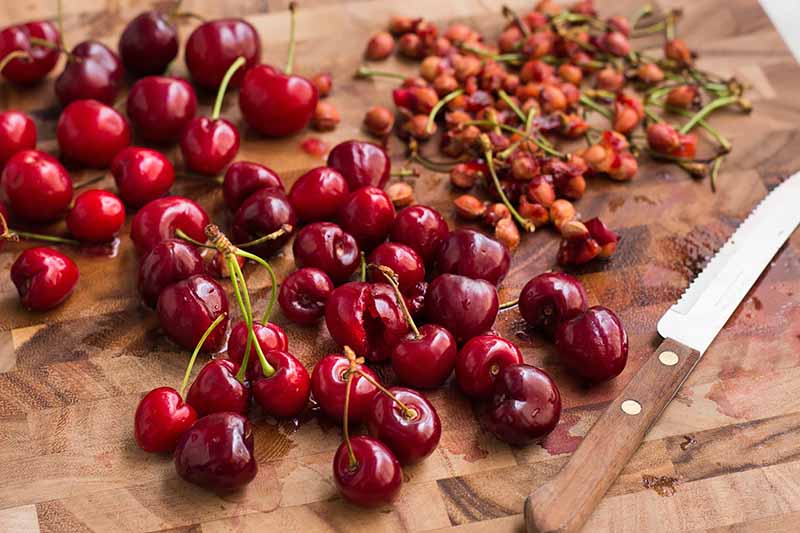
Pit the cherries, doing your best to leave them whole – this is purely for aesthetics, so it’s okay if some tear in half.
You can do this by a few different methods. For the easiest and most efficient option, use a cherry pitter.
If you don’t own this tool, you can also cut a small incision in the base of the cherry with a paring knife and squeeze or scoop out the pits.
Or, you can follow this trick:
Place a cherry on the top of a narrow-necked glass bottle, and quickly poke the pit through with a wooden chopstick or skewer. Note that this only works with very ripe fruit, though.
When all of your stone fruit is prepped, carefully remove the peel from an orange with a vegetable peeler and set it aside. Then, juice the orange and the two lemons – you’ll need about 1/2 cup of juice from each variety.
Depending on the size of the oranges and lemons that are available to you, you may need to juice more than what is recommended in order to yield the correct amount for this recipe. Shop smart, and buy extra!
Set out the cinnamon stick and star anise. Finally, measure out the water, sugar, and salt.
Step 2 – Make the Syrup
Combine the water, sugar, lemon juice, orange juice, salt, cinnamon stick, star anise, and orange peel in a large skillet.
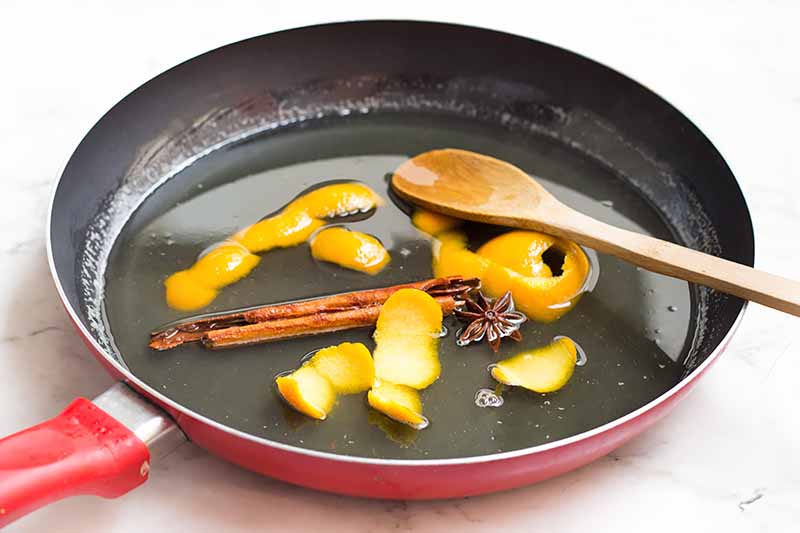
Place the skillet on the stovetop over high heat, and bring to a boil.
Once the mixture is at a boil, reduce the heat to low and stir with a wooden spoon or rubber spatula until the sugar has fully dissolved.
Step 3 – Add Fruit and Simmer
Add the stone fruit and allow it to simmer over low heat for approximately 8 to 10 minutes, until the liquid reduces enough into a thin syrup.
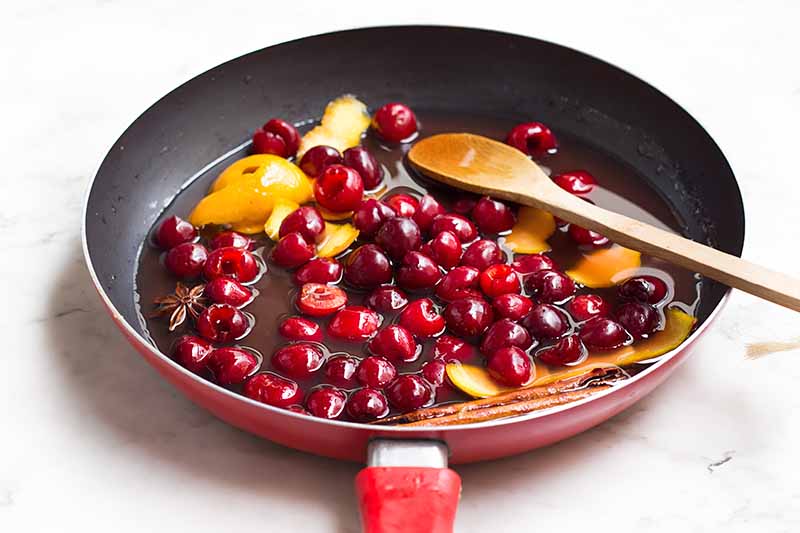
The syrup should have a faint cherry taste to it – you can taste the syrup at this point, as this is the best way to know how your recipe is coming along, and it’s part of the fun!
Step 4 – Cool and Store
Once the syrup is ready, immediately pour out the contents from the skillet into a large bowl to completely cool.
This transfer will prevent them from cooking further, as you want the fruit to be cooked, but not mushy.
Once cooled, remove and dispose of the spices and citrus peel. You don’t want anyone accidentally chomping down on these particular ingredients!
Transfer the fruit and liquid to a jar or airtight container, and cover it with a lid. Place the jar in the refrigerator and let the fruit soak in the syrup for at least three days before eating.
The mixture can keep for up to three months in the refrigerator, tightly covered.
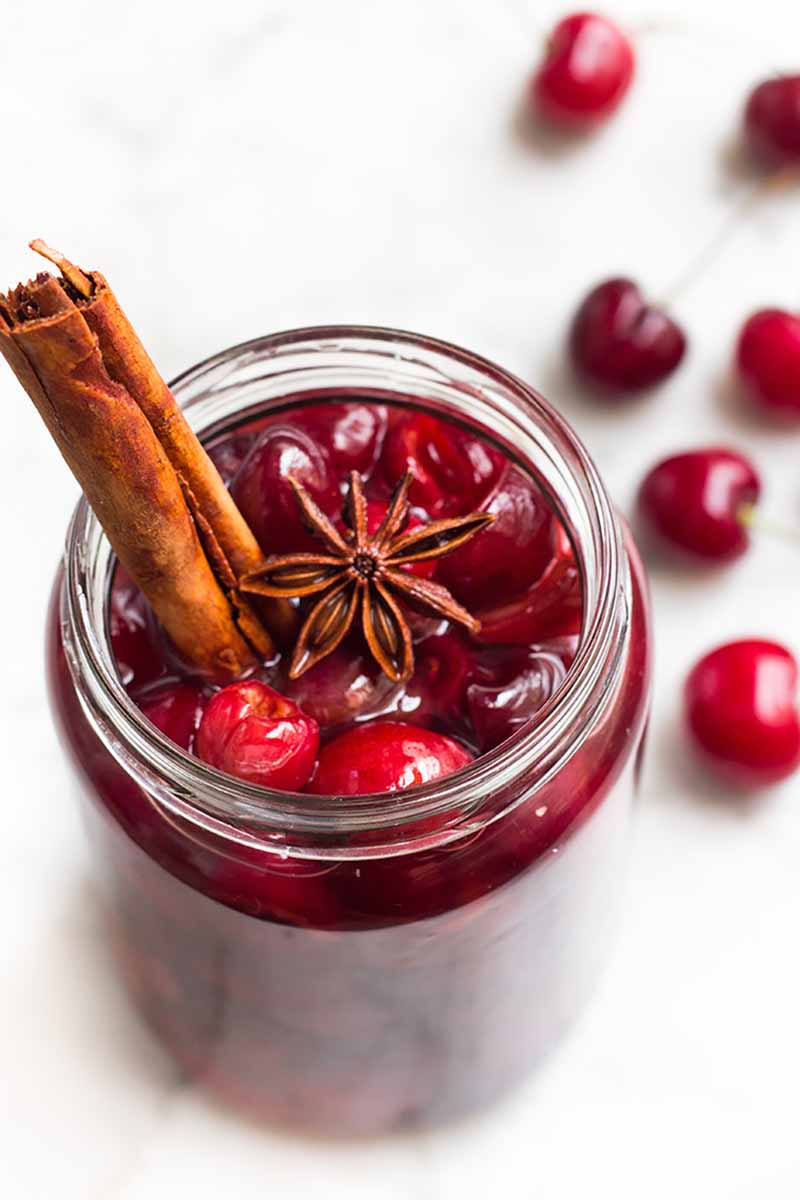
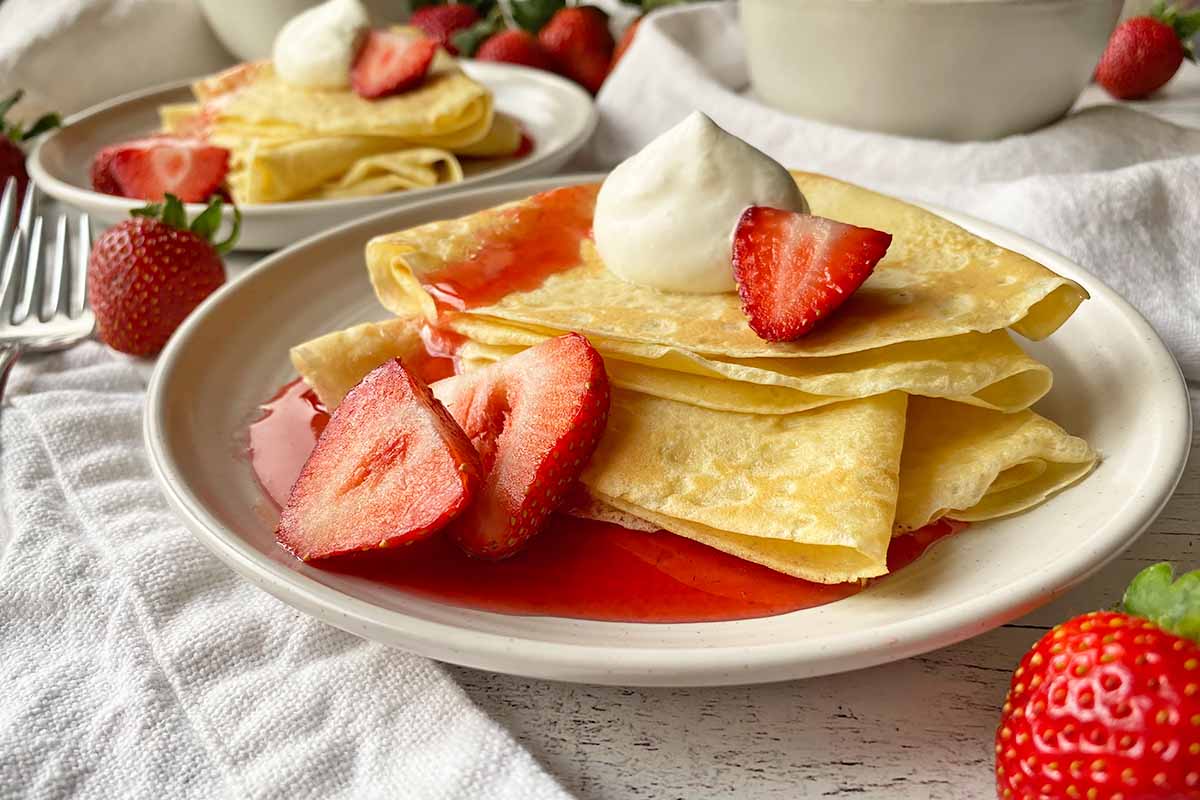
While these preserved fruits tend to be used as decorative toppings for desserts or a garnish for drinks, this homemade version tastes so good that you can even eat them on their own! Enjoy!
Step 5 – Dehydrate (Optional)
You can transform your homemade maraschinos into candied sweets to top your Christmas cookies! Here’s how:
First, drain the jar and reserve the syrup. Combine about 1/2 cup of the reserved maraschino juice with 1 1/2 cups of sugar in a saucepan, and stir over low heat until the sugar is almost completely dissolved.
Then, add the cherries, stir, and bring to a boil.
Cover and reduce the heat to low, and gently simmer until the cherries are slightly firm and the liquid is nearly gone, for about 1 hour. Take the lid off your pot and remove from the heat. Allow to cool completely, then transfer the cherries to a baking sheet lined with parchment paper.
Allow to dry out exposed for 2 to 4 hours, or until dry to the touch. Store them in an airtight container in the refrigerator for up to 6 months.
Once they’re dry, these can be used in holiday baking, to make a figgy pudding, top sweet desserts, and of course, to decorate buttery cookies like our sweet snowflake cookies.
Pretty Please with a Cherry on Top!
Now it’s time to impress your guests by serving dessert or drinks with a homemade garnish!
And this homemade fruit preserved in syrup will taste so much better than the store-bought ones – even though they won’t look quite so artificially red.
You’ll love using a few glistening pieces to decorate a Black Forest cake, to top scoopfuls of ice cream, and to plop in an old fashioned.
And these make for beautiful gifts for celebrations or holidays – place them in decorative mini glass canning jars and tie them with ribbons and bows, complete with a handwritten note on how to store and use them.
How will you use this sweet and fruity homemade condiment? Let us know in the comments below – we’re looking forward to reading all of your ideas.
Charming cherries are a fun ingredient to use in the kitchen for sweet and savory dishes, from salads to beverages. Explore other recipe suggestions from Foodal right now:
Photos by Felicia Lim, © Ask the Experts, LLC. ALL RIGHTS RESERVED. See our TOS for more details. With additional writing and editing by Nikki Cervone. Originally published November 30, 2016. Last updated on December 26, 2023.
Nutritional information derived from a database of known generic and branded foods and ingredients and was not compiled by a registered dietitian or submitted for lab testing. It should be viewed as an approximation.
About Felicia Lim
Felicia Lim is a Singaporean who moved to Argentina for love. Based in Buenos Aires, also known as “the Paris of South America,” she fills her days with freelance writing, recipe development, and food photography – three passions that give her endless joy. When she isn’t typing away at her computer, cooking in the kitchen, or shooting in her balcony-studio, you can probably find her curled up on the couch, lost in the pages of a good book.


These sound fantastic! How much alcohol would you recommend (say rum or bourbon) and at what point would you add?
Hi Teri! You can add about 3/4 cup of alcohol and you should add it together at the same time as the citrus juices in the saucepan! Hope this helps 🙂
Thank you for sharing. Have you ever tried canning these?
Hey Courtney! I haven’t tried canning these but I believe if you sterilize your jars very well, there shouldn’t be any problem!
This looks amazing! Even better that it looks simple!! Have you ever tried canning these for longer storage??
Hey Linsey! Thanks!! Nope, I haven’t tried canning these yet, but I’m pretty sure if you sterilize your jars well, it should work! Do let us know if you’ve tried canning them – we’d love to hear your feedback!
Interesting recipe. Not sure where the maraschino flavour come from though if you’re not crushing any cherry stones.