Everyone knows it’s a bad idea to eat chips straight out of the bag.
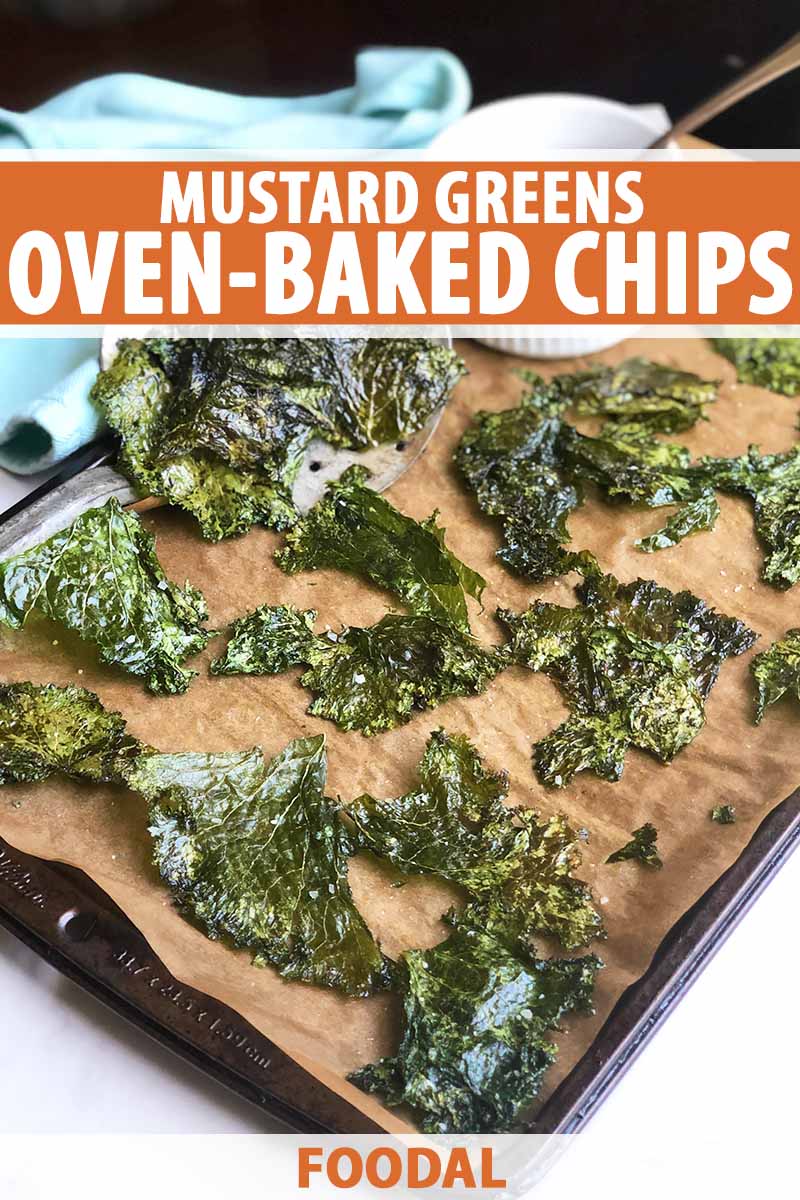
If you don’t portion them into a bowl, well… one: it doesn’t look as fancy, and two: there’s a very good possibility you will just end up with an empty package and greasy palms.
Wouldn’t it be nice if there was a chip-like snack that you didn’t have to feel bad about finishing off?
But wait, there is!
Okay, enough with the annoying infomercial copy. We’re moving on to the topic of mustard greens.
You may have passed right by these beautifully bitter bunches in the produce section on every trip to the grocery store ever, but in this recipe, they finally get their time to shine.
Mustard greens are a rich source of antioxidants (like heart-healthy flavonoids and beta carotene) and even when cooked, their levels of vitamins A and K rank up there with the best of them.
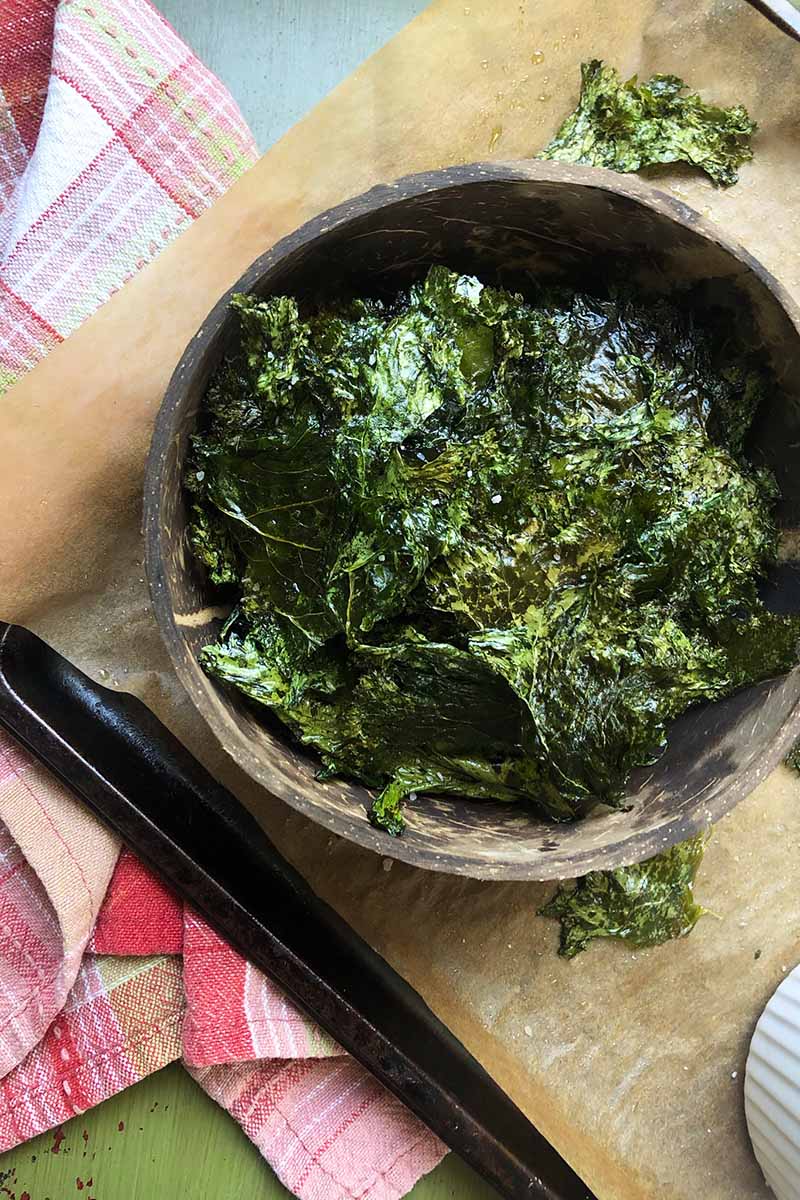
But let’s back up for a second and talk about the fact that while baked mustard greens may seem unconventional, crackly green kale “chips” have totally become the norm.
Unless you’ve been living under a rock (or are a college student surviving on frozen pizza and dollar tacos, perhaps), you’ve likely seen the multitude of recipes spinning around out there on the interwebs for kale chips.
I’m not sure who assigned kale as the spokesperson for leafy-greens-gone-wild, but I’m here to tell you that kale doesn’t always get to be the president of this club.
From collards to beet to chard, if it’s a hearty leaf, you can transform it into a healthy snack that’s just as addictive as those potato slices you thought were your only tried and true couch companion.
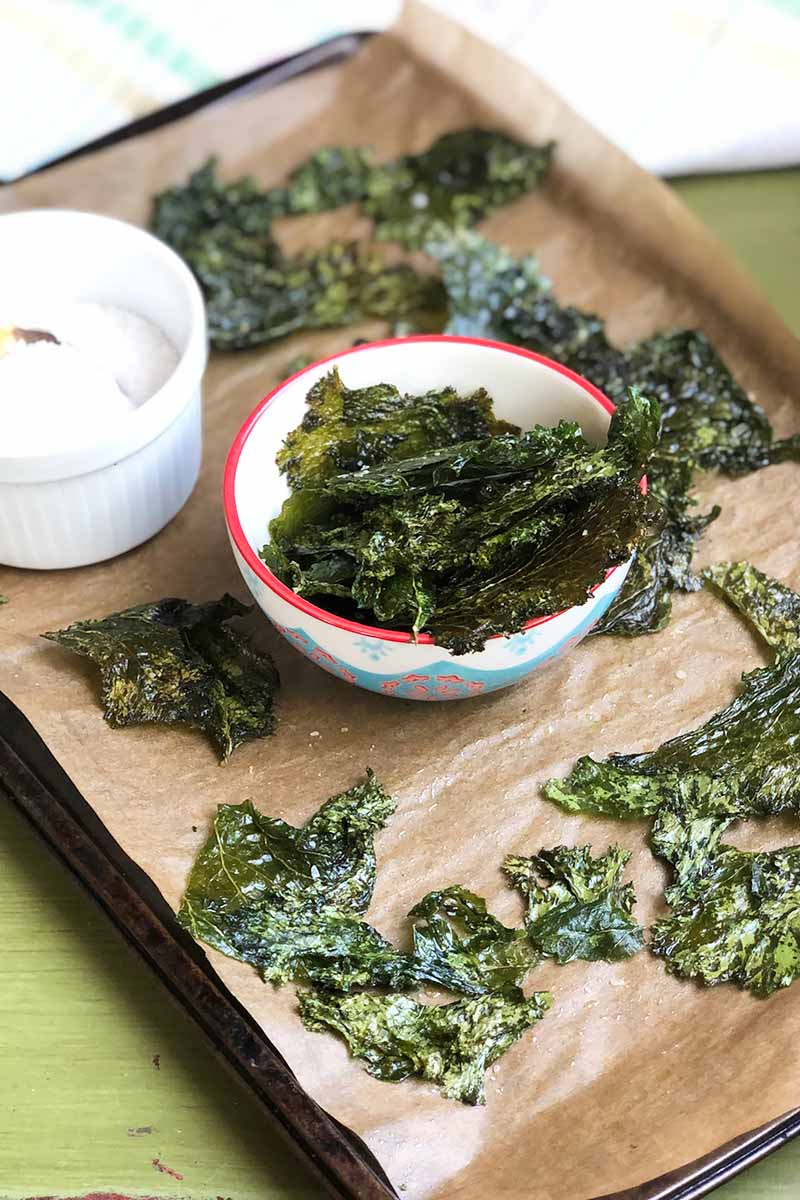
And while curly kale does have the benefit of especially ruffly edges, which offer a nice consistency once dehydrated, for me, it’s all about the flavor profile. Mustard greens have an undeniably peppery zing that slightly mellows in the oven. The leaves are also on the delicate side, which gives the thin “chips” more of a crisp, melt-onto-your-tongue texture.
Low in calories and carbs, but high in fiber and nutrients, they make a stellar replacement for whatever less healthy snack you can’t stop eating currently.
One bunch of baked mustard green chips can feed up to four people, but that ratio depends entirely on the snacker in question. When snacking solo, do you grab the whole container and retreat to your recliner? Or is your preference to ration an appropriate amount to form a single serving in an organized snack pack container before you dig in?
My best friend, Madison, for example, is a dive-right-into-the-box enthusiast.
If it’s crunchy, covered in salt, and she gets to put her hand inside a pouch to fish around for it, she will claim it as her own. As I write this, she’s nearly nine months pregnant and being particularly mindful of her diet, thanks to gestational diabetes.
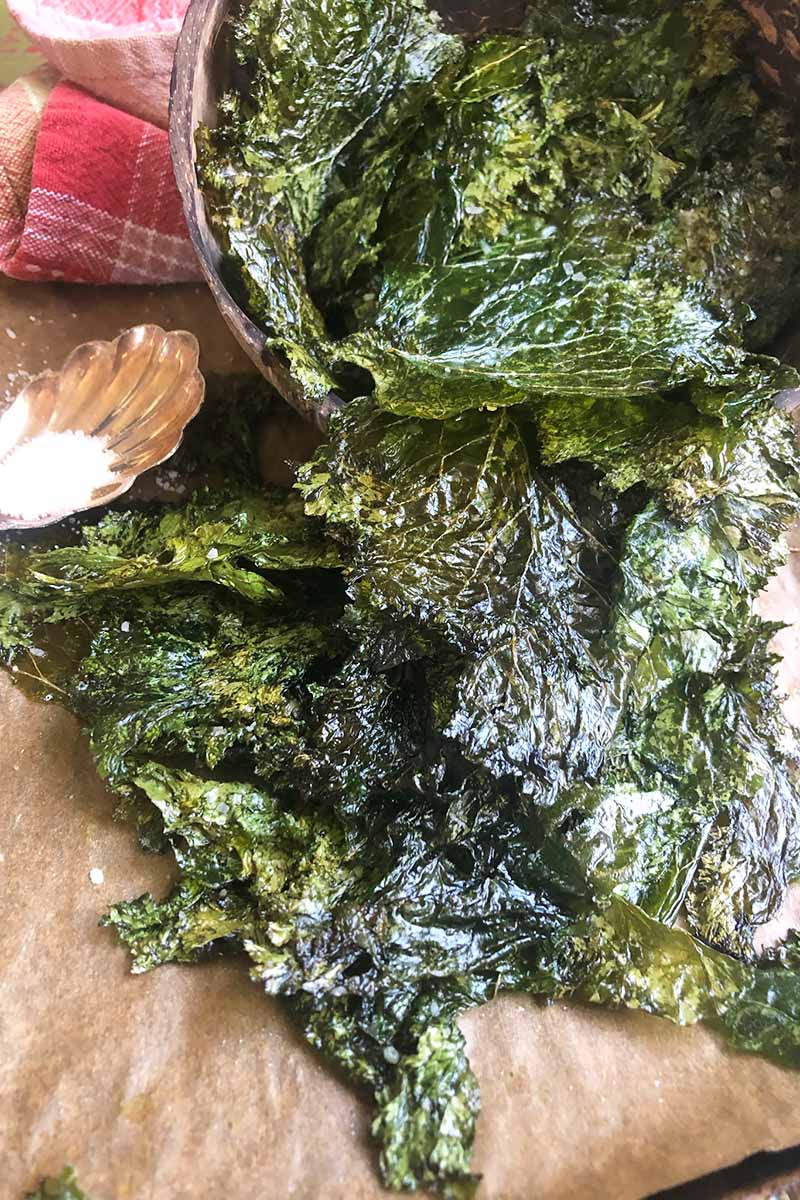
As starchy potatoes have a high glycemic index and the tendency to cause an abrupt spike in blood sugar, she’s been on the search for mid-day nosh alternatives that scratch that can’t-eat-just-one itch.
She loved my spicy root vegetable chips, so I figured this recipe would be another big hit, perhaps with a little persuasion. After making my first batch of mustard green chips, I darted straight to her house. In her kitchen, I wrestled the lid off the Tupperware, presented my leafy morsels, and waited for her to laugh in my face.
Madison hails from Iowa, and her Midwestern roots suggest that “cheesy potato casserole” is a food group. Naturally, I didn’t think my baked greens would be regarded as an acceptable swap, but to my delight, she happily gobbled them down, rubbed her belly, and asked for the recipe.
I’m pretty sure she’ll have her hands too full to make these any time soon, but as long as I get the benefit of playing with her cute baby, I’ll share my homemade chips.
Print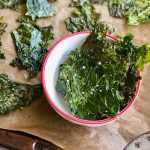
Mustard Greens Chips
- Total Time: 40 minutes
- Yield: 2-4 (makes about 1 1/2 cups chips) 1x
Description
Whoever said leafy veggies can’t make a crunchy, satisfying substitute for chips never tasted these crispy baked mustard green bites.
Ingredients
- 1 bunch mustard greens (about 6 ounces with stems on)
- 2 tablespoons coconut oil, melted and slightly cooled
- 1/2 teaspoon coarse salt, plus more to taste
Instructions
- Preheat the oven to 250°F and line 2 baking sheets with parchment paper.
- Using a sharp knife, remove the thick center ribs from the greens so you’re just left with the leafy parts. Slice the larger leaves into smaller, bite-size pieces.
- Thoroughly wash and dry the mustard greens. You can use a salad spinner to ensure dryness.
- Place the greens in a large mixing bowl and add the coconut oil and salt. Delicately massaging the oil in with your fingers, toss the greens until they’re thoroughly coated. Transfer the greens to the baking sheets in a single layer with some space in between.
- Bake, rotating the pans halfway through to promote even cooking, until the greens are dry and lightly golden brown, about 20-25 minutes.
- Remove from the oven. Allow the chips to rest on the pans for several minutes. and then transfer them with a metal spatula to a wire rack to cool completely. Store in an airtight container at room temperature for 2-3 days.
- Prep Time: 15 minutes
- Cook Time: 25 minutes
- Category: Vegetables
- Method: Baking
- Cuisine: Vegan
Keywords: mustard greens, chips, vegan, paleo
Cooking By the Numbers…
Step 1 – Slice and Rinse the Leaves
Preheat the oven to 250°F and line 2 baking sheets with parchment paper.
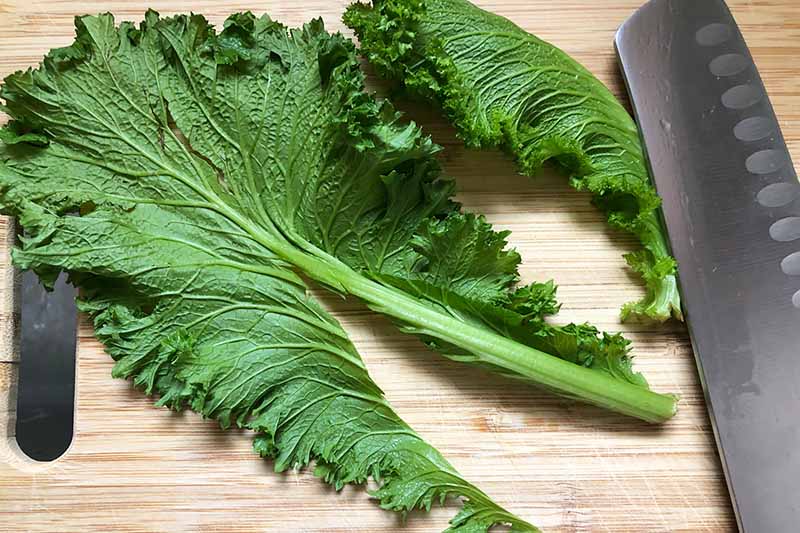
If using a salad spinner to wash and dry your greens, I recommend cutting them first because some of the bigger leaves may be too large to spin-dry evenly. If rinsing and drying by hand, it’s fine to leave each leaf whole while rinsing to make things easier, then slice when it’s clean and dry.
Using a sharp knife, remove the thick center ribs from the greens if they are large, so you’re just left with the leafy parts. Slice the larger leaves into smaller, bite-size pieces. You can also gently tear them with your hands. Baby greens with tender stems that are already bite-sized won’t need additional prep.
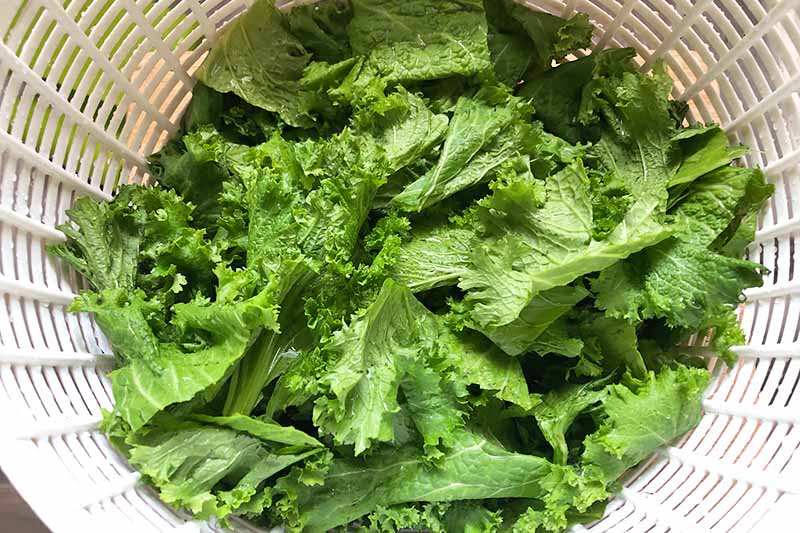
Thoroughly wash and dry the mustard greens. Using a salad spinner helps ensure dryness, just make sure to run the leaves through in several batches so you don’t crowd them and miss any moisture. If the leaves aren’t properly dried, any remaining water on them can “steam” the chips and make them soggy.
Step 2 – Toss the Greens with Oil and Salt
Place the prepared leaves in a large mixing bowl and add the melted coconut oil and salt. You can substitute another lightly flavored or neutral oil – such as olive oil, vegetable oil, sunflower oil, grapeseed oil, and so on – depending on what you like the flavor of and what you have on hand.
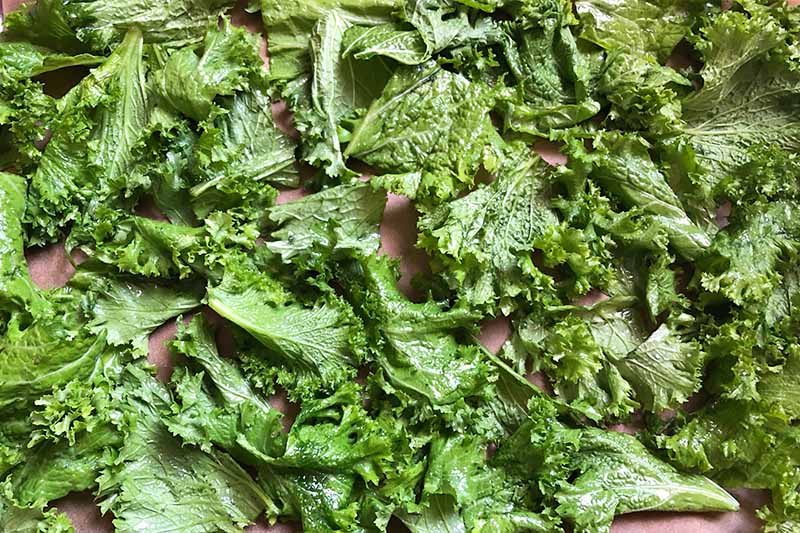
Delicately massaging the oil in with your fingers, toss the greens until they are thoroughly coated. The leaves should be just coated enough to ensure that they’ll crisp up, so there’s no need to meticulously rub the oil into every crevice.
Transfer the greens to the baking sheets in single layers. It’s okay if there’s just a little overlap, but you want to be able to see some pockets of space on the pan. The leaves shouldn’t be overcrowded or stacked on top of each other.
Step 3 – Bake, Cool, and Serve
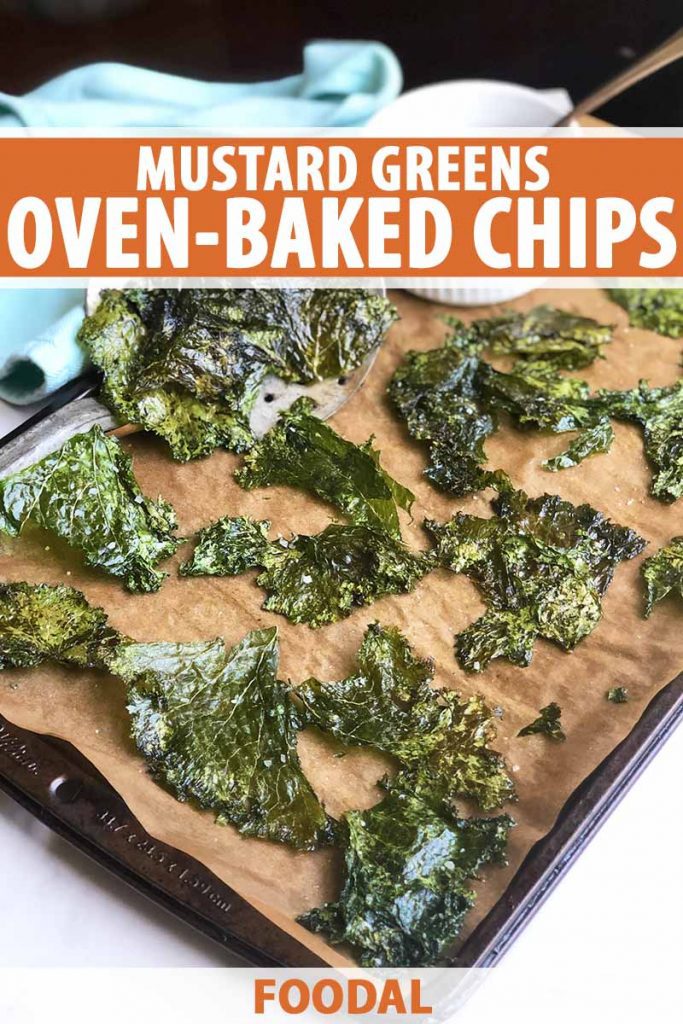
Bake, rotating the pans halfway through to promote even cooking, until the greens are dry and lightly golden brown. This should take about 20-25 minutes.
Some may look a bit wilted, but they will pop right off the parchment and crisp up as they cool.
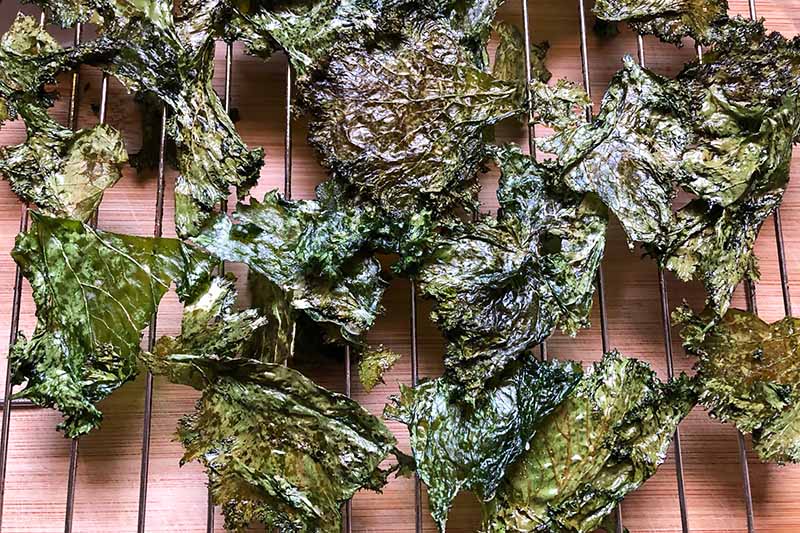
You can also sprinkle them with additional salt while they’re warm for a little more flavor and crunch.
Allow the chips to rest for several minutes and then, using a metal spatula, transfer them to a wire rack to cool completely.
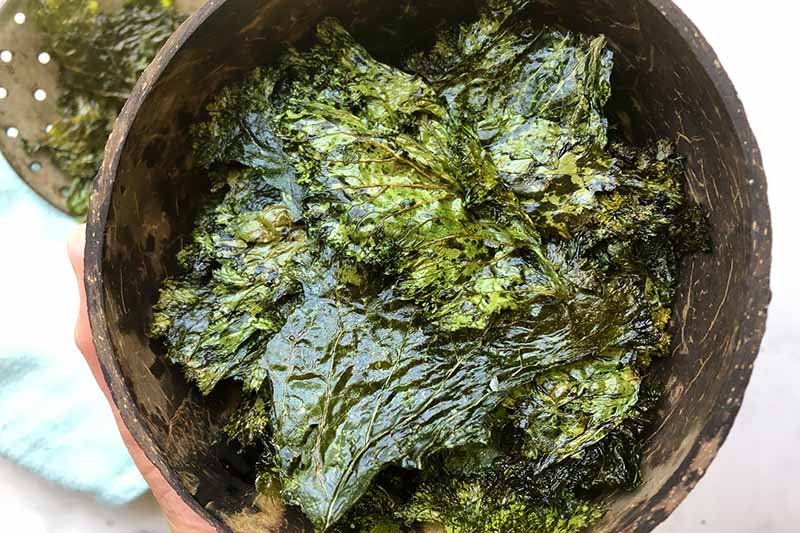
You can store these in an airtight container at room temperature for 2-3 days, but they’re best eaten fresh, as any humidity will soften them.
Gotta Love Those Leafy Greens
Sure, I dig this recipe because it offers an abundance of nourishment, but its simplicity and originality make it equally as appealing.
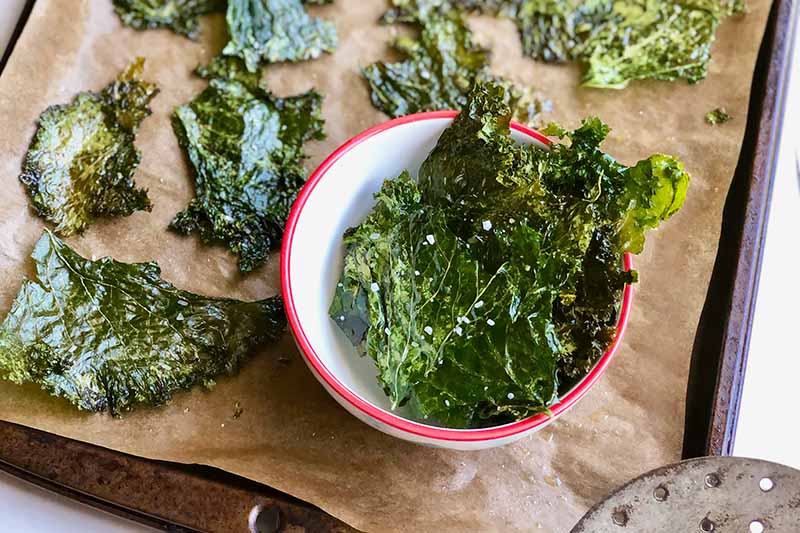
Sprinkling with salt is the most basic flavoring method when transforming this humble pile of green vegetables from fluffy leaves to crispy, baked nibbles, but don’t stop there.
For a Thai twist, add lime, soy, honey, and finely minced ginger to the coconut oil, and double the quantity of the veggies to balance out the amount of wet ingredients. The ginger will mirror and enhance this recipe’s spicy kick.
I’m partial to cranking up the volume on my palate, and fresh dill, apple cider vinegar, and garlic powder (again, whisked in with the oil at the beginning of the recipe) create a delightfully tart, pickle-inspired combo if that’s more your thing.
For even more inventive ways to get your leafy greens from their produce bags to your belly (don’t worry, they aren’t salads!), these tasty recipes are sure to satisfy:
Salt and vinegar? Sour cream and onion? What traditional (or untraditional) chip flavors will you use to give your mustard greens some pizzazz?
Share your finest seasoning secrets in the comments below! And don’t forget to give this recipe a five-star rating if you loved it.
Photos by Fanny Slater, © Ask the Experts, LLC. ALL RIGHTS RESERVED. See our TOS for more details. Originally published by Shanna Mallon on October 8, 2013. Last updated on May 17, 2021.
Nutritional information derived from a database of known generic and branded foods and ingredients and was not compiled by a registered dietitian or submitted for lab testing. It should be viewed as an approximation.
About Fanny Slater
Fanny Slater is a home-taught food enthusiast based in Wilmington, North Carolina who won the “Rachael Ray Show” Great American Cookbook Competition in 2014, and published her cookbook “Orange, Lavender & Figs” in 2016. Fanny is a food and beverage writer, recipe developer, and social media influencer. She was a co-host on the Food Network series “Kitchen Sink,” was featured on Cooking Channel’s longtime popular series “The Best Thing I Ever Ate,” and continues to appear regularly on the “Rachael Ray Show.”


This is such a genius idea for mustard greens. Truly! I love mustard greens but I can never make it through an entire bunch.
Kimberley, I know just what you mean! Mustard greens are one of those leafy green varieties that I tend to use a little of and then not know what to do. Chips are a great solution because they cook ’em all up fast. : ) Thanks for your comment — It’s a treat to see you over here!
This makes me miss my CSA (I did a spring/early summer share) –I tend to stay in the “safe zone” when purchasing my own produce…the CSA is so great for branching out and trying new things (and thus being creative with how you use what is it hand, like you were with these chips!)
That is exactly how I feel about the CSA: It’s so helpful it pushing me outside my normal stand-bys! Also, I feel like it frees my mind a little because, instead of meal-planning and then grocery-shopping, I take what they give us and make meals from it.